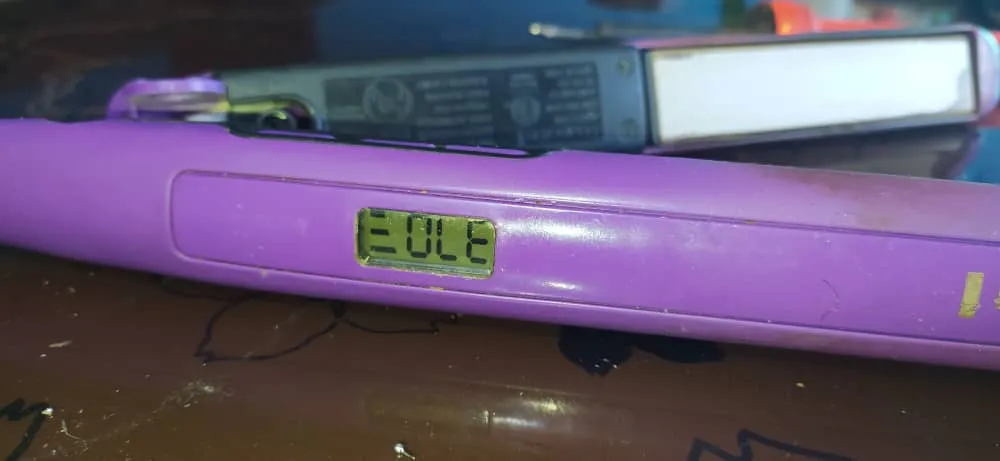
Saludos amigos espero que se encuentren bien, yo nuevamente por acá pero está vez no voy hablar de vehículos no nada de eso; hoy les voy a contar sobre la reparación que le hice a la plancha de cabello de mi esposa pues no quería prender y en algunos casos había que mover los cables para que encendiera y así ella no la quería utilizar 🤪🤪.
Greetings friends, I hope you are well, I am here again but this time I am not going to talk about vehicles, nothing like that; today I am going to tell you about the repair I did to my wife's hair straightener because it did not want to turn on and in some cases I had to move the wires to turn it on so she did not want to use it 🤪🤪🤪.
Casi siempre por no decir siempre yo soy el que se la repara, por cierto casi nunca me paga pero bueno no se puede hacer nada y mejor ni le cobro pues no me conviene 😜 😜.
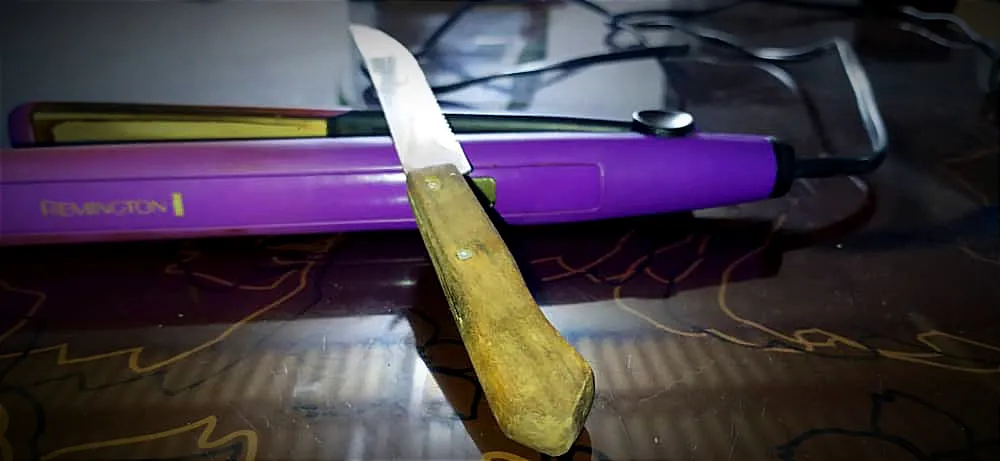
Cierta mañana estaba desocupado y pues decidí revisar para ver que tenía, otra cosa es que no tenía ni una herramienta en la casa para desarmar solo un cuchillo de Meza y por supuesto el cautín y un poco de estaño pero esa era más que suficiente para mí.
Almost always if not always I am the one who repairs it, by the way almost never pays me but well nothing can be done and I better not even charge him because it does not suit me 😜 😜. One morning I was out of work and I decided to check to see what I had, another thing is that I didn't even have a tool in the house to disassemble, just a Meza knife and of course the soldering iron and some tin, but that was more than enough for me.
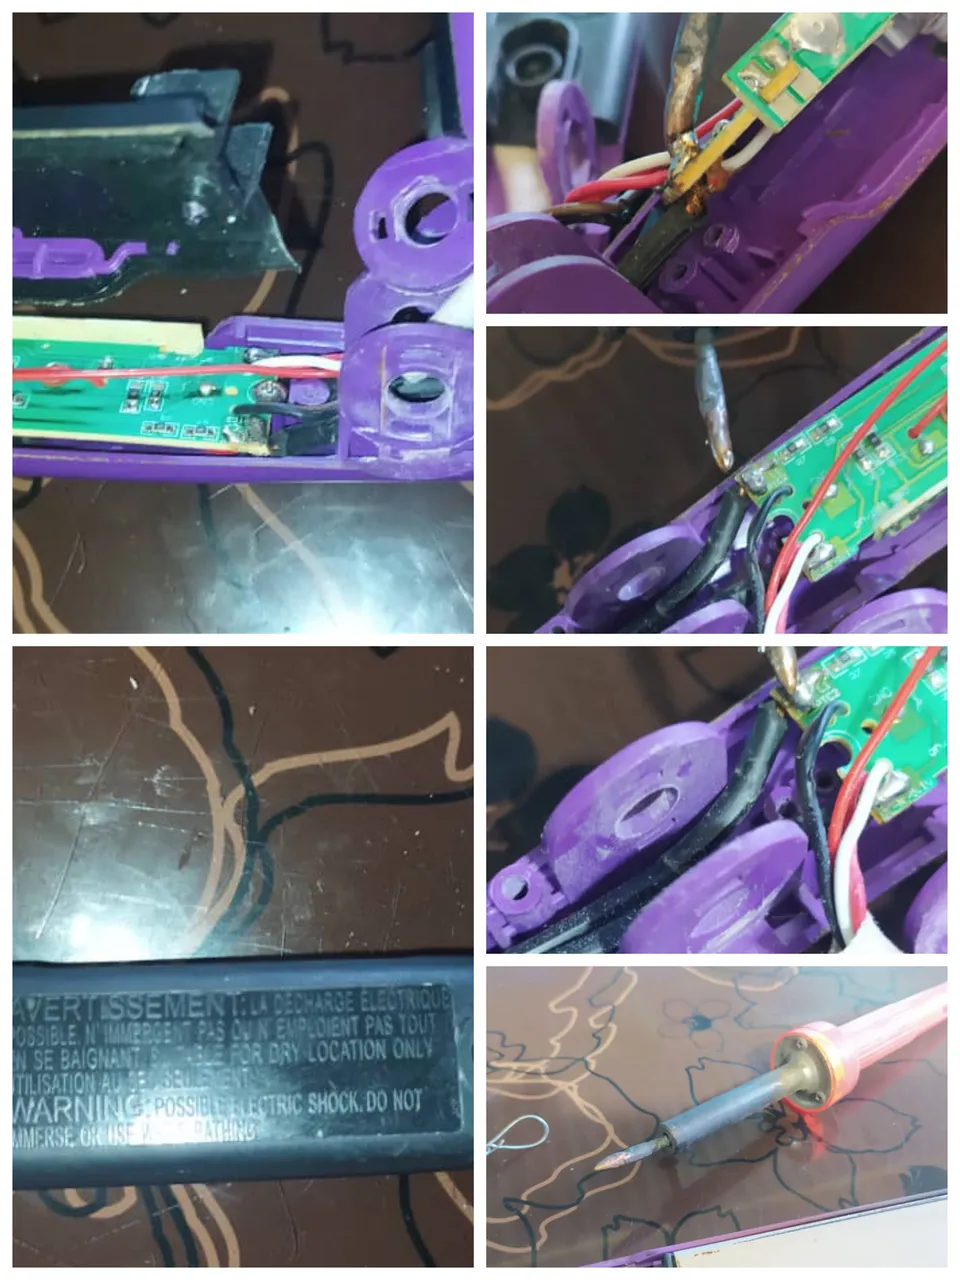
Les voy a mostrar un par de fotos para mostrarles lo que fue el pasó a paso del desarme de la plancha.
Cuando destape la plancha y luego de revisar note que solo había un falso contacto en los cables principales que se conectan a la placa de la plancha, para ello tuve que picar las puntas viejas de los cables pero antes de eso con ayuda del cautín desorde los cables para poder picar las puntas y luego sacar puntas nuevas de los cables para soldar con el cautín.
I am going to show you a couple of pictures to show you what was the step by step of the disassembly of the iron. When I uncovered the plate and after checking I noticed that there was only a false contact in the main wires that connect to the plate, for that I had to chop the old tips of the wires but before that with the help of the soldering iron I untangled the wires to be able to chop the tips and then remove new tips of the wires to solder with the soldering iron.
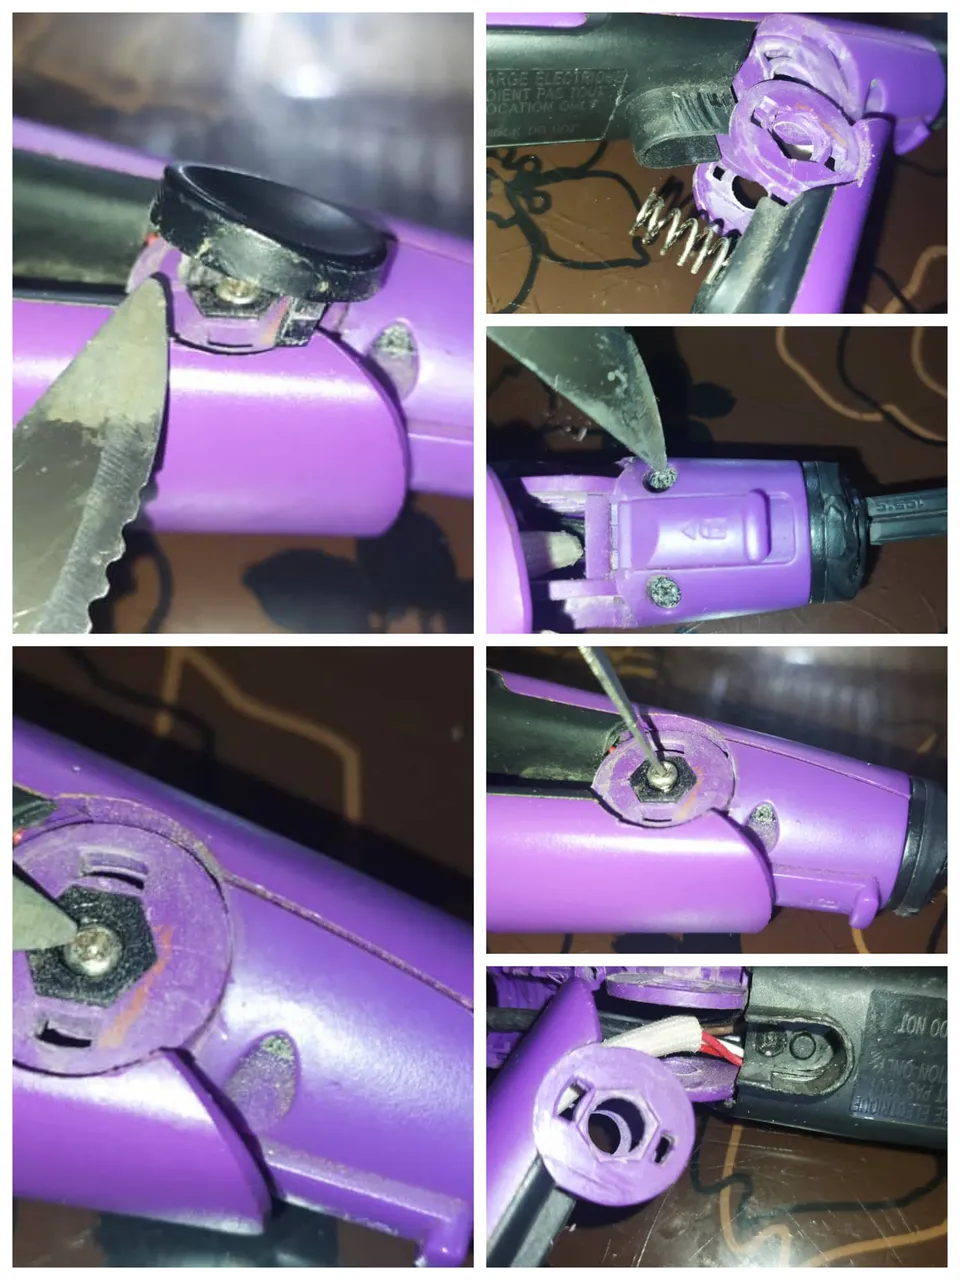
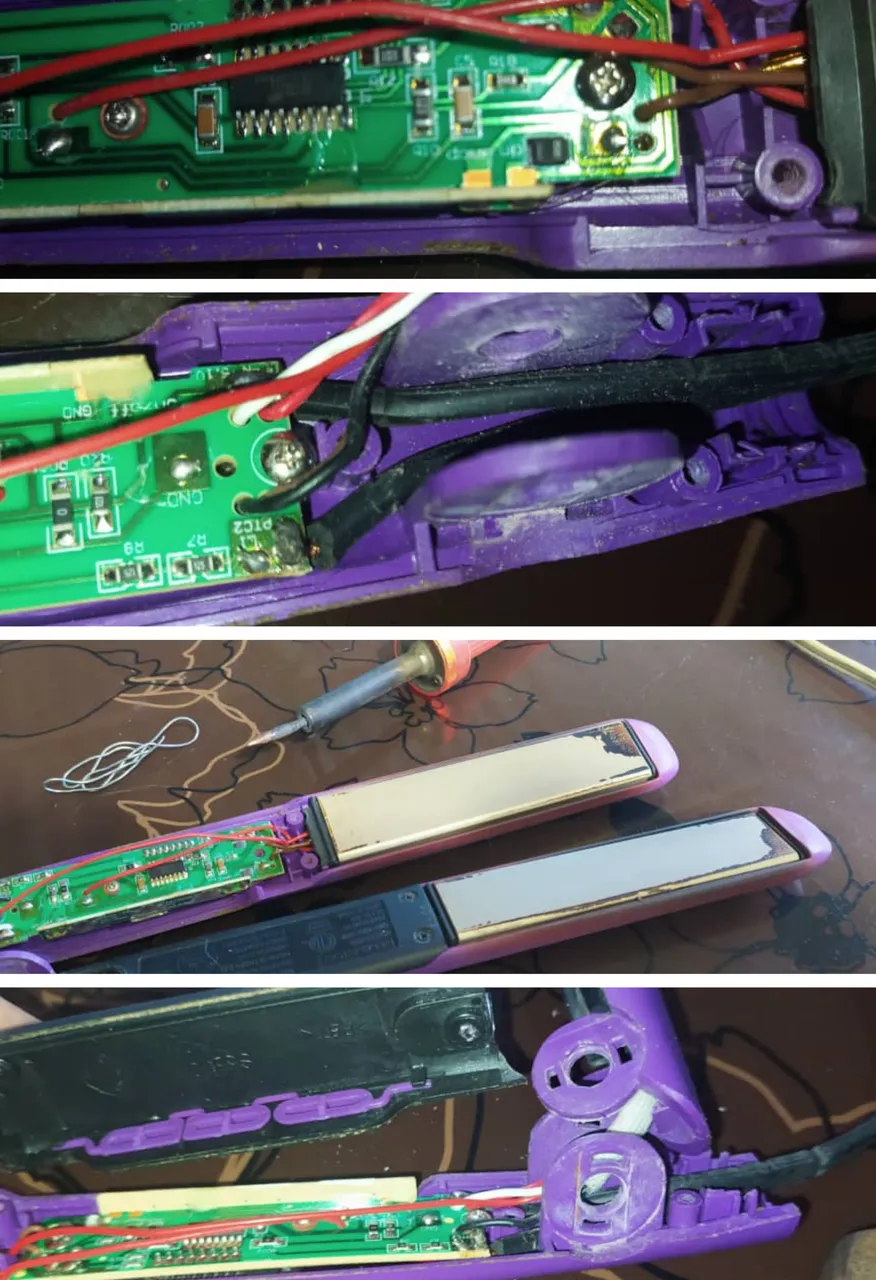
Les cuento que destapar un electrodoméstico con un cuchillo no es lo mejor pero bueno en algunos casos hay que resolver para solucionar.
Después de soldar los cables probé la plancha y que gusto fue que prendió muy bien, le moví el cable muchas veces y no se apago así que la armé para que la dueña la probara y me diera el visto bueno.
Espero que les guste y pues siempre estoy por acá con mis publicaciones dando siempre lo mejor para ustedes.
I tell you that uncovering an appliance with a knife is not the best thing to do but well in some cases you have to solve to solve. After soldering the wires I tested the iron and what a pleasure it was that it turned on very well, I moved the cable many times and it did not turn off so I put it together for the owner to test it and give me the go ahead. I hope you like it and I am always here with my publications always giving the best for you.