English
Hey, Hello and good Morning my lovely Community :)
Deutsch
Hey, Hallo und Guten Morgen liebe Community :)
So how did I get into this in the first place?
Almost 4 years ago I noticed that through the work-related, frequent hand washing my skin was getting drier. So I found out what the most important ingredients in soap are, which ones you can reduce it to and which ones are especially good for your skin. So I finally came up with the Melt and Pour Crystal soap base which actually consists of only 7 ingredients.(these are available in transparent and in white...both are the same from the processing) Since I discovered this base and made my first pieces myself, my skin is much better and today I want to give you the opportunity to take the subject into your own hands as well :)
(Picture gallery for the "step-for-step" follows at the end :D )
Also wie kam ich überhaupt dazu?
Vor knapp 4 Jahren stellte ich fest, dass durch das arbeitsbedingte, häufige Hände waschen meine Haut immer trockener wurde. Ich habe mich also Informiert was die wichtigsten Inhaltsstoffe in Seife sind, auf welche man es reduzieren kann und welche besonders gut für die Haut sind. So kam ich schließlich auf die Melt and Pour Crystal Seifen Basis die tatsächlich aus nur 7 Zutaten besteht. (diese gibt es in Transparent und in weiß...beide sind von der Verarbeitung gleeich) Seit ich diese Basis entdeckt und meine ersten Stücke selbst hergestellt habe, geht es meiner Haut wesentlich besser und heute möchte ich euch die Möglichkeit geben das Thema ebenfalls selbst in die Hand zu nehmen :)
(Bilderstrecke für die Schritt-für-Schritt anleitung folgt am Ende :D )
first to the most important...the ingredients and properties....
Soap base:
- Water
- glycerin
- propylene glycol
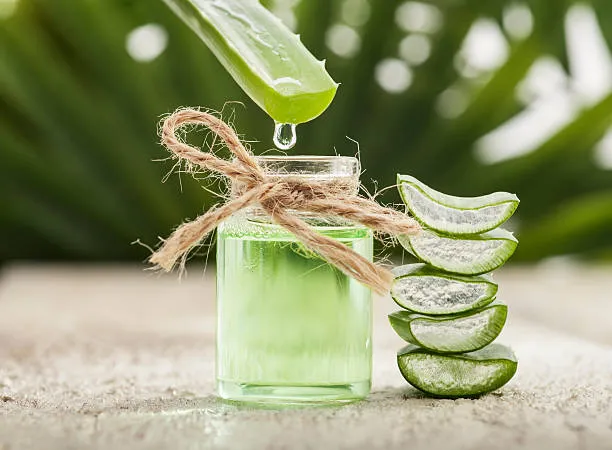
- the juice of the aloe vera leaf
- sodium stearate
- sodium laurate
- care additive polyquanternimum-7
Free from:
- Sodium lauryl sulfate (allergenic)
- surfactants
zuerst mal zum wichtigsten...die Inhaltsstoffe und Eigenschaften...
Seifenbasis:
- Wasser
- Glycerin
- Propylenglykol
- der Saft des Aloe-Vera Blatts
- Natriumstearat
- Natriumlaurat
- Pflegezusatz Polyquanternimum-7
Frei von:
- Natriumlaurylsulfat (allergieauslösend)
- Tensiden
Color, - and fragrance:
For the colorants, I chose plant-based, food coloring from Decor Rom, which is extra suitable for soap making,bath bombs, shampoo or the like. The ingredients here are sorbitol, water, glycerin, carboxymethylcellulose sodium and potassium sorbate.
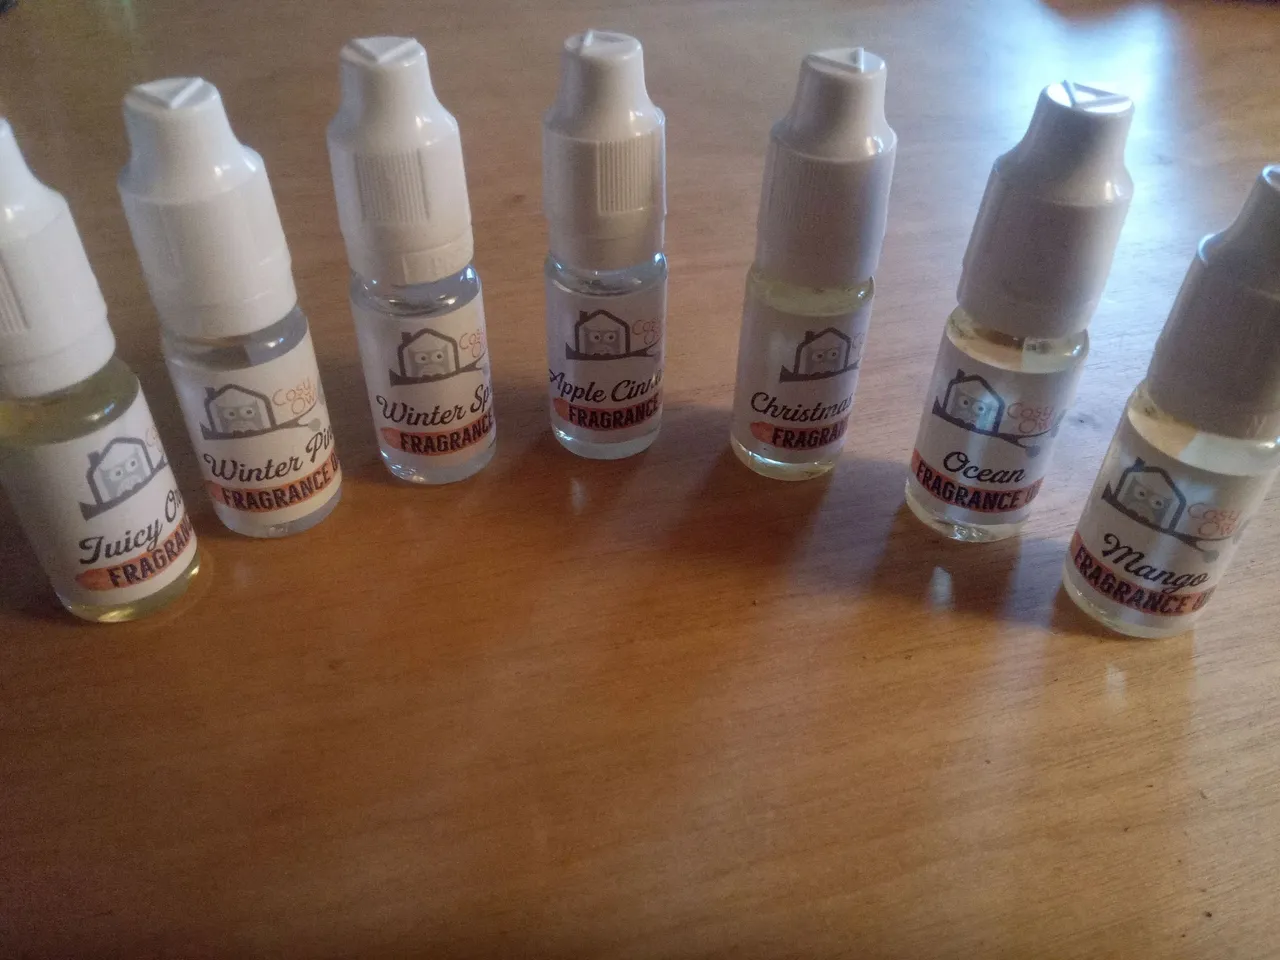
The scents are from the same brand and also suitable for consumption. So even the kids can help and if they lick their fingers, despite constant requests not to do so, there is no need to worry :)
Farb,- und Druftstoffe:
Bei den Farbstoffen habe ich mich für Pflanzenbasierte, Lebensmittelfarbe von Decor Rom entschieden, die extra für Seifenherstellung,Bade Bomben, Shampoo oder dergleichen geeignet ist. Die Inhaltsstoffe sind hier Sorbitol, Wasser, Glycerin, Carboxymethylcellulose sodium und Potassium Sorbat
Die Düfte sind von der selben Marke und ebenfalls zum Verzehr geeignet. So können selbst die Kinder mithelfen und wenn sie, trotz ständiger Aufforderung es nicht zu tun, die Finger ablecken, besteht kein Grund zur Sorge :)
Preparation:
- prepare water bath
- cut the soap base into 2-3cm cubes. (I needed about 600-700g of soap for one of the 6 molds) For this, it is best to use a sharp butter knife, which works best.
- heat the soap pieces slowly in the water bath (set stove between level 3-4) but make sure the soap never boils.
- once everything is melted into an even mass you can add the colors and scents as you like. With my fragrances and the described amount of about 700g I need about 10 drops, then the finished soaps smell nice and strong but not too intrusive. But you have to try that for yourself :)
- for the colors are again around the 3-4 drops for a very intense coloring.
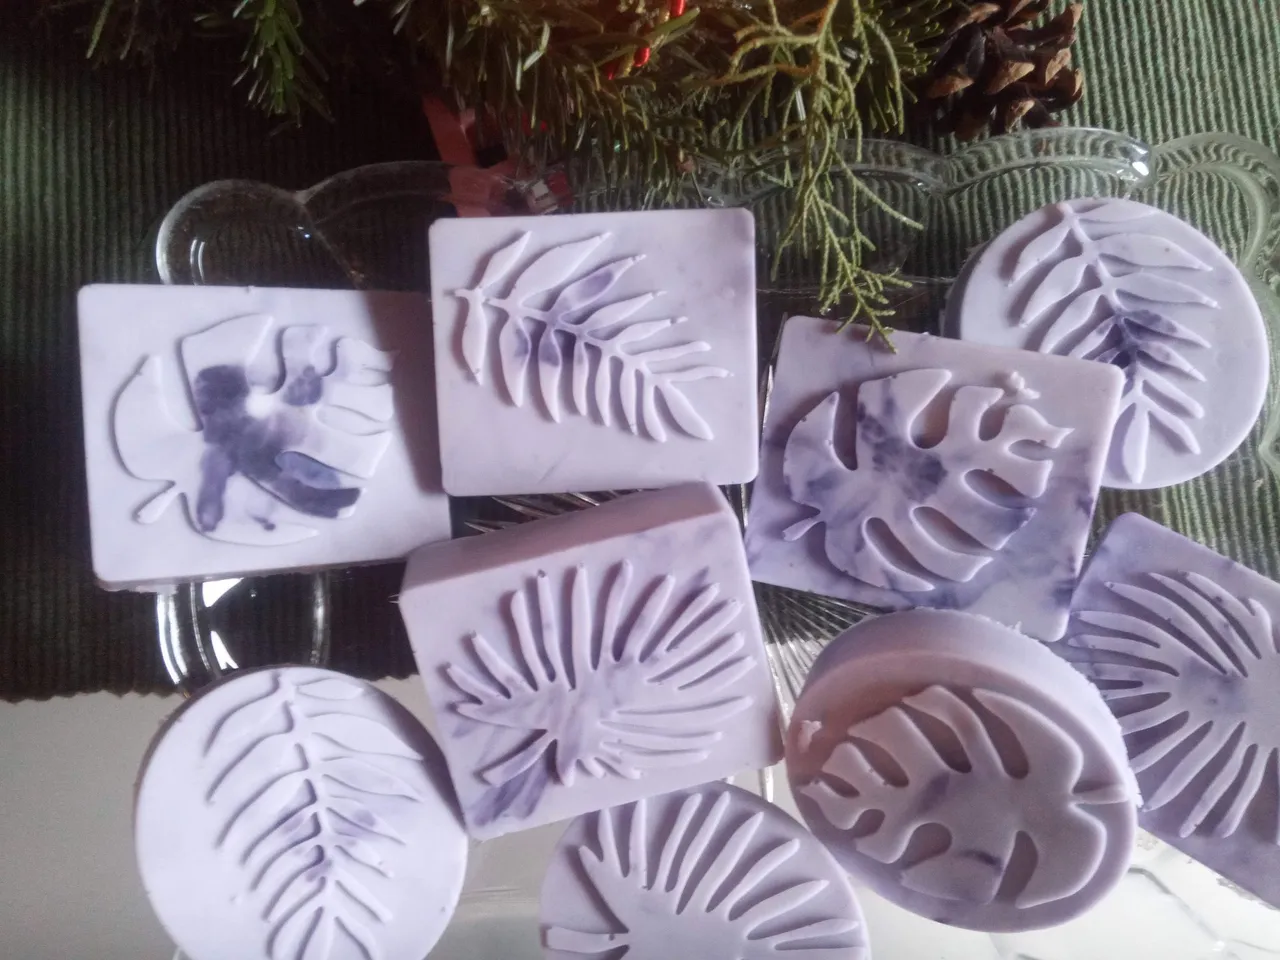
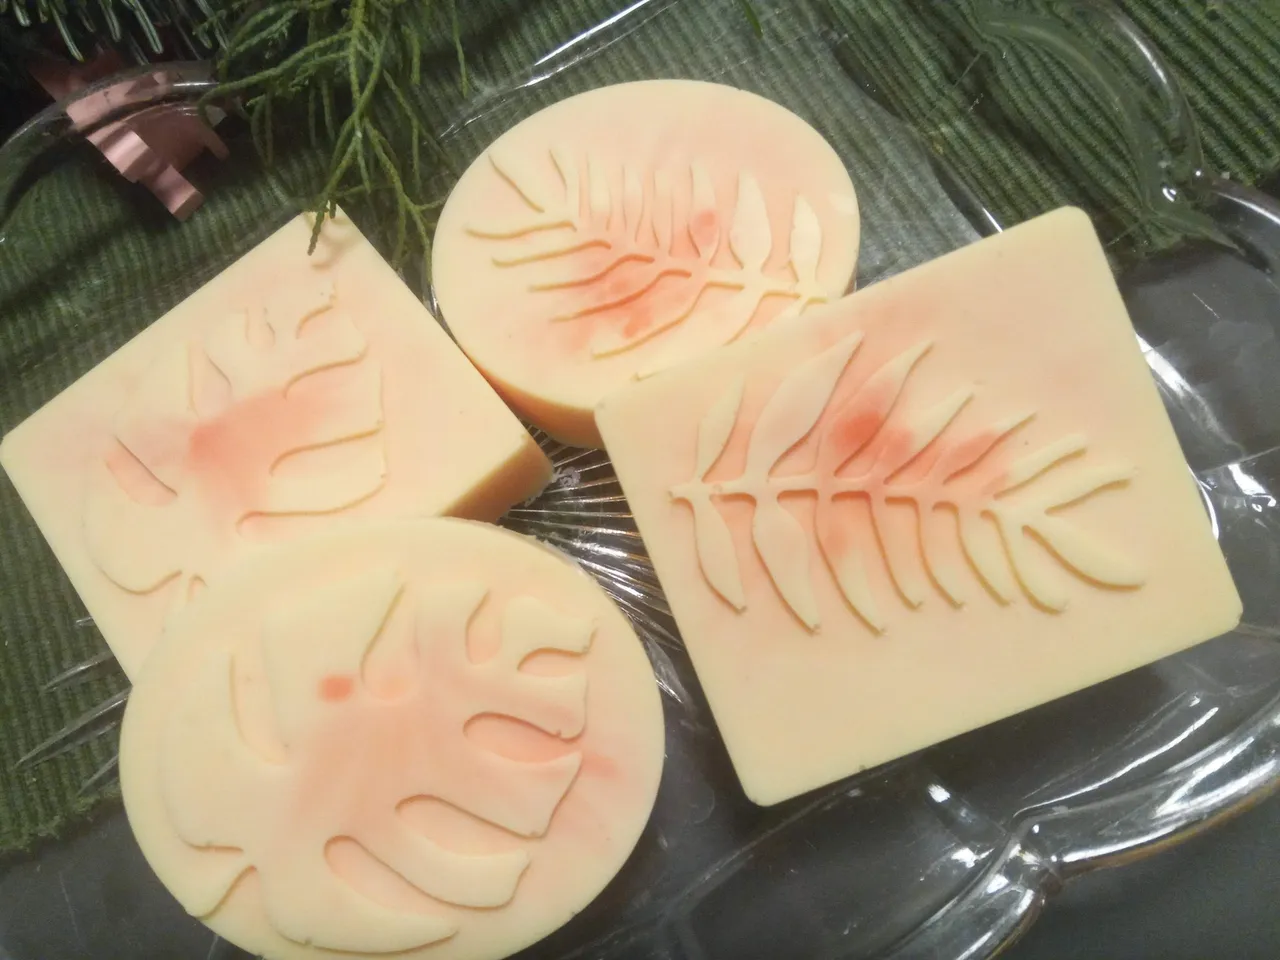
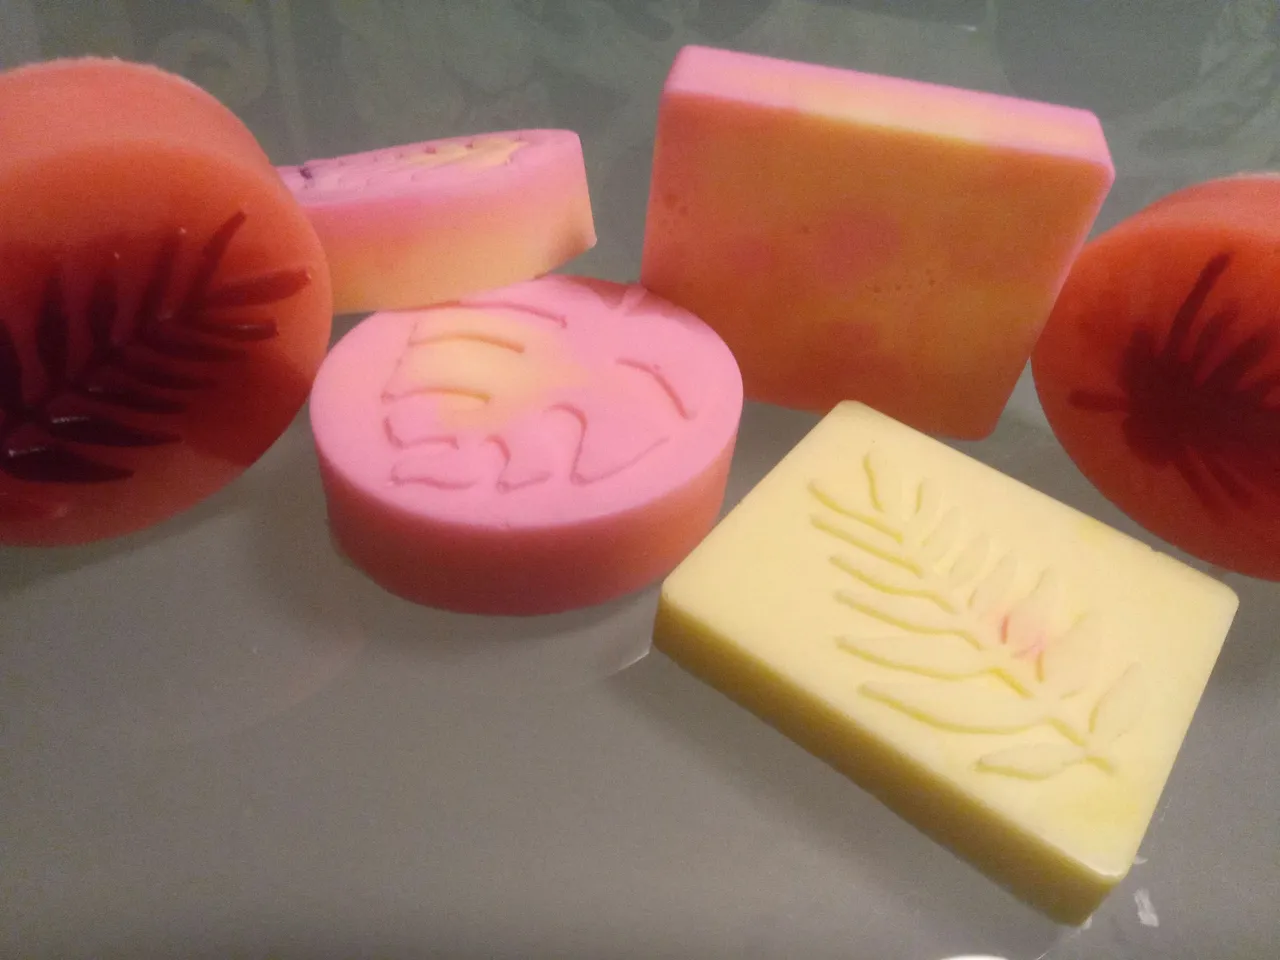
- for this cool mosaic effect you need to provide 2 colors as desired. The first one should be a bit lighter, so mix about 2-3 drops into the soap mass until everything is well mixed. Then drop the 2nd color wildly into it 1-2 times stir and immediately pour into the molds. The pattern is then formed by itself. Alternatively, you can also pour the colored mass into the molds and add a drop in each mold and distort with the help of a toothpick something.
- now just let cool and enjoy your homemade marvels :D
I hope you have fun making them. I look forward to your comments
Herstellung:
- Wasserbad vorbereiten
- Seifenbasis in ca. 2-3cm große Würfel schneiden. (ich habe für eine der 6-er Formen ca 600-700g Seife benötigt) Dafür nehmt ihr am besten ein scharfes Buttermesser, das funktioniert am besten
- Die Seifenstücke langsam in dem Wasserbad erhitzen (Herd zwischen Stufe 3-4 einstellen) aber darauf achten, dass die Seife nie kocht.
- Sobald alles zu einer gleichmäßigen Masse geschmolzen ist kann man die Farben und Düfte hinzugeben wie man sie möchte. Bei meinen Duftstoffen und der beschrieben Menge von ca 700g benötige ich um die 10 Tropfen, dann duften die fertigen Seifen schön stark aber nicht zu aufdringlich. Aber das müsst ihr für euch selbst ausprobieren :)
- bei den Farben reichen wiederum um die 3-4 Tropfen für eine sehr Intensive Färbung.
- Für diesen coolen Mosaik -effekt müsst ihr 2 Farben nach Wunsch bereitstellen. Die erste sollte etwas heller werden, also mischt ihr ca 2-3 Tropfen unter die Seifenmasse bis alles gut vermengt ist. Danach die 2. Farbe wild hineintropfen 1-2 mal umrühren und sofort in die formen gießen. Das Muster bildet sich dann von alleine. Alternativ könnt ihr auch est die gefärbte Masse in die Formen gießen und in jede Form einen Tropfen hinzugeben und mithilfe eines Zahnstochers etwas verziehen.
- Jetzt einfach abkühlen lassen und eure selbst gemachten Wunderwerke genießen :D
ich hoffe dieser Beitrag hat euch gefallen :) ic bin gespannt aufg eure Kommentare und Ergenisse
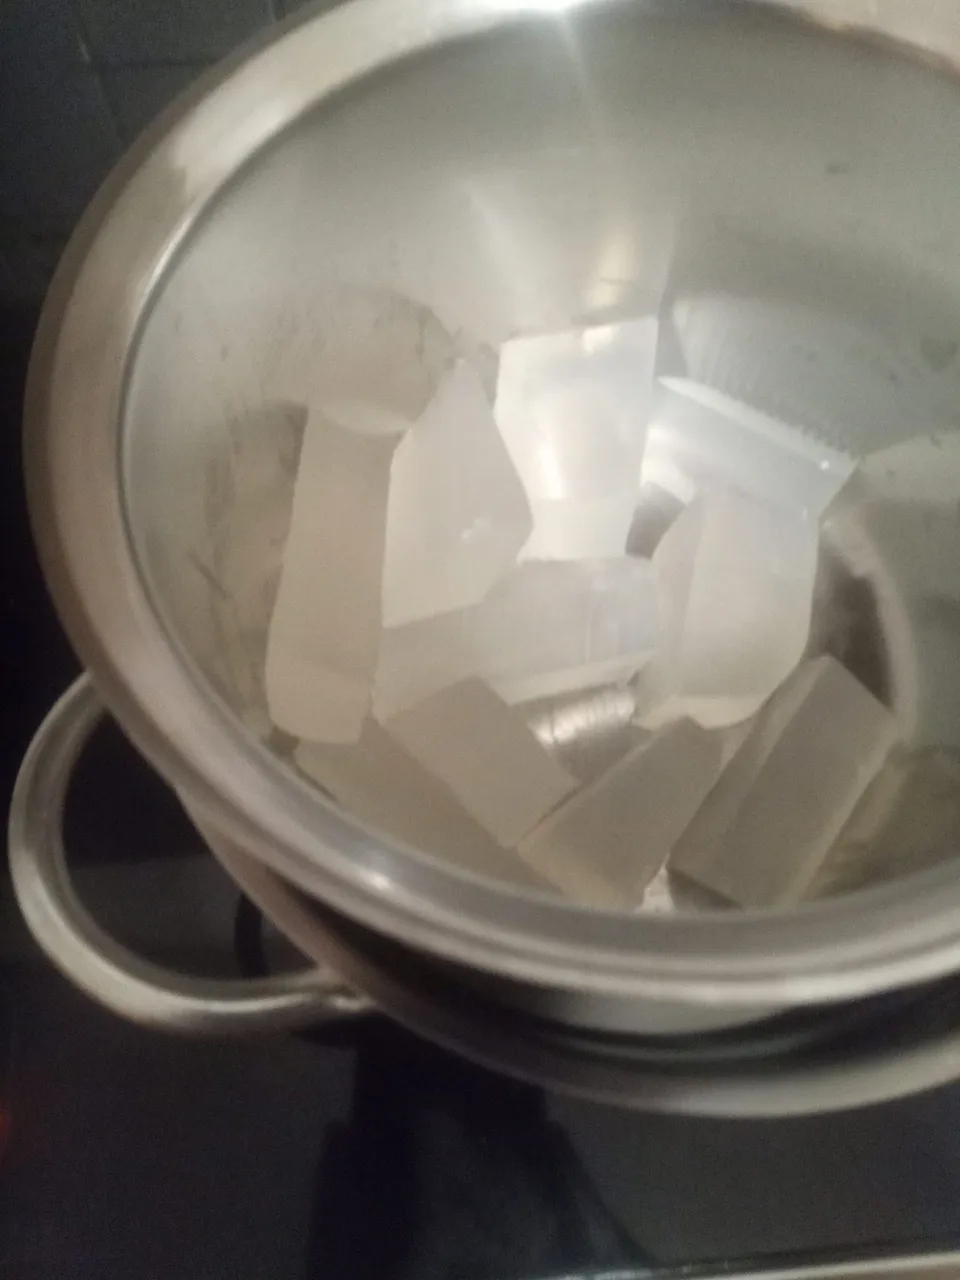
melting the soap

preparing the water-bath
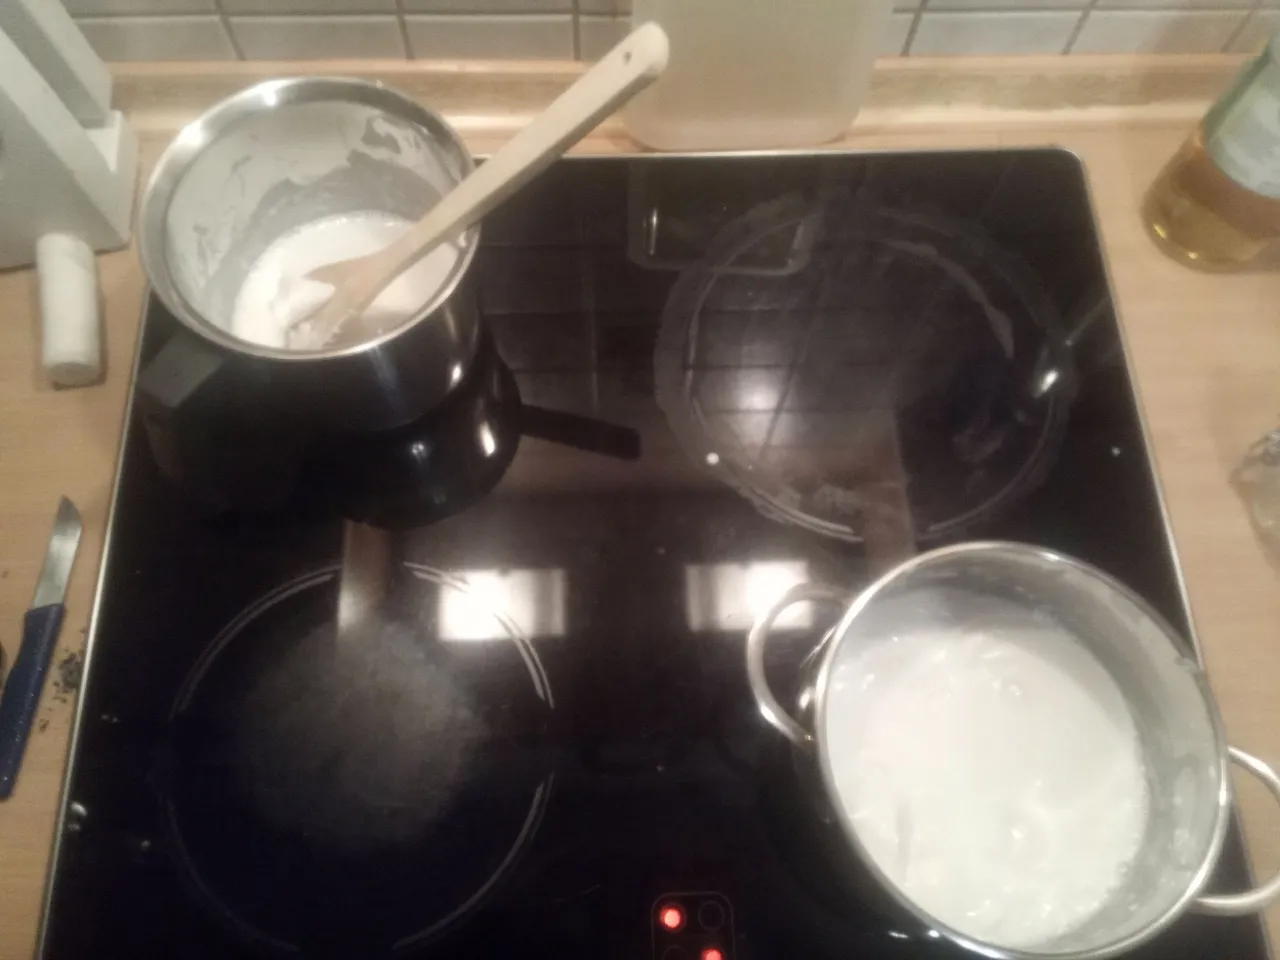
stiring with a wooden spoon
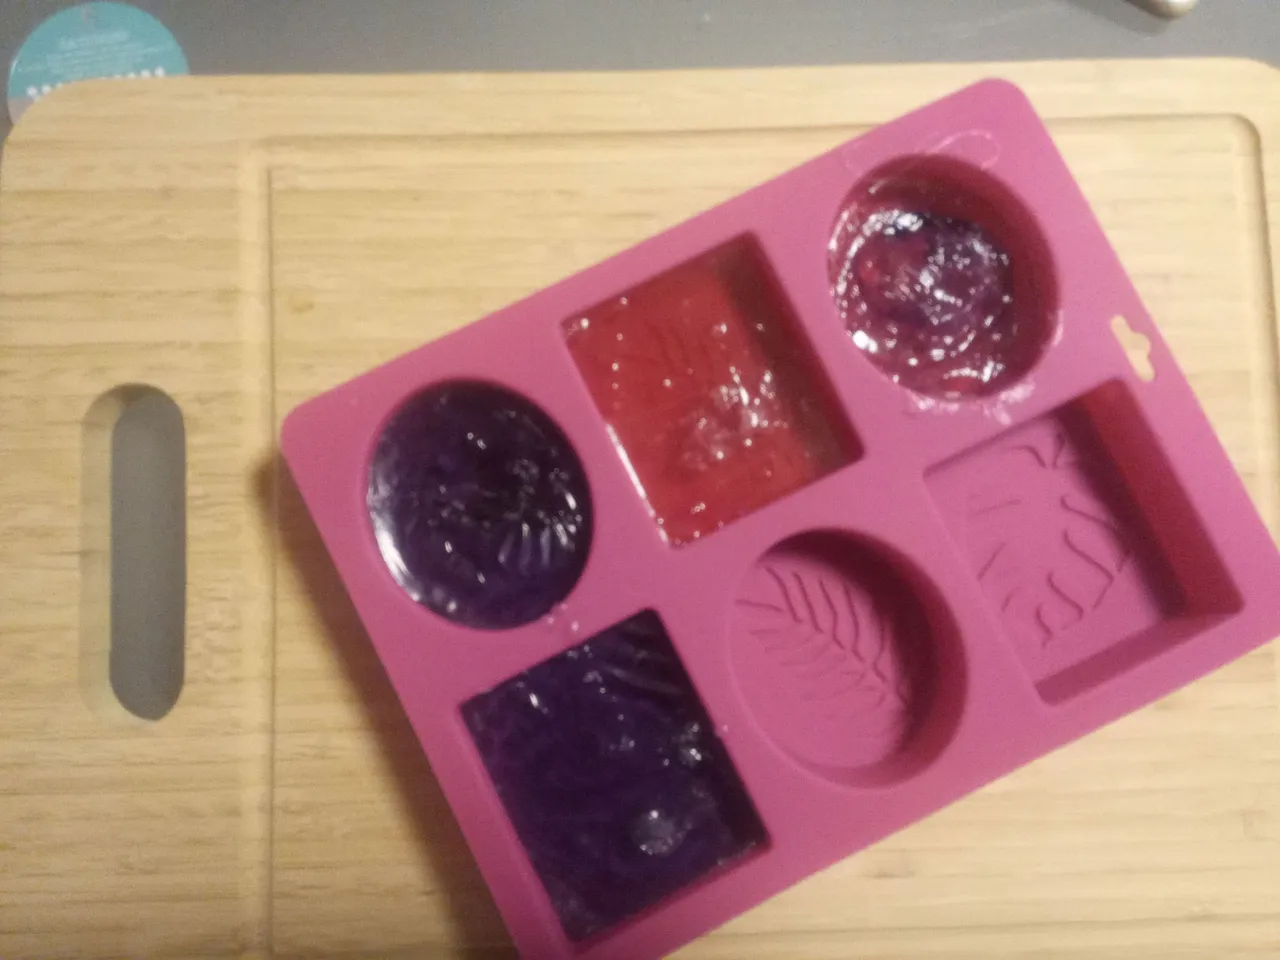
pouring in the forms
now you are ready to do it by your own. wish you luck