Not that I would pretend to know how birthing is, but come on... we don't expect a new project to be so hard when the mind is so electric thinking about it, planning, imagining our goal. Often, we naturally have the tendency to be over-positive, starting something we are all excited about. And that's better like this.. because we'll need it!!
My project was to build a 6,5m wooden Geodesic Dome. As I already explained in my introducemyself, I've never really build something before, so that meant a lot to me. I wasn't sure I would be capable to do it, even with the best motivation.
Why to create your own living space??
Because I believe that is the first most significant action a living beging can do for itself... the beginning of an independent existence... It means you do the first big choice to start supporting yourself (you don't hope or expect others to fulfill your needs: can be parents, partners, state!). You "take yourself by the hand" as you could take your child, and start creating a home, whatever "home" means for you. Also, to me it was important to create a space that flows and respond well to my needs : at the same time in a practical way, and aesthetical way. It is no logic at all in living in a concrete box wih perfect 90º angles everywhere! No, I prefer far more a smooth and warm space, connected to the surrounding nature, to remember everyday that I'm alive!!!!
Like this I have given birth to :
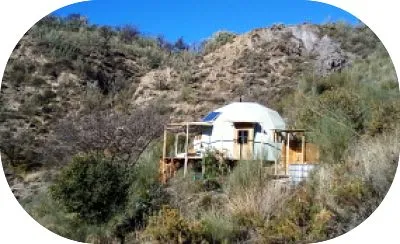

...And here is how it happened...
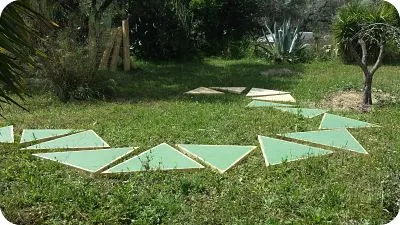
So based on the calculations, I ordered the wood (OSB boards and lots of struts) and prepared my space to measure and cut it all. The idea is to make individual triangles ready to put together the day you'll build the dome. Here we go!
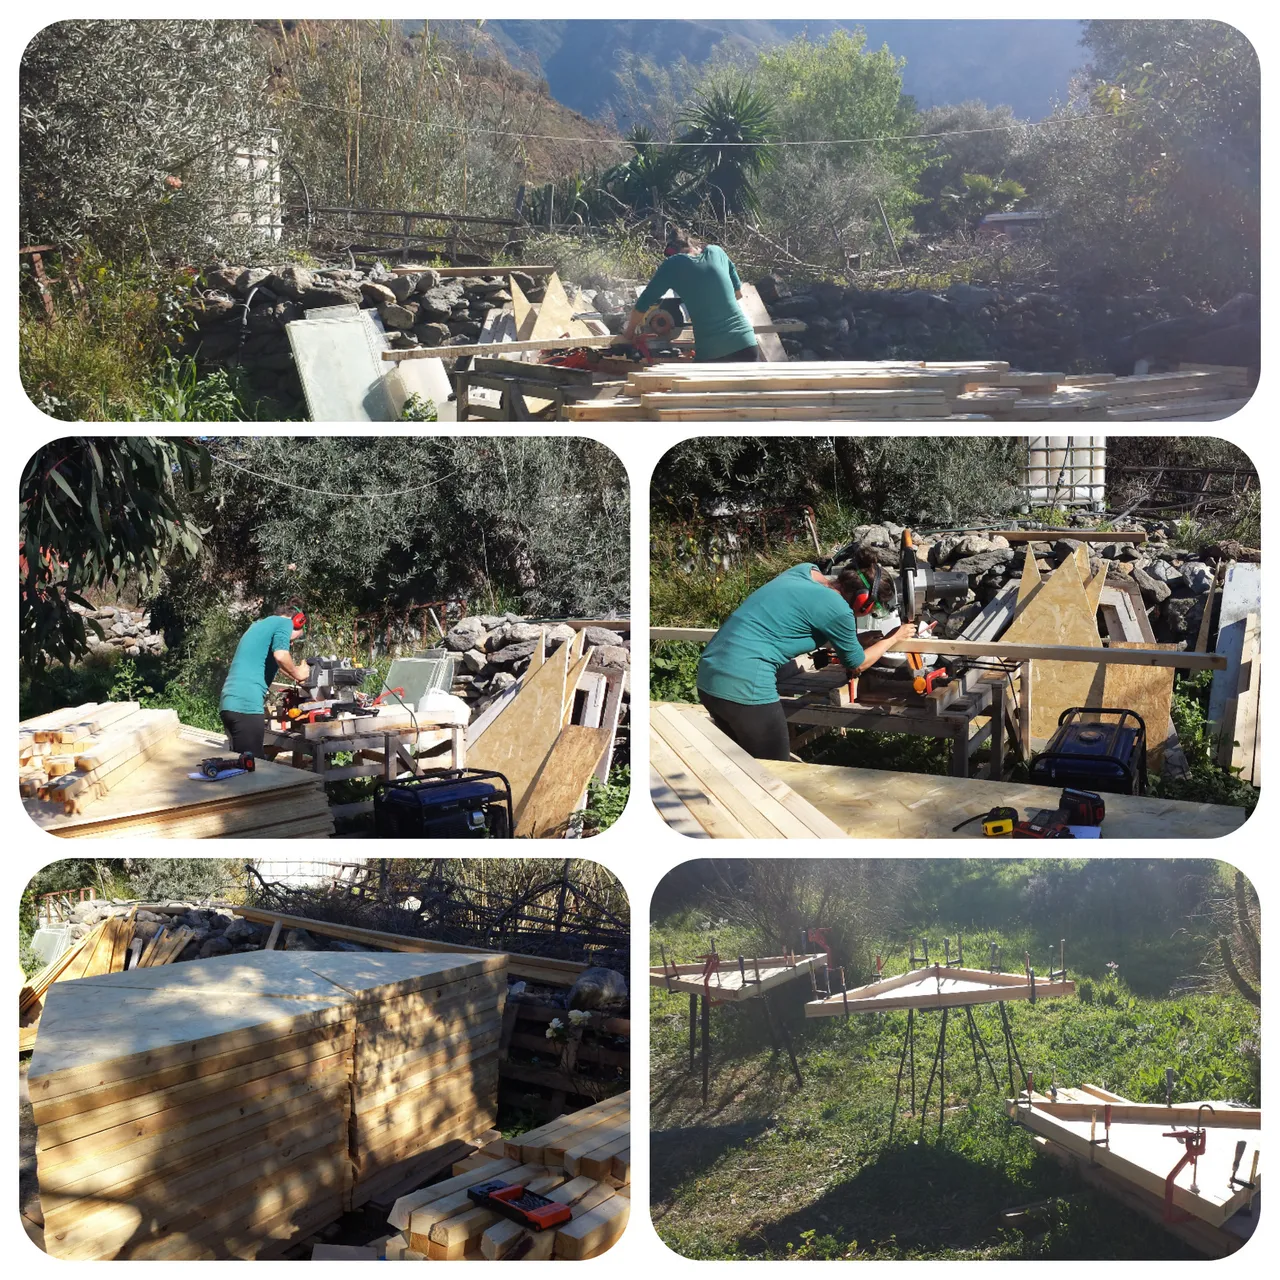
Thanks to some friends I had all the tools needed and didn't have to invest in expensive machines as the miter saw and the table saw. I just had to invent a table around the table saw.. for that, I used off-cuts : lots of funny shaped pieces roughly joined together to be strong enough to work few weeks..

Once my triangles cutted and the struts glued to them, it was time to set the angle on the table saw to cut each triangle's side.

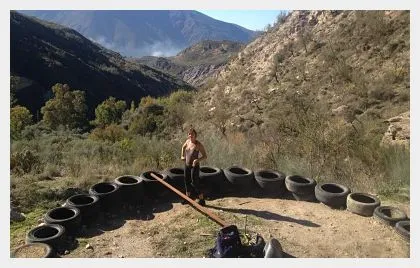
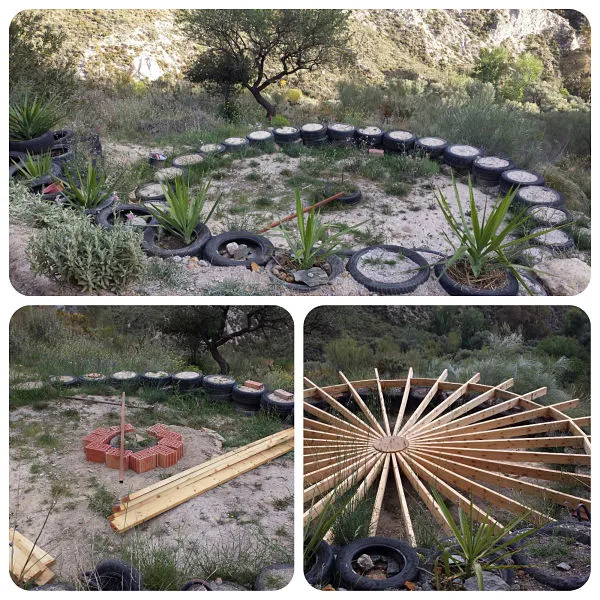
Now, let's go on site and prepare the base of the Dome. As the access to the land is very difficult, it was very important for me to choose the simplest (and cheapest) solution possible. This type of building has no need for hard concrete foundations. The Dome can simply sit on a hard soil base, blocks, bricks, stones.. This type of building is the best to face earthquakes, extreme winds... A round, flexible enough structure can adapt very well to tough conditions.
I promessed myself all would be done before... Yeah right!! Luckily, a friend gave me a gazebo!
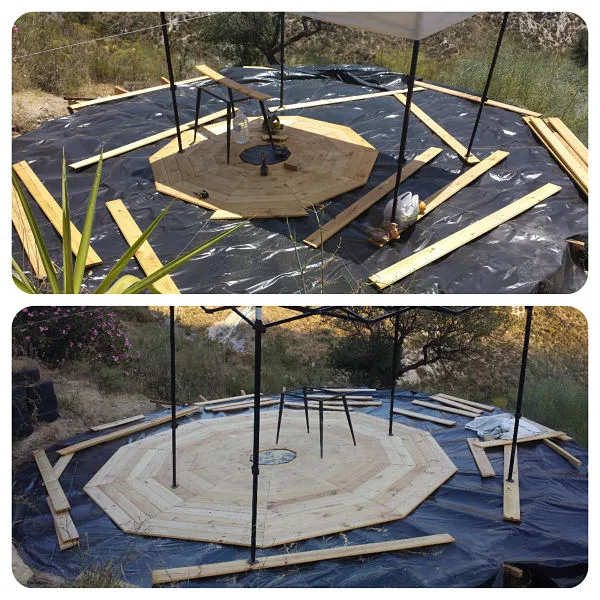
Finally, I was going to know if the cupola would work or not!

I'll let you know soon what happened later... the panic wasn't finished yet...