Hello, steemians, and welcome to the garden, eh!
Today got a lot more complicated than it started out to be. I wanted to clean up one of my raised beds so that I could get the carrots planted. All I needed to do was to clean up all the straw that I put on the bed last year when I was trying to protect the carrots from freezing, and straighten out the dirt, and then plant the carrots. That's not how it worked out.
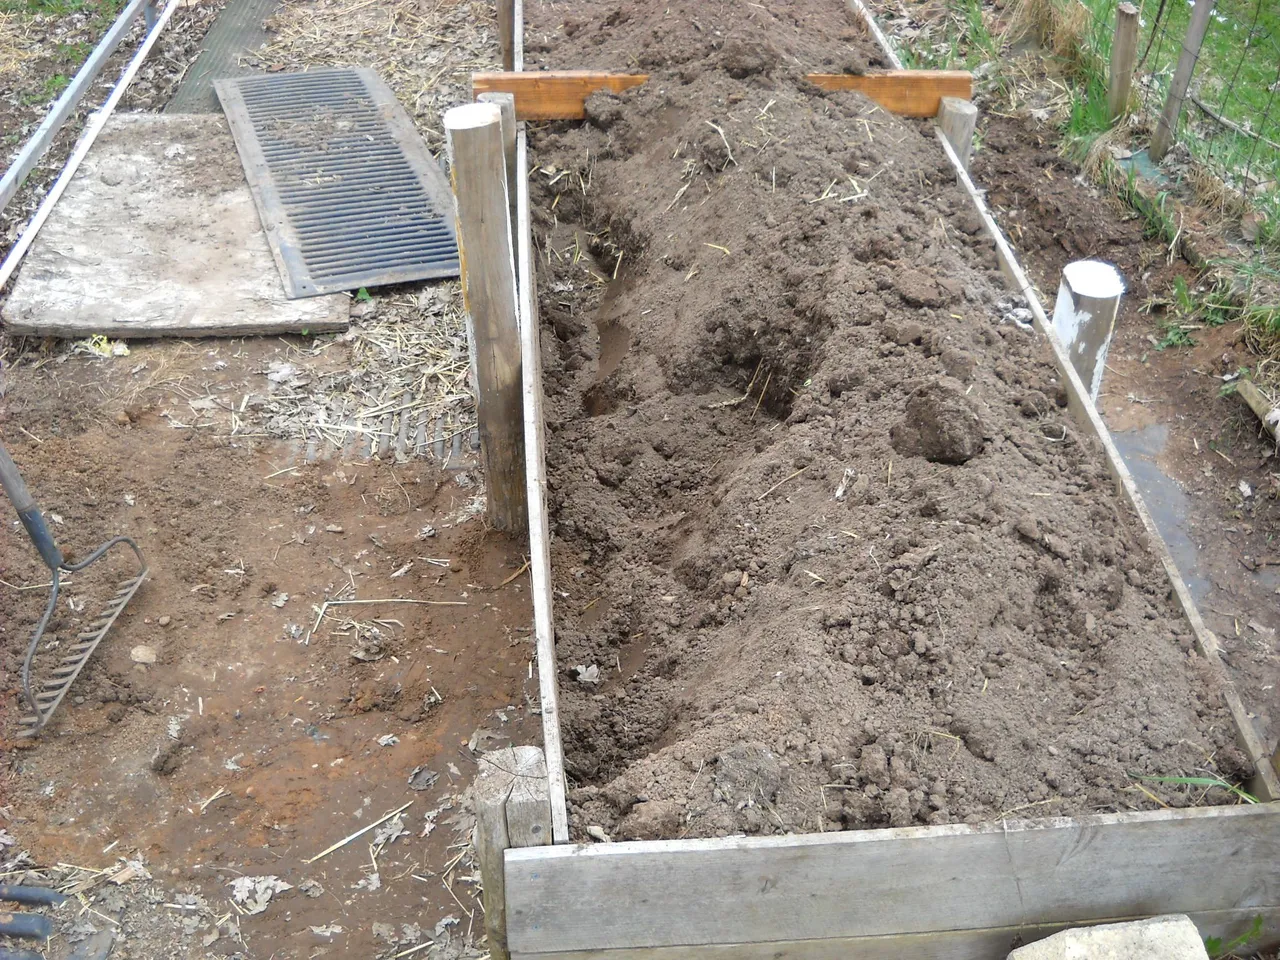
Here's the raised bed before I started. The blue tote was for putting the straw into to save it for mulch.
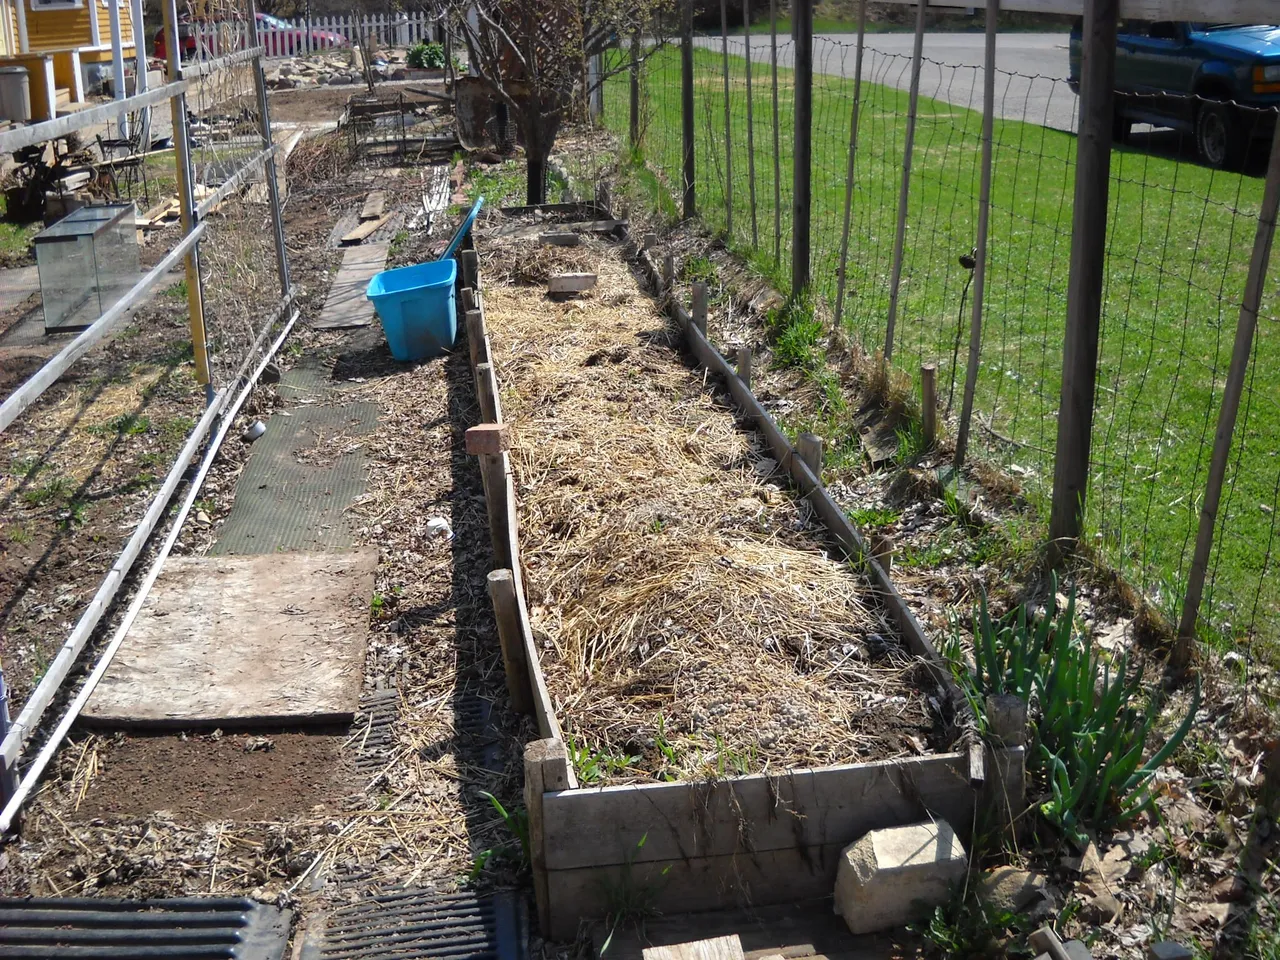
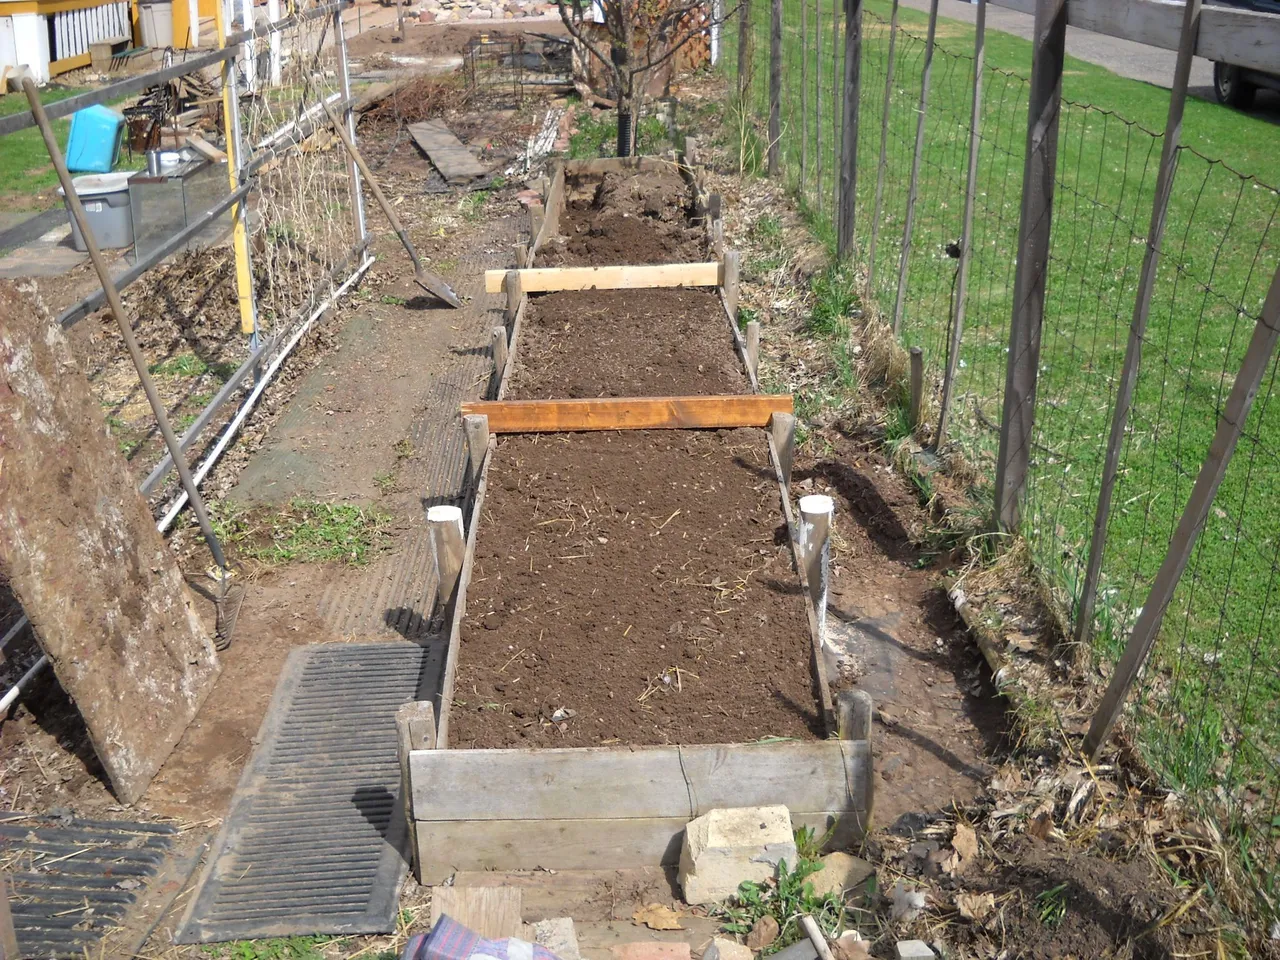
After I cleaned up the straw, it became obvious that the raised bed needed some work. It' is all bowed out from the weight of the dirt on the boards. I figured I would just brace the walls of the bed by tieing them together with a couple of 2 X 4s across the bed and screwed into the posts, so I did that. At the same time as this was going on, I was also removing some of the dirt from the end of the bed that's under the plum tree. That part of the bed gets shaded out and doesn't produce much of anything, and I had already decided that I was going to take out that end of the bed and shorten it, so I had started on that also.
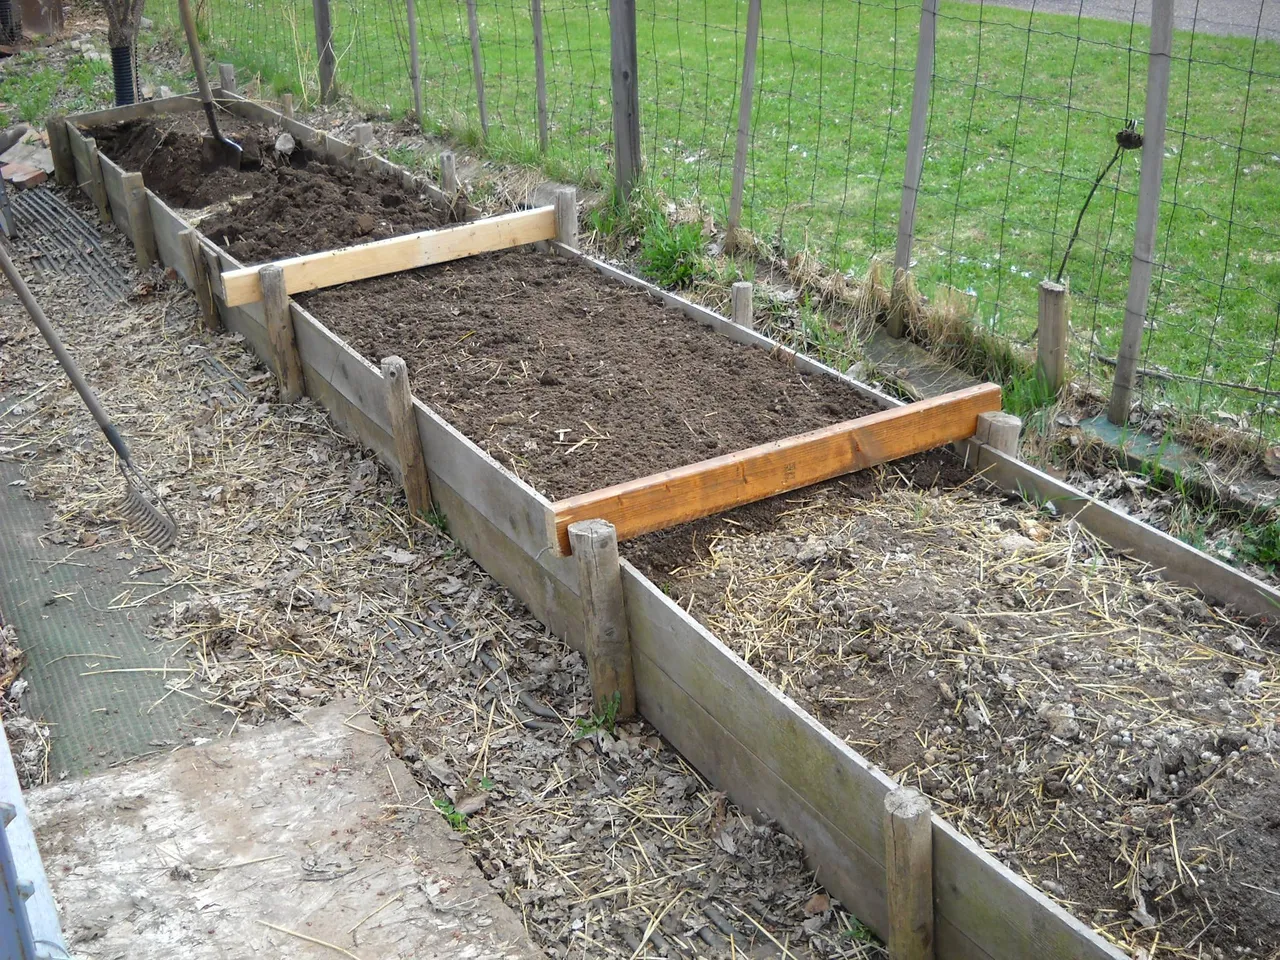
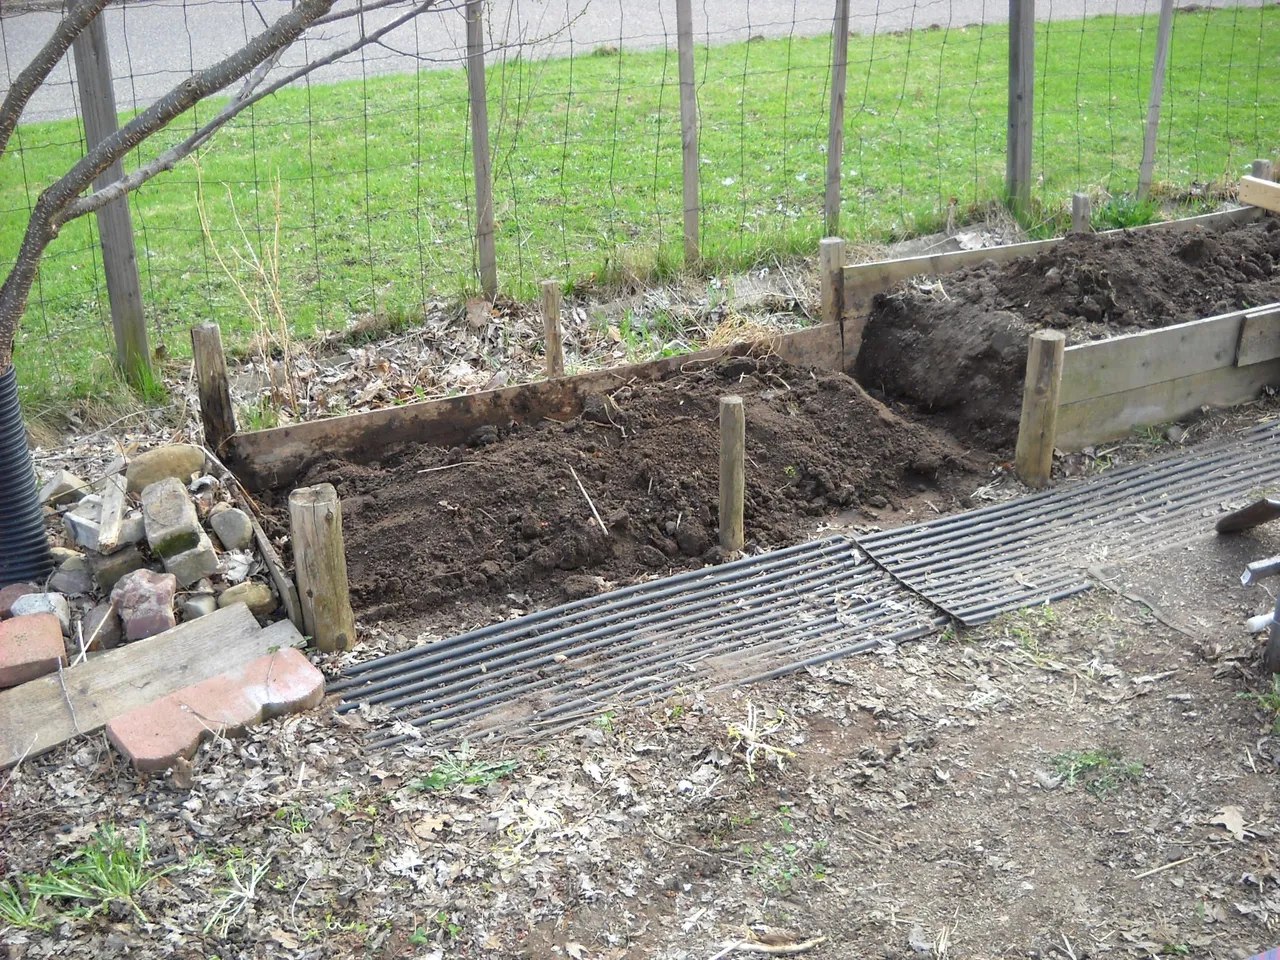
I had started by shovelling the dirt away from the boards that I was going to remove so that I could unscrew the boards from the posts and remove them. Each section is about 6 feet long because that was the length of the boards that I used to build the raised bed. I hauled a couple of wheelbarrow loads of the dirt to the other garden bed that I'm working on because it needs more dirt.
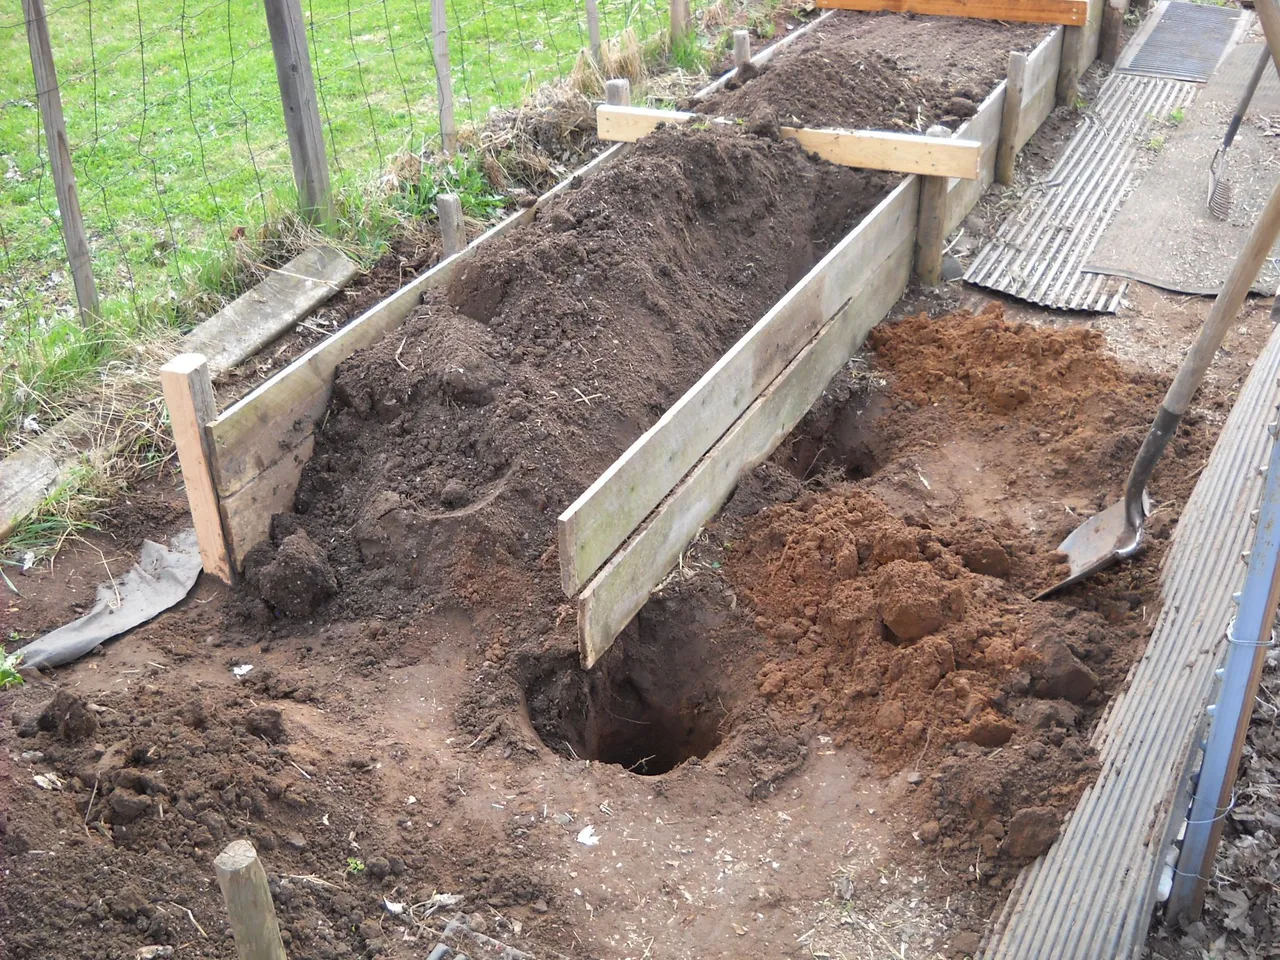
Meanwhile, I realized that the 2 middle posts on the last section of the raised bed were basically rotted away at the ground level, so I figured that I should replace them. I had to dig out the old posts, and then put in the replacement posts. I used a landscape timber that I had for those posts. I put the landscape timber in on one side, and then after it was set, I cut it off and used the other end for the other post.
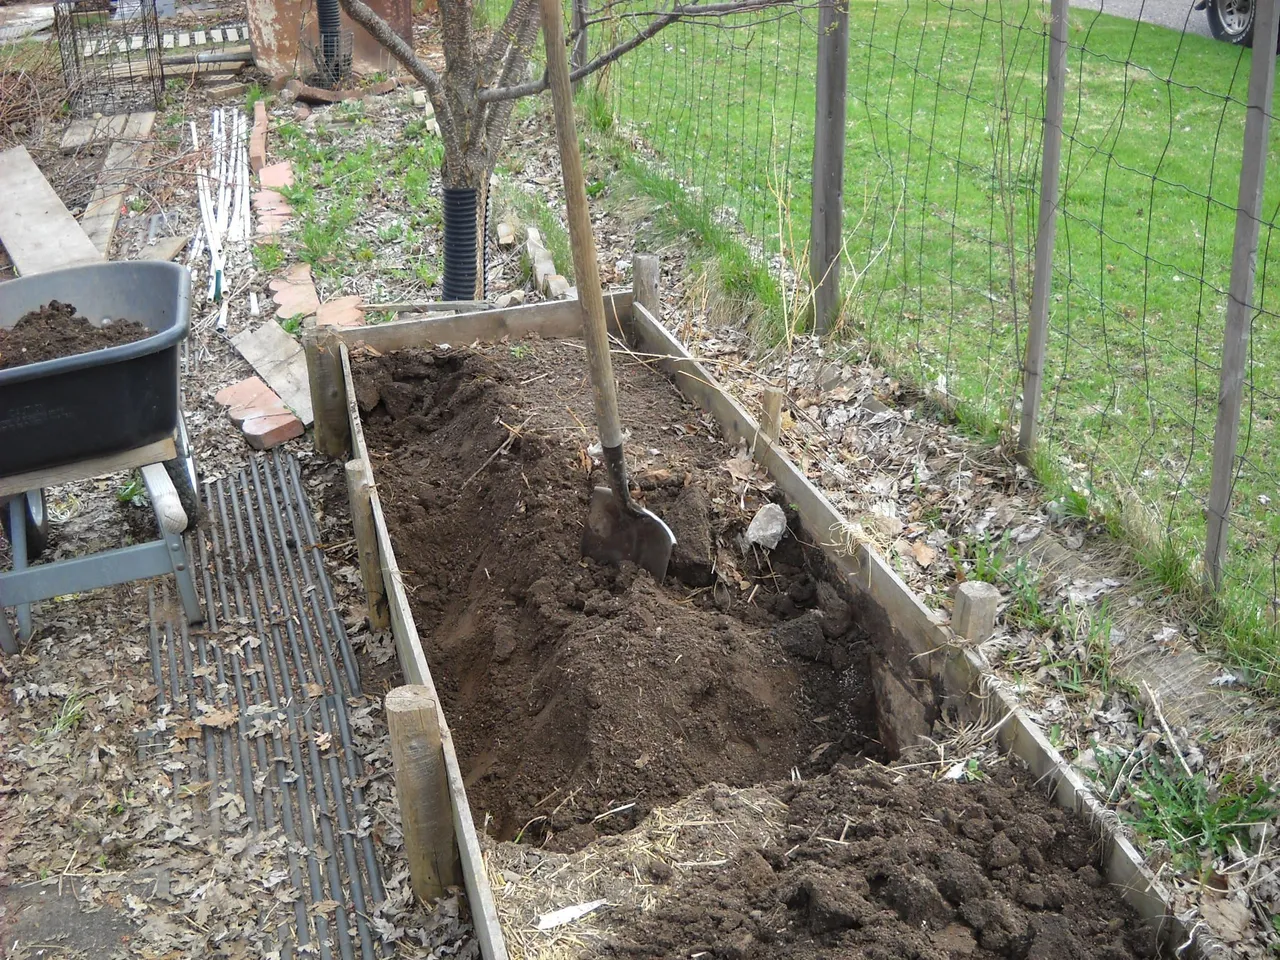
Then I got the dirt all loosened up and raked out, and that end was finished.
Then it was back to the end of the bed under the plum tree. I dug the dirt away from the one side that I wanted to pull the boards from and then removed the boards. Then I started on the other side.
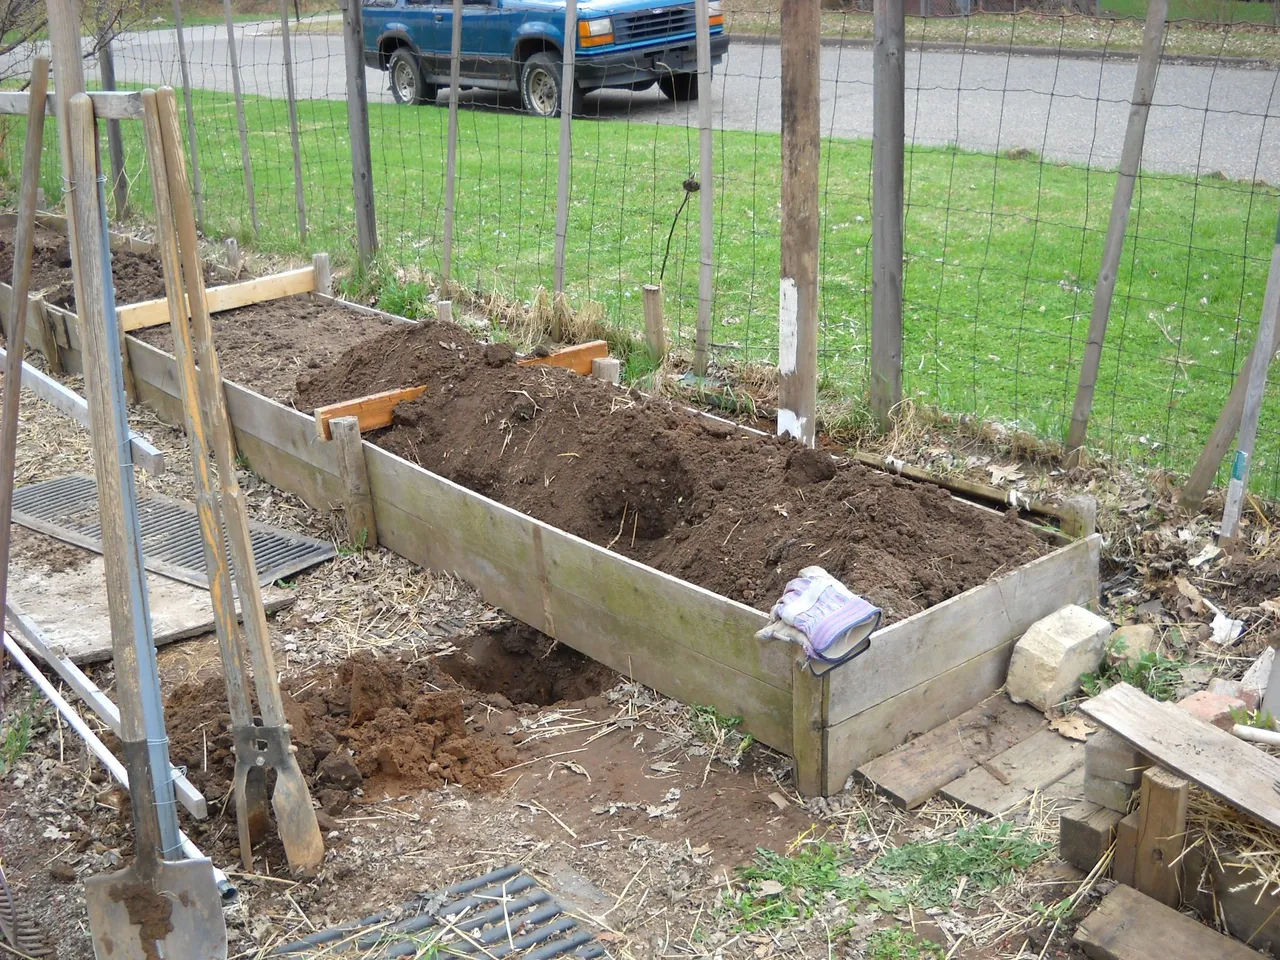
I had to pull out that last long board in order to build a new end for the bed. And, of course, there was a fair amount of rot on the posts that would be the new end posts, so I figured that as long as I had it this far apart, I might as well replace those posts also and save myself some trouble later. I did the one close to the fence first.
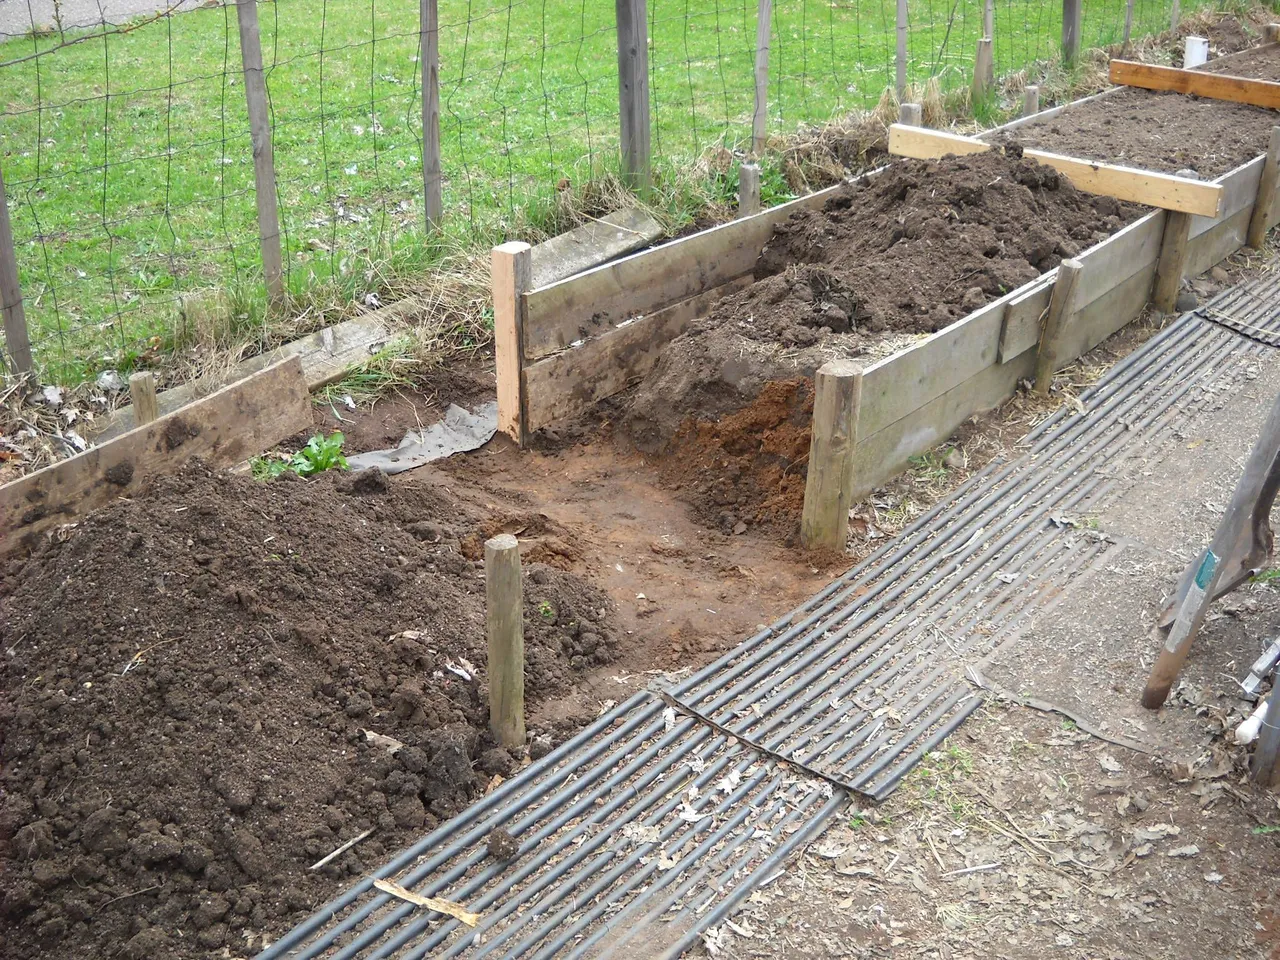
When I was getting ready to replace the other corner post I decided that I should also replace the center post on this section, it was just a skinny post that I figured was probably rotted off at the ground, so I dug that one out also.
I used more sections of landscape timbers for those posts.
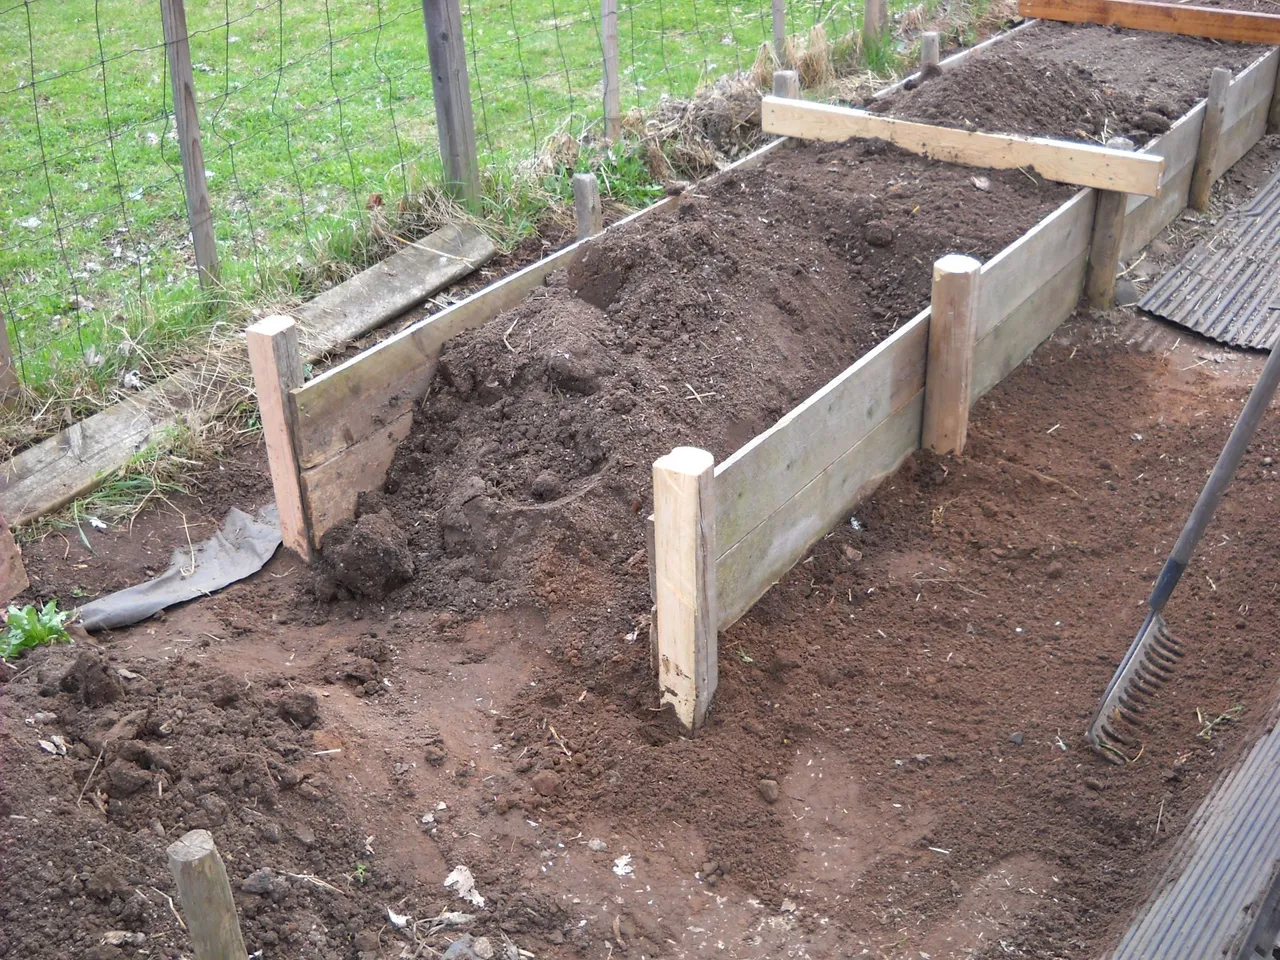
All that was left to do was to finish the end of the raised bed and fill it back up.

Now I just have to hope I can get out of bed in the morning, this old back got way overworked today. One of these days I'm going to learn to quit before I mess up my back, not after. Hopefully that's the last big job I have to do for the garden this year.
Well, that's all I have for this post. I hope you found it interesting.

Thanks for stopping by my page and checking out my post, eh!
As always, feel free to leave a comment or a question if you would like.
May the Steem Force be with you!