
One of the many talents I poured countless hours into cultivating at a young age which has not profited me at all as an adult was level editing. It did prove to be a good way for a kid with ADHD to learn to focus on one task for long durations, though.
I originally became interested in the BUILD engine after an OMSI virtual reality Summer camp in the 1990s. We were making levels in the Quake engine for an eventual VR exhibit in OMSI, utilizing Forte VFX-1 HMDs which I've written about before.
QED, the Quake editor we used, both fascinated and irritated me. It fascinated me because of the total freedom to create any environment I liked, then to inhabit it to some extent using the primitive VR headset. What an incredibly liberating toolset to give a teenager.
But the Quake engine was...austere, to say the least. While graphically impressive for the time, there was extremely little you could actually do with it. No transparent glass or water, no breakable walls, no drivable vehicles (or even trains). No rotating shapes, no deforming geometry (as it was BSP based) and basically nothing but the bare minimum needed to make a functional key hunt style level.
BUILD caught my eye because it was the basis for about a dozen different games. So learning to edit levels for one game meant you then knew 99% of how to edit levels for all the other games too. A pretty good value proposition where time devoted to learning the engine vs. benefit you got out of it was concerned.
BUILD was also jam packed with features. Scripted explosions, trains, deforming level geometry in real time, water with moving waves, rotating sectors, stretching sectors, expanding or contracting sectors, breakable glass, explodable walls, force fields and just a whole damn lot of other toys to play with.
It offered so many more possibilities for making interesting levels. Every Quake level had to basically be the same, gameplay wise. BUILD engine levels could take nearly any form. I've played some that simulated a racing game. Some where you demolish whole castles. Some entirely underwater in an enormous, fully explorable ocean with underwater bases. All impossible in the Quake engine.
The comparatively primitive graphics seemed like a small price to pay in exchange for all that. The primary limitation, being unable to make 3D level geometry (like buildings with many stacked floors) were easily overcome using various tricks like making floors out of flattened sprites, or stacking sectors in such a way where the upper floor is not visible from the lower and vice versa.
This ability to have two rooms occupying the same space without issue so long as one is not visible from the other made many impossible scenarios possible. Like a circular room that is many more than 360 degrees, where you keep going around and keep encountering new stuff.
Or portals you smoothly walk through which have nothing behind them, yet lead to some other place entirely (though they cannot be see-through). Clever fuckery with the engine also made possible unofficial "features" like transparent water, custom carryable items and more.
For those who like to tinker, to push the limits and achieve the supposedly impossible, BUILD was a dream come true. John Carmack once described its code as "held together with rubber bands and glue", but then that's why it's so flexible. There's all kinds of stuff you can force it to do that would crash the Doom or Quake engine.
So I thought it would be fun to show you guys what exactly goes into making a level for a BUILD engine game. I've chosen Duke Nukem 3D, the most popular of the lot, and will document the level crafting process step by step with images so you can follow along.
To demonstrate how the BUILD engine can be used to create damn near any kind of gameplay experience you can imagine, I won't be building a typical "kill monsters, find keys" level. Instead I'll attempt to recreate a "metroidvania" type of experience.
This should be possible due to the many inventory items in the game and the various abilities they temporarily confer to the player. The scuba tank lets you breathe underwater, the night vision goggles allow you to see in the dark, the steroids make you run faster, the jetpack lets you fly, the hazard boots let you walk through lava or acid, and so on.
By crafting the level in such a way that you can see (but not reach) various areas without first obtaining the necessary item, I can create the same open world feeling of a metroidvania which is nevertheless essentially linear since you need to get the items in a specific order (sequence breaking notwithstanding).
First, I'll grab eDuke32 for 64 bit Windows. It includes Mapster32, a modern source port of the BUILD level editor. Then, I'll take the duke3d.grp file from a normal installation of the game and put it in the eDuke32 folder.
That's everything necessary to get both eDuke32 and Mapster32 up and running. If you want to beautify the game you can download the High Resolution Pack which adds HD textures, skyboxes and 3d models for items, weapons and enemies.
On that same page you can also find remastered music, which imo adds alot to the experience over the original MIDI music. Anyways, once everything is set up and working the way you want (which is likely to take a bit of mucking about in the ingame menu and reading online tutorials), it's time to open Mapster32.
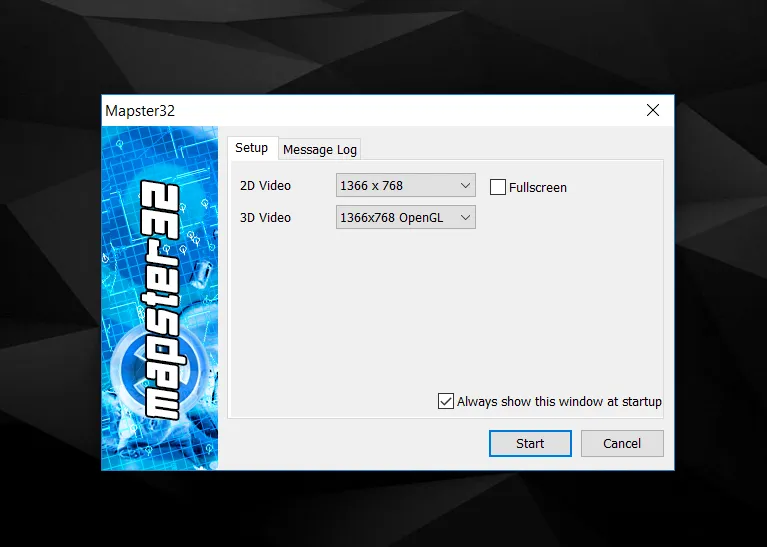
Here's where you set the resolution both for the main editing window, and the realtime 3D preview window. One of the best features of BUILD is a realtime 3D preview mode that lets you walk around the level and do some editing tasks in that mode, though most editing is done in the grid view, which you'll see below:
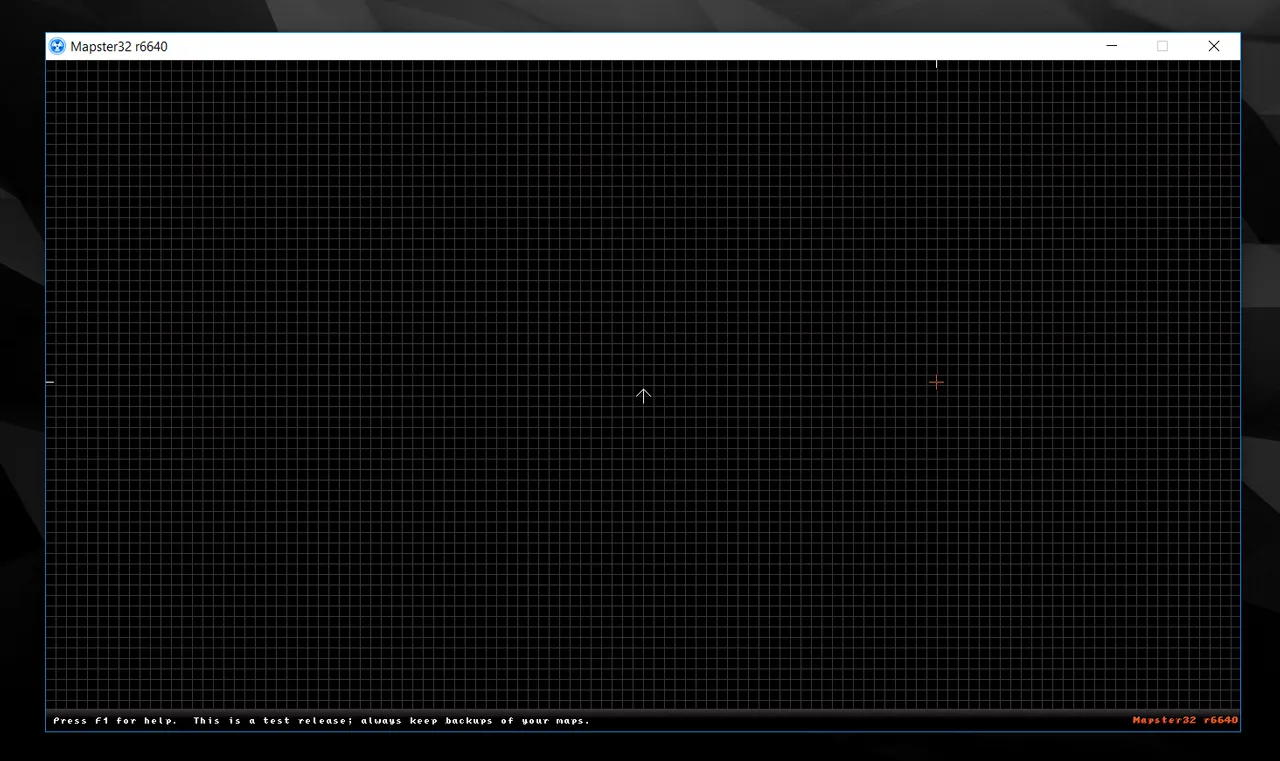
Boy, that grid is a little dense, isn't it? That's easily fixed though. Just press G a few times until you have the grid size that suits your needs at the moment. This makes it easy to place vertexes for either large scale or small scale features. We'll use a large grid right now to make a basic rectangular room.
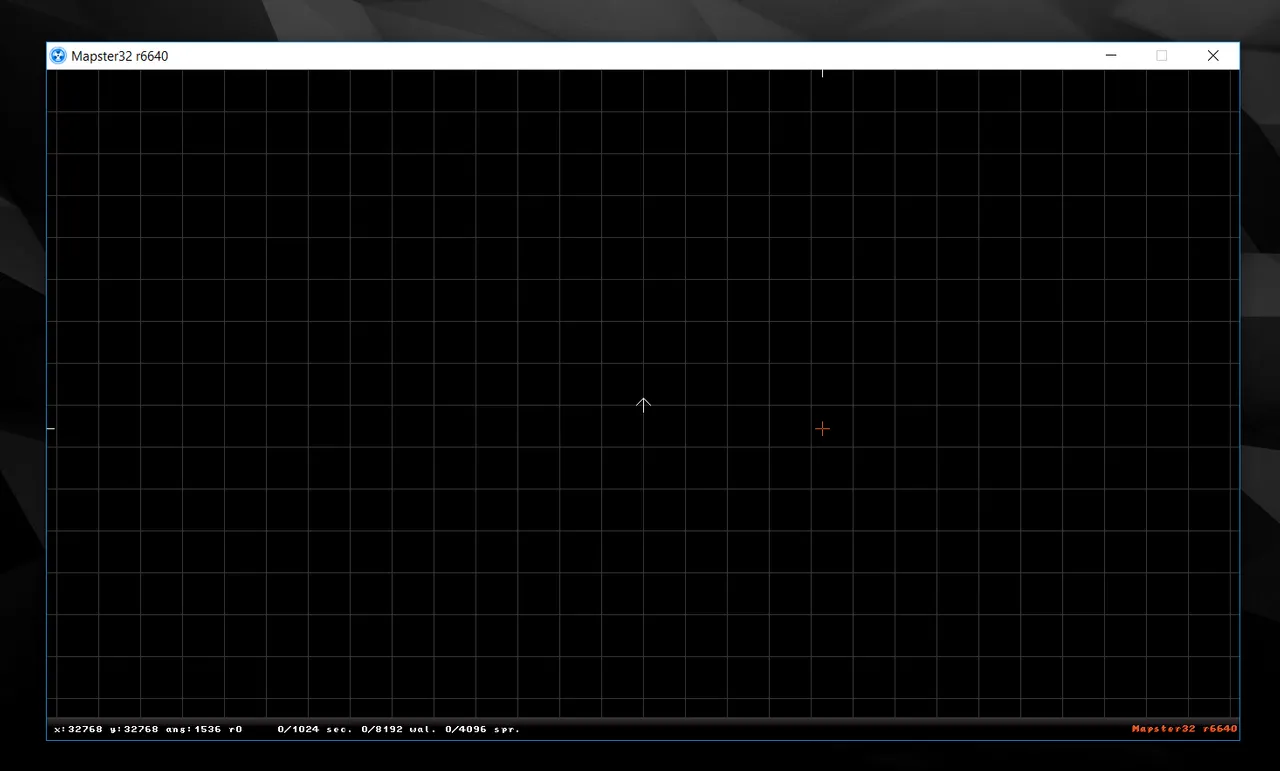
Ahhh, much better. It's useful to note here that vertexes do not necessarily have to be placed at grid intersections. Though I forget how, there's some way to freely places vertexes. I don't recommend it though since you need to close up whatever shape you make to turn it into a sector, and you can't do that if the first vertex isn't precisely on a grid intersection.
Spacebar is used to put down vertexes. One after the next, until you have closed up the shape, at which point it becomes a room. Unlike in Quake where you build rooms in an empty void from solid 3d shapes, in Duke Nukem 3D you're carving hollow spaces out of an infinite solid expanse.
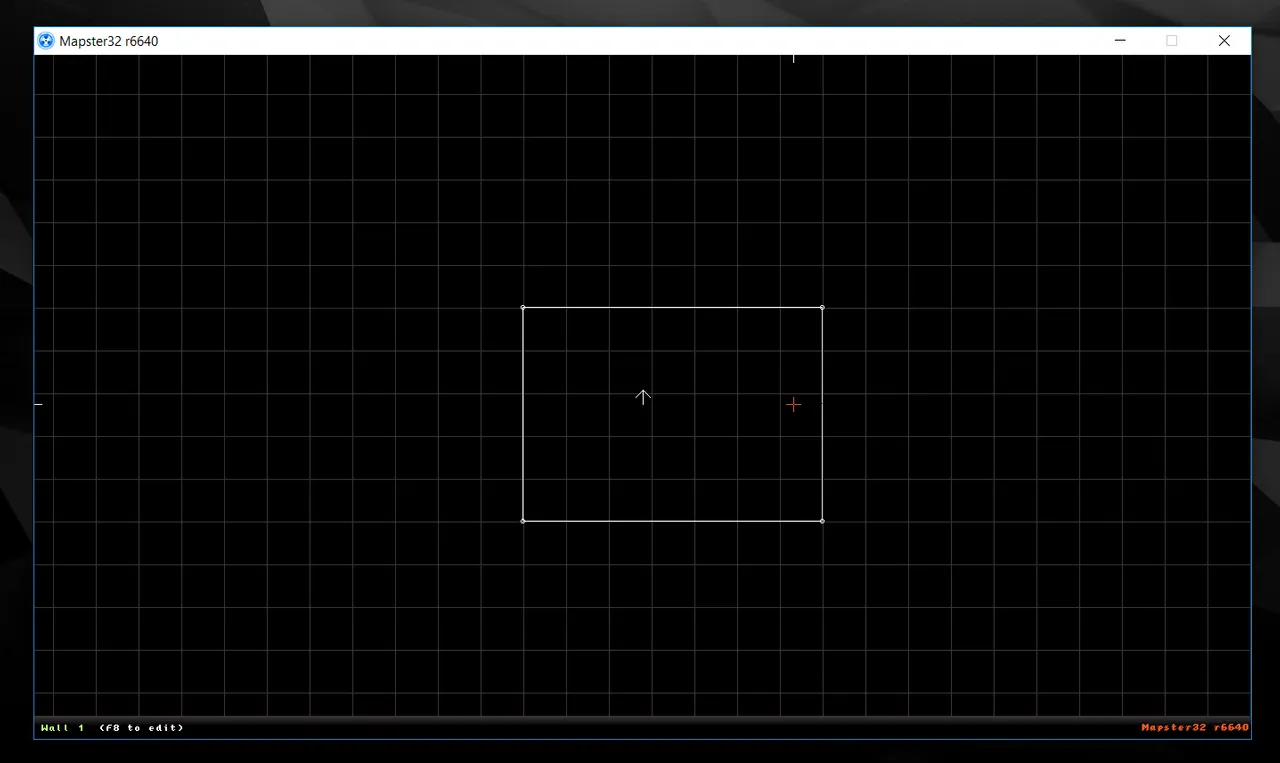
There you have it. With four button presses, we've already made a room. Compare that to the tedious process of making six cubic brushes in a Quake editor, flattening them into walls, a floor and a ceiling, then precisely aligning them to form a room with no leaks.
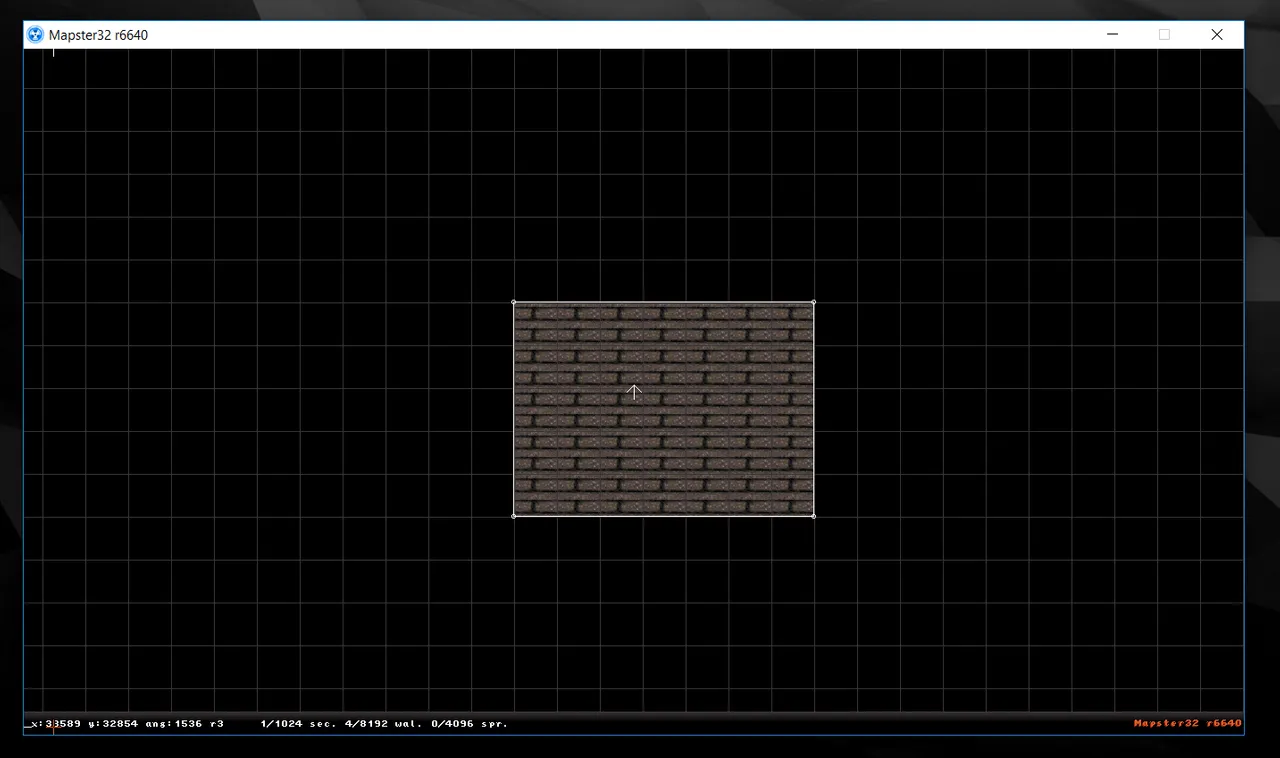
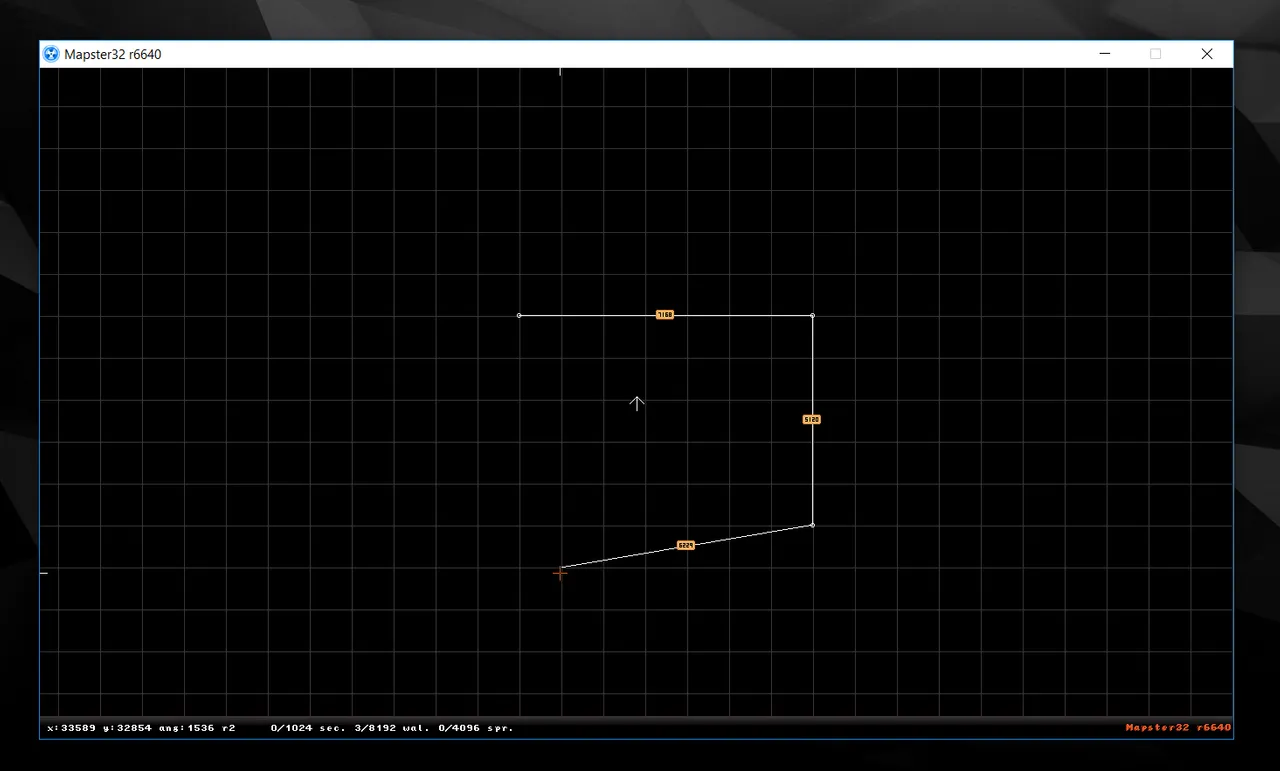
By pressing backspace you can see a textured overhead view. It will show only the floor texture, not the ceiling. Right now it's the default texture for BUILD which is deliberately ugly so you'll want to change it. But what does our room look like in 3D?
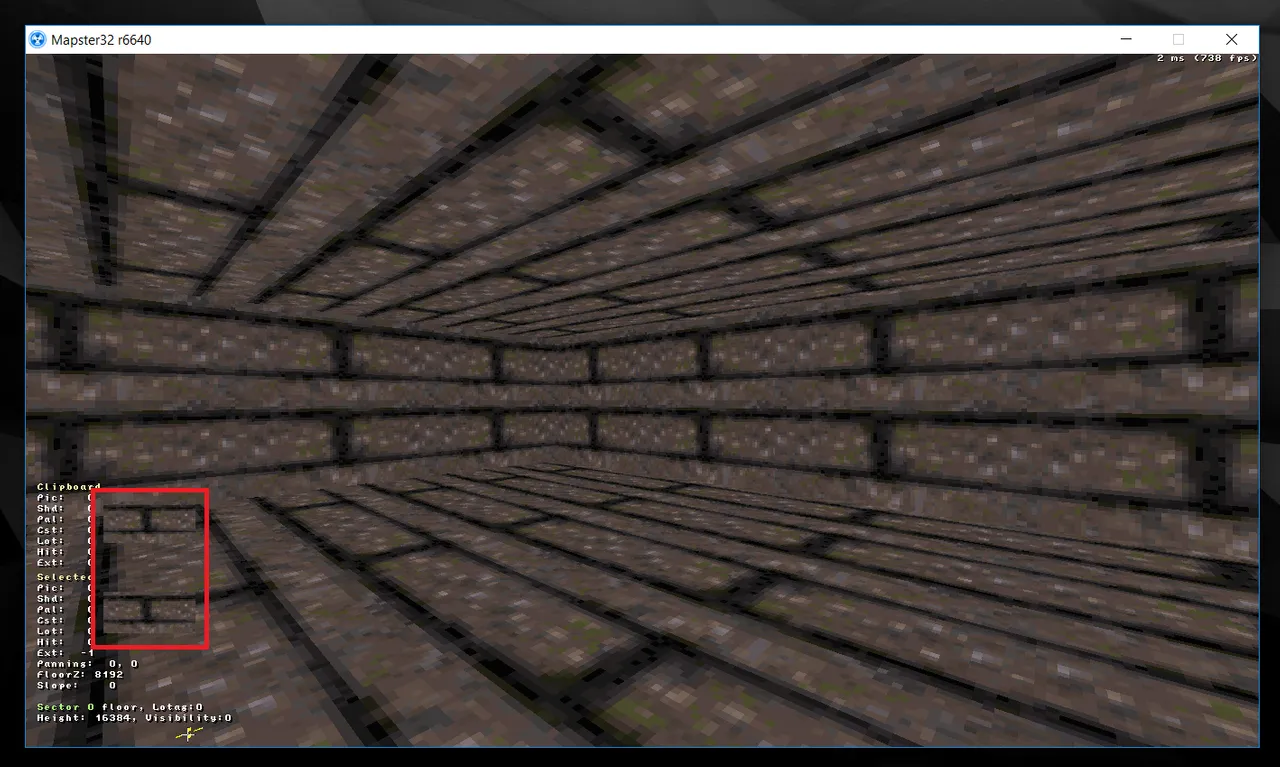
Looks like shit, doesn't it? Not to worry, that's mostly because of the default textures. The red rectangle was added by me to highlight the texture preview area. This is where we'll see what texture we have selected before we apply it to walls, the floor or the ceiling.
But that will have to wait for next time. We'll learn how to open the texture selection menu and apply those textures to walls, and perhaps more. Don't miss it or your face will collapse into itself, it will be horrifying.
Stay Cozy!