Now we’re coming to the part where you really start talking about conscious recording. In this post we’ll adjust the three most important settings for your footage: aperture, shutter and ISO

Shutter
We start with adjusting the shutter. Why? Because it is related to your frame rate. There is a guideline called the “180 degree shutter rule”. What does it mean to you? Basically this rule is used commonly to create the right amount of motion blur. While you can use any shutter in the world of photography you should stick to the rule when you record. To break it down this rule advise you to use double the shutter than your frame rate. If you shoot a 24 frames you should get as close as possible to the shutter 1/48 (which mean in the most cases 1/50). As mentioned above the reason for that is a realistic motion blur.
Aperture
With your aperture you are free to choose. Basically a more open aperture (f2.8 or lower value) create a nice bokeh and more depth to your footage. If you close your aperture (f8 or higher) this effect will disappear and in a total shot nearly everything is sharp. Most of the scenes you’ll find a movie are the close up shots with a blurry background. If you also want to achieve this style choose an open aperture, but keep in mind that this could cause more focusing on your footage or even a loss during filming.
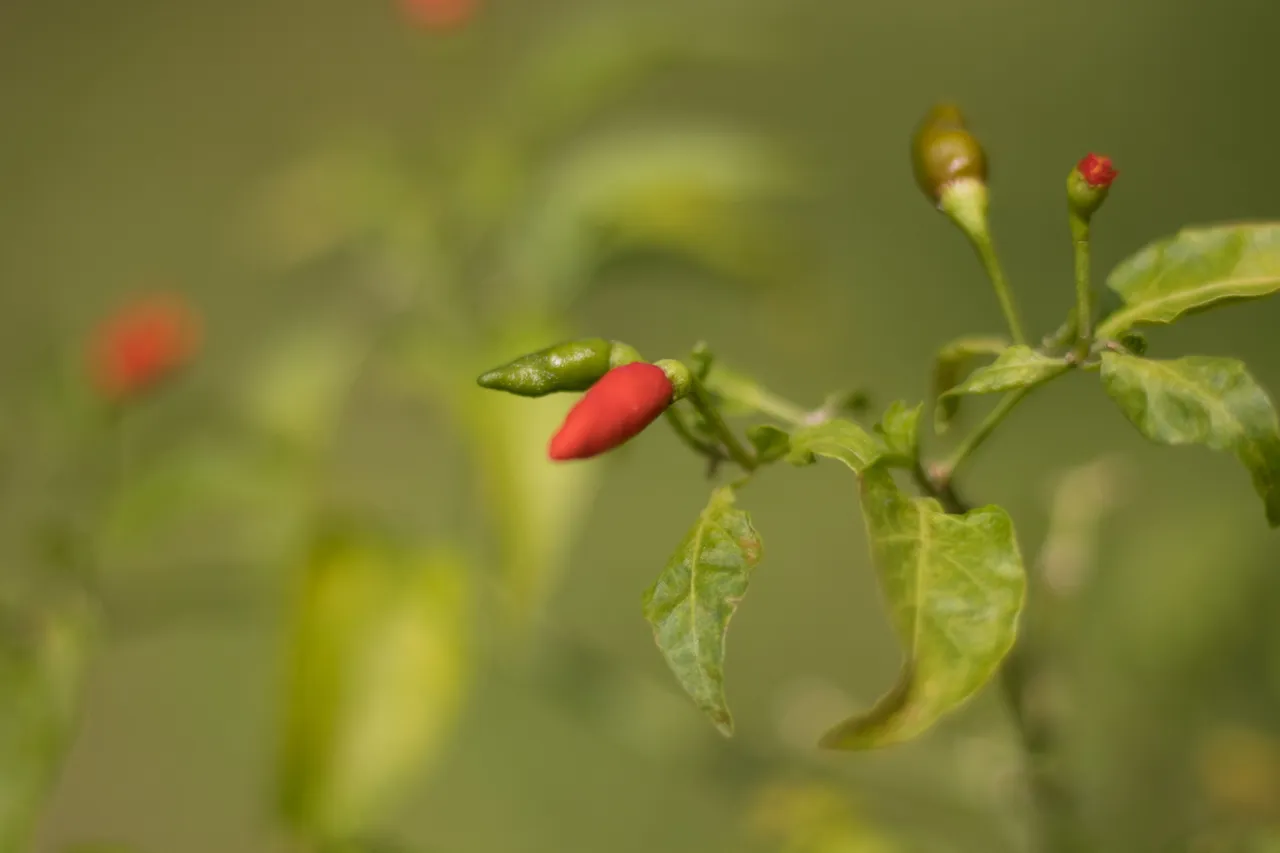
shot with f1.8

shot with f5.6
ISO
On your DSLR/DSLM the ISO measures sensitivity of the image sensor. The principle compared to analog cameras is still the same. The numbers (100, 200, …) indicates how sensitive your sensor is to the light coming into the camera. The higher the number the more sensitive your sensor reacts to light. Here you should adjust your value to the current brightness of your footage. If it is to dark take a higher value and same the other way around.
You maybe realize after adjusting your settings that your footage still looks too bright with settings like: 1/50, f2.8 and ISO 100. The sunlight during the day is most of the times just to intensive for these settings. Now you have to options: Close your aperture to a point where the image on your camera looks well balanced, but keep in mind that you probably will lose depth in your result. Use a ND filter to simulate a sunglass. The ND filter blocks a certain amount of light and gives you the opportunity to stick to the setting you want. For filming I would recommend a variable ND Filter for a more control.
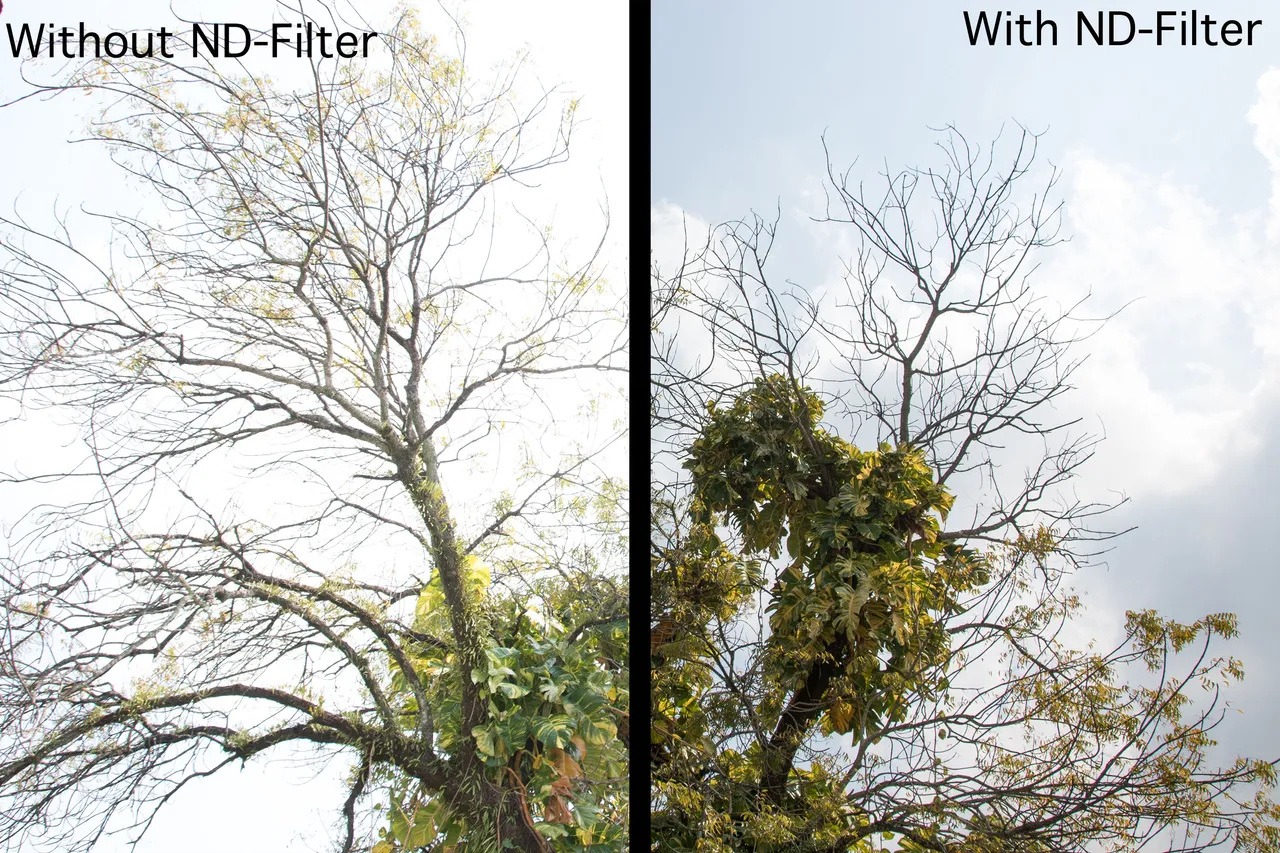
difference between ND filter and without
After adjust all these setting you are ready to go for record a footage with nice motion blur, deep and blurry background. In the next post we will take a closer look on picture styles and how they can take your footage to the next level.