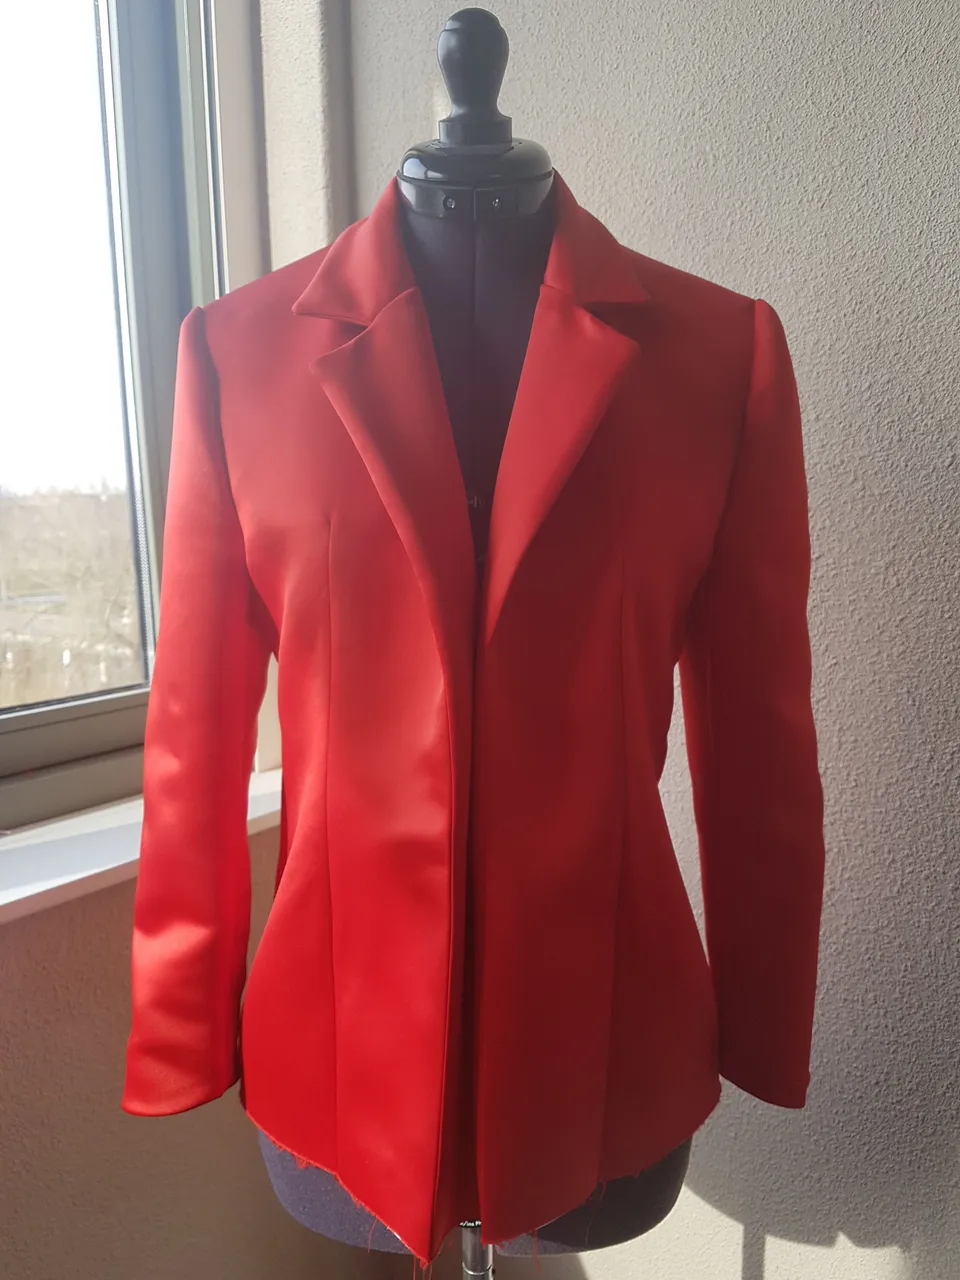
It is almost finished guys! I am getting there, but there are still many things that need to be done.
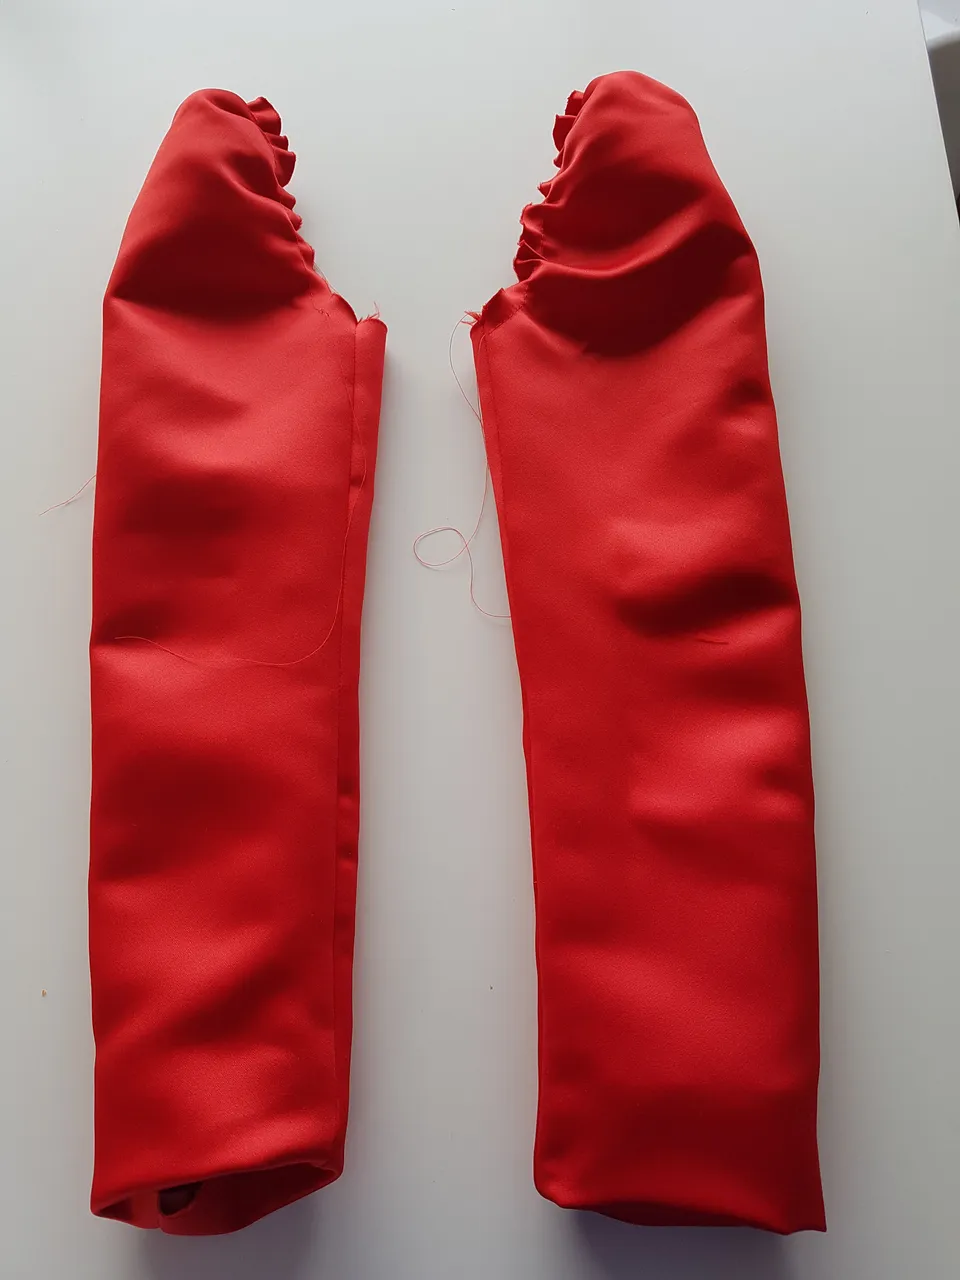
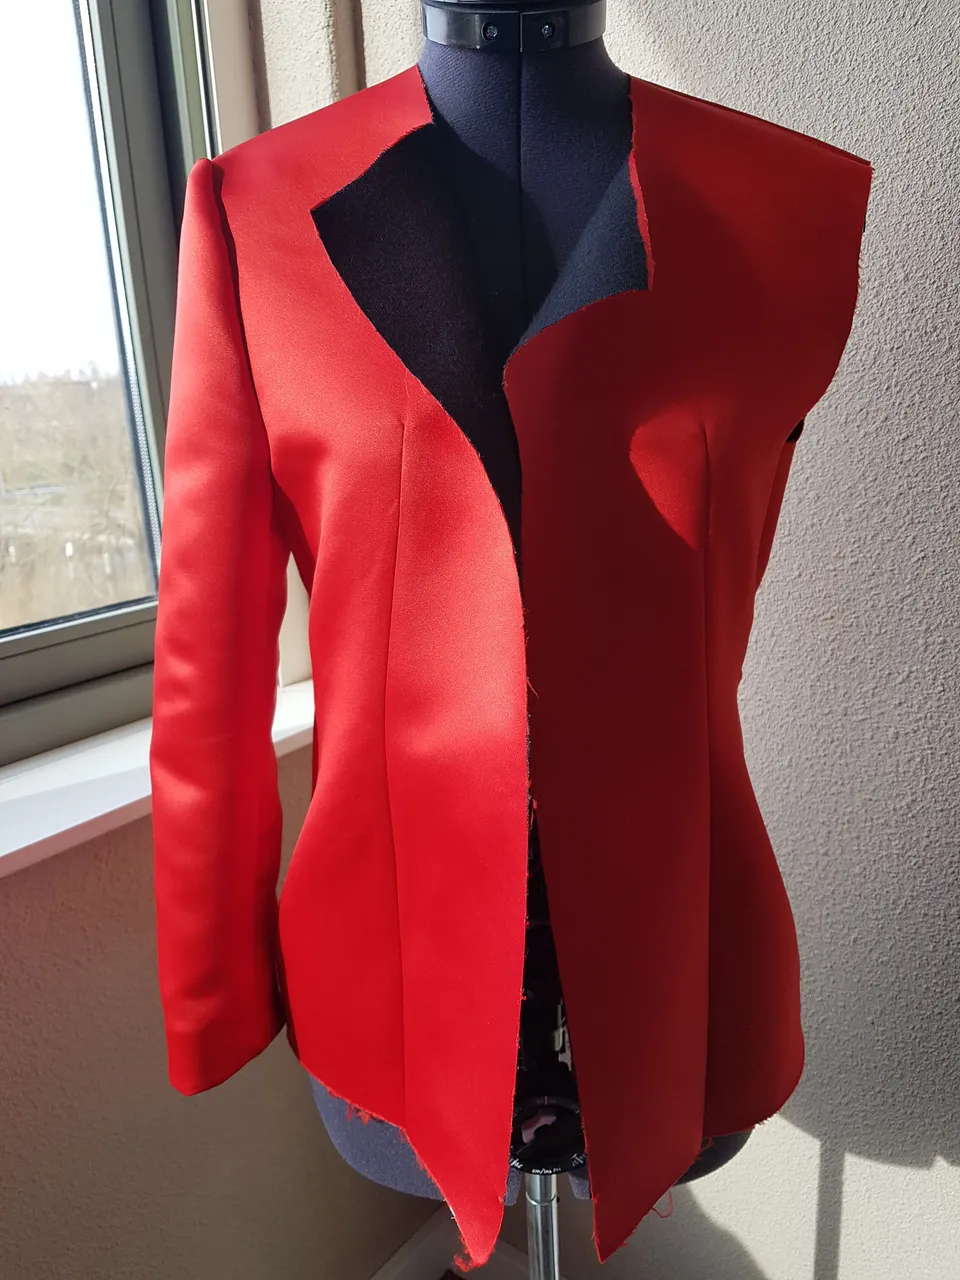
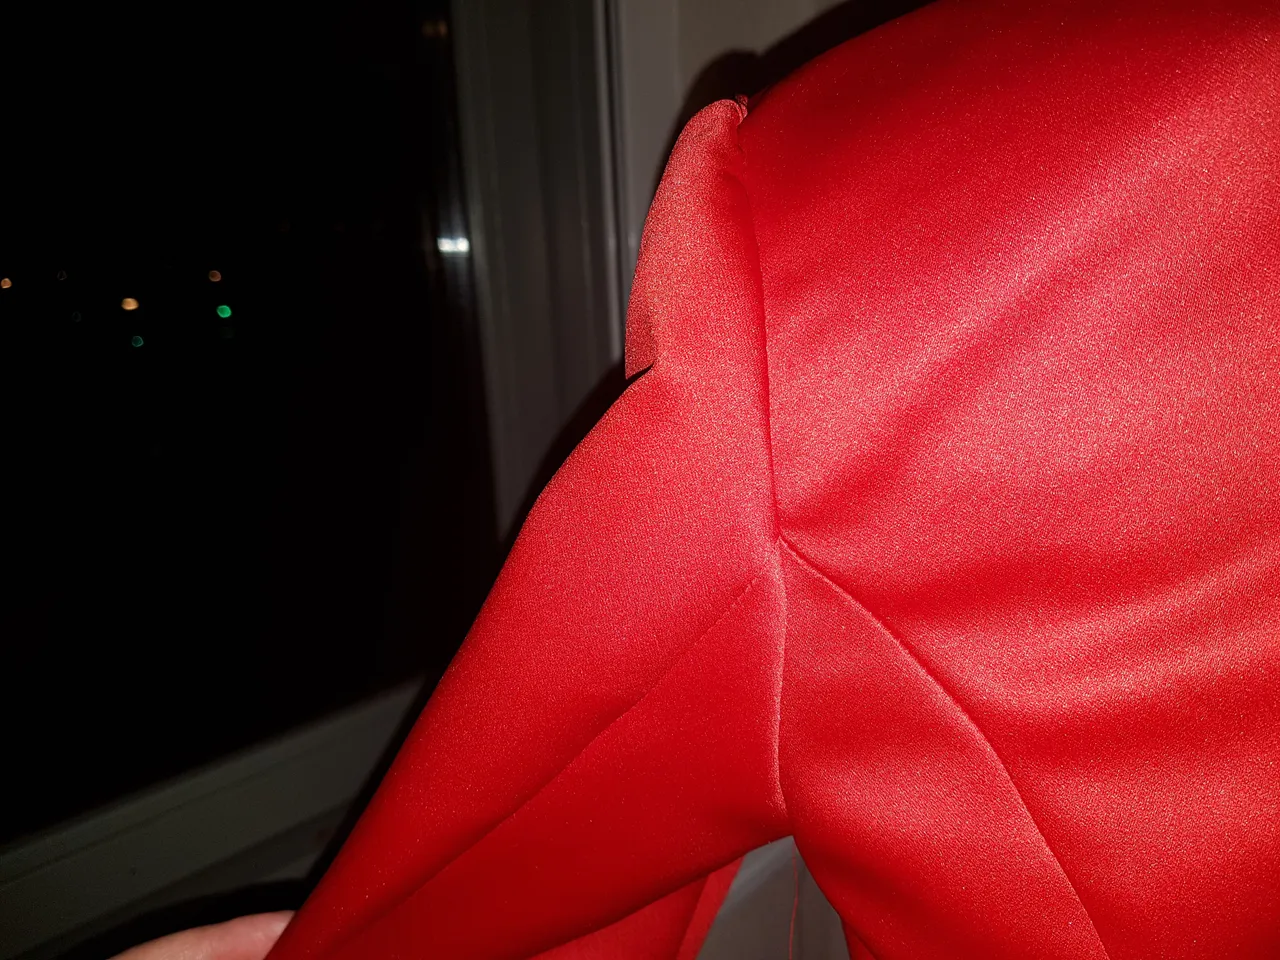
I had to attach the sleeves to the arm holes but the sleeves have bigger holes than the arm holes. This is completely normal because you have to be able to move with your arms and it just doesn't look nice if the sleeves are flat at the upper part. Apparently there are a few types of shoulder tailoring constructions and mine is apparently an Italian shoulder construction. Hmmm, I have learned something new today! I am not really a big fan of shoulder pads because it makes my neck somehow disappear. So I left that behind. I also found out that my type of shoulder tailoring is an Italian unpadded Pagado/Con Rollino shoulder construction. So because the holes of the sleeves are bigger than the arm holes, I had to wrinkle the sleeve at the top to make it fitting.
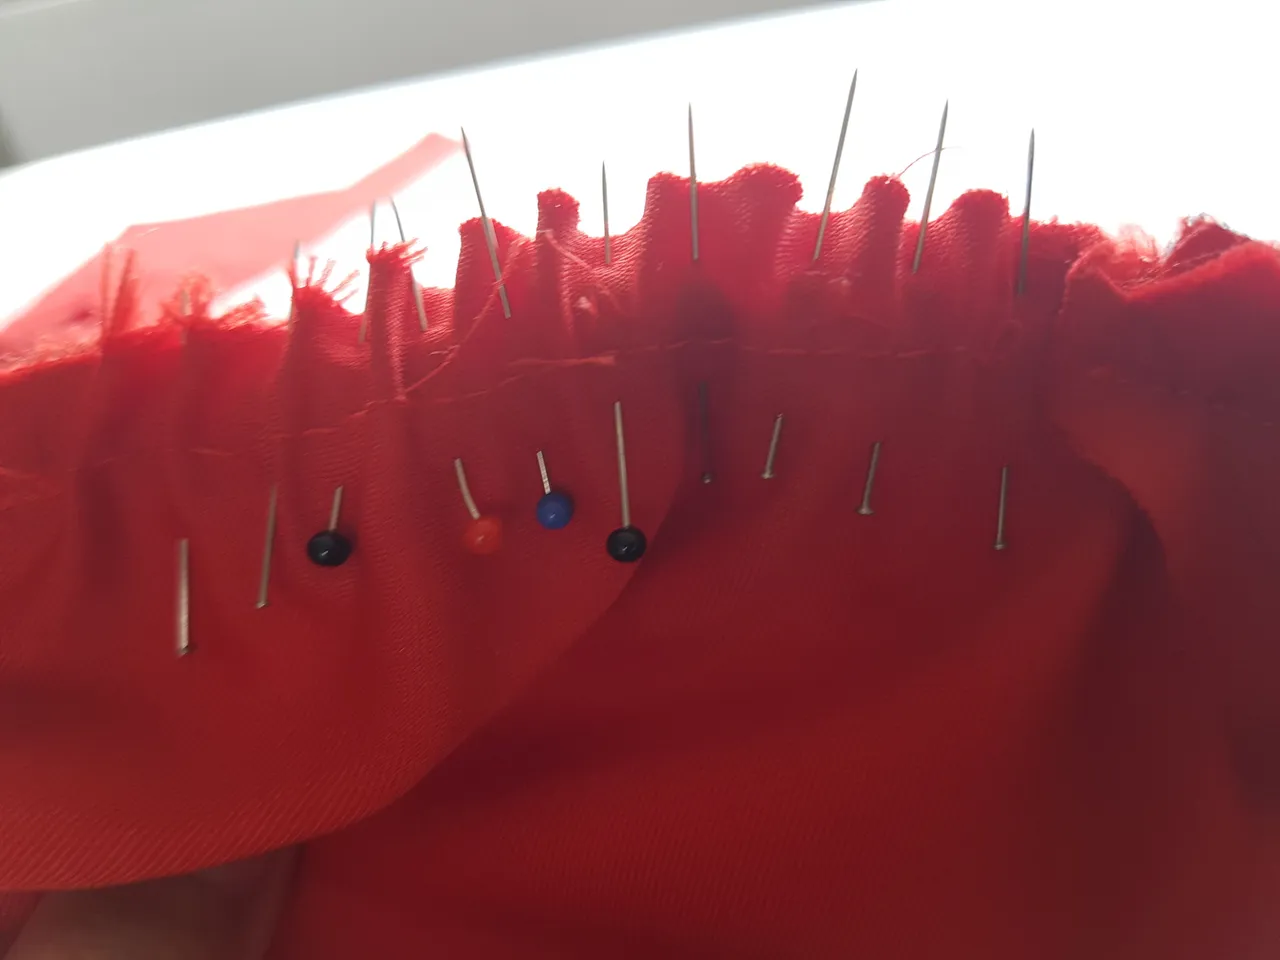
I had to pin a lot to be able to attach the sleeve to the arm hole of the blazer. This took me quite some time. Remember in my previous post that I mentioned that anything curvy ( and square) is a challenge for me? Well, this is the biggest challenge from all, attaching sleeves to the arm holes. Maybe next time I won't go for an Italian Con Rollino shoulder construction, it would not take so much time to attach it I think.
I was so happy that one sleeve was attached and I had to go to the next sleeve. I wanted to start with the fun part actually, which is attaching the upper and lower collar to the blazer, but I thought it would be better to start with the most challenging part, the sleeves. So I will have that behind me.
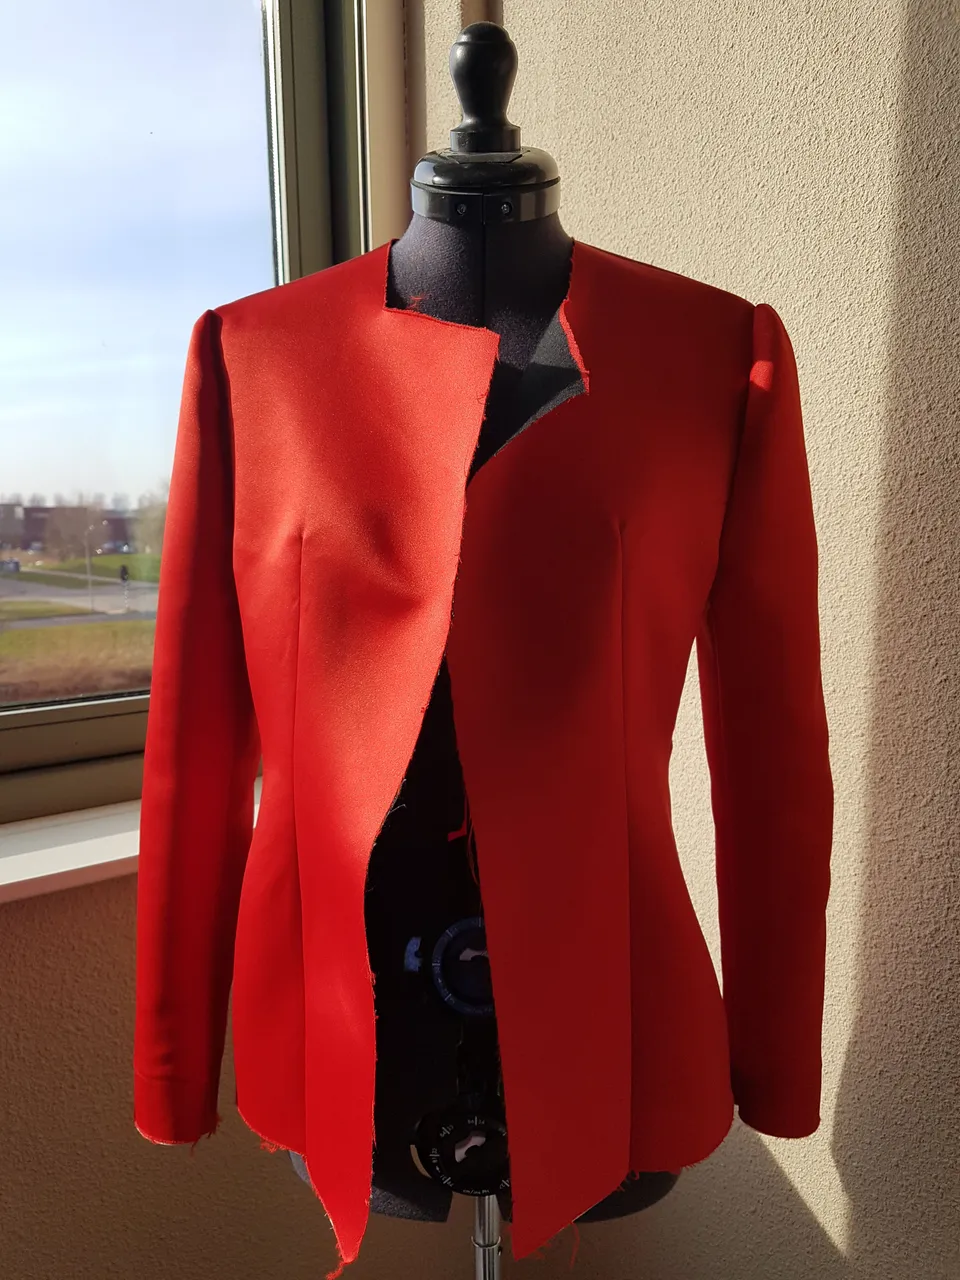
The sleeves are attached, but I am not 100% happy about it. I want the sleeve-heads to be more smooth attached to the blazer. I just leave it like it is, it's not a disaster, it's just something itchy you know....
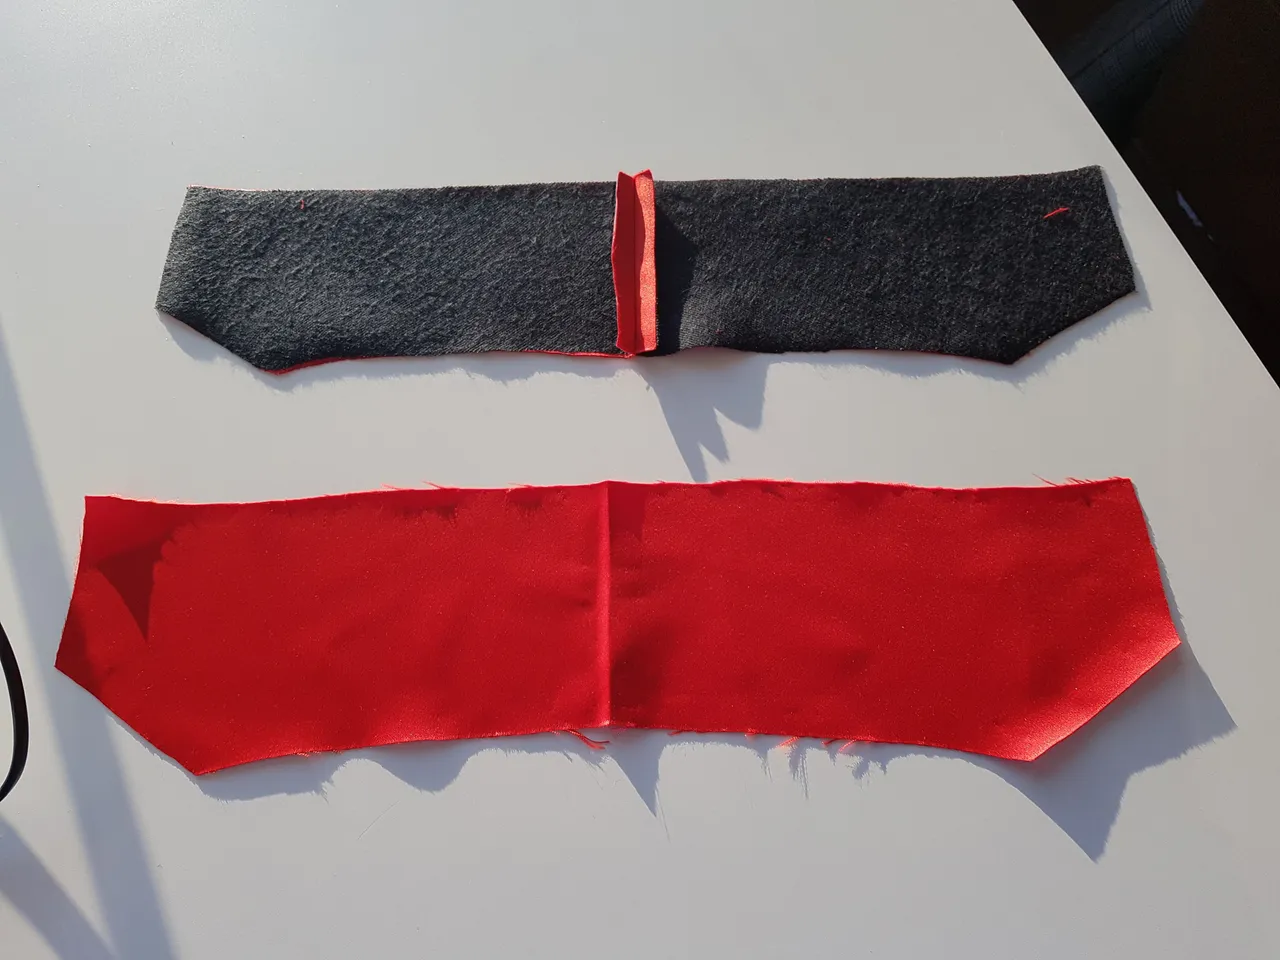
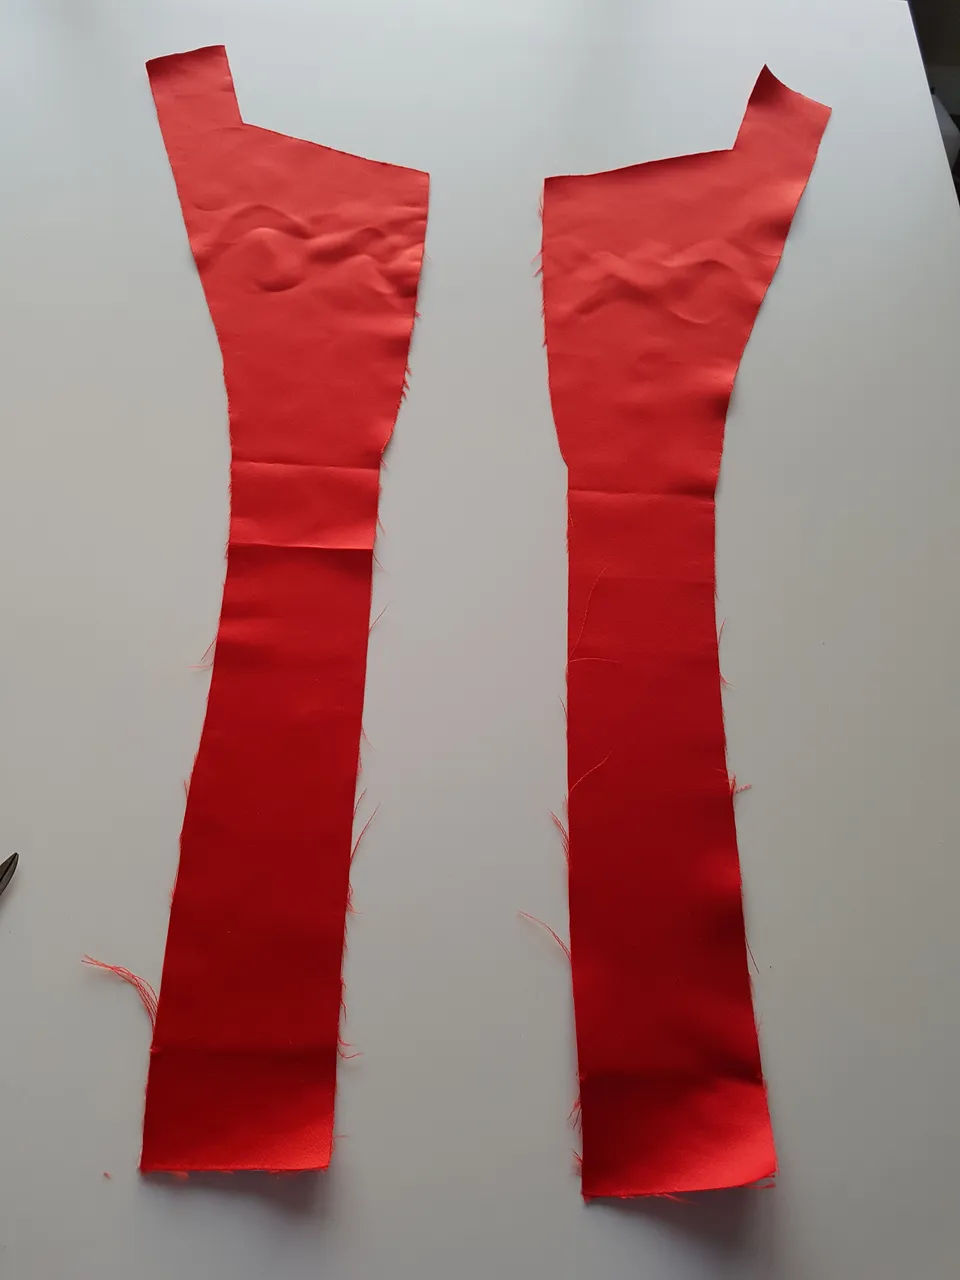
Time to continue with the collar. The one above is the lower collar and the one below is the upper collar. Only the lower collar gets an interfacing.
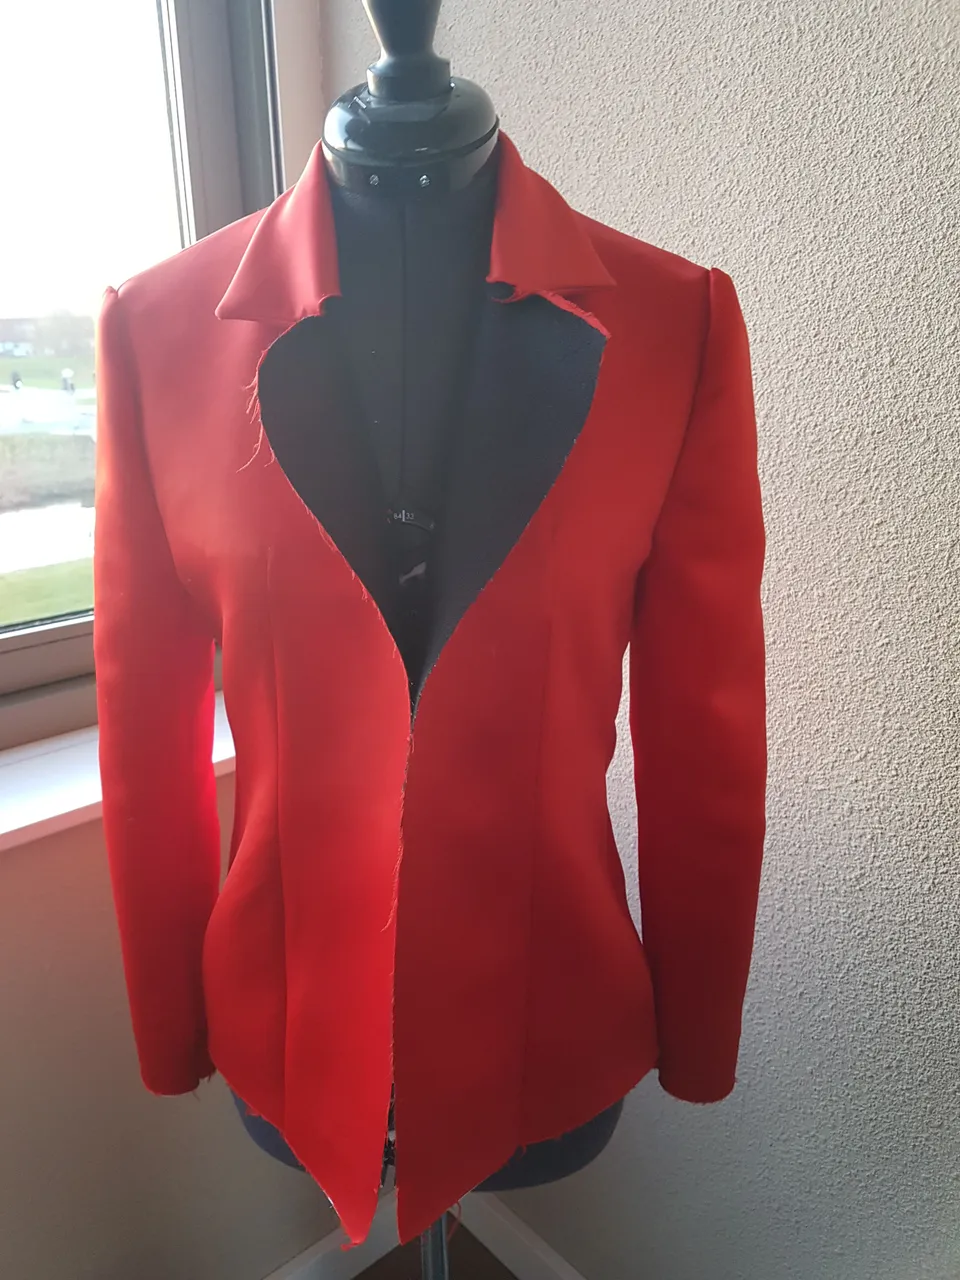
The collar is attached to the blazer.
These are the facings for the inner part of the blazer.
When I sew all the pieces together, I make sure the seams matches together and are in line. I always get itchy fingers when I see lines that are not connected well enough.
I am almost finished. I still need to make the lining, some hand stitching work and iron the blazer because ironing is the last part of finishing a garment that can not be eliminated.

▶️ DTube
▶️ IPFS