I had been wanting to make these shutters for sometime now. And i knew that i could do it, if I put my mind to it. I had the tools, and the time so i just made it happen.
Step 1.
I bought two boards of wood. 95” Long.
I knew that i was going to need measure the mirror that each shutter was going along the side of. It was 30 “ Long. So i cut 6, 30 “ Long slabs. I had one long spare piece of wood in the garage that i hadn’t used for anything so i used it for the top and bottom parts of the shutters. I measured it to be 11.5 “ long.
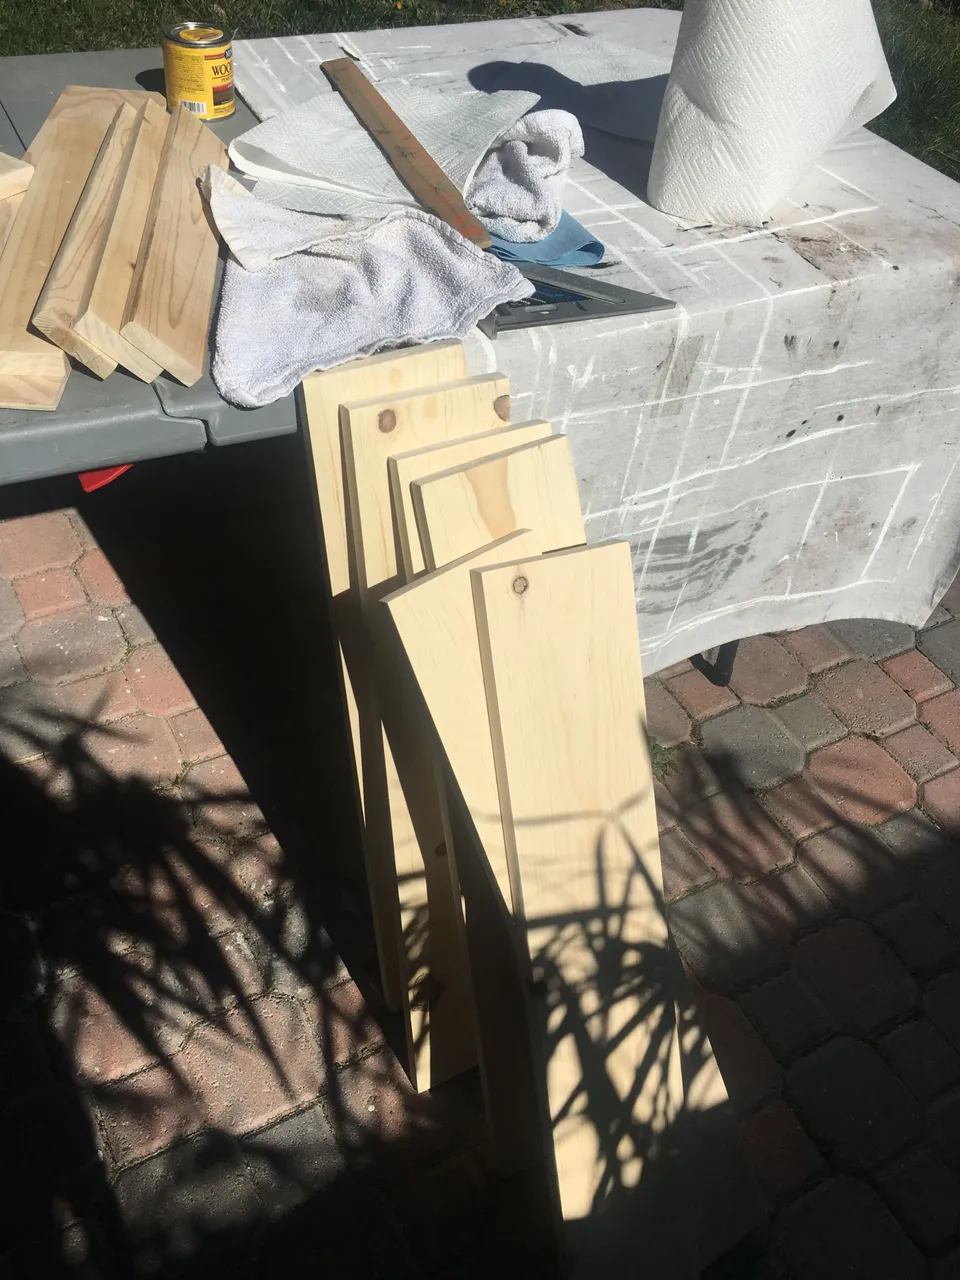
And I sanded them all! My hand was sooo numb when i was done.
After sanding for what seemed like hours, i whiped off all the sawdust. And put them all in place to make sure it all looked right.
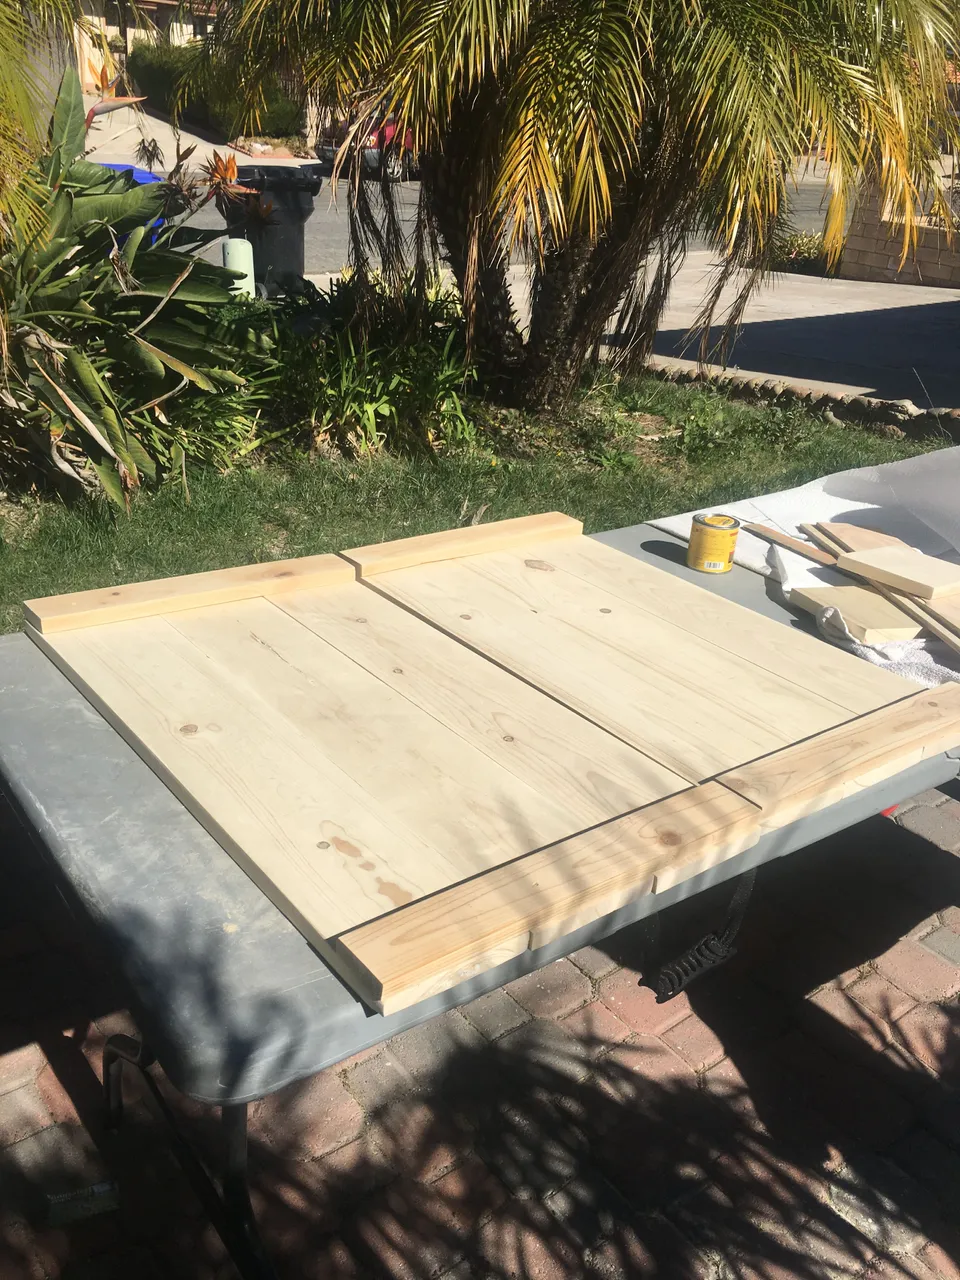
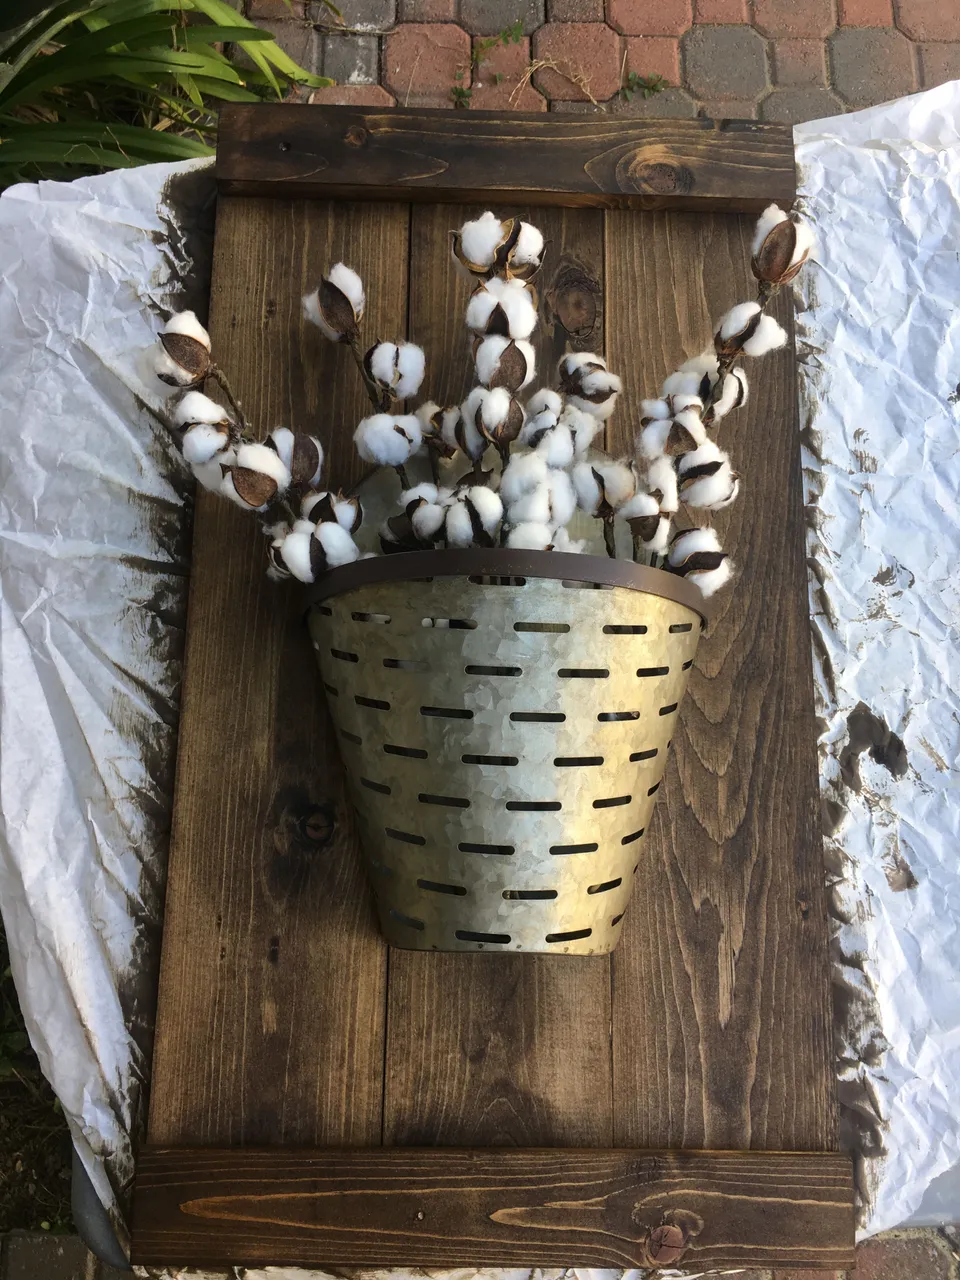
Next step was to stain them. And just position them with he decor to see how it would look against the galvanized metal bucket.
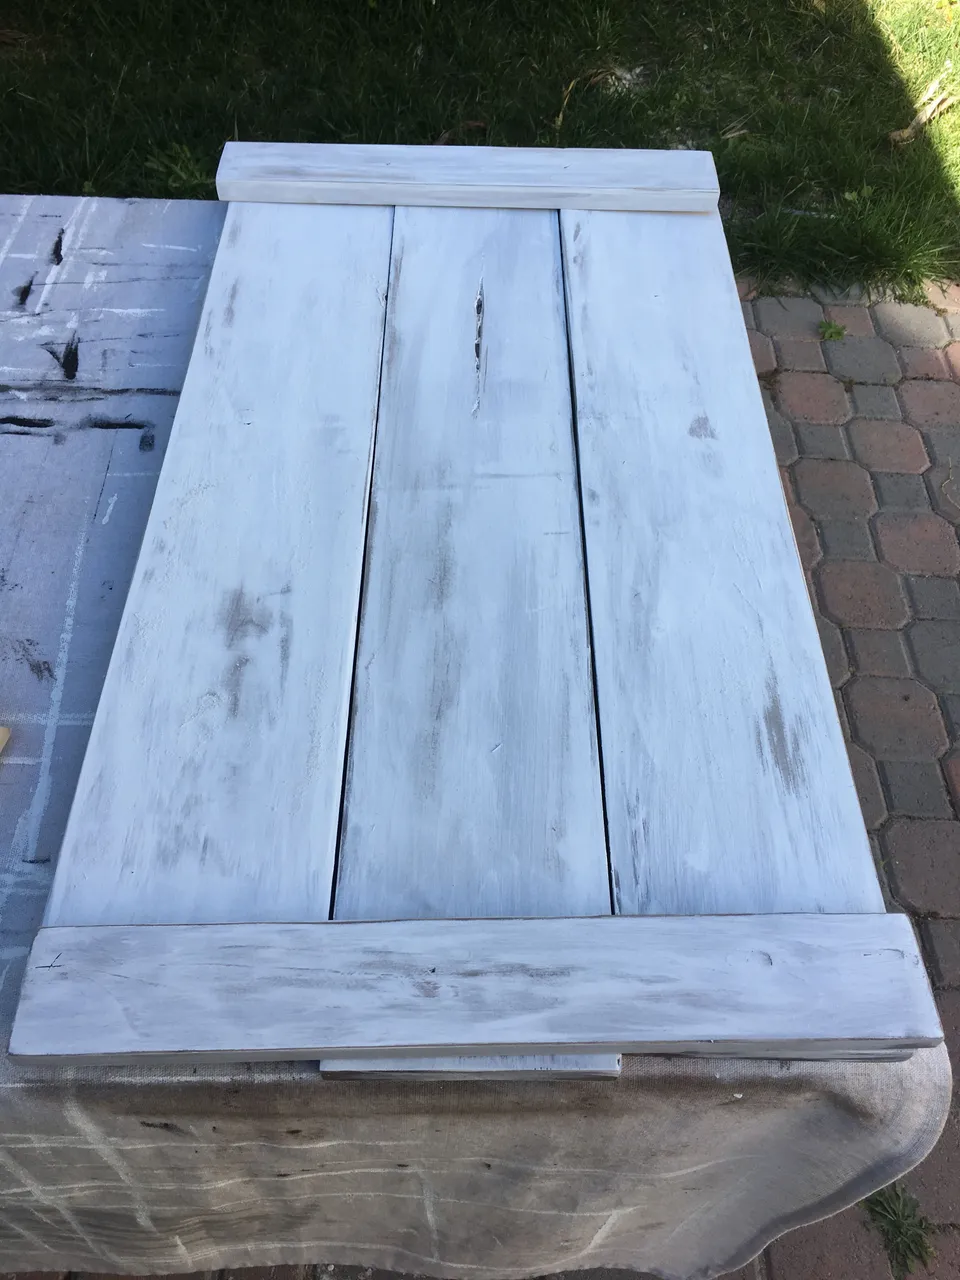
I knew i wanted to brighten up my living room and i knew that third was too dark, to keep like this. So i chalkpainted it white next! Again positioning it all together.
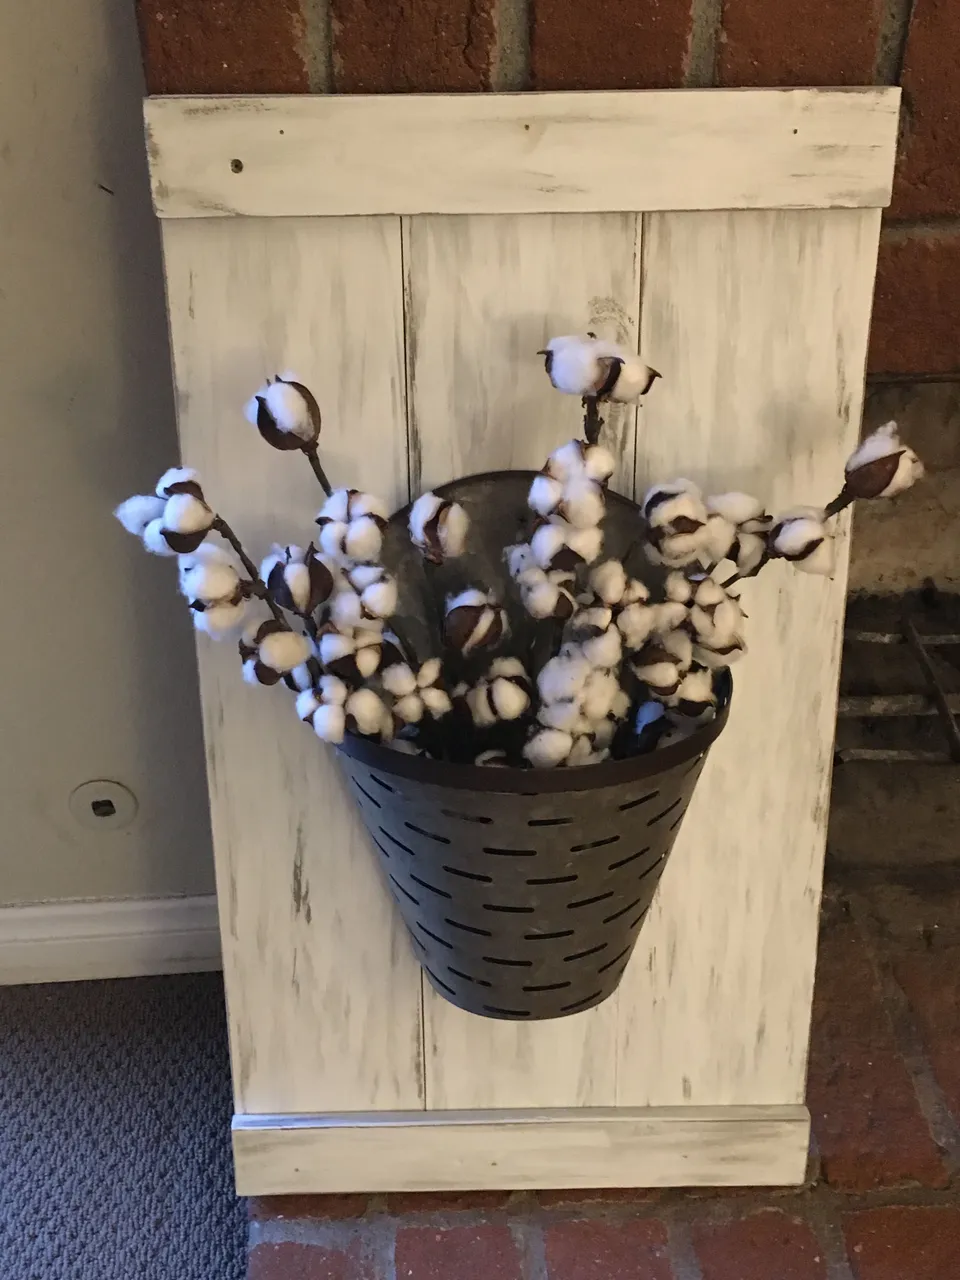
Then i took a price of 220 grit sand paper and distressed it in places that i wanted the stain to show through. To give it a rustic/ chippy effect!
Next i got my Gorilla glue to give a little extra secureness . And i had my husband @captainobviou3 to use the nail gun and nail each board along the top and bottom.
Then he put a screw in the top center of the shutter so i can hang the basket on there. And he also had put a metal bracket on the back strong enough to hold it onto the wall for when I want to hang it up ! And here’s the finished product!
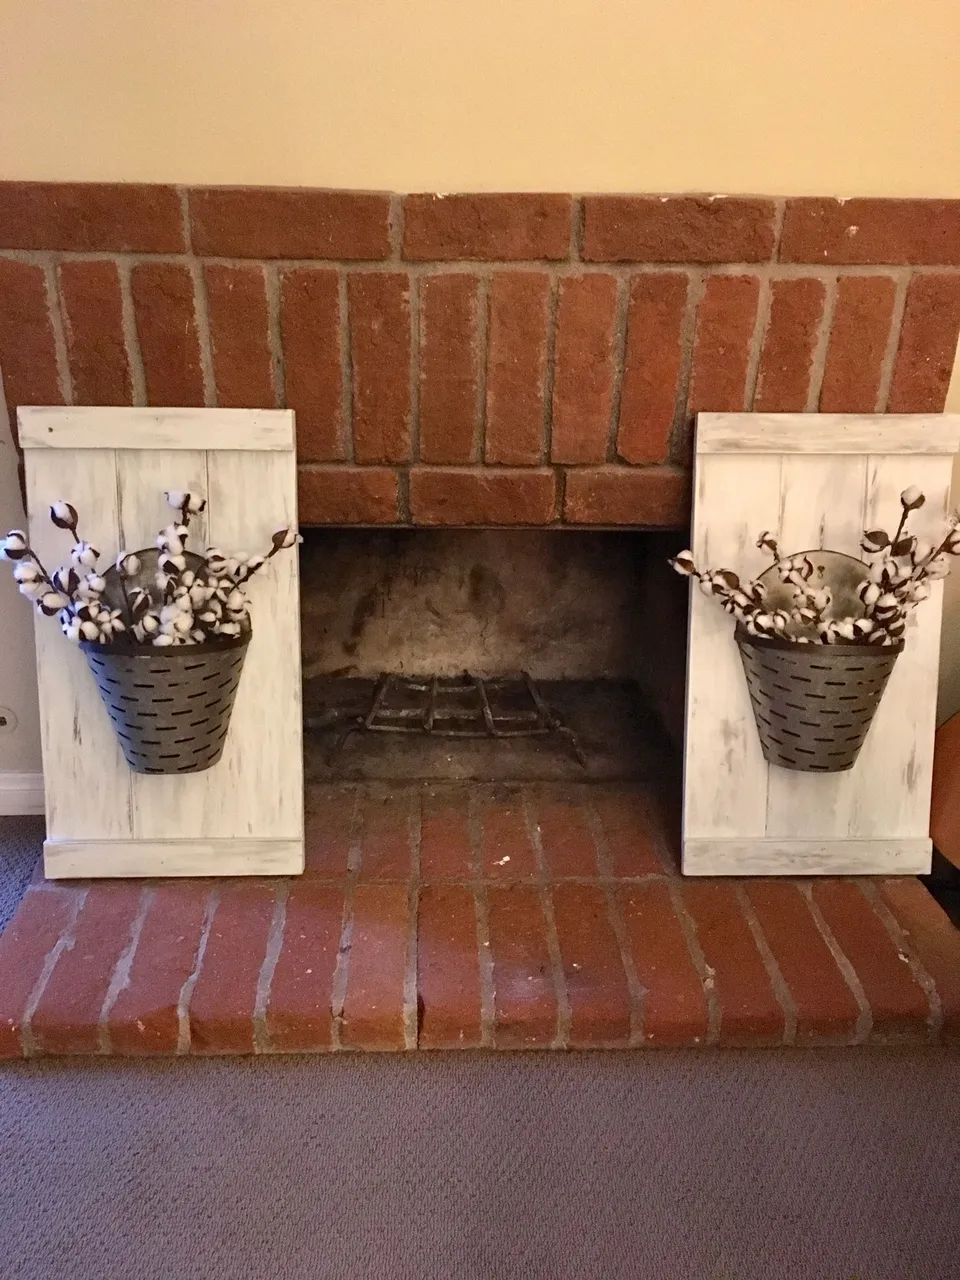

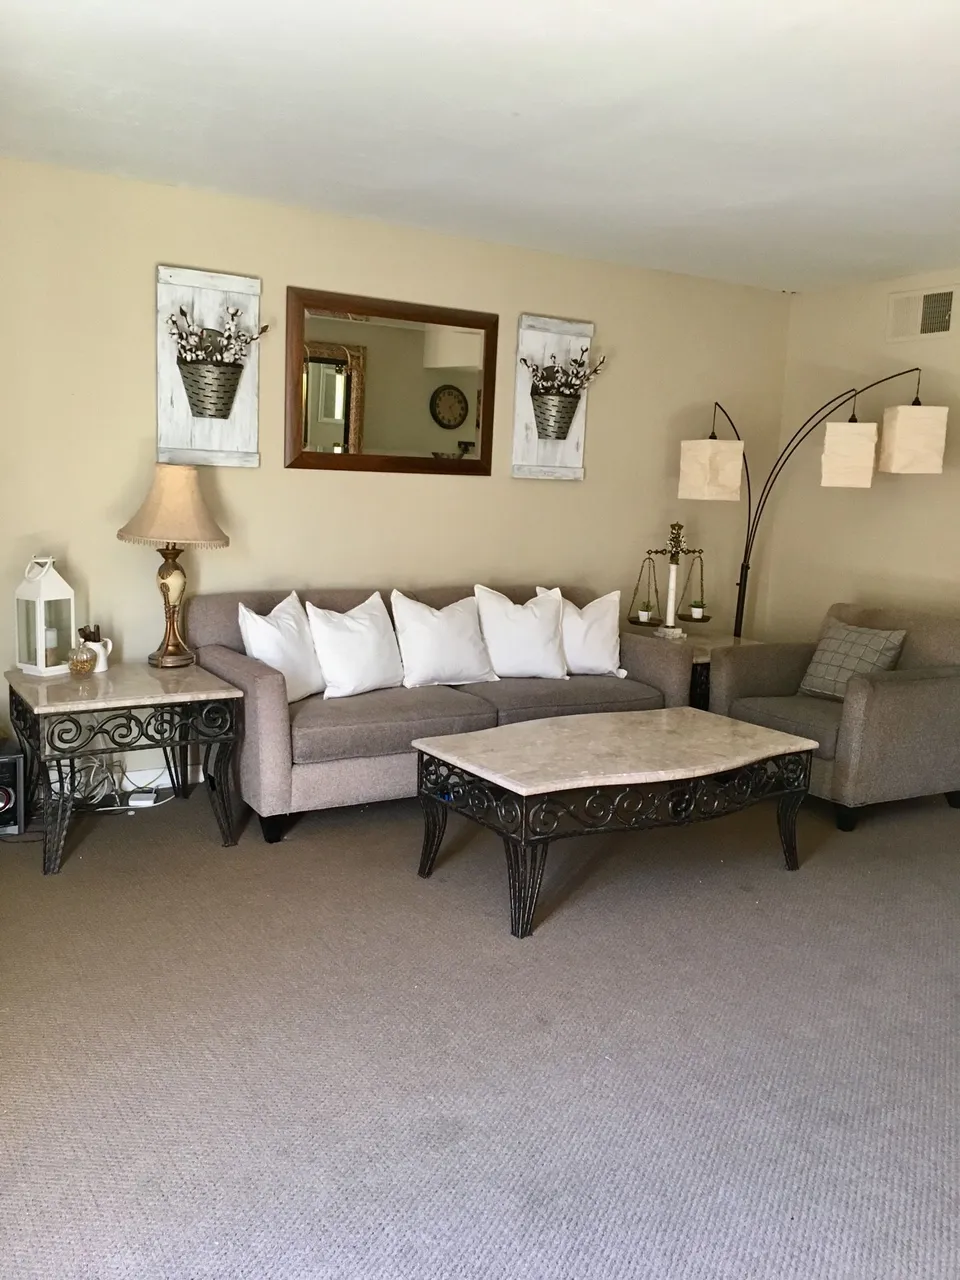
And this is the finished project. 💗
I hope that you enjoyed the pictures!!!