EOS is next to STEEM my favourite crypto investment and performed very well in the last two month. In this brief tutorial I will show how I created the "EOS is on Fire" wallpaper and GIF using Blender v2.79 (Blender is free, so if you are interested in 3d animation than download it on Blender.org).
I started with exporting the EOS Logo I created earlier in Fusion 360 into an .iges file and than converted it using another app into an .obj file for Blender to read. A bit complicated but unfortunately Blender doesn't read .iges files and Fusion doesn't export .obj files.
Fire simulation in Blender
To simulate fire in Blender you need a container that contains the fire and smoke simulation, referred to as Domain and an object where the fire is originating from called Flow. So for this example the EOS Logo is the Flow and a simple Cube did act as the Domain.
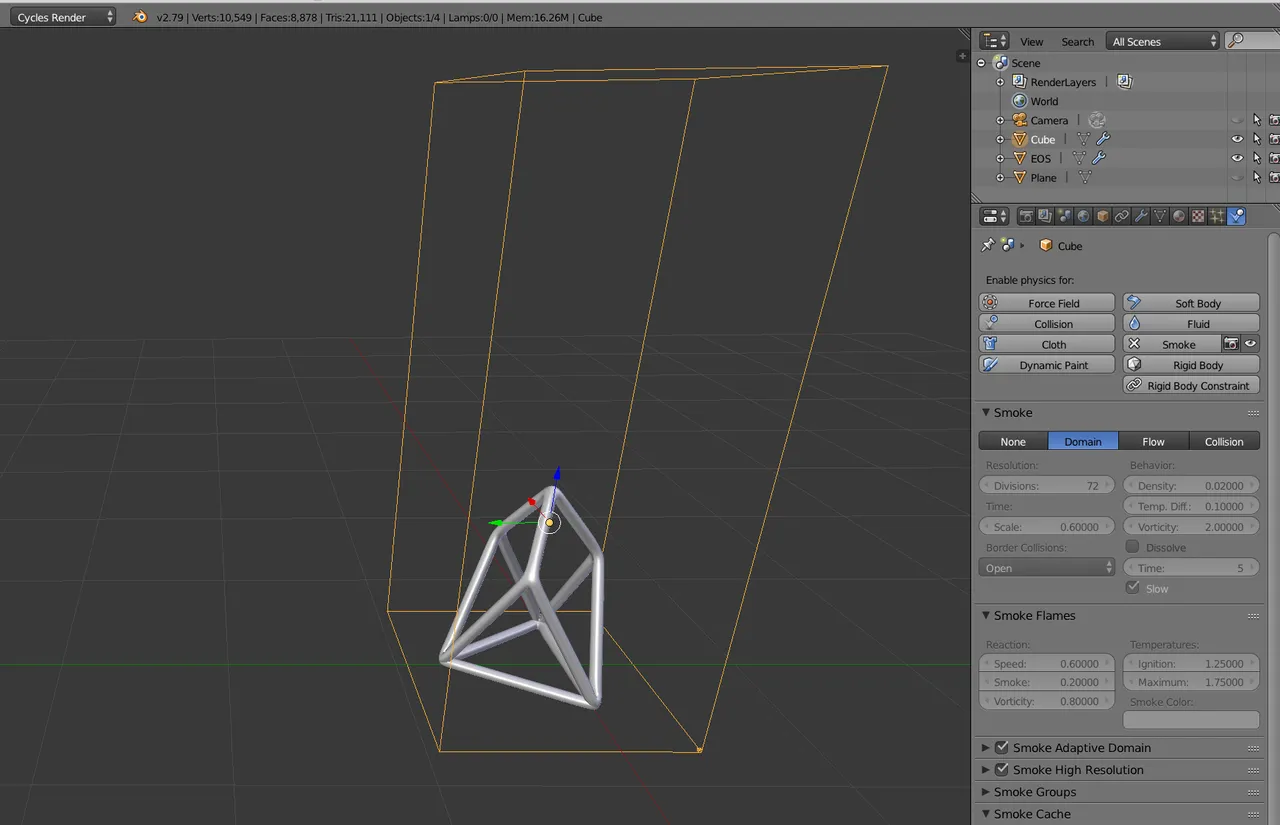
Once you setup the Flow and Domain Blender does a lot of the hard work for you and you can start a basic simulation.
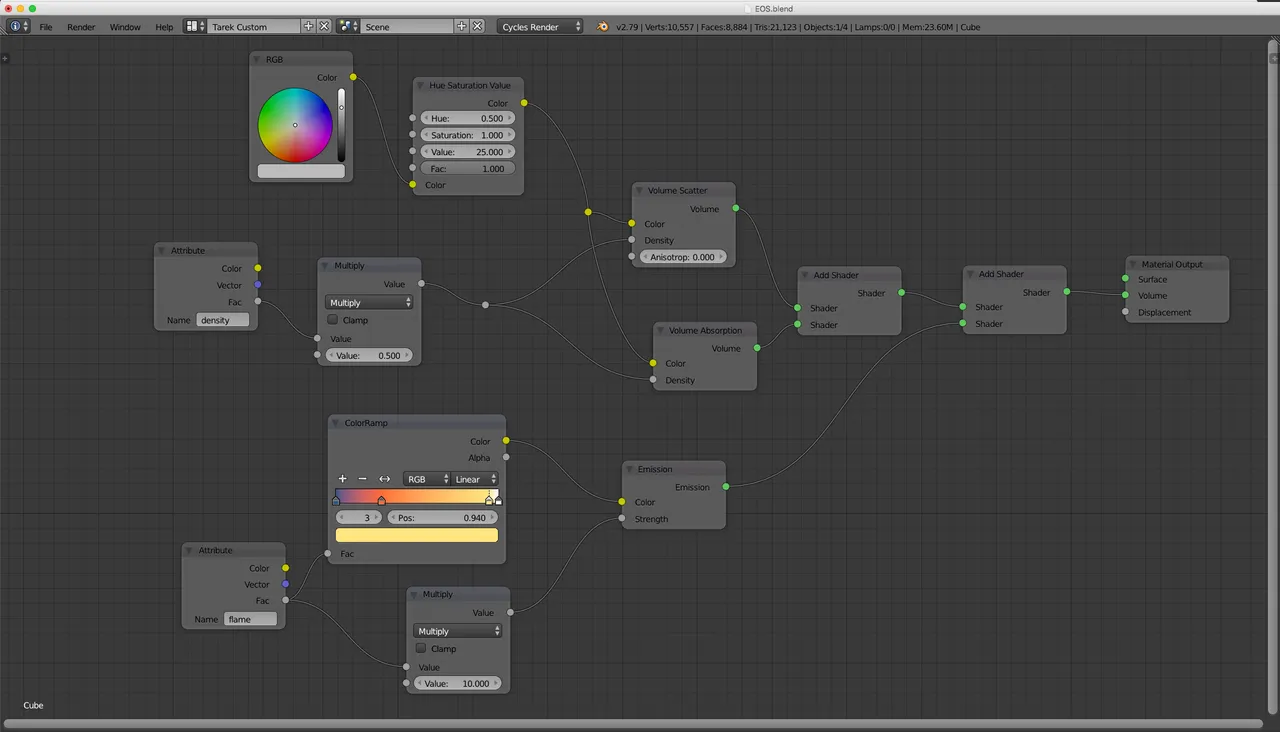
If you want to render an image at this point however you will see just the cube since the surface is still set to Surface. In order to make the Cube (Domain) invisible to Render the fire simulation you need to make some changes in the Node Editor for the Cube (Domain). Below is the screenshot of the Node setup for the Domain. With these settings you can control the color of the flames as well as the density of the smoke.
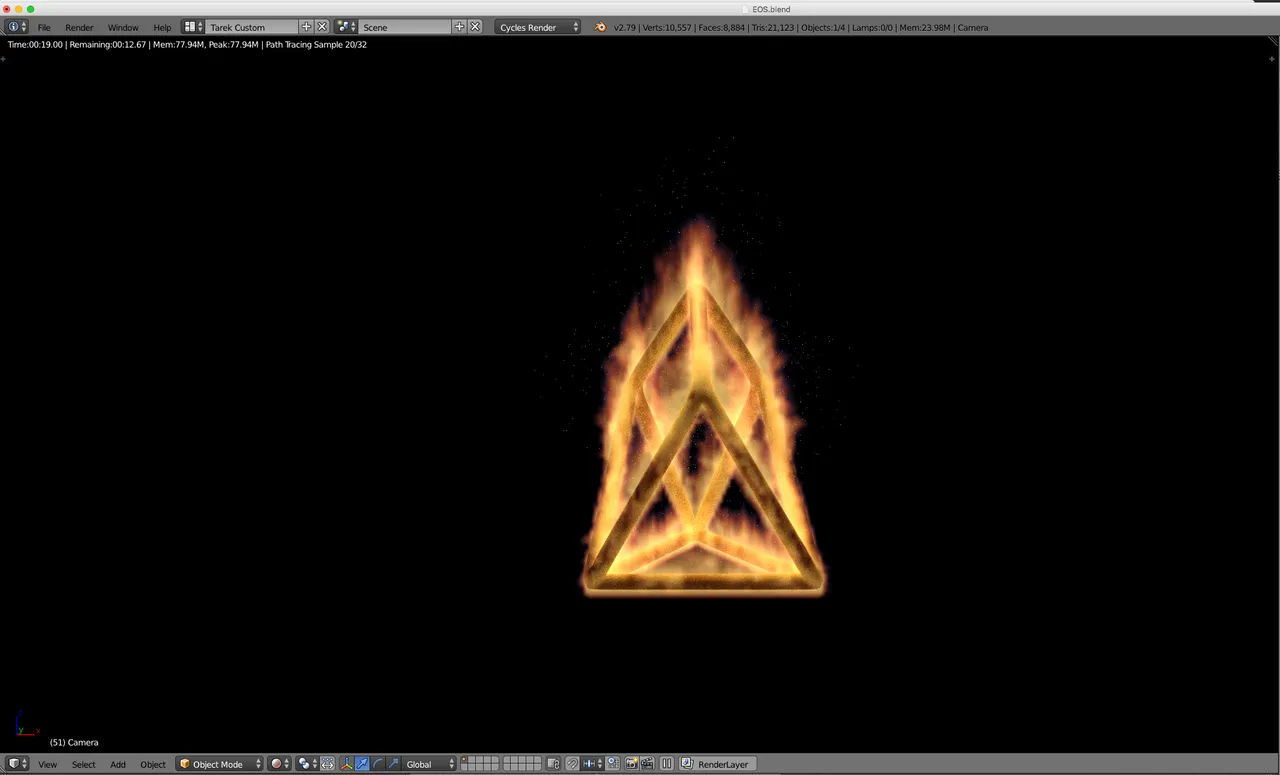
Once you made these changes you can see the fire in the render view. Please note that this is just a Low quality Render with 100 samples. To Render an image with reduced "fireflies" and better looking flames you need to increase the Render samples which also increases the Render time.
First Low quality Render with about 100 Samples
Create a GIF
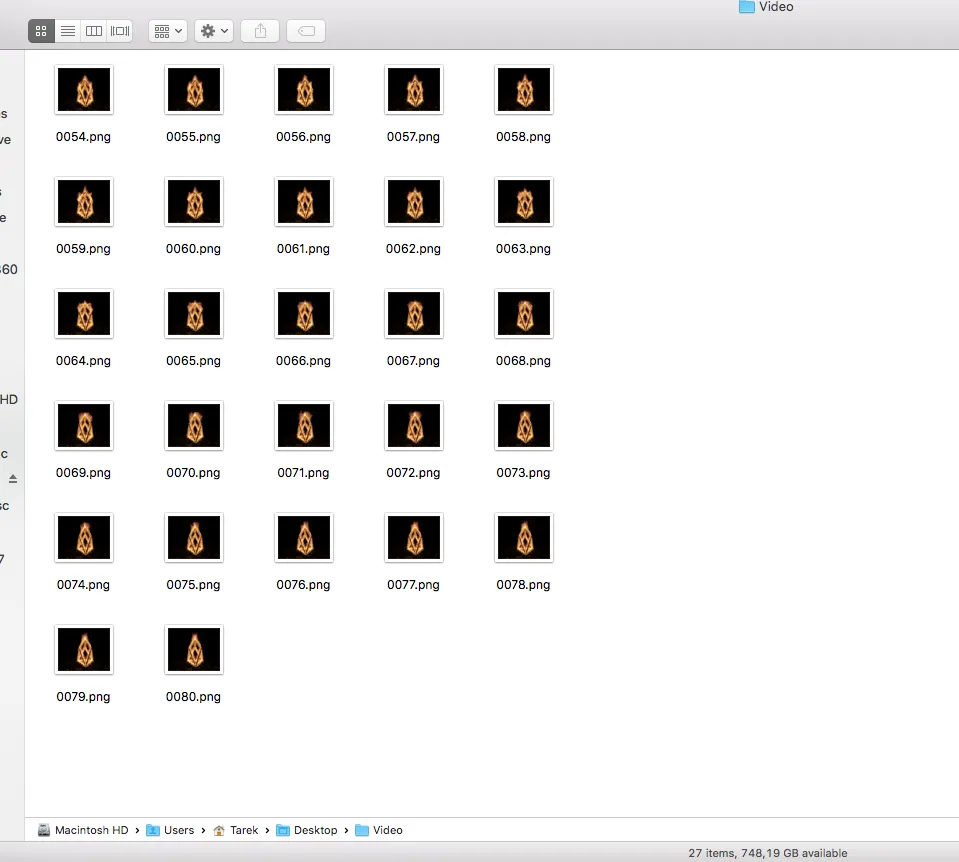
In order to create a GIF animation you first need to create a sequence of images (e.g. .jpg or .png). You can do this easily in Blender by first specifying a start and end point of your animation and render each individual image. In my case I rendered 27 images which I could use to create a GIF afterwards.
Selecting a timeframe for the iamges to Render, very low quality at this point
Th next step is to Render out each of the 27 images, in my case it took 2 hours to complete. Once you have all images you can use the free software GIMP to create a GIF from all the images.
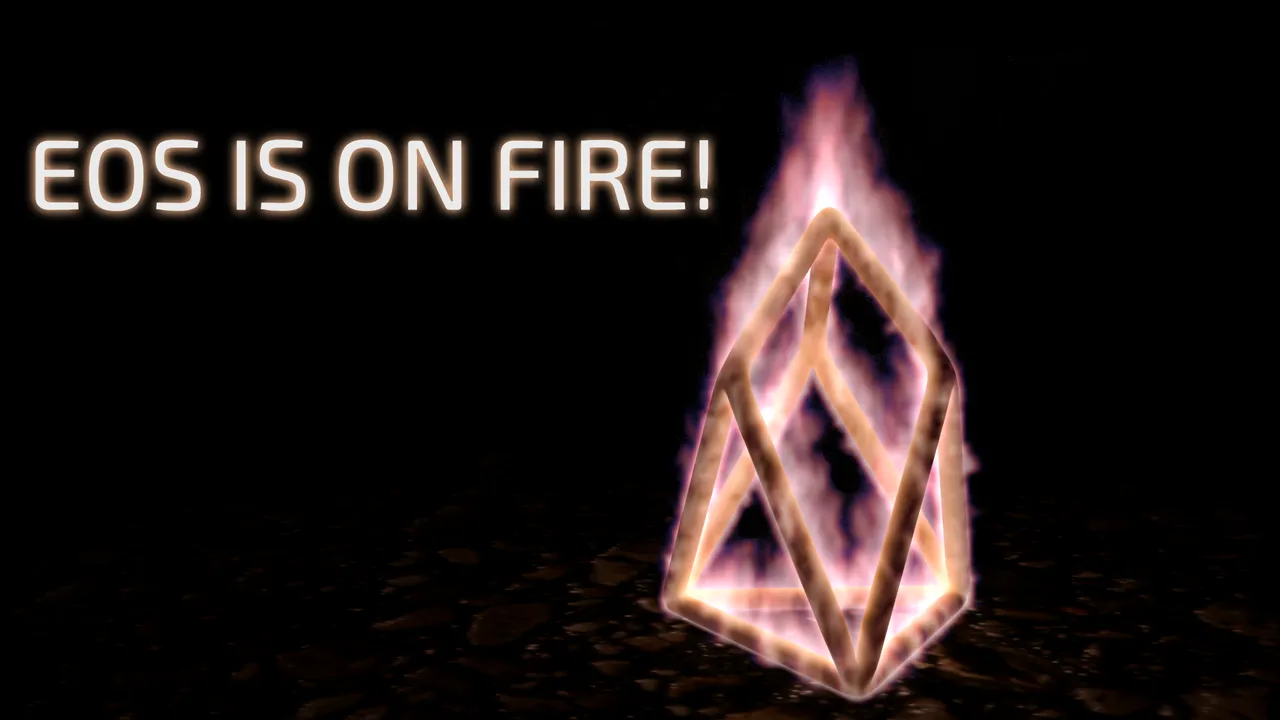
The final result looks like this.
Please let me know in the comments if this tutorial was interesting to you and if you want to see more Blender stuff.
All the best!
