Hola amigos, hoy quiero hablarles brevemente de la maravillosa oportunidad que tenemos de darle nueva vida a nuestros objetos de uso común, una vez desgastados o cuando simplemente cuando queremos realzar su forma, brillo y color con nueva personalidad, sin necesidad de recurrir a un profesional en la carpintería, albañilería y decoración; así que lo podemos hacer nosotros mismos en casa con un poco de sentido común, sentido estético y amor por nuestro hogar.
Hello friends, today I want to talk to you briefly about the wonderful opportunity we have to give new life to our objects of common use, once they are worn out or when we simply want to enhance their shape, shine and color with a new personality, without having to resort to a professional in carpentry, masonry and decoration; so we can do it ourselves at home with a little common sense, aesthetic sense and love for our home.
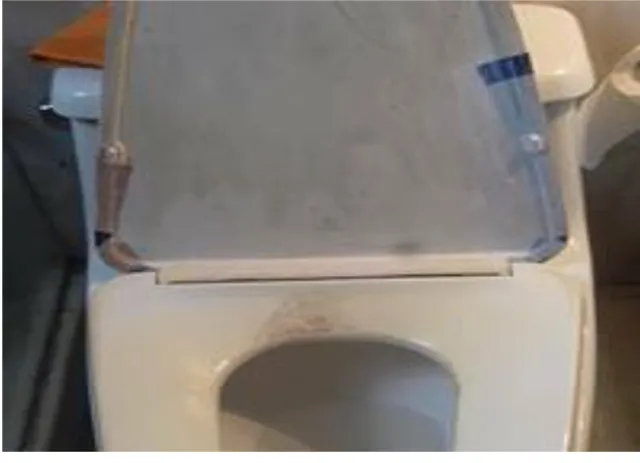
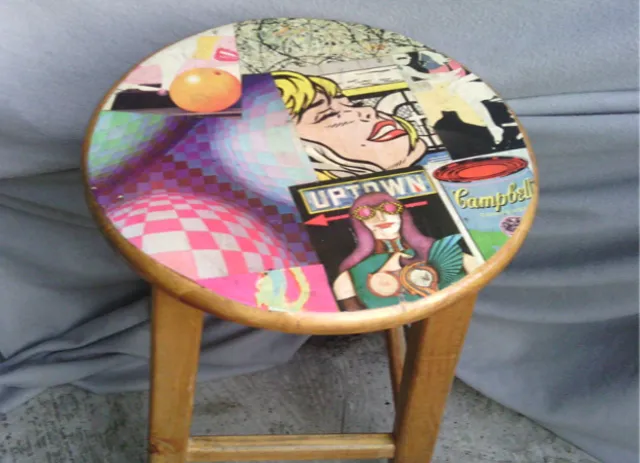
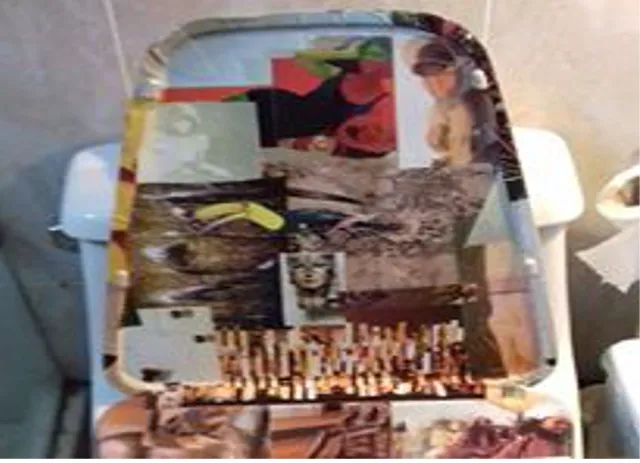
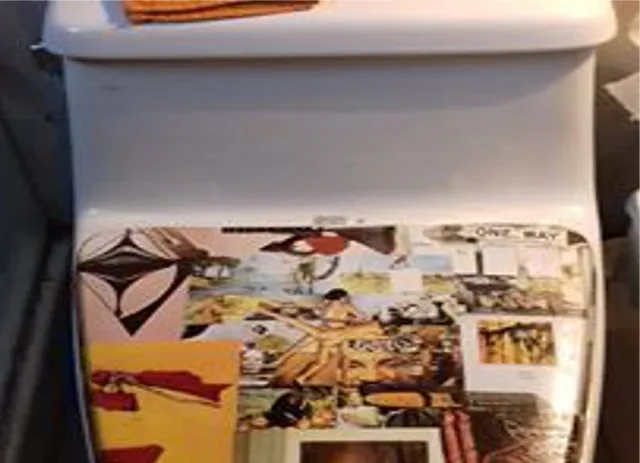
En el ejemplo de hoy yo recurrí a la técnica plástica del collage, hecho con recortes de revistas y enciclopedias de arte viejas que tenía en mi casa. Pude restaurar el inodoro del baño de una amiga, que por ser muy viejo no se consiguen fácilmente los repuestos, así que me puse manos a la obra y el resultado ha sido de mi agrado y de los amigos y familiares que visitan la casa de mi querida amiga y que quedó encantada.
In today's example I resorted to the plastic technique of collage, made with cuttings from old magazines and art encyclopedias I had at home. I was able to restore the toilet in a friend's bathroom, which because it is very old is not easily available, so I set to work and the result has been to my liking and that of the friends and family who visit my dear friend's house and who were delighted.
Les contaré paso a paso como realizar un collage que perdure y enaltezca sus espacios. Lo primero que debes hacer es seleccionar el espacio u objeto a restaurar y limpiarlo muy bien de polvo o material que posea sobre su superficie, debe estar limpio y poroso para que podamos trabajar sobre él.
I will tell you step by step how to make a collage that will last and enhance your spaces. The first thing you have to do is select the space or object to restore and clean it very well from dust or material on its surface, it must be clean and porous so that we can work on it.
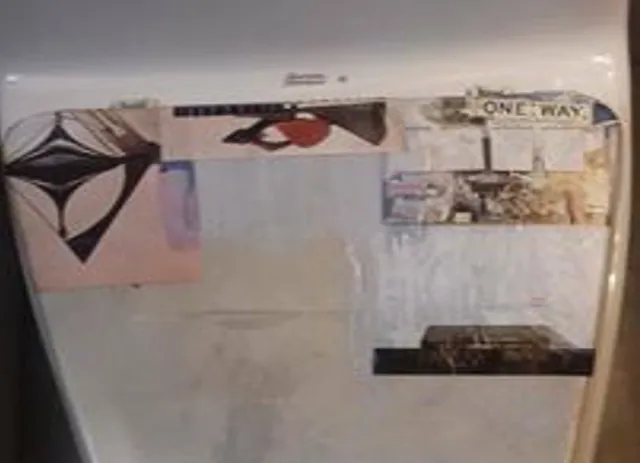
Debemos seleccionar las imágenes a nuestro gusto que preferiblemente tengan armonía entre sí y que reflejen lo que queremos decir y medir la superficie para recortar a la medida las imágenes. Debemos tener a la mano cola blanca para madera, una brocha y un pincel, así como pañitos para limpiar el exceso y limpiarnos las manos. Una vez recortadas las imágenes se pegan a la superficie, eliminando el aire que pueda haber quedado por debajo, con una tarjeta de plástico, paleta o con un pañito muy limpio, hasta ir armando el diseño querido y muy bien pegado.
We must select the images to our liking that preferably are in harmony with each other and reflect what we want to say and measure the surface to cut out the images. We should have white wood glue on hand, a brush and a paintbrush, as well as wipes to clean the excess and wipe our hands. Once the images have been cut out, they are glued to the surface, eliminating any air that may have been left underneath, with a plastic card, palette or a very clean cloth, until the desired design is created and very well glued.
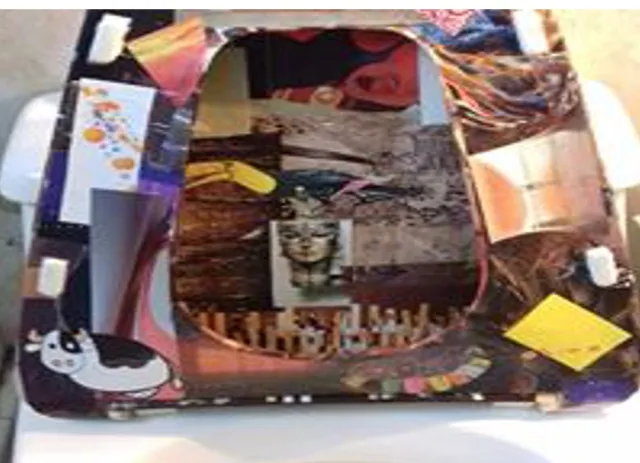
Una vez terminado el collage debemos barnizar con pega blanca toda la superficie y dejar secar muy bien por lo menos dos días para poder sellar con barníz del color de nuestra preferencia. Yo les sugiero transparente para mantener el color original de nuestras imágenes. Al transcurrir los dos días y luego de muy bien secado el barníz, ya podemos utilizar nuestros objetos renovados y con la alegría de que lo hicimos con nuestras manos, ahorramos dinero y aprendimos algo nuevo ese día. Espero lo pongan en práctica.
Once the collage is finished, we must varnish the entire surface with white glue and let it dry very well for at least two days so that we can seal it with varnish of the color of our preference. I suggest transparent to maintain the original color of our images. After two days and after the varnish has dried very well, we can use our renewed objects and with the joy that we did it with our hands, we saved money and learned something new that day. I hope you will put it into practice.
Nelson Ojeda