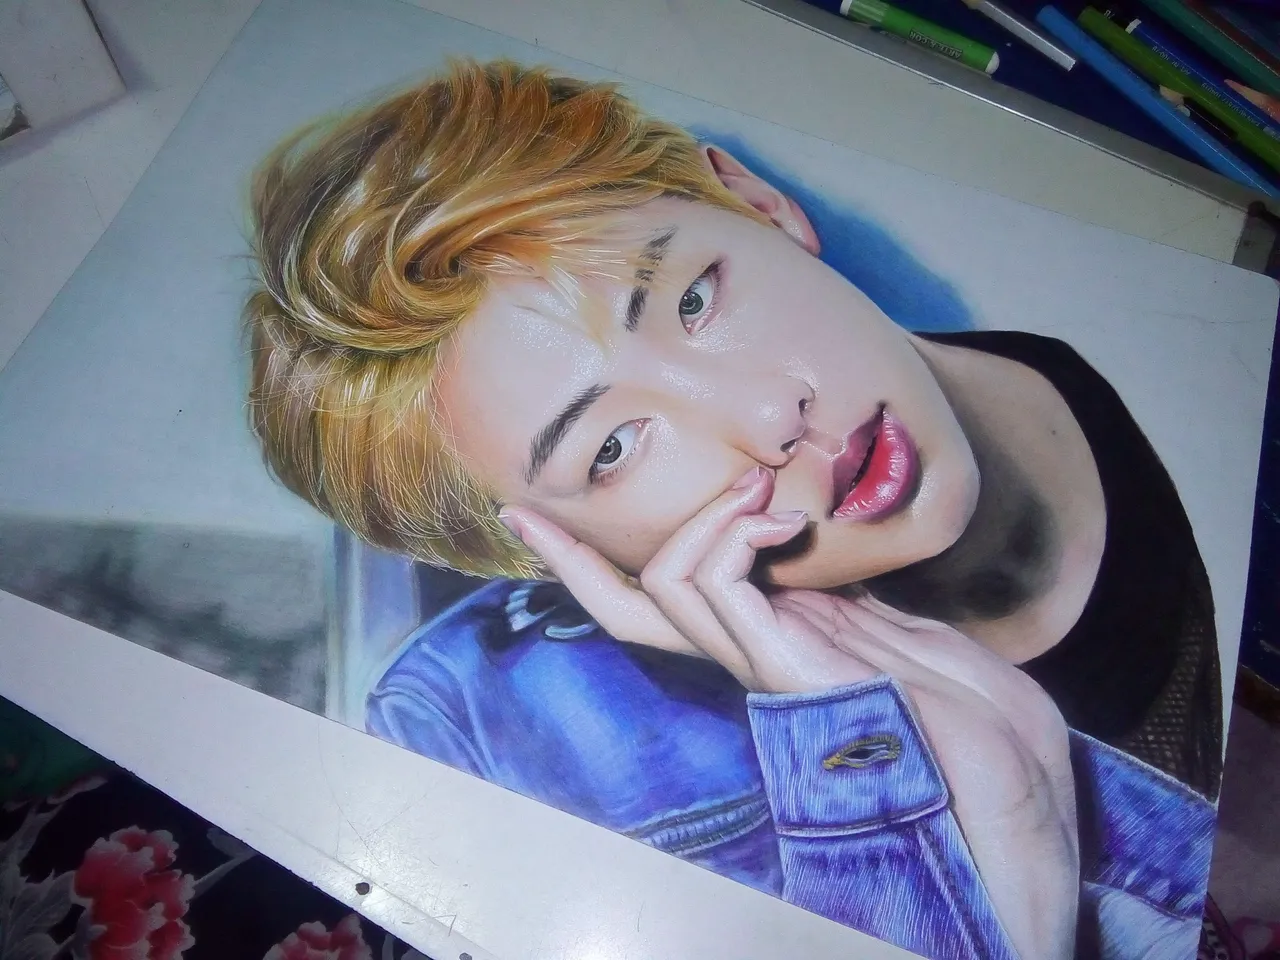
BTS LEADER
빙탄소년단 - 김남준
Hello again! I just want to share my artwork and now it comes with some step by step on how to do some techniques i did on this piece. This is a 2017 artwork i still haven't done my 2018 first artwork. I hope this one would help you guys. 😊
METHODs:
- Grid Method
- Sketching/outline
- Light to Dark Coloring/ Layer
- Indention
- Highlighting
- Detailing
MATERIALs:
- Faber Castell Classic Colored Pencils
- Vellum Board 8.5*13
- Staedtler 7B
- Uni°Ball Signo White Broad
WIPs:
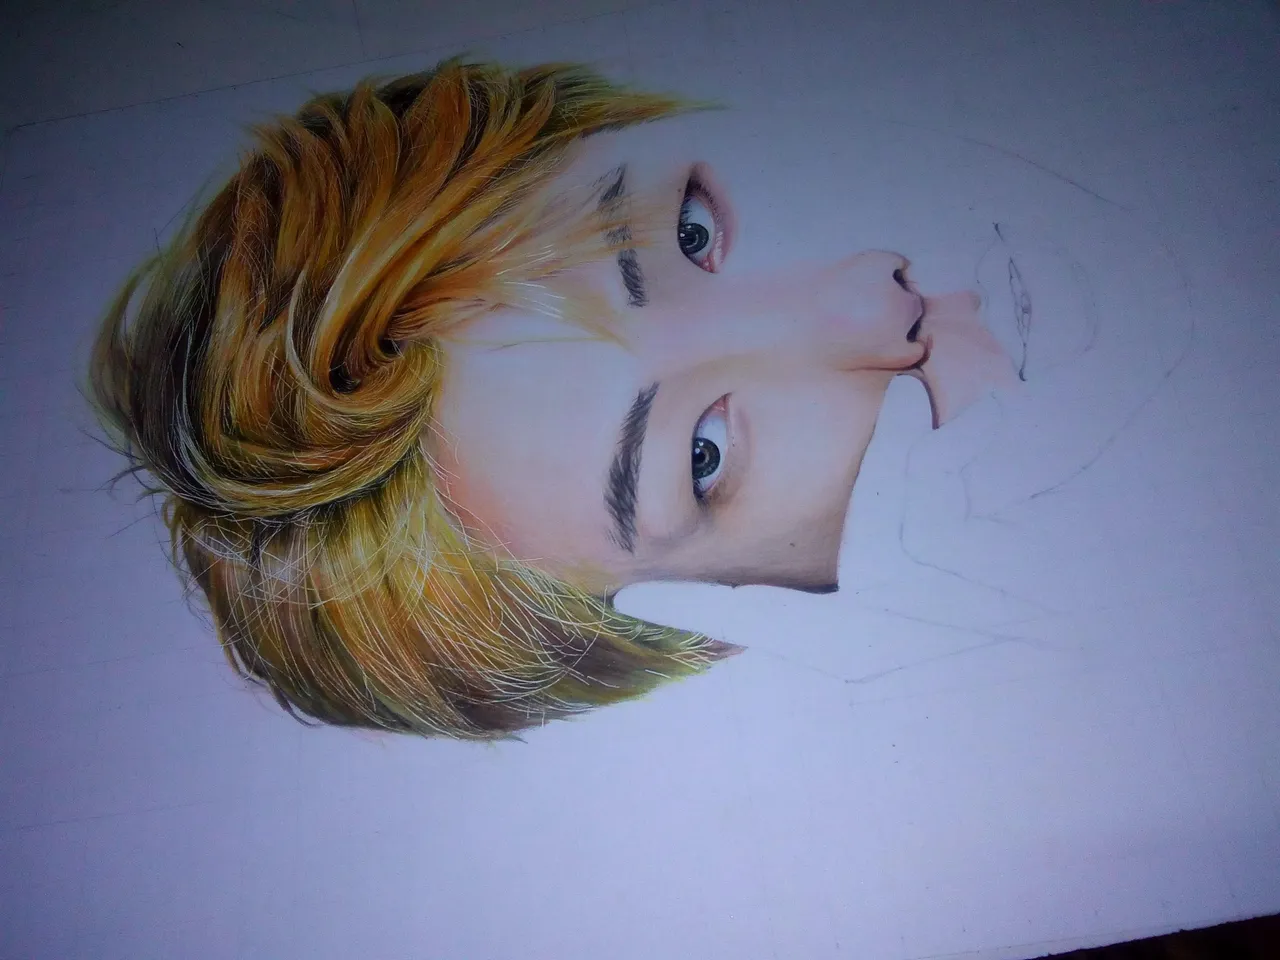
First, do the sketch/outline of your drawing.
When you're done, start to apply base colors.
➡Skin - Peach/flesh color
➡Hair(Black) - Gray, (Blonde) Cream
➡Lips - Pink or Peach/Flesh
➡Eyes - Black or Brown
I started to apply colors on eyes, i put peach first then brown on the line of the eyes. After that iput colors on eyes from light to dark(black). Detailing is the last method. Put gray colors around the eye then smudge using cotton buds. For the last touch, use white pen for the eyes' highlights. It'll give real look on your eyes. 😉
Then Proceed on the eye lids using black Colored Pencil, make it sure that its sharp, so you can do thin lids. On the Lower Eye skin, use red to put lines on it then put brown over it. Next put lower eyelids using black colored pencil again then retouch the lower skin with pink/red then smudge it using cotton buds again.
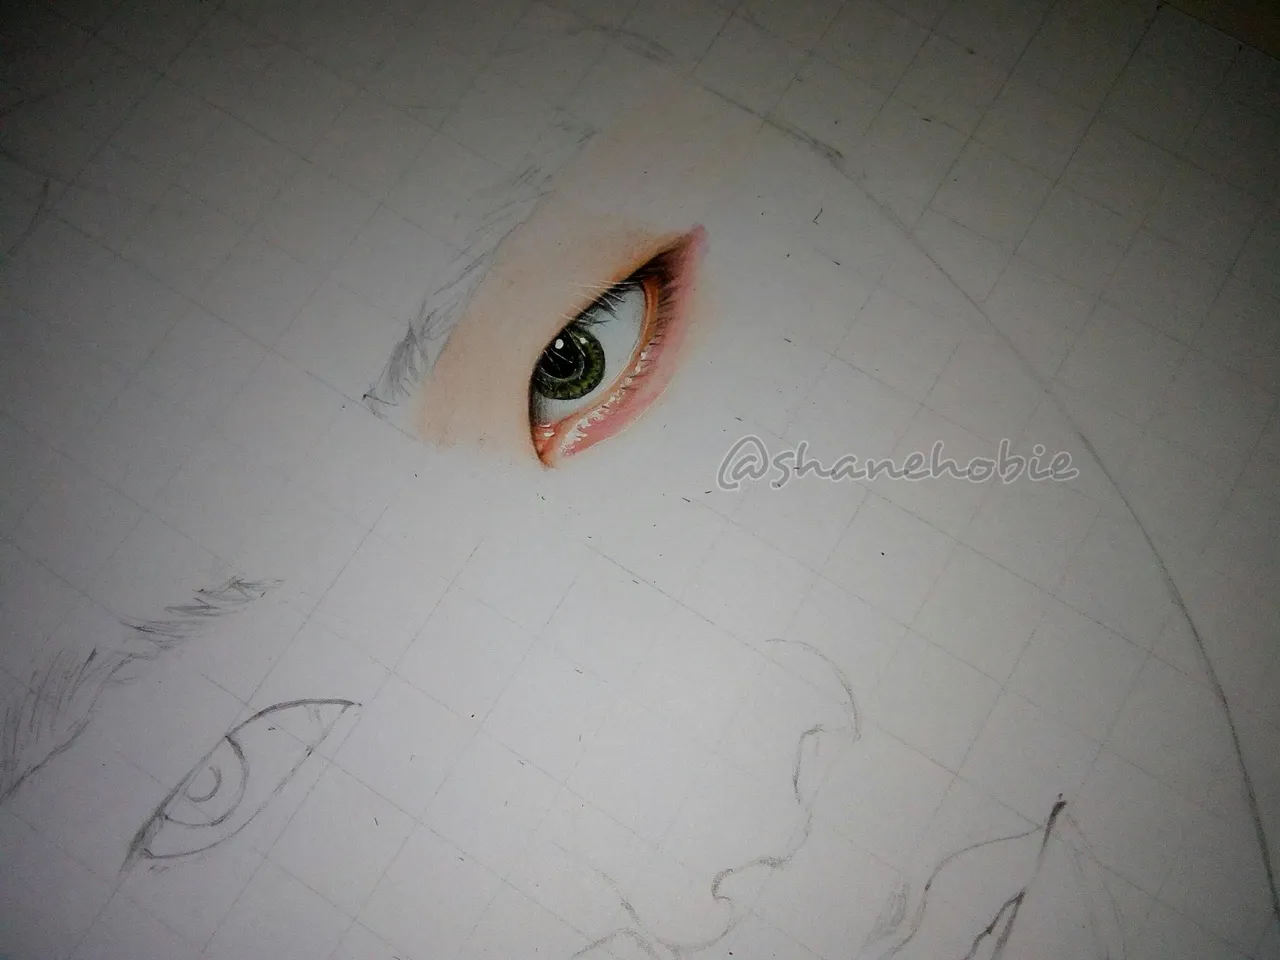
Do the same procedure on the left eye.
Use color Black to so the eye brows, 2 stroke opposite or make sure that you look at the reference photo to follow the eye brows directions also.
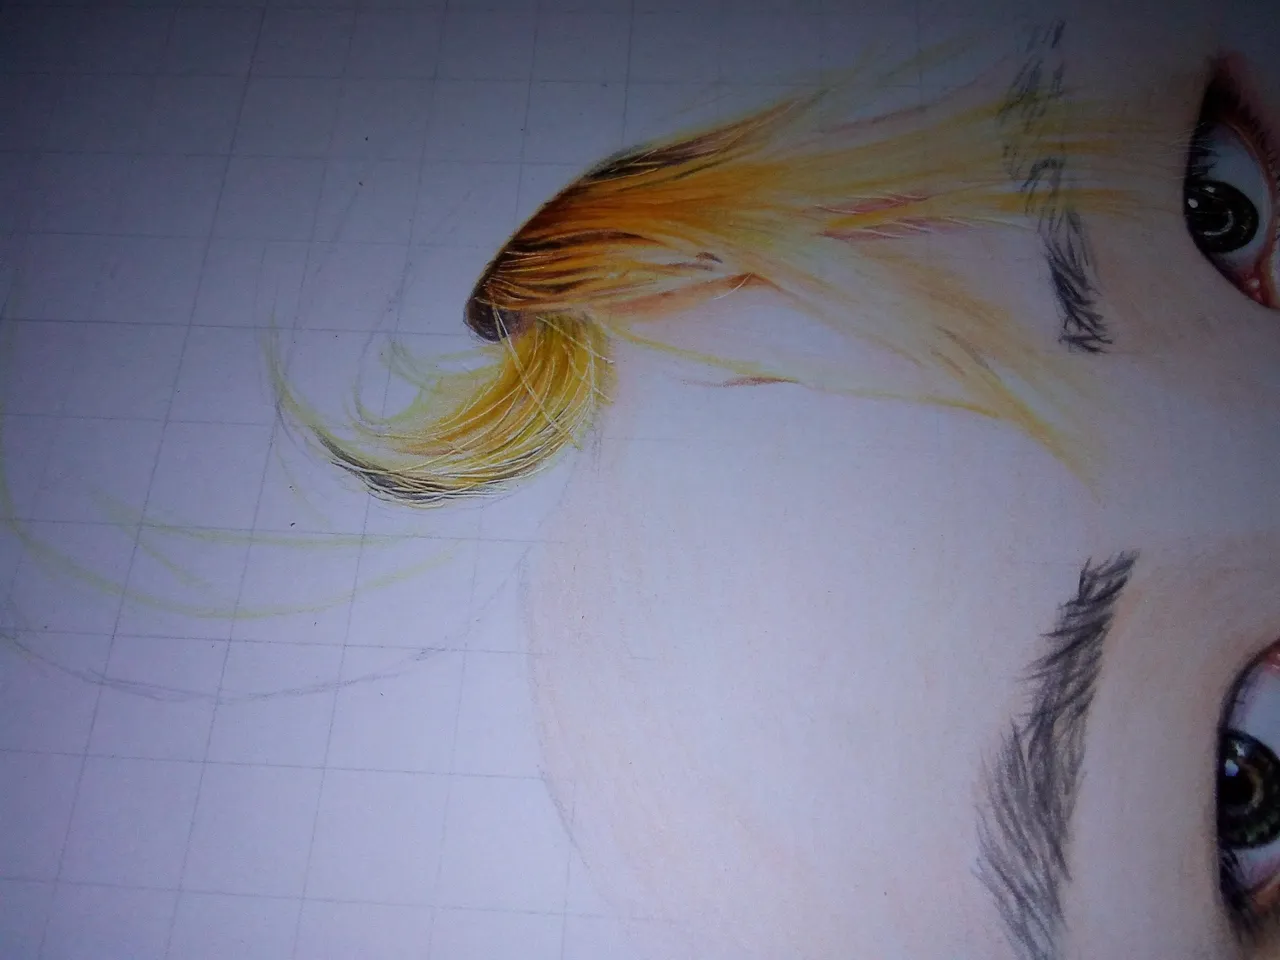
On the Hair befor applying colors, you must do the indentions.
➡Indention - you can use pointed materials here, you can use toothpick, the stick part of the earrings, needles etc. You must draw some lines like white hair strands, don't expect that it'll visible. Make it sure that it has pressure while doing it.After the indention, you must focus on hair shade colors because it'll give your hair a realistic look then you can start putting hair strands using the dark shade of hair color.
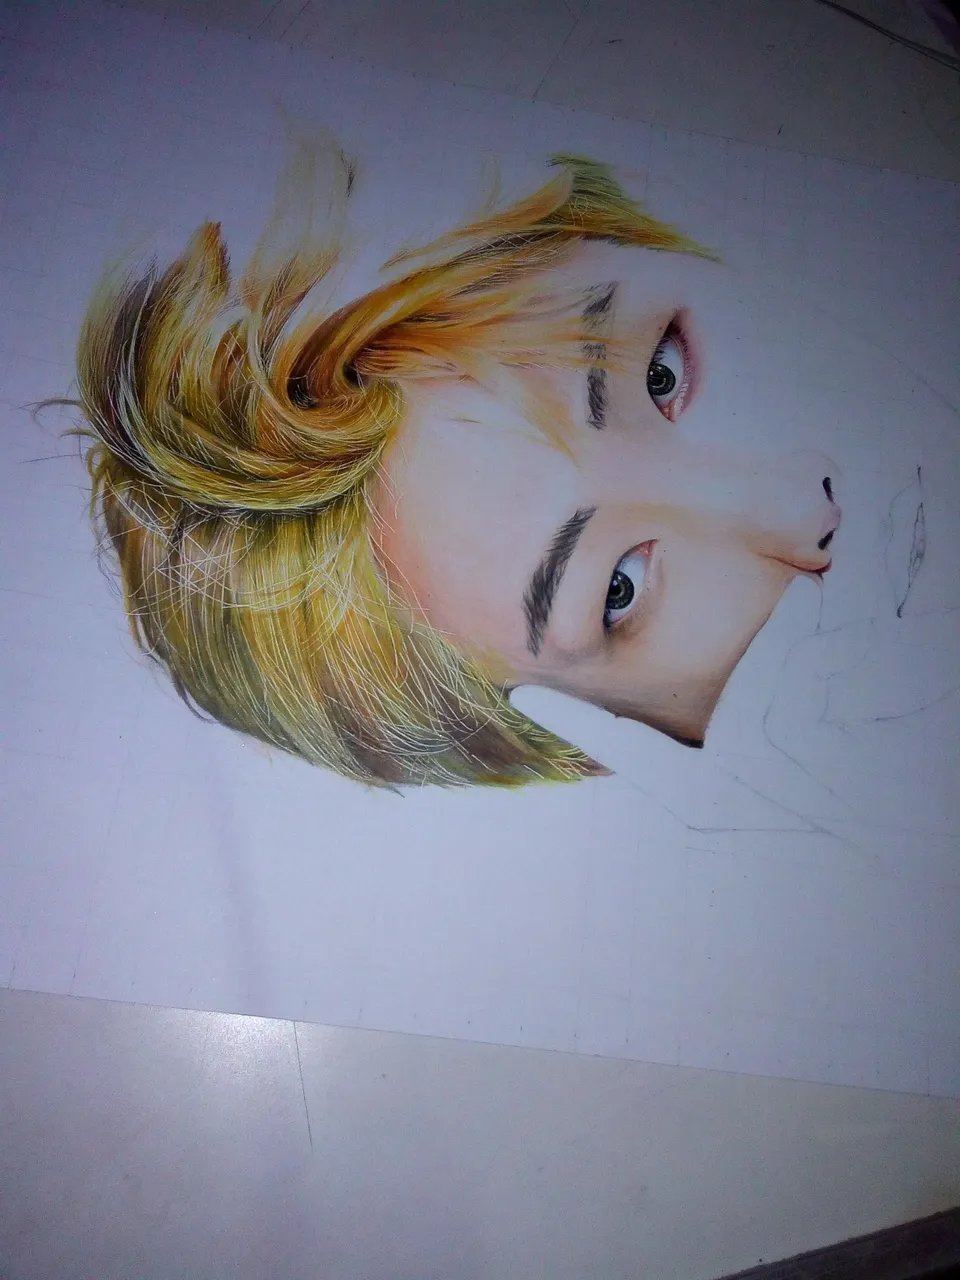
Proceed again to the face' skin, i use brown, gold ochre, pink, red and black/gray on the face lower shadow on the second layer and so on. Always smudge it after putting 1 color for smooth look.
Lips,(i use indention also on this) first put slightly flesh/peach color then smudge, after that use red for outlining the lips then put pink/red inside of the lips then smudge to blend the colors on the upper lip i applied violet color partially and gray. Last touch apply white pen on the lip's highlight.
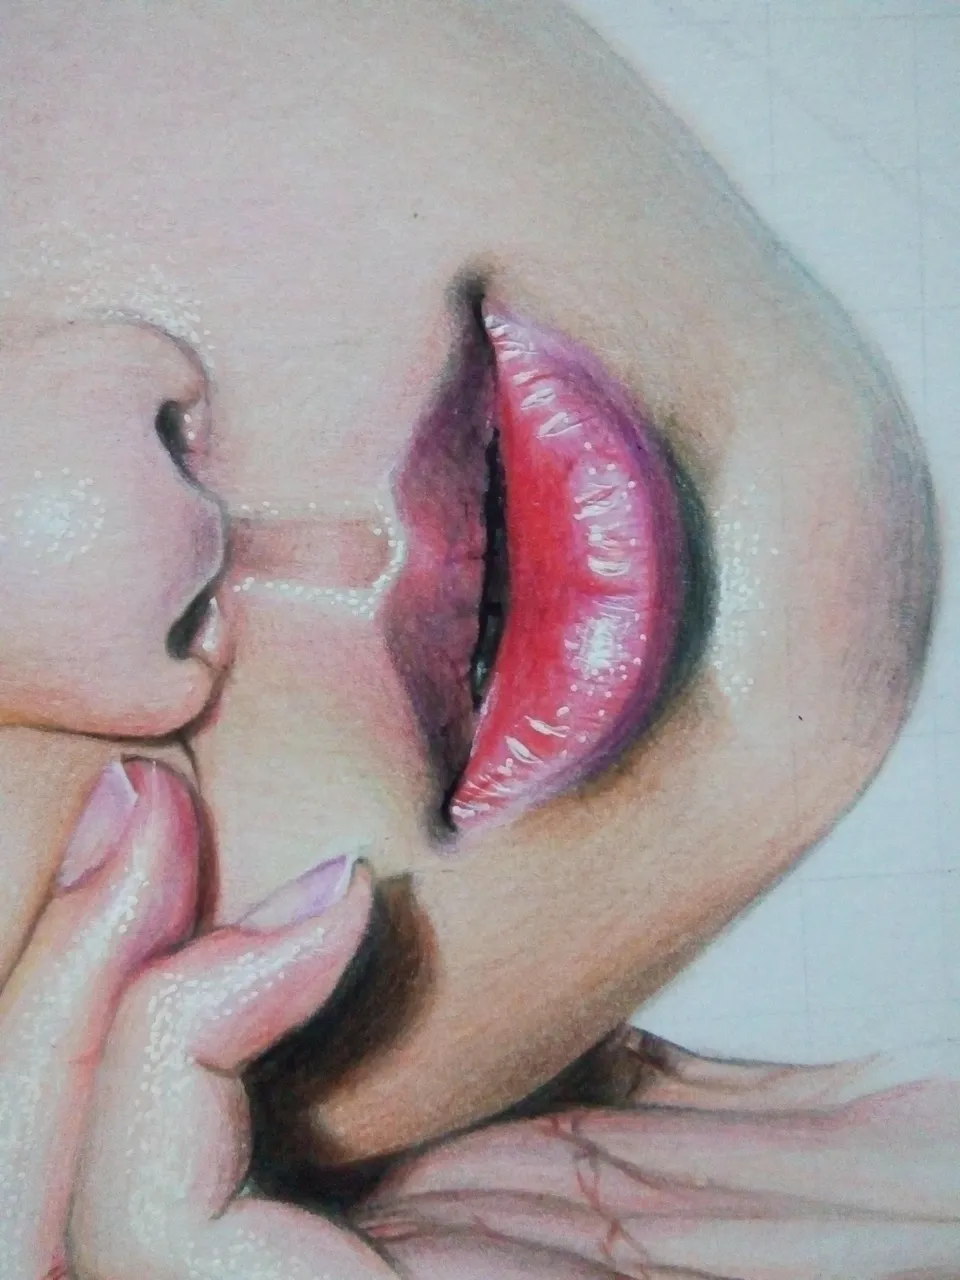
When the full face is done apply white pen on the facce' highlight, do it in pointillism method so it'll look like a shiny pores.
Do the same procedure on his hand, use dark brown on the hand's palm veins.
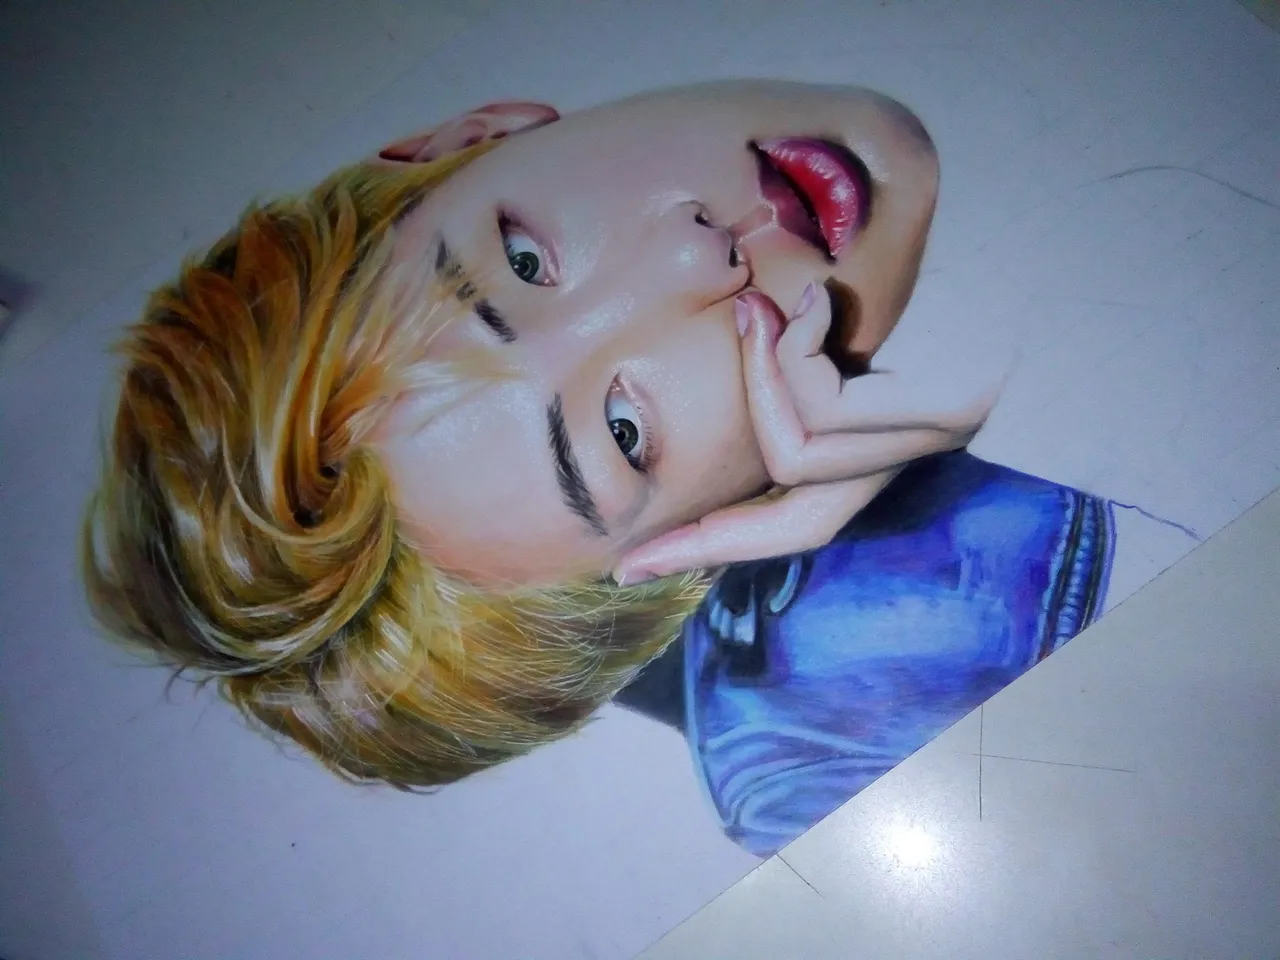
- I use indentions also on his coat.
- Do the same procedure again on his neck, light to dark coloring.
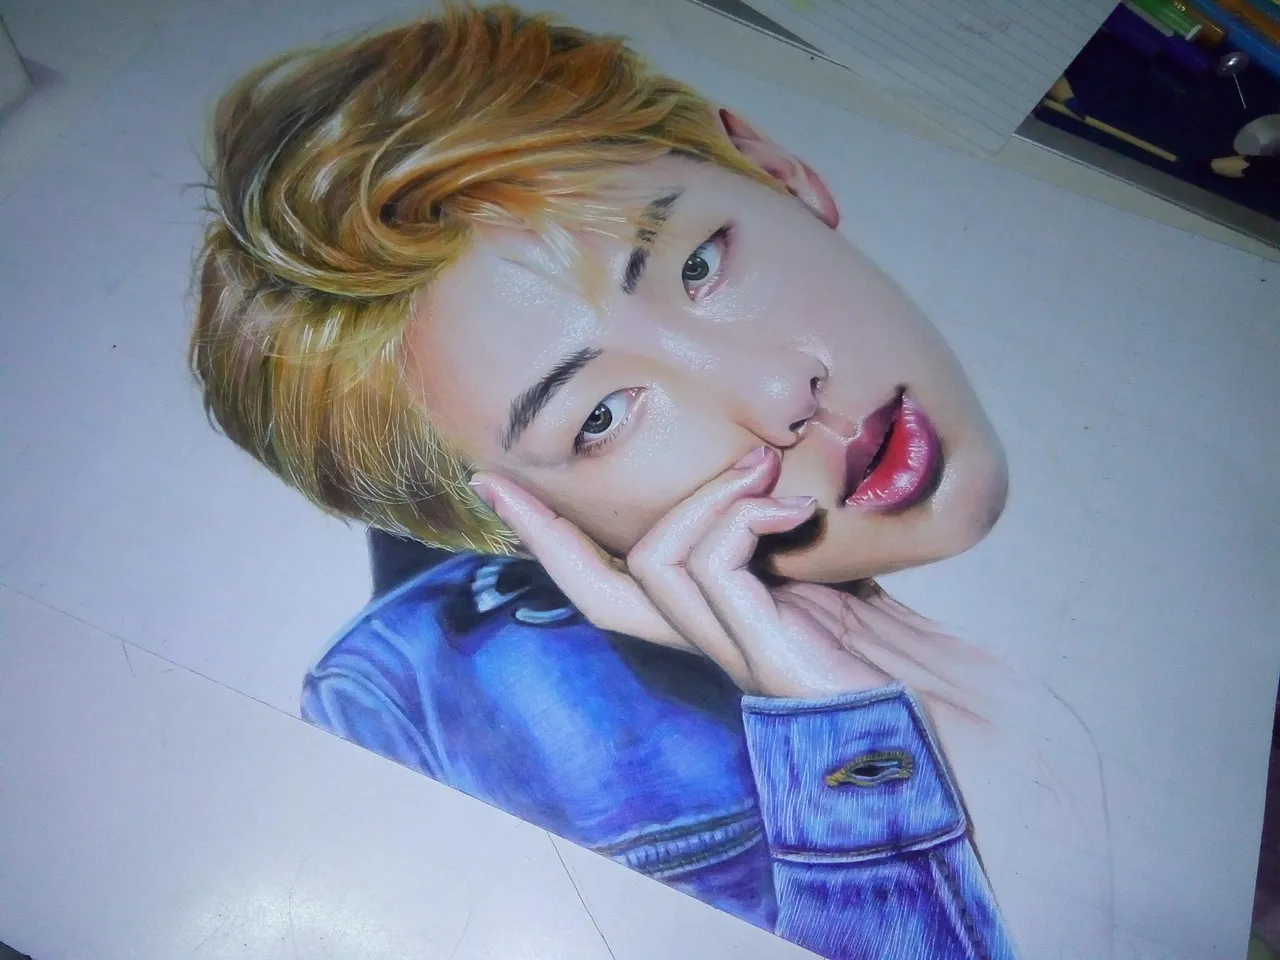
- Lastly do the background.

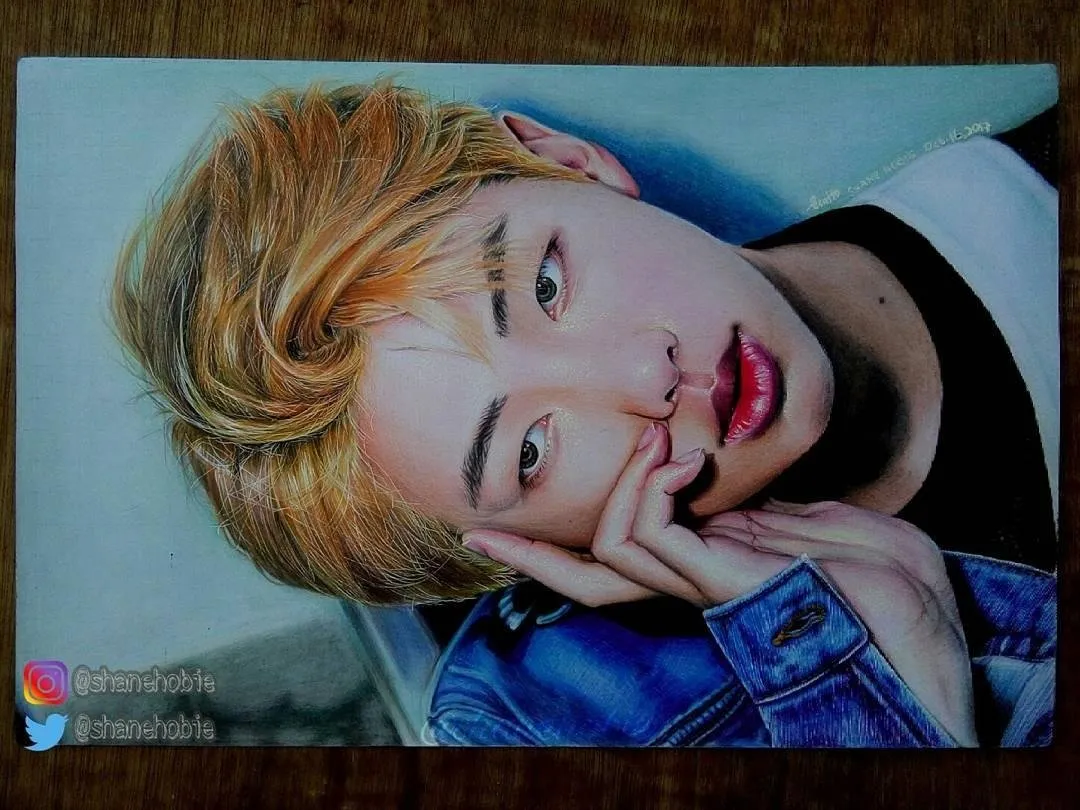
FINISHED:
without Flash
with Flash
#untalented #art #steemph #atguildph #philippines
THANKYOU FOR VIEWING MY ART BLOG💜