Links to used software are at the bottom.
Links zur verwendeten Software sind am Ende.
Introduction / Einführung
At first i have to admit, that i have NO CLUE what i'm doing here. I grew up using C only for 32bit (and 64bit). And i'm not good at even this. So this is just a little bit playing around, and see if i can get something to work.
The Goal is to make something graphical. But thats far away. Lets start with setting up FreeDos and make a Hello-World-Program!
Zuerst einmal: ich hab keine Ahnung von dem was ich hier tue. Bisher habe ich in C nur 32bit (und 64bit) und bin auch damit nicht besonders gut. ich spiele hier also hauptsächlich nur ein wenig herum, und sehe wie weit ich damit komme. Das Ziel ist irgendwas mit Grafik hinzubekommen. Das wird aber vermutlich ein langer Weg. Fangen wir erstmal an FreeDos und ein Hello-World-Programm zum laufen zu bekommen!
Setting up FreeDos / FreeDos Aufsetzen
Creating a Harddrive / Eine Festplatte erstellen
At first we need a "harddrive". I'll use a file in raw-format. 1 Gigabyte is very much for DOS, so this is enough.
Als erstes brauchen wir mal eine "Festplatte". Ich werde eine Datei im raw-Format verwenden. 1 Gigabyte ist für DOS verdammt viel, also sollte das locker reichen.
qemu-img create dos.img 1GNext we have to install FreeDos on the disk. FreeDos have a nice Tutorial for this.
Als nächstes müssen wir FreeDos installieren. Dafür hat FreeDos ein schönes Tutorial.
Starting qemu / qemu starten
To start qemu, i'm using this configuration:
Um qemu zu starten benutze ich folgende konfiguration:
qemu-system-i386 -m 16 -k de -drive format=raw,file=dos.img -cdrom fd12cd.iso -sdl- -m
16 Megabyte RAM
- -k de
german keyboard layout / deutsches Tastaturlayout
- -drive format=raw,file=dos.img
Harddrive with the created file / Eine Festplatte mit der erstellten Datei
- -cdrom fd12cd.iso
Using a FreeDos ISO as CD-Rom / Benutze ein FreeDos ISO als CD-Rom
- -sdl
strangely my keyboard does not work correctly without this / Ohne das funktioniert bei mir die AltGr Taste nicht vernünftig.
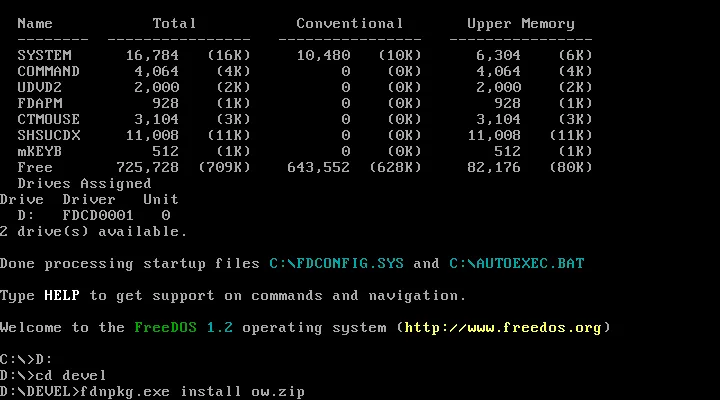
Installing OpenWatcom / OpenWatcom installieren
While the FreeDos-ISO is still inserted, we can install OpenWatcom direct from the devel-packages from the CD.
Von der FreeDos-CD können wir einfach OpenWatcom von den devel-Paket installieren.
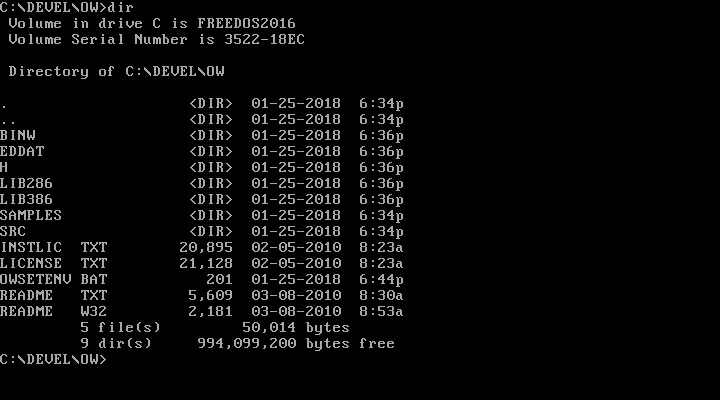
After the installation we can have a look at C:\devel\ow ...
Nach der Installation schauen wir mal nach C:\devel\ow ...
... and alter the owsetenv.bat a little bit.
... und passen die owsetenv.bat ein bisschen an.
edit owsetenv.bat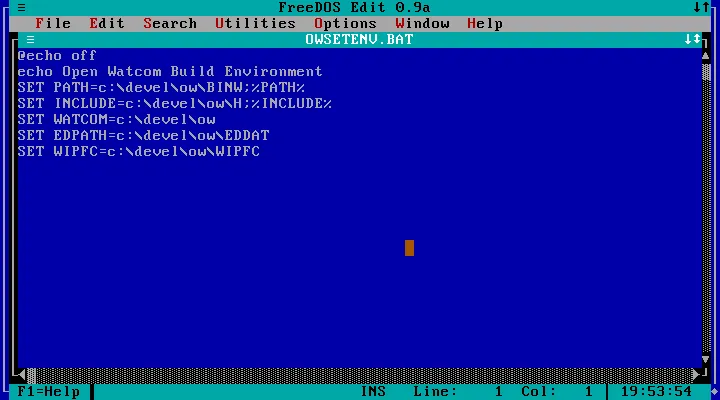
In my case i had to fix all paths. Lets save and execute the file. Now the OpenWatcom-Environment should work! I always want this at startup, so i'll write it into the autoexec.bat. With OpenWatcom comes DOS-Version of the vi-editor. Lets try it out: vi C:\autoexec.bat
In meinem Fall musste ich alle Pfade anpassen. Jetzt noch speichern und ausführen. Dann sollte die OpenWatcom-Umgebung funktionieren. Das soll beim Systemstart immer passieren, also schreibe ich das ganze in die autoexec.bat. Mit OpenWatcom kommt eine DOS-Version des vi-editors. Den wollen wir gleich mal testen: vi C:\autoexec.bat
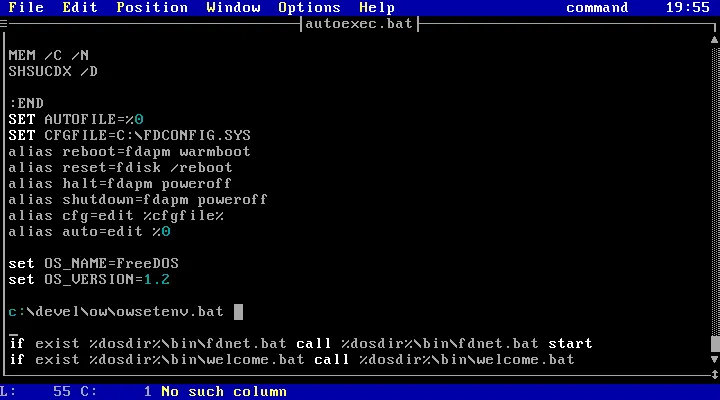
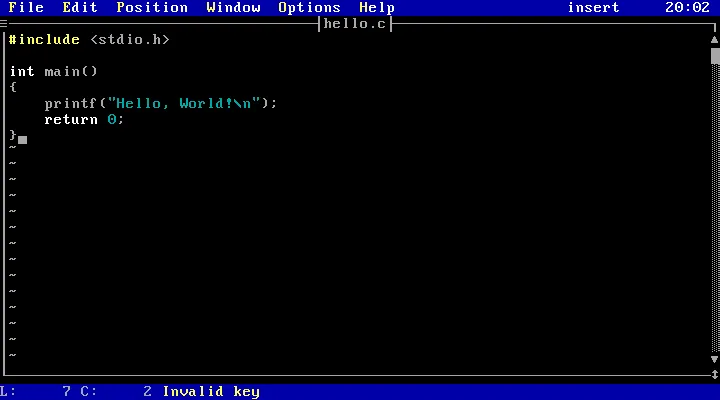
Syntax-Highlighting, YAY \o/
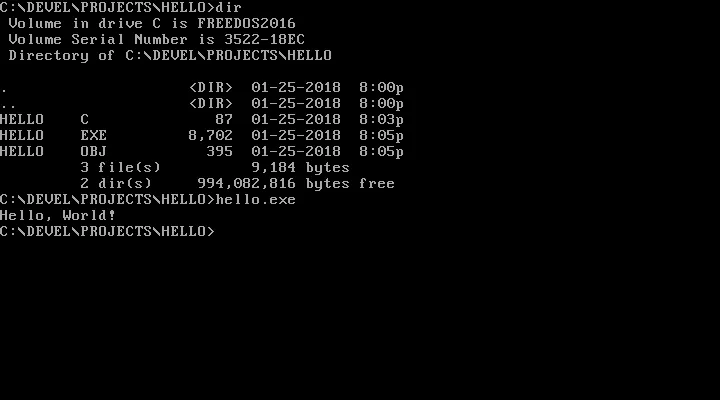
Hello, World!
Writing the code / Den Code schreiben
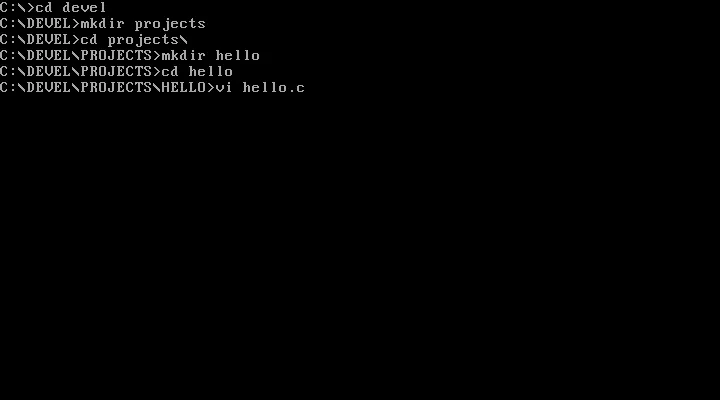
Ok, now lets create some folders for the future and create a hello-world-program:
Ok, jetzt noch ein paar ordner für die Zukunft anlegen und ein Hello-World-Programm schreiben:
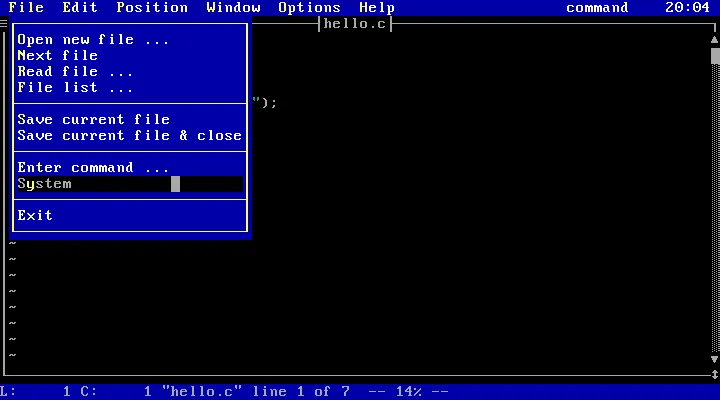
We don't need to leave vi to compile and execute the program. We can put it in the "background" and jump back later.
We müssen vi nicht beenden um das Programm zu kompilieren und auszuführen. Wir können es einfach in den "Hintergrund" schieben und später zurückholen.
Compiling and executing / Kompilieren und ausführen
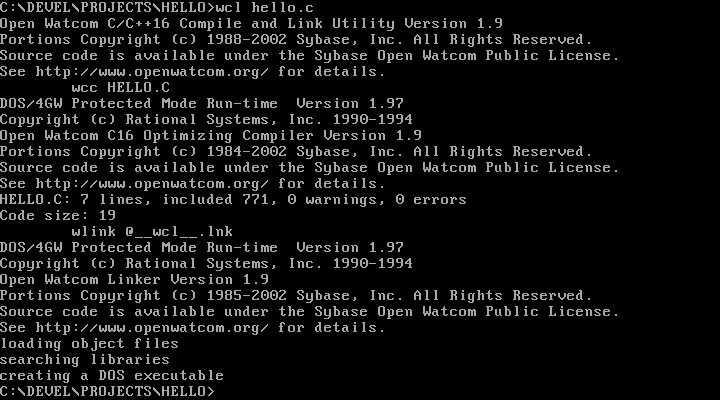
The rest should be self-explaining. The compiler and linker are executed with the
wcl.exe [sourcecode].
Der Rest sollte selbsterklärend sein. Der Kompiler und Linker werden mit
wcl.exe [sourcecode] ausgeführt.
And finally...
Und endlich...
To go back to vi, just type exit. This was the easy part, in Step 2 i hope i can get a little bit graphics to work.
Um zu vi zurückzukehren, einfach exit eingeben. Das war der einfache Teil. im Step 2 bekomme ich hoffentlich ein kleines bisschen Grafik hin.
Questions? Suggestions? Found Mistakes? Criticism? Please let me know in the comments!
Fragen? Vorschläge? Fehler gefunden? Kritik? Bitte alles in die Kommentare!
Software: