It’s time! Up until now, I have introduced a lot of theory to you with regards to the natural soap-making process. But today, I will guide you through the steps to make your very own batch of hard and completely natural soap.
While we have fun, we can also study the saponification process in a little more detail. This is the process that turns your oils, water, and lye into a healthy, hard, and “lathery” bar of soap.

Step One: Gather Your Equipment
In my article “Learn How To Make Your Own Natural Soap – Stocking Up On The Essentials” we had a look at what type of equipment you will need to make soap successfully. Please refer to this post and layout your items for easy access. You should also:
- Make sure that your stick blender is plugged in and ready for use (remember that you should only use a stick blender with stainless steel blades)
- Make sure you are wearing your rubber gloves and safety glasses
- Make sure there are no pets or children around (the fumes from the lye and water solution can be harmful and so can the solution itself if it comes into contact with skin)
- Make sure your kitchen sink is clear and ready to accommodate dishes that have traces of lye in them
Step Two: Gather Your Ingredients
The ingredients for each soap recipe will change and this is one thing I simply love about making soap! You can try out all sorts of recipes using unique ingredients that each have specific healing or nourishing benefits.
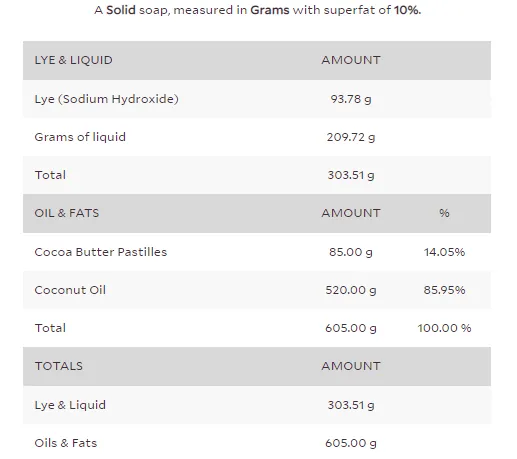
In this post, we are going to make a “chocolate bar” of hard natural soap and the ingredients you will need are as follows:
- 520 grams of Coconut oil
- 85 grams Cacao Butter pastels
- 209.72 grams of Water
- 93.78 grams Lye (Sodium Hydroxide)
- 1 heaped tablespoon of Cacao Powder
I chose this recipe because it is made from oils that harden (unlike oils such as olive oil or grapeseed oil that remain in a liquid state). Because the oils harden, the saponification process is quicker than if liquid oils were used in the recipe. This means your bar of soap will be ready for use within a day or two.
* The longer you leave your soap to harden, the more it will lather. If you are making soap to sell, I suggest you store each batch for a few months before placing it on your shelves.
I measured out my ingredients by focusing on my oils first.
I took 520 grams of coconut oil and of 85 grams of cacao butter pellets and then entered these amounts into a lye calculator to reach the exact measurements of water and lye that need to be added.
* I used a superfatting level of 10% so that the soaps will moisturise the skin well.
Step Three: Combining the Ingredients
* At this point, you want to make sure that you are wearing your rubber gloves and safety glasses.
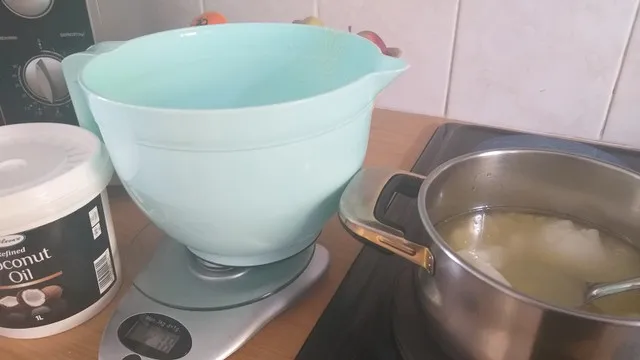
- Starting with my oils, I melted my hard coconut oil on a low heat until it was all in liquid form. Make sure not to bring the oil to a boil – this would mean that you would have to wait a long time for it to cool before continuing with the recipe.
- Add the cacao butter pellets to your warm oil and stir them in until they melt too.
- Pour your oils into a plastic or stainless-steel missing bowl.
- Add the water to your second and separate mixing bowl.
- Slowly pour the lye into the water. Always remember that for safety reasons, the lye should be added to the water and not water to lye. I also like to do this step outdoors. This solution is caustic and lets off fumes that can be harmful to your lungs. Being outdoors means that the wind will safely carry the fumes away.
- Slowly stir the water-lye solution until all of the sodium hydroxide crystals have evaporated.
- When you place your hand on the mixing bowl with the lye solution, you will feel that it is very warm. This is because the chemical reaction creates heat.
- When your oils and lye solution is at the same temperature, it’s time to mix the two together. You can use a thermometer to check the temperatures or you can feel the sides of the bowl (as long as they “feel” similar then it’s OK to proceed).
- Again, it’s safer to add your lye solution to your oils, and not the other way around.
- Give a gentle stir. You will see that your oils start to thicken and change colour immediately.
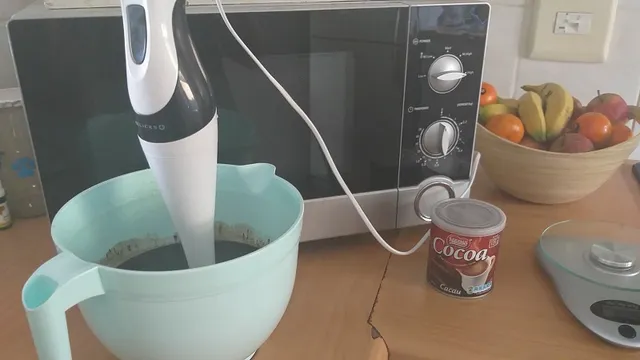
- It’s at this point that you add your tablespoon of cacao powder.
- Take your stick blender and blend on slow. As soon as the mixture reaches trace (visit this link for a definition on trace) then your mixture is ready. Because the powder is added, trace is reached very quickly, so pay caution and blend slowly.
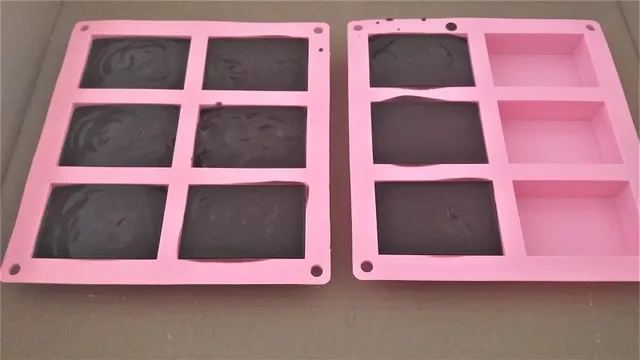
- Now you can pour your mixture into your plastic or silicone molds and allows the saponification process to take place.
This recipe makes about 8 bars of soap (depending on the type of molds you are using).
Step Four: Saponification
What is saponification, exactly?
Saponification is the process by where triglycerides react with sodium hydroxide (lye) to form glycerol and a fatty acid salt – that is "soap." When making natural soap, the triglycerides come from plant-based oils. Once the sodium hydroxide is used up in the chemical reaction, a hard soap is produced.
* Using potassium hydroxide results in soft soap.
Because we used oils that solidify, the sopafinication process is sped up slightly. This means that instead of taking a few days for the bar of soap to harden, they will be hard enough to release from their molds in just 24 hours.
One very important thing to remember is that for the chemical reaction to take place effectively, heat is required. That’s why I always place my molds in a cake box. I place a lid on the box and then I further insulate it with a towel or blanket. If you live in an extremely hot location, then you don’t have to add the extra insulation.
And there you have your very first batch of soap – ready for use! Remember though, if you want an extra hard bar of soap that lathers well, then let it rest for 6 weeks before use.
Much love - @sweetpea