About a year ago, I decided to make my own magnetic makeup board. My makeup case was way too big and folds out to take up a whole lot of space. It didn't fit on my counter top because I live in an apartment and space is limited! I had seen magnetic makeup boards before on Pintrest and decided to make my own. I went to Walmart and bought a fairly inexpensive dry erase board with a black frame, magnets, and glue sticks. I also went to Hobby Lobby to pick out some fabric.
When I got everything together, I thought that I had it all planned out and ready. I didn't actually read any of the tutorials on how to make one, and decided I was just going to wing it. I first imagined that I could remove the board from the frame and tuck the fabric around the board then replace the frame to hold it all in place, but soon realized that the one that I bought didn't really come apart, so I had to come up with a plan B. Luckily, my boyfriend had some spray adhesive lying around so I measured and cut the fabric just to cover the white magnetic dry erase board. Apparently, my cutting skills are a bit subpar and there were many white spaces left along the edges as well as parts that were too long. At the time, I had decided that it was good enough and just went on and used it as it was.
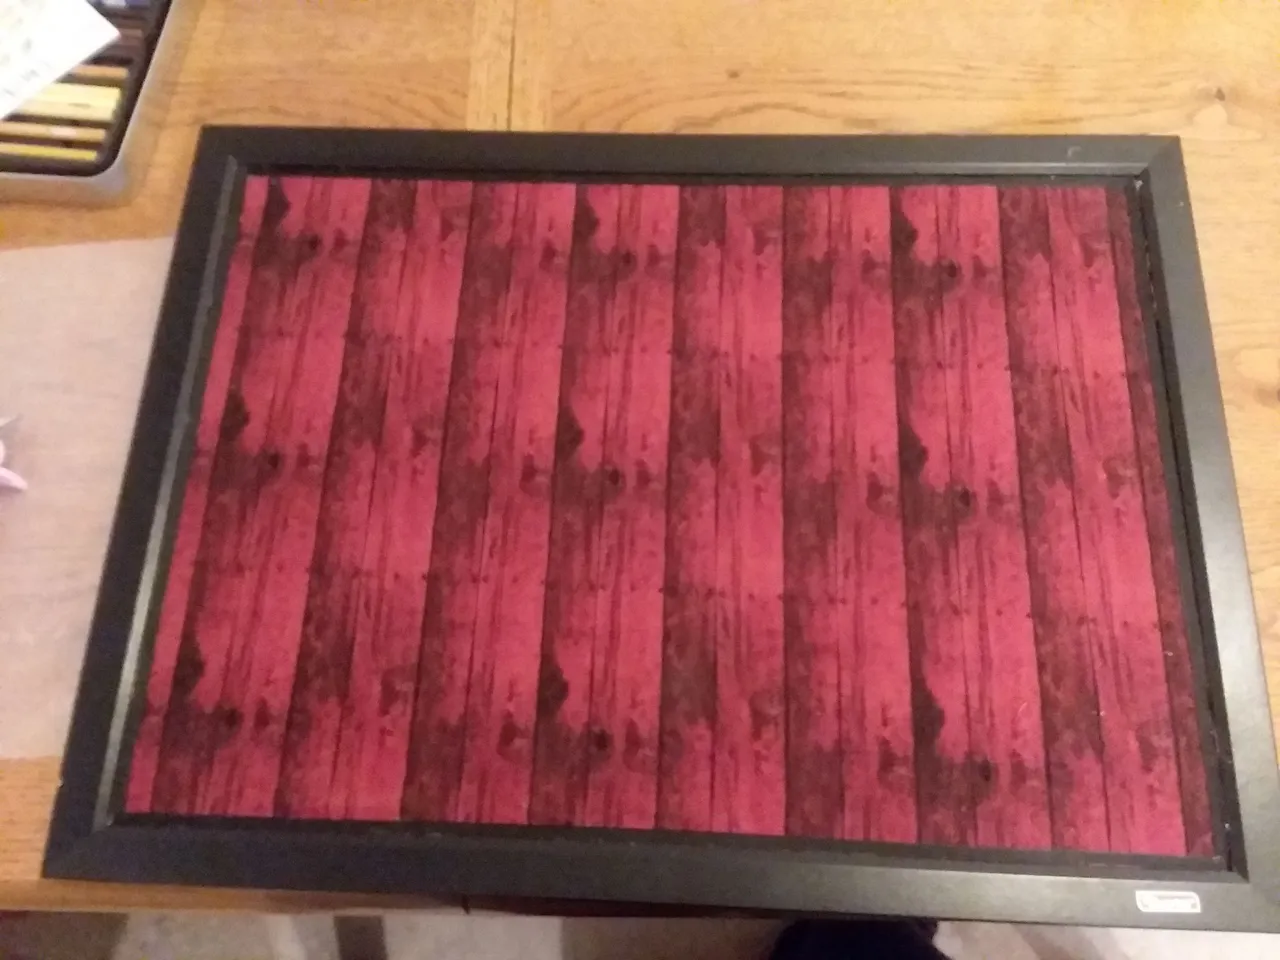
I recently have had a bit of time on my hands and decided that I would try to spruce my makeup board up a bit. I also had a bunch of new makeup that needed magnets and wanted to take down some of the makeup I don't reach for very often. I took down all the old makeup and carried my board to the kitchen to get started.
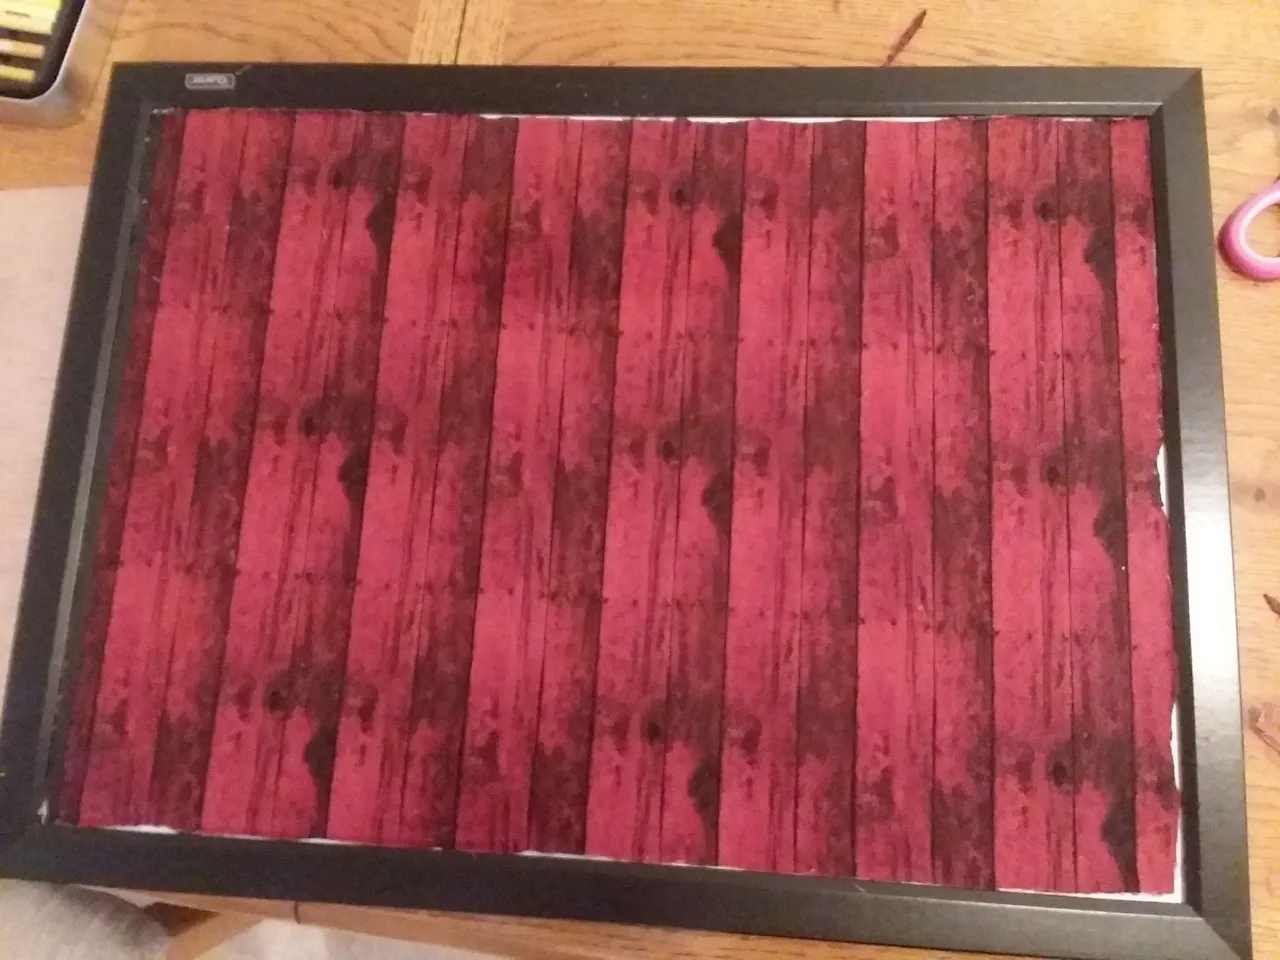
Yup.... It was pretty rough looking...
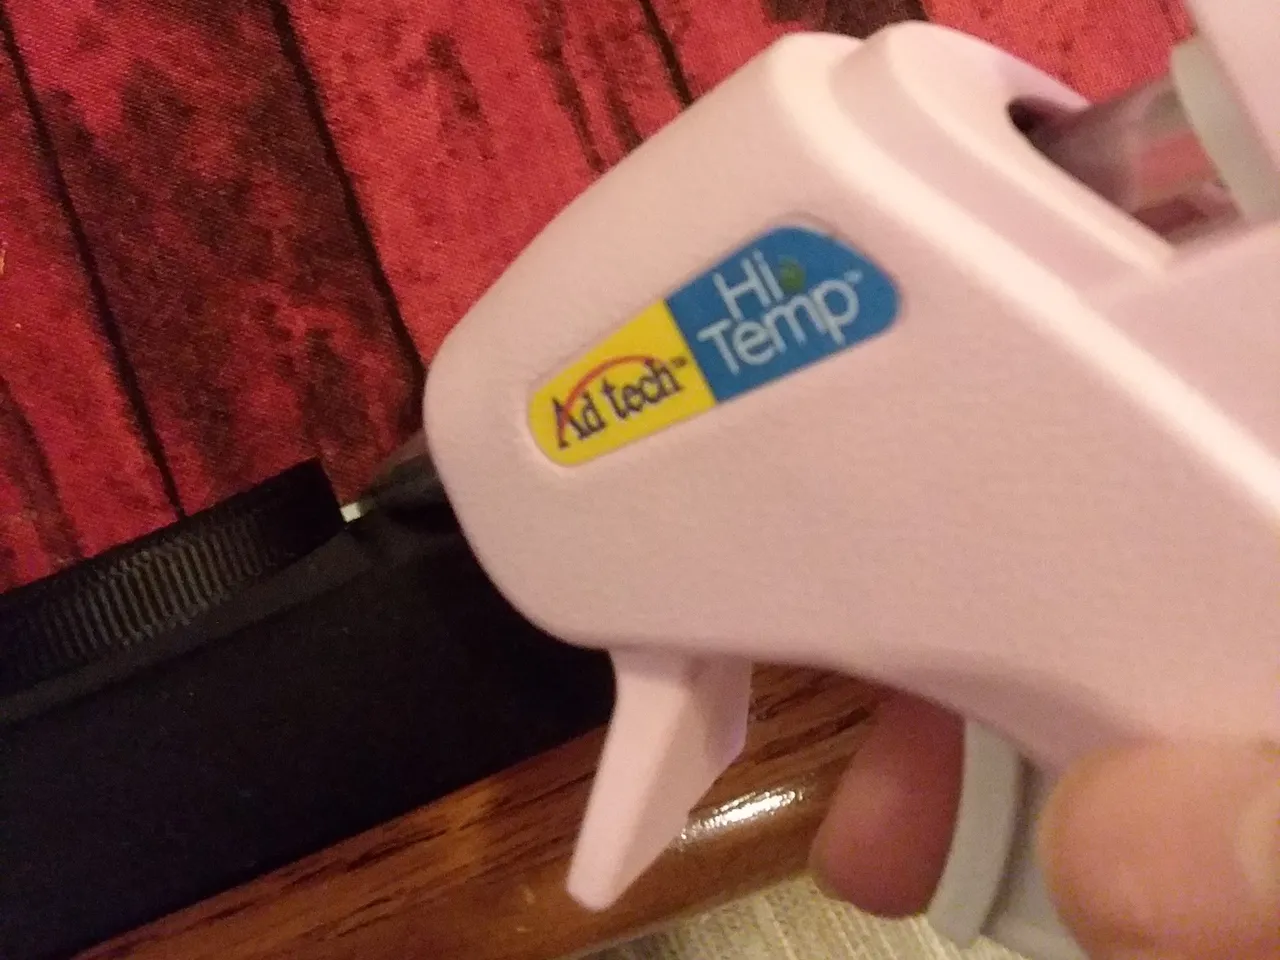
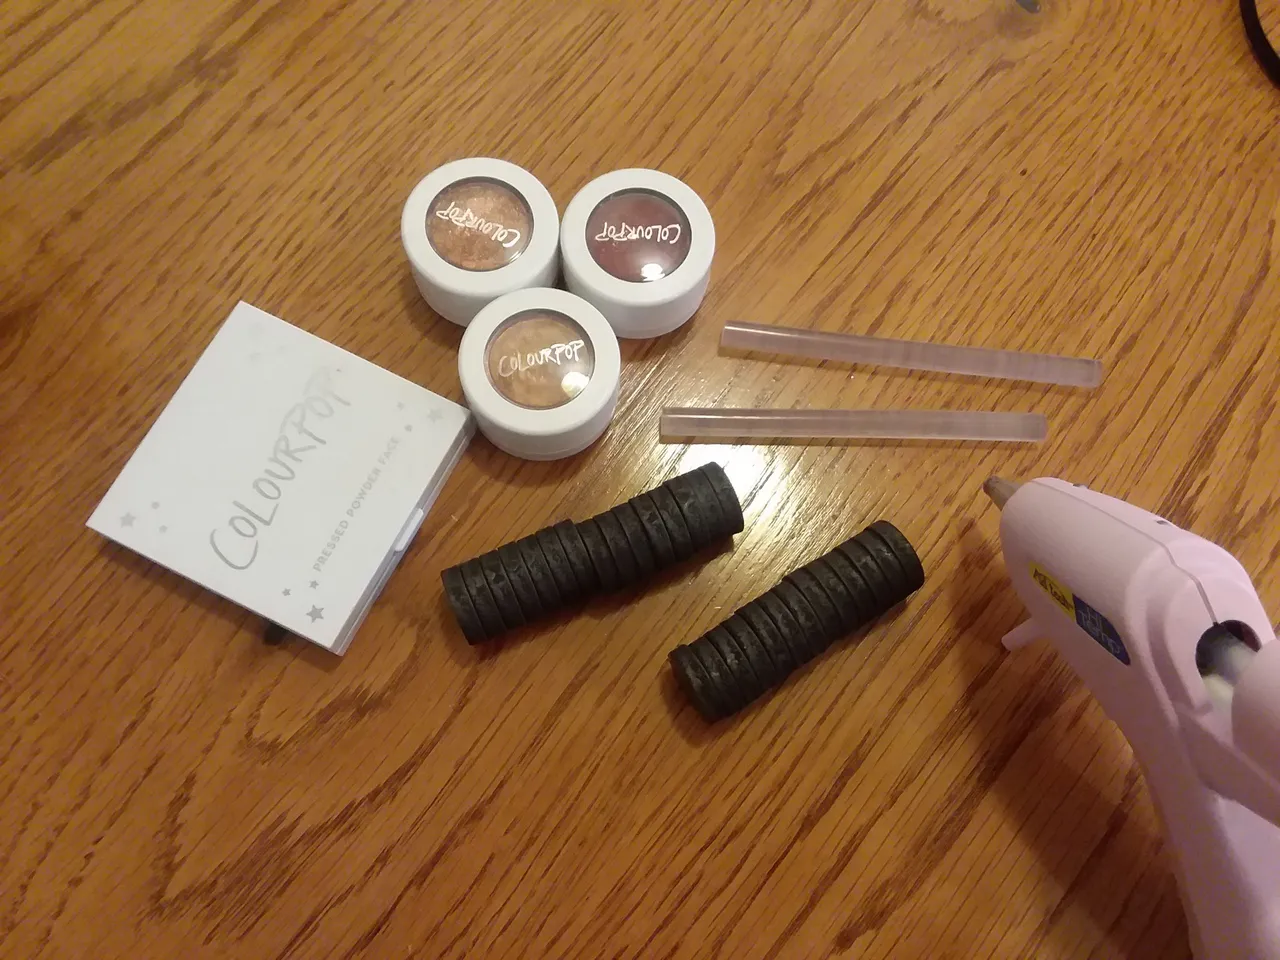
I had a spool of black ribbon I bought on amazon lying around, grabbed my glue gun, glue sticks, and some scissors. I measured strips of ribbon to fit each edge.
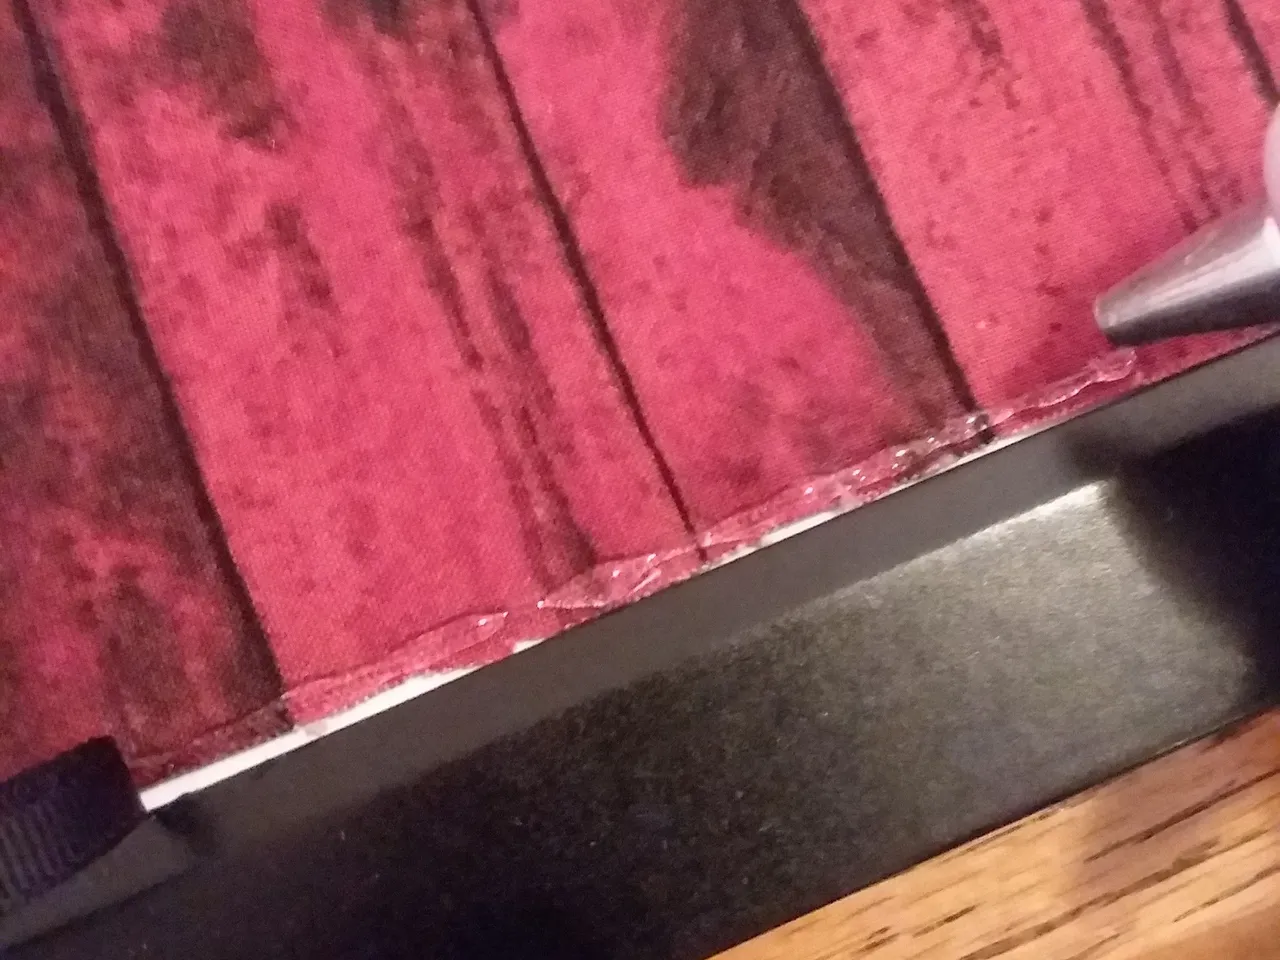
I just pulled a thin line of glue down the edge and carefully placed the ribbon on top, trying to keep it as straight as possible.
And then BOOM! It looked 100% better. It only took a few minutes.
Next I wanted to put up some of my newer makeup so I took some pictures of that process as well. Pretty self explanatory. Just glued some magnets to the back of the makeup.
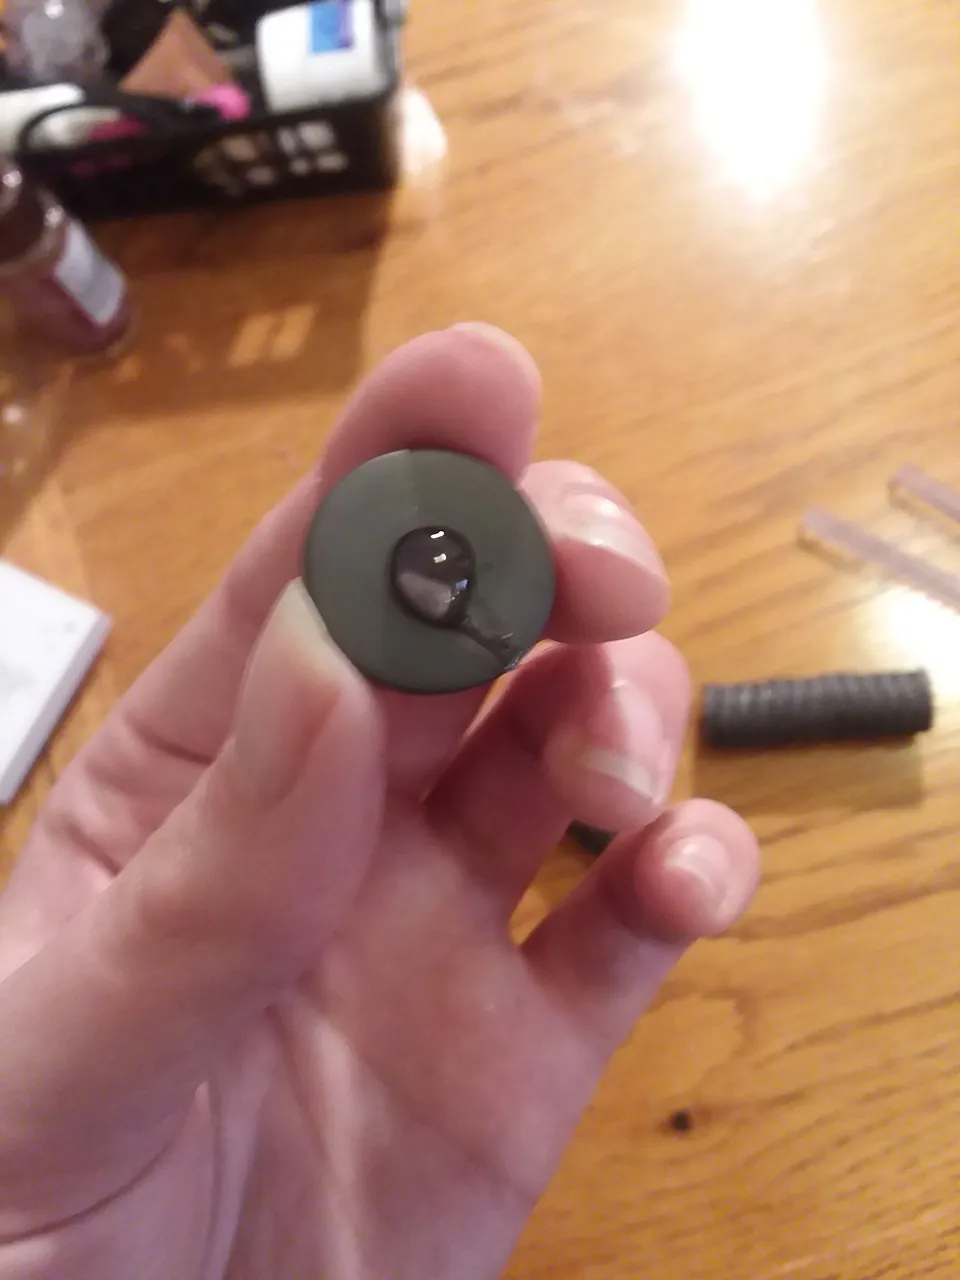
Add a happy little dollop of hot glue...
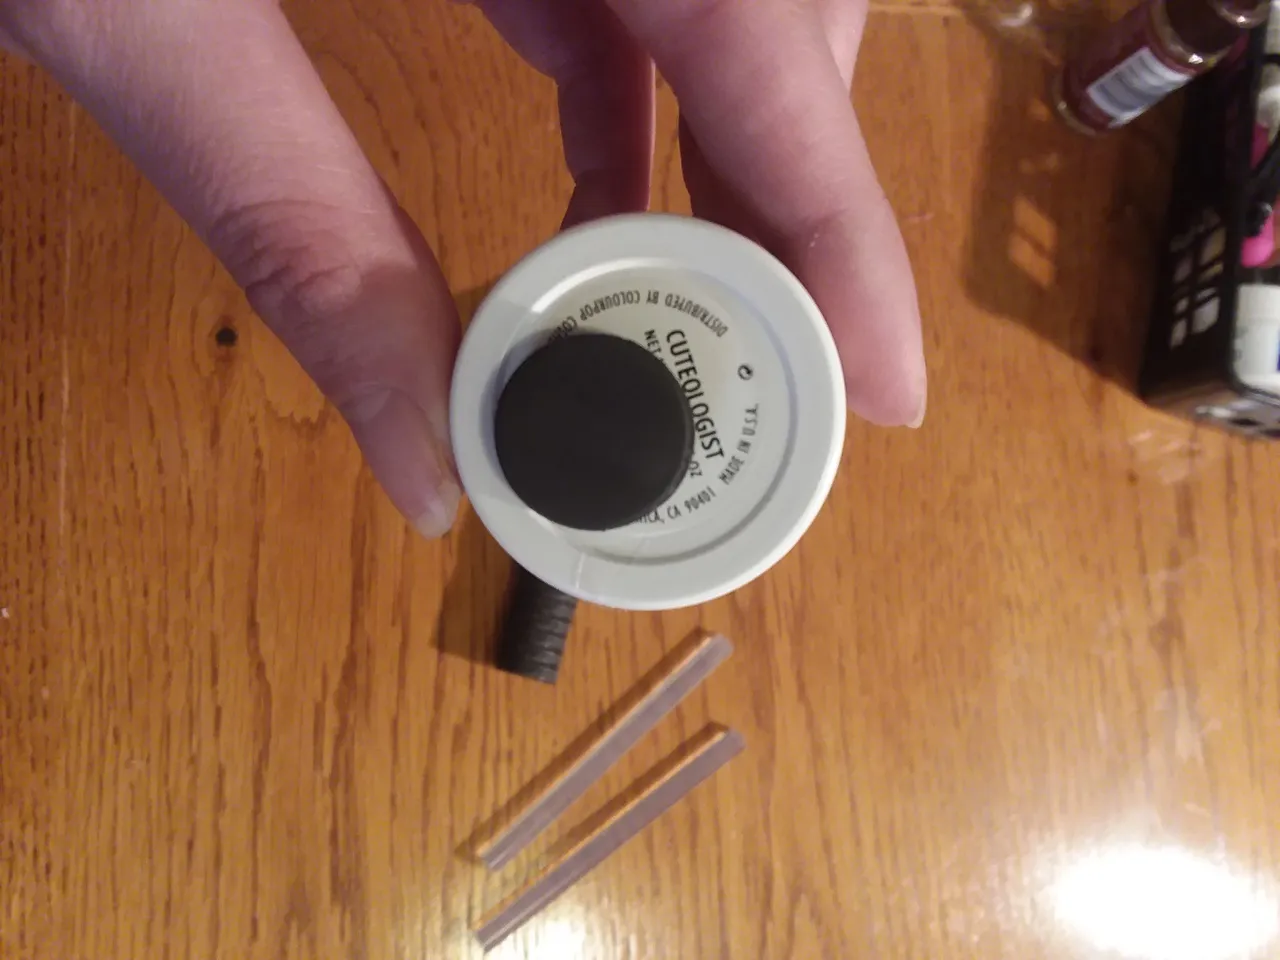
And then we just pop a happy little magnet on there like so!
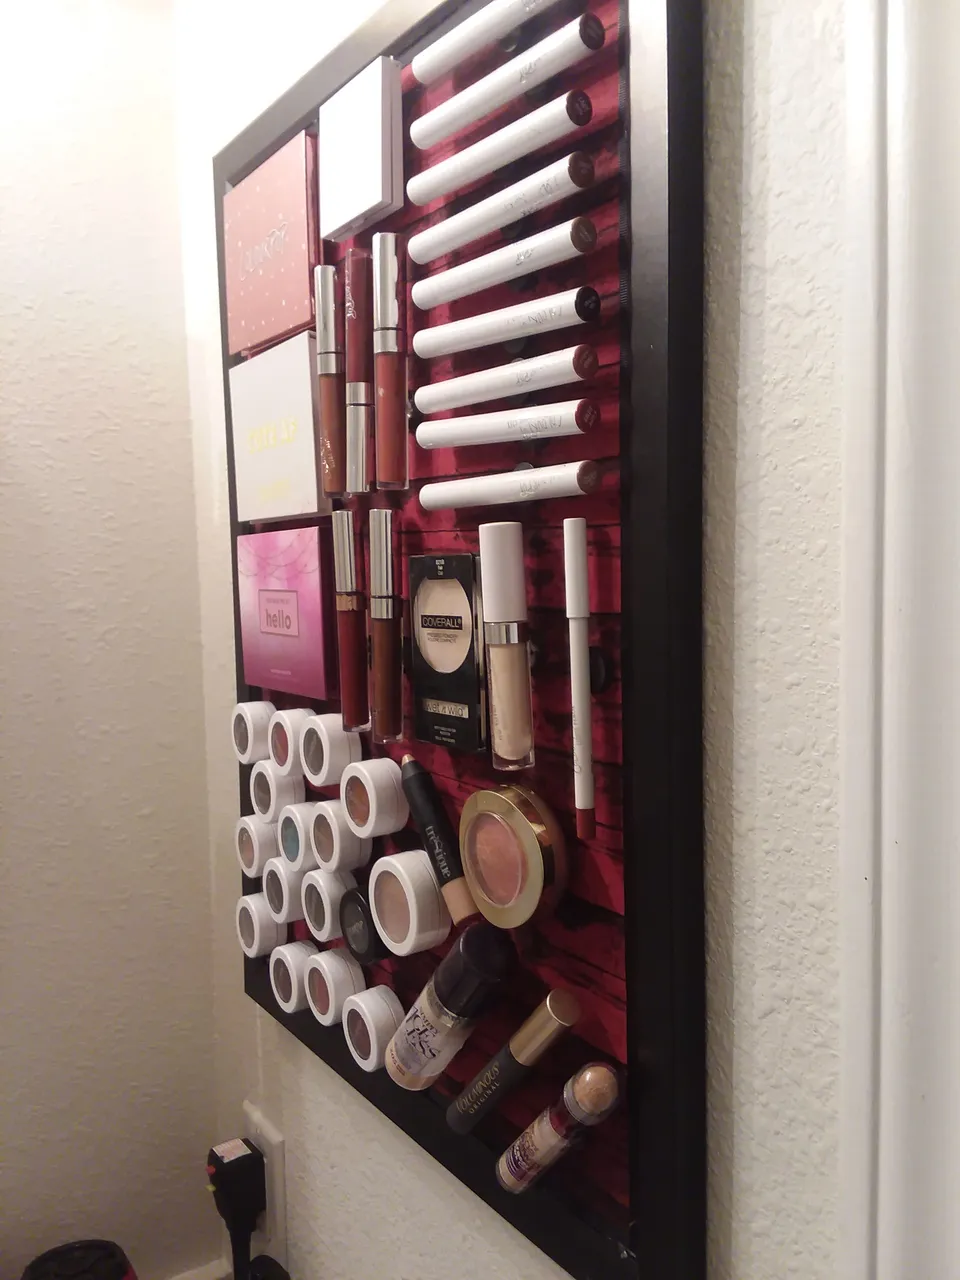
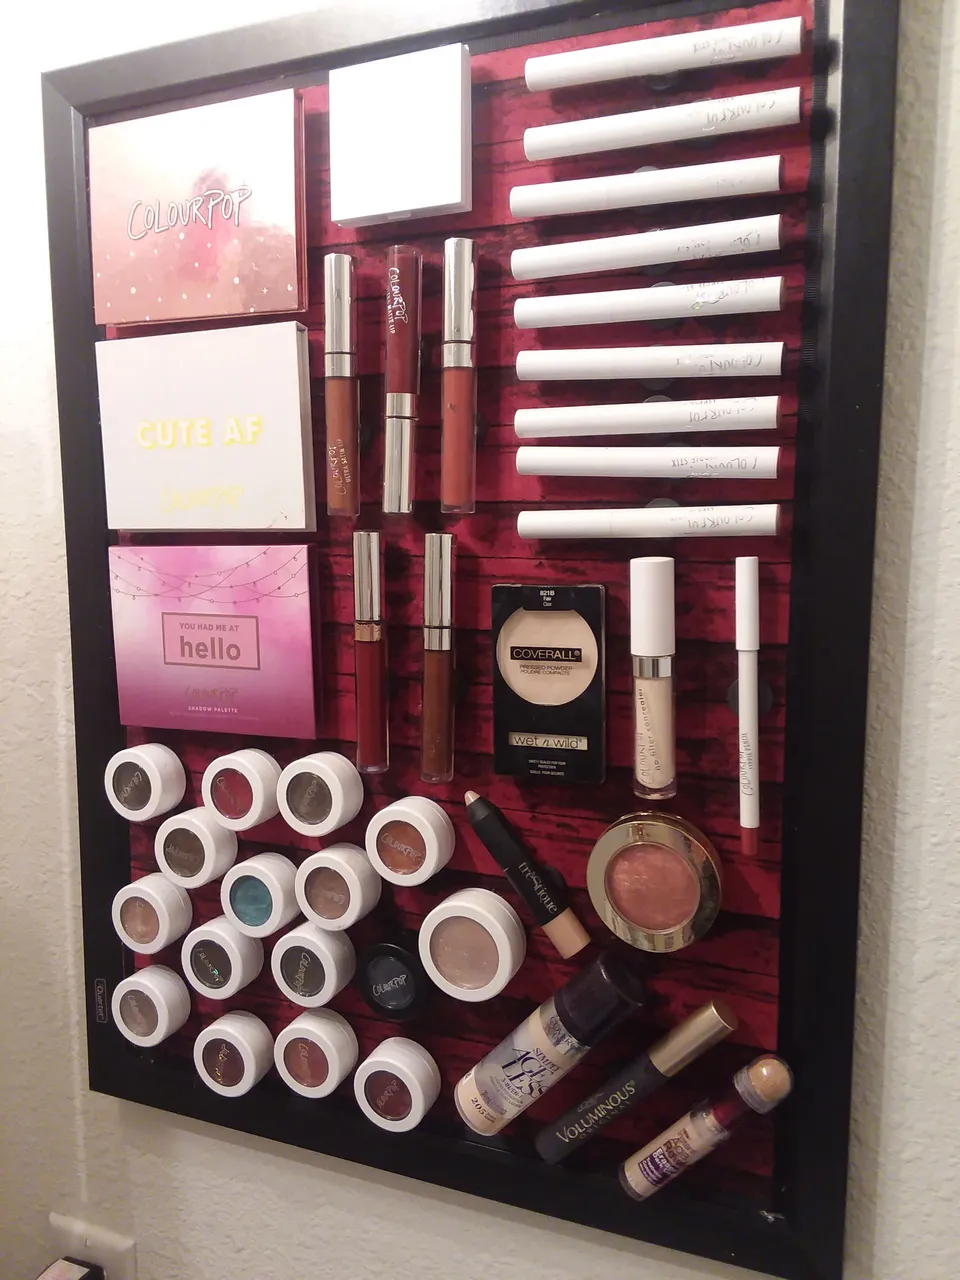
I am very happy with how everything turned out. In the beginning, I had a black pencil holder that I kept some makeup brushes in magnetized to the lower right hand corner. The issue with that was that in my apartment, the bathroom light switches were made for a midget... So because they are so low, when my boyfriend went into my bathroom at night for a glass of water, he would reach where a light switch SHOULD be.... knocking my brush container off the makeup board and into my sink... onto the floor... wherever they would happen to land... I kinda got sick of hearing the crash at night and being woken up by this... so I ditched the brush holder. They now live happily in their little cup on the little bit of counterspace that I do have in my bathroom as they don't take up that much room.
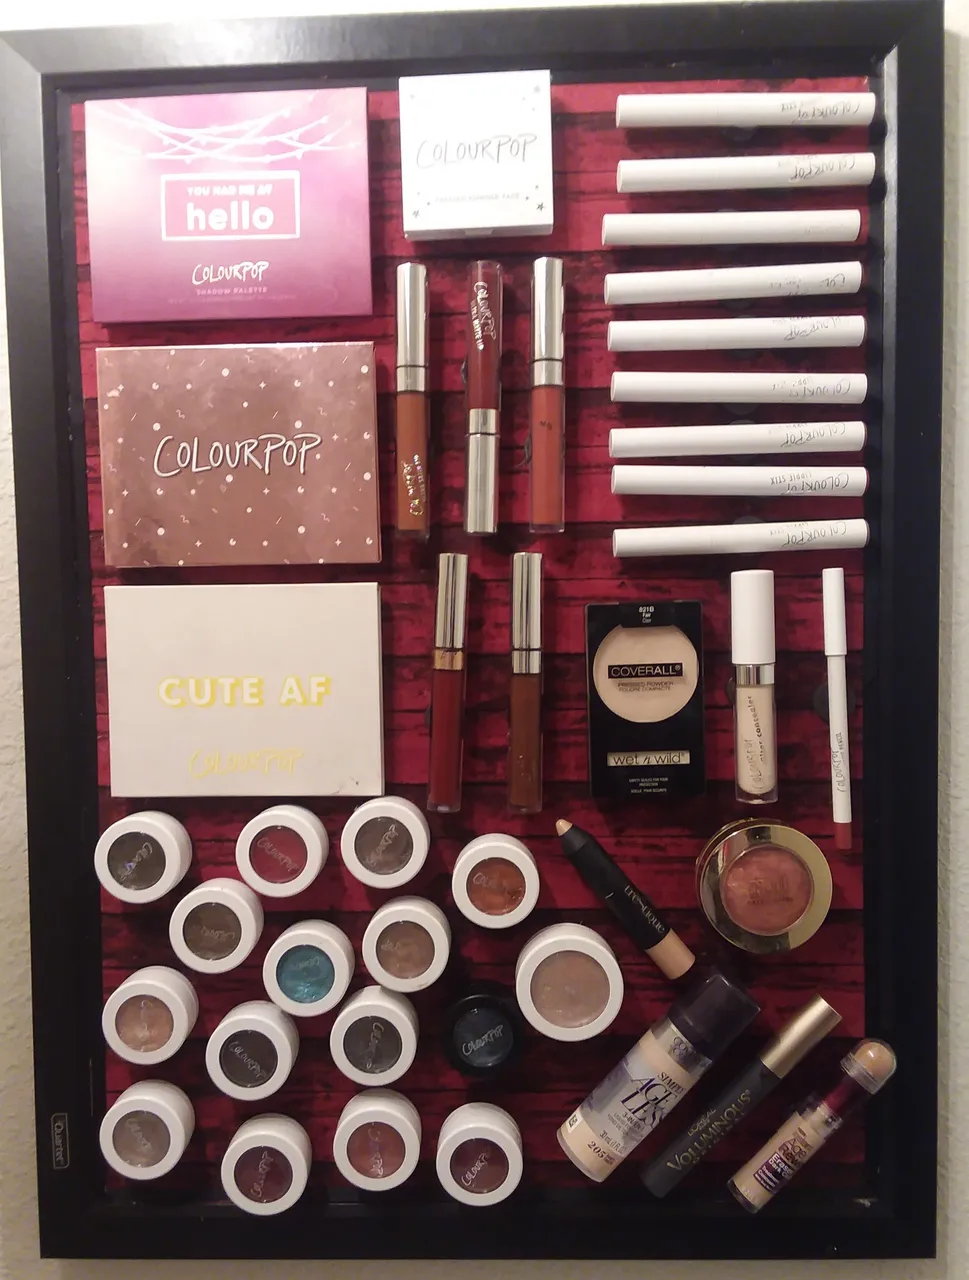
Here are a few more pictures of the finished product hanging on my wall with all my little makeups enjoying their newly redecorated home. And if you happened to notice... YES I am obsessed with Colourpop... It is just really awesome, affordable, and highly pigmented makeup. If anyone wants, I can do reviews and swatches on some of the products that I own in another post. Just let me know in the comments below.
I really wish that I had some pictures of the very beginning of this process, but alas, I did not have Steemit when I started this magnetic makeup board journey. Thanks for checking out my post and I hope you make a makeup board of your own! It has really been a great space-saver and I like being able to just grab the product I need right off the wall instead of digging through makeup bags and big clunky makeup cases!