Welcome my fellow DIY’ers to the beginning of a new project. Well how about an updated version of an old project??... You know when you make something and you just aren’t 100% satisfied with it and just know you can make it better??? Ya, that is where I am at right now. So it’s time to build a new Washtub Burn Barrel

First thing is, No! I didn’t go get a junk washing machine and tear it apart. I tore apart my perfectly good operating washer to make this burn barrel. That makes way more sense doesn’t it??? Kidding... Kidding!! This washing machine has been on its last load for a long time!! I kept waiting for the day when my wife called to say,
“The Washing Machine Broke and flooded the house!”
“The Tub in the washing machine completely came out and is laid over in the laundry room still spinning, knocking big holes in the walls.”
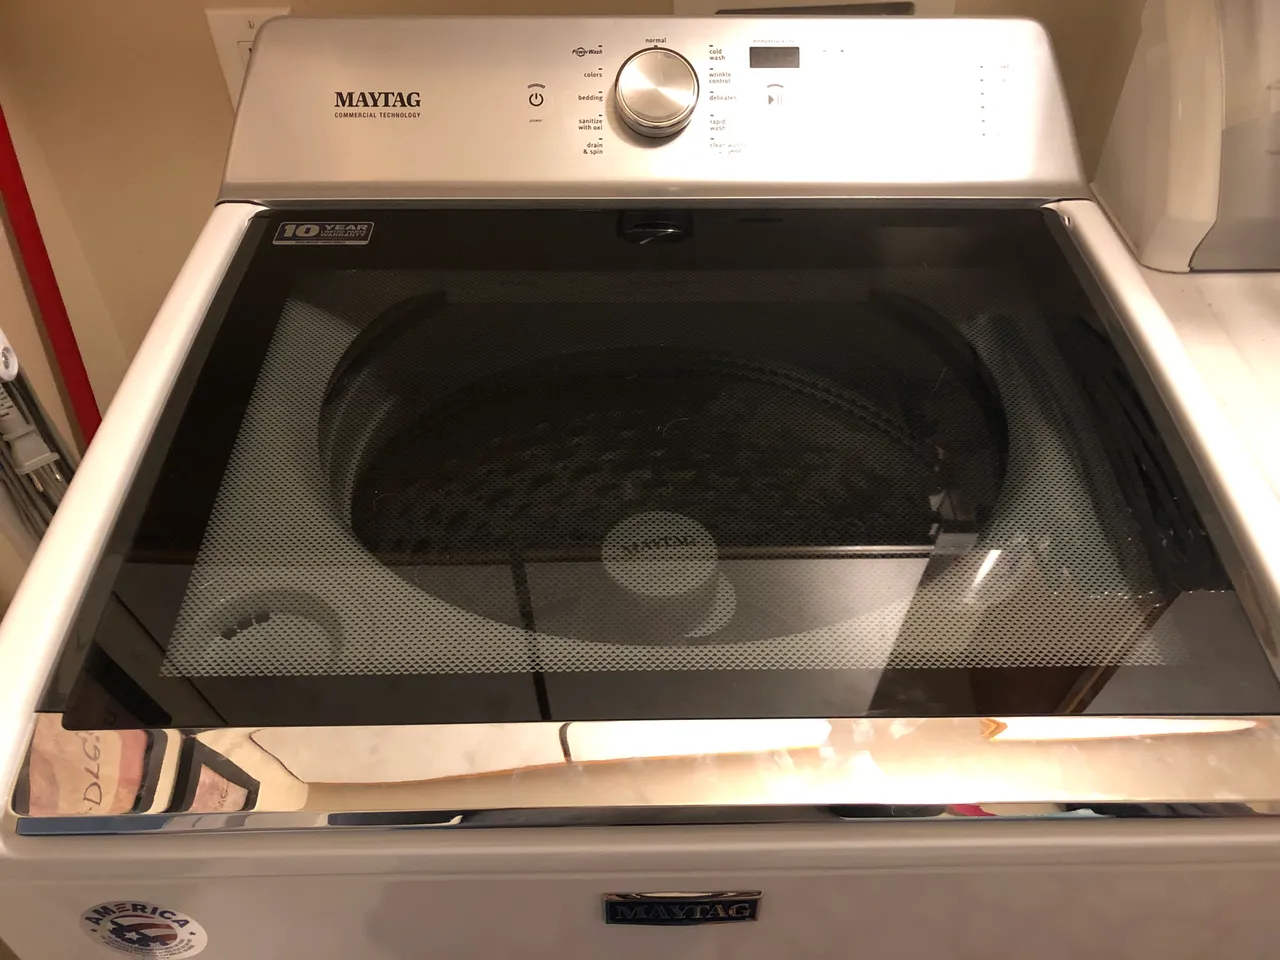
Honestly I don’t know what happened to it other than I have tried everything to get it to balance and no matter what I do it sounds like it is going to beat a hole in the floor or wall. That thing jumps around everywhere!!! I think it has something to do with the counterbalance or the springs or??.... Then again it did develop a little oil and water leak over the past couple weeks, so this 20 year old washer is ready for retirement. Plus I scored a bit of overtime recently to be able to buy a new fancy one. 4.7 cubic inch Maytag type of fancy. I swooped up this $900 washer for $550. Due to a lady returning after one day. She said it made a squeaking noise, but when she got the new one she found out is was the normal noise of the washer. Trust me, it doesn’t Squeek but I can throw 3- pairs of jeans, 2-hooded Sweatshirts, and 9 long-sleeved shirts in it and it only fills it up not even half way. If it looks cool it has to work good right?? I sure hope so!!
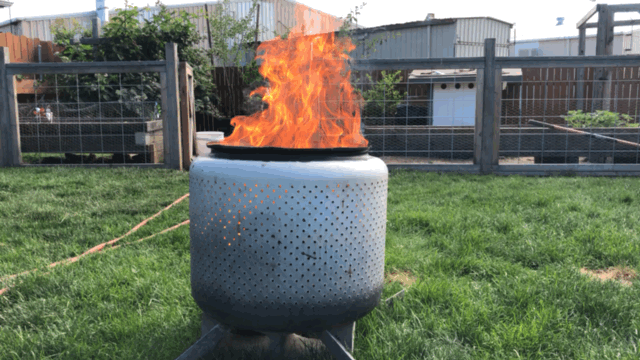
Now that I wondered a bit off subject, let’s get back in line here. So my old washer left me a nice greasy/dirty/nasty spot where is once sat and now it is time for paybacks. Then after tearing it apart I am going to give it a new life as a burn barrel. Similar to this one.
I want to make a better frame for the bottom and possibly put some sort of caster wheels on it to make it easier to move around. I want this beast to be portable. Plus there is a hole in the middle and the coals fall through and burn the grass. I want this be one to be completely self contained, so I don’t have to worry about killing/burning the grass or leaving a mess behind. Maybe I will make it a little taller also?? Hmmmm See I have lots of ideas flowin’ and now I just got to turn those ideas into reality.
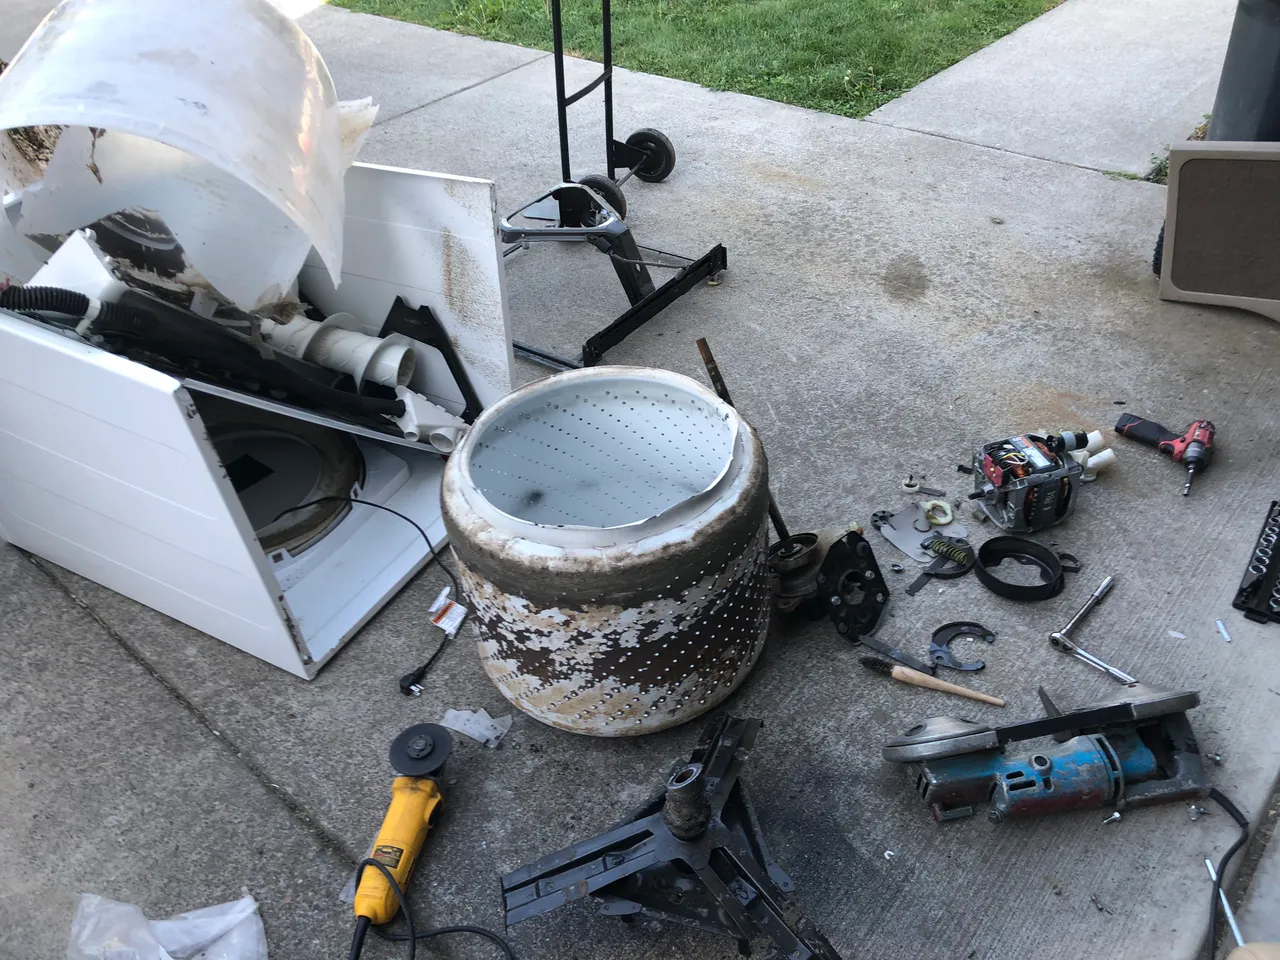
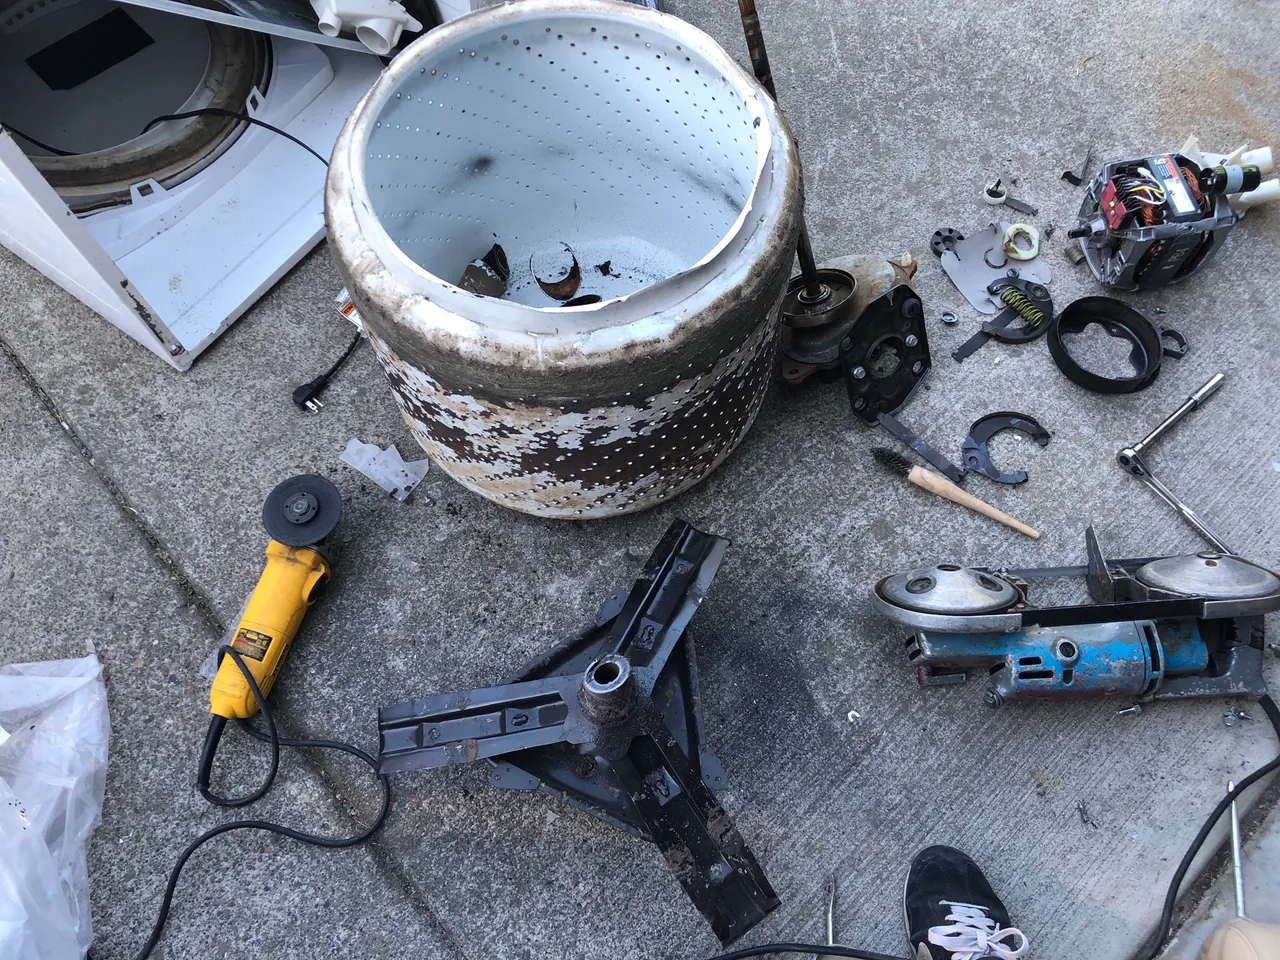
To start, this old washer has to get torn apart to harvest what I want.... the tub. The shell around the outside of the washer is exactly that, just a shell. With this washer shaking so violently for so long it had rattled the bolts out that hold the shell on a few times. So after moving it outside the shell was basically ready to fall off anyway. You know, run it until the wheels falls off type of attitude. Now let’s get this straight, I don’t treat my vehicles like I do my washing machines. :wink:wink. So that part of the tear down was easy.

Just a screw driver and a Kung-Fu grip is all that is needed to get this shell off and get all the electrical plugs undone. The rest of it is going to take a bit of mechanical knowledge to get torn apart, well besides the plastic agitator in the middle, it pretty much comes right out.
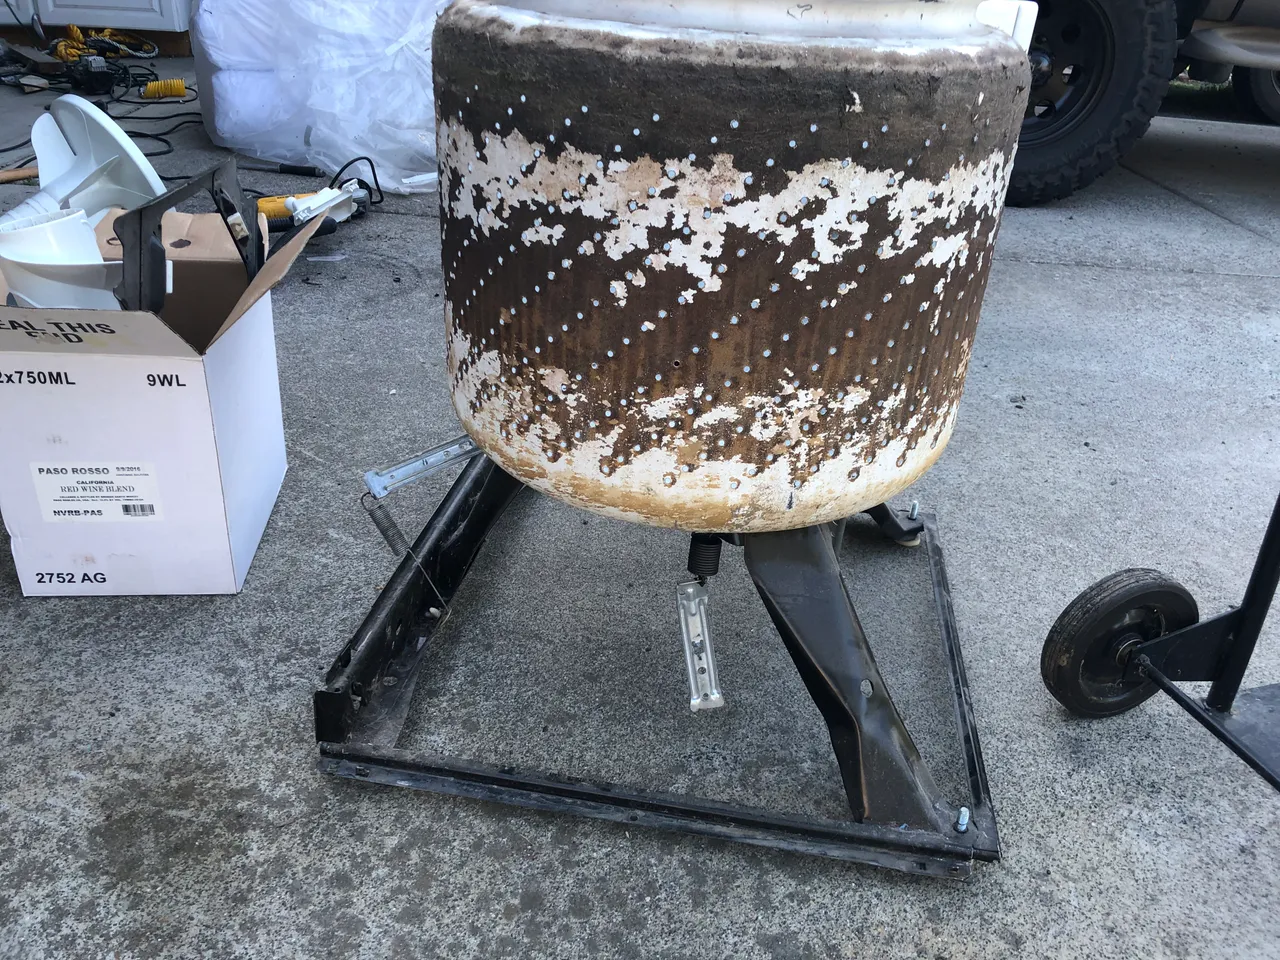
Ok now I am looking at this and wondering if the original base would work.... Nope I don’t like it, so I am going to make my own. Hey, it was worth a look right?? Always entertain all possibilities, keep your options many.
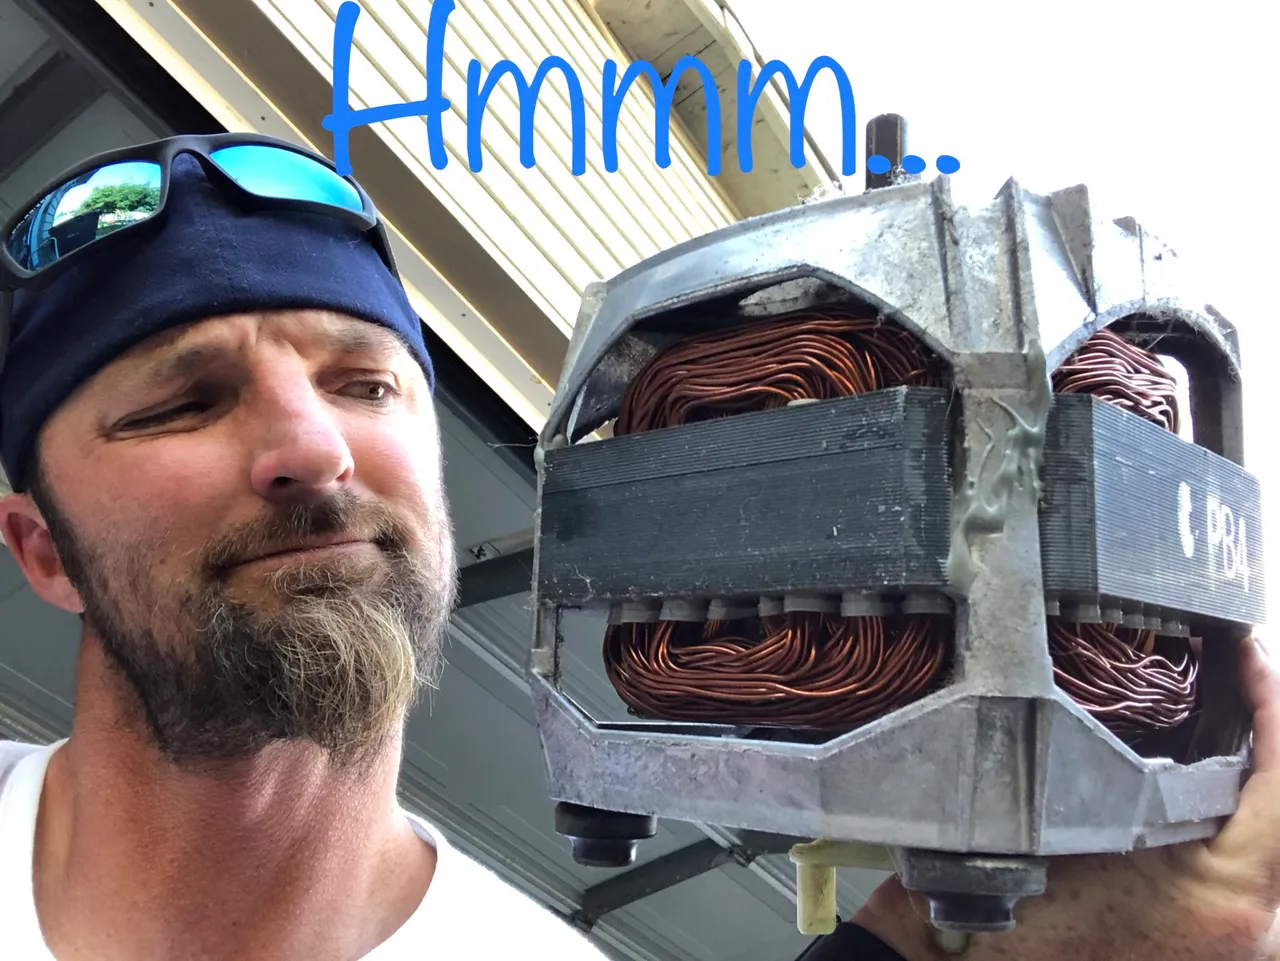
I had to get a 13mm socket to remove some bolts that hold the motor in place but other than that, a screwdriver did basically everything. What can I say, I’m pretty creative with a screwdriver... a big one is definitely need for its prying capabilities.
With the motor removed, I started thinking what I could use it for??? @lil-splatts said he could make a go-kart with this 1/2 horsepower motor. So I had to break it down for him and explain why it wouldn’t. I told him he needed at least a 100 horsepower Go-Kart. Hehehehe don’t tell Mama-Splatts. Lol
Speaking of motors, did you know how many motors are underneath the seat in your car. Well in my old truck there is zero but most of the new cars have at least 3. See look, this is the old seat out of my 2005 Lincoln Navigator.
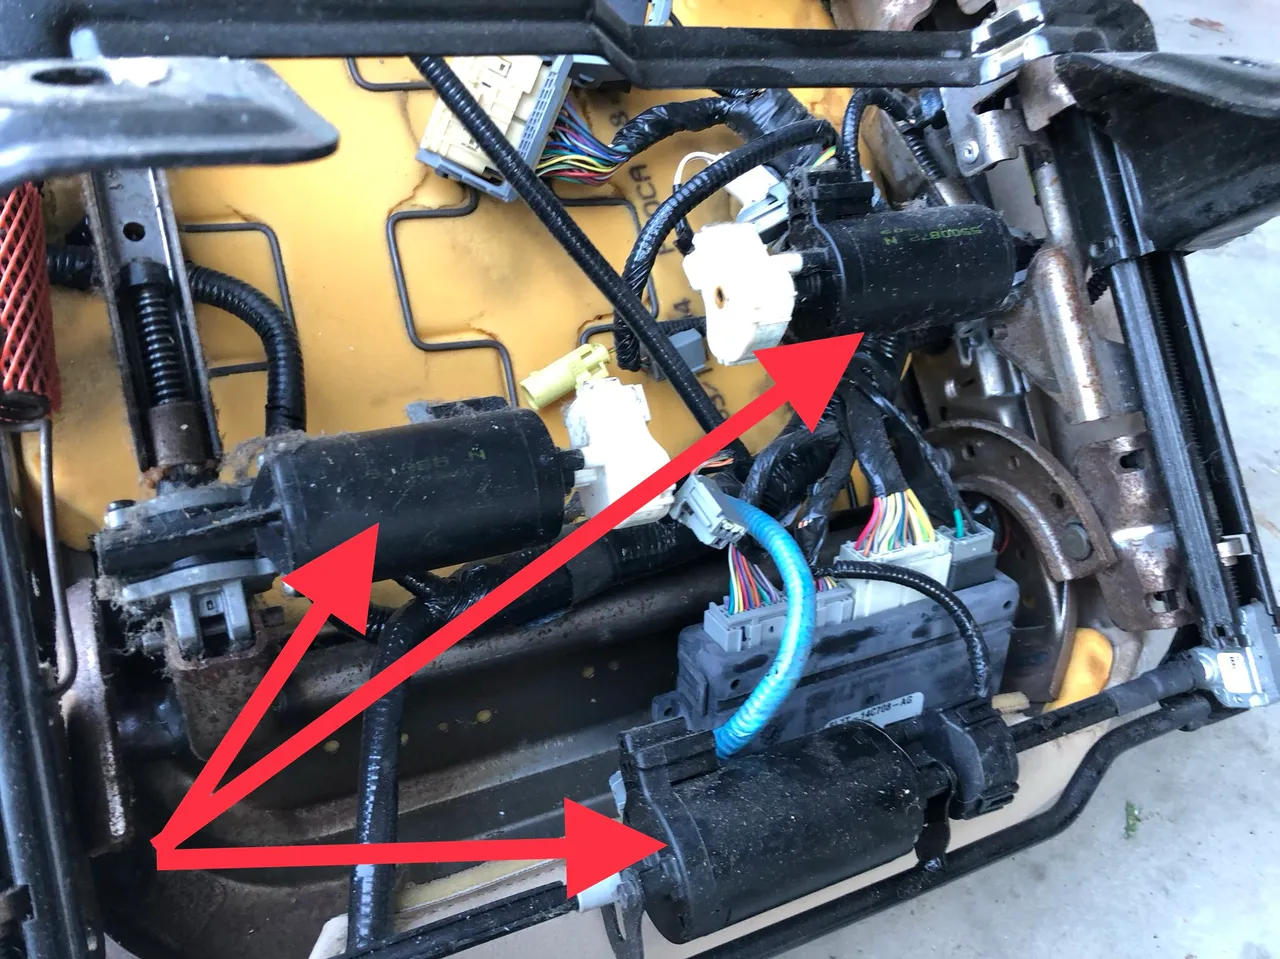
My mind instantly starts brainstorming what I can do with these motors??? Great!! I’m beginning to think that I have some sort of problem. Wait did I say beginning?? Hahaha my Steem peeps, this DIY guy has some serious problems. Hahaha
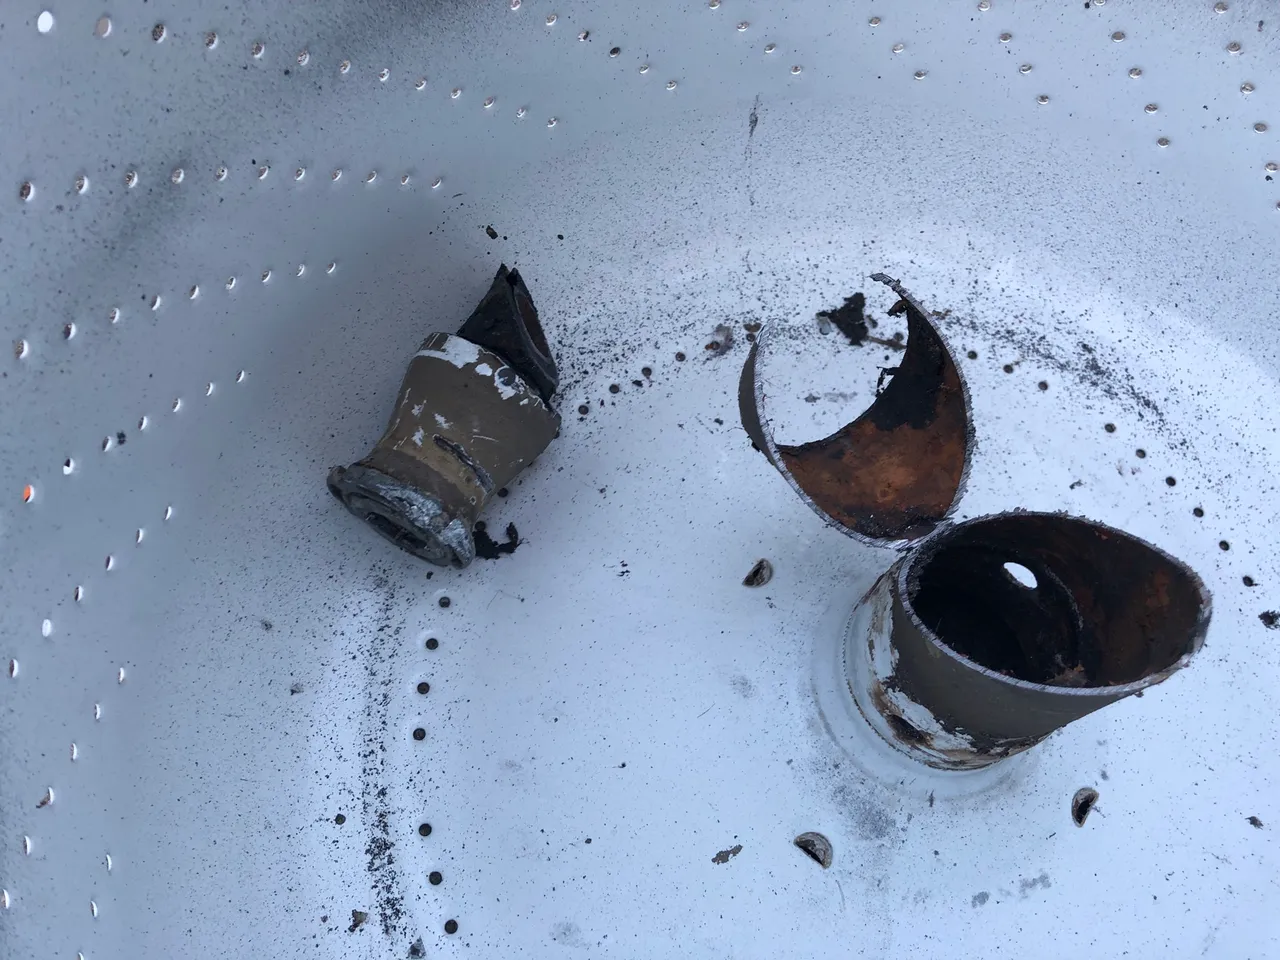
So this is where I ran into some issues when tearing this washing mashing apart to recover the much needed wash tub that my heart so much desires. In the center of the tub where the agitator motor attaches it must be a pressed connection of some sort. Meaning there are no clips, screws, bolts, or snap rings, that I could find that keep this section from coming out. Then I flashed back to the last one I tore apart and remembered I had ran into this same problem. Oh Great!!! Well with a garage full of tools there kind to be something that I can use to get the center of this washtub removed.
Last time ended up just cutting the center out but I knew there had to be someway to remove the shafts inside the center without just cutting them out. I really wish I would have taken photos to show you all what I am talking about but I was really consumed with trying to find out how to conquer this thing without resorting to power tools. I just couldn’t get the shaft in the middle to come out for the life of me. The reason it needed to come out was because the base is attached to it. All I want it just the barrel, no base! So yes, I resorted to the ol’ trusty ban-saw and cut this baby off.
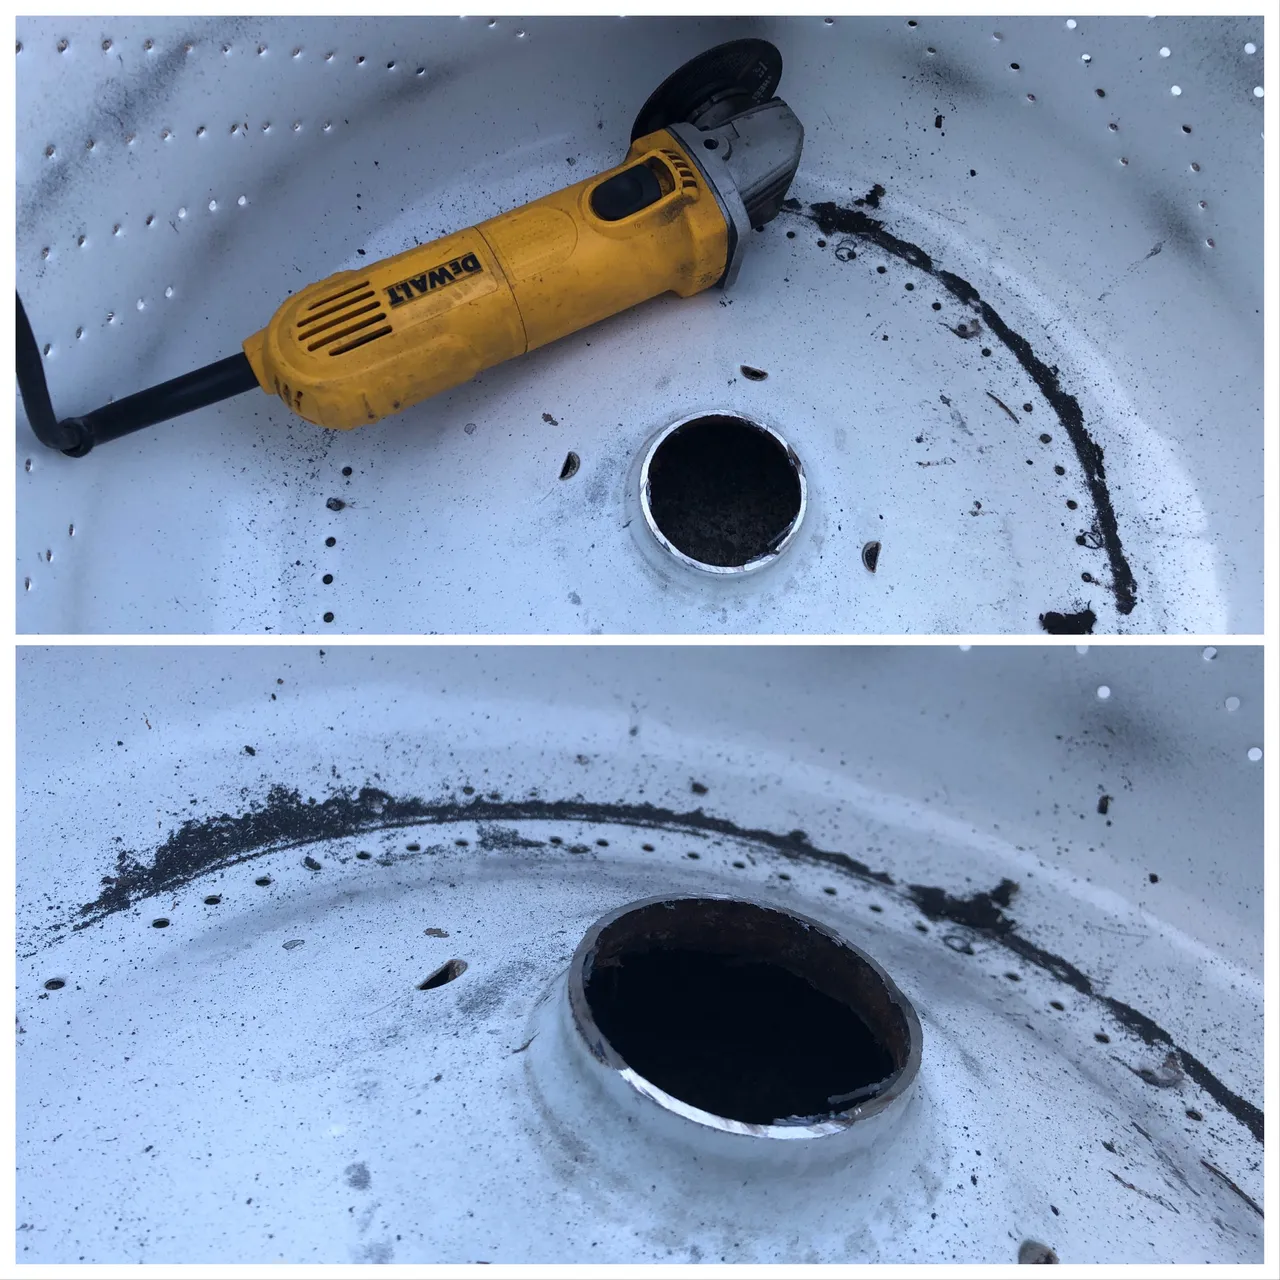
Now the base has been removed along with the cone in the middle. I just need to make a nice clean cut and get rid of that sharp 45 degree angle cut. So using a grinder with a cut-off wheel I cut a nice straight edge inside the tub.
Now all that is left is to clean up the outside of it, get rid of all theses parts and pieces I don’t need and clean up this mess. Man it’s nice to have a flatbed truck. I can just throw whatever I want on the back, tie it down, and I’m am off to the races. Stack it up and pole it high!!
Stay tuned because this weekend I am going to be making a frame for this washtub burn barrel and hopefully putting it to some use. Cook some s’mores or something sounds like a good idea to me.

Steem On
and

Cheers to
My Fellow
DIY’ers
Do Work!!


Don’t forget to mention @splatz when you encounter a post that deserves a good Splattin’ by the @splatz trail