Sometimes such a “Simple” task requires a bit more knowledge, know how, patients, ability to laugh it off, skills, and some RedNeck ingenuity... I’m telling you this little project had me sayin’ “You have got to be kidding me!” many many times!! Talk about opening a can of worms... well that is if you can get it open...
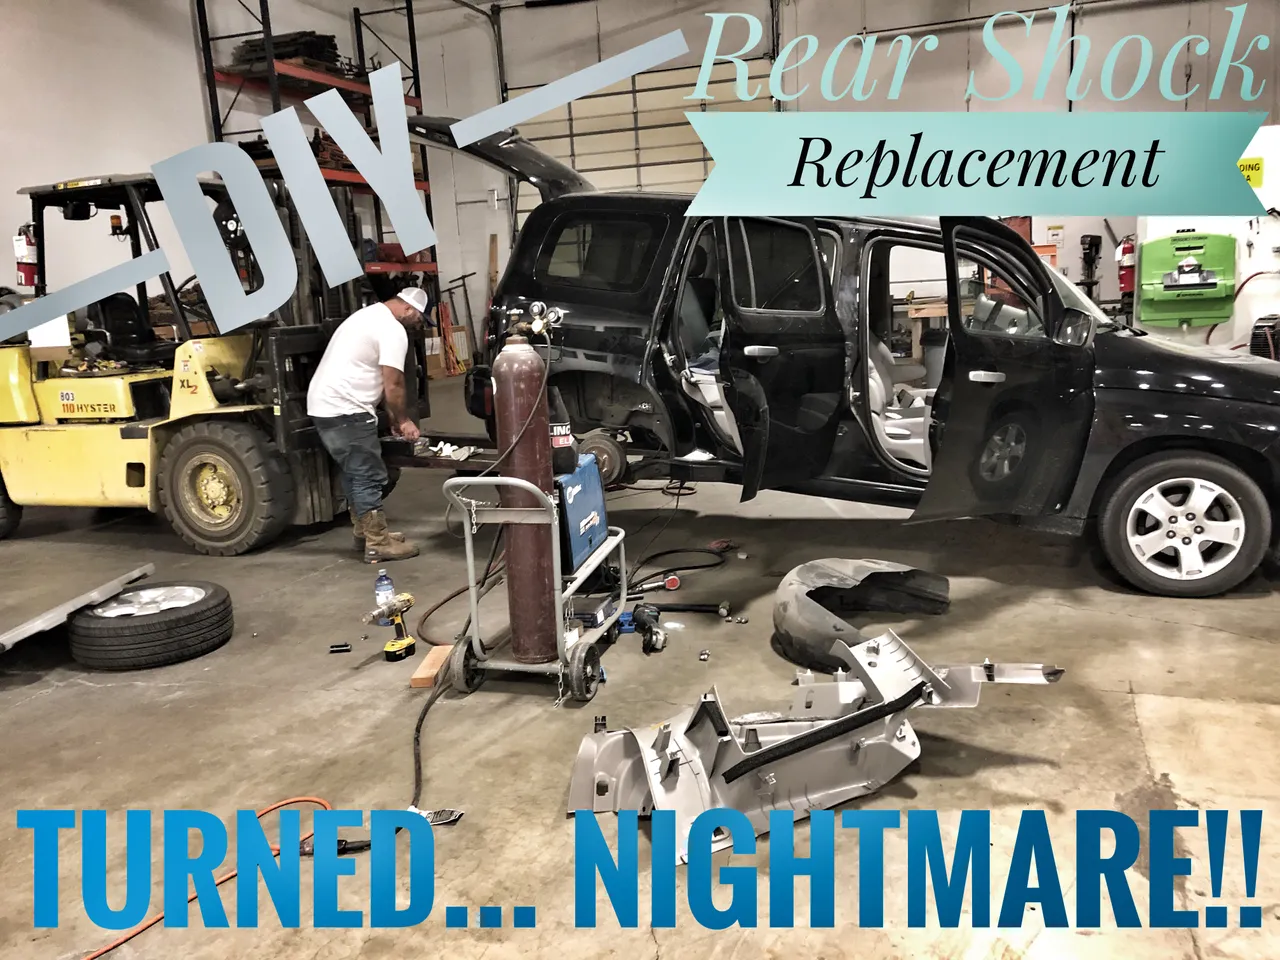
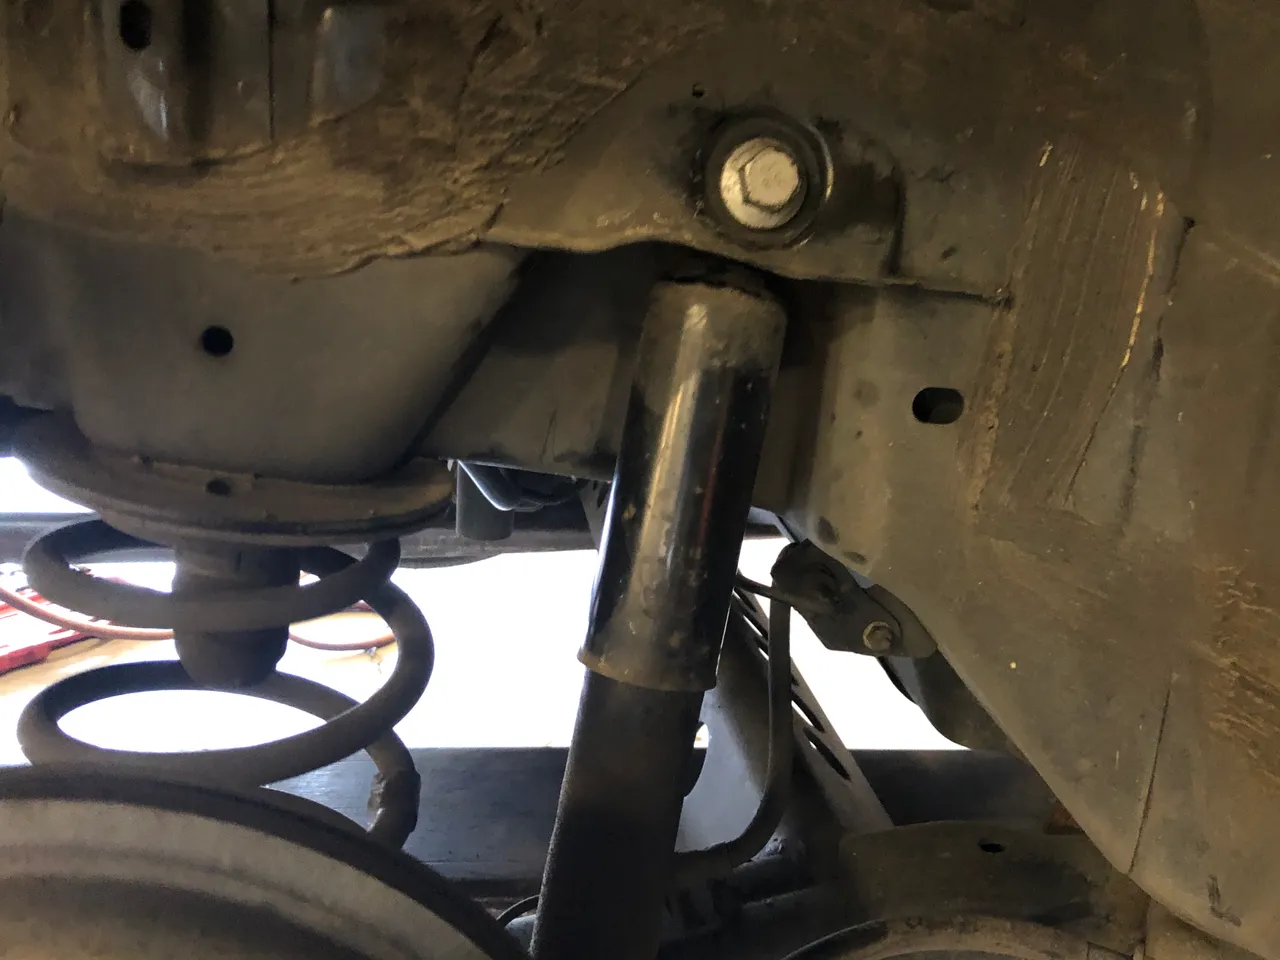
Alright let’s just start from the beginning on this one shall we? My brother in law had me take a look at his car to see what this Clunking noise is that is coming from the rear of the car. He assumed that is was like the spare tire or a door that just doesn’t close really tight. But.... what we found was something totally different and a little odd. The upper bolt on the rear shock was loose, but you can’t pull it out. You can sure it either direction and it just spins and spins. It can’t be pulled out, pried out, or spun out... So I figured the nut on the backside of the upper shock mount must have somehow broken loose from its welds. How...??? I have no idea considering this is a small Chevy HHR. It’s not like it is some sort of off-roading machine or heavy duty Pick-Up truck that takes tons of abuse. Well I guess it is time to take it down to the shop, lift this little fella in the air, change out the rear shocks and see what we can or cannot find.
The driver side was a piece of cake!! We lifted the rear of the car with the forklift, took the lug nuts off the wheel and removed the wheel. The shocks are just as easy only there are a few less bolts/nuts to take off. Simply remove the upper bolt and lower bolt and the old one comes right out. The new one takes a bit of compressing but with this little lightweight buggy, these shocks aren’t very stiff at all. They compress really easy and slide right into place.
I didn’t intend this to be a DIY/How to fix someone else’s neglected car that they pawned off on someone else type of post. That is why I don’t have a step-by-step guide to change the shocks. This is next level type of stuff we got goin on over here!! I mean who in the world removes 75% of the rear interior, the inner fender well, uses a fork lift, Sawzall, Grinder and a welder to replace a single shock...
This Guy
I’m telling you I used every trick I had up my sleeve to accomplish this one... my sleeves are pretty short so there isn’t much room for tricks up there. :wink:wink
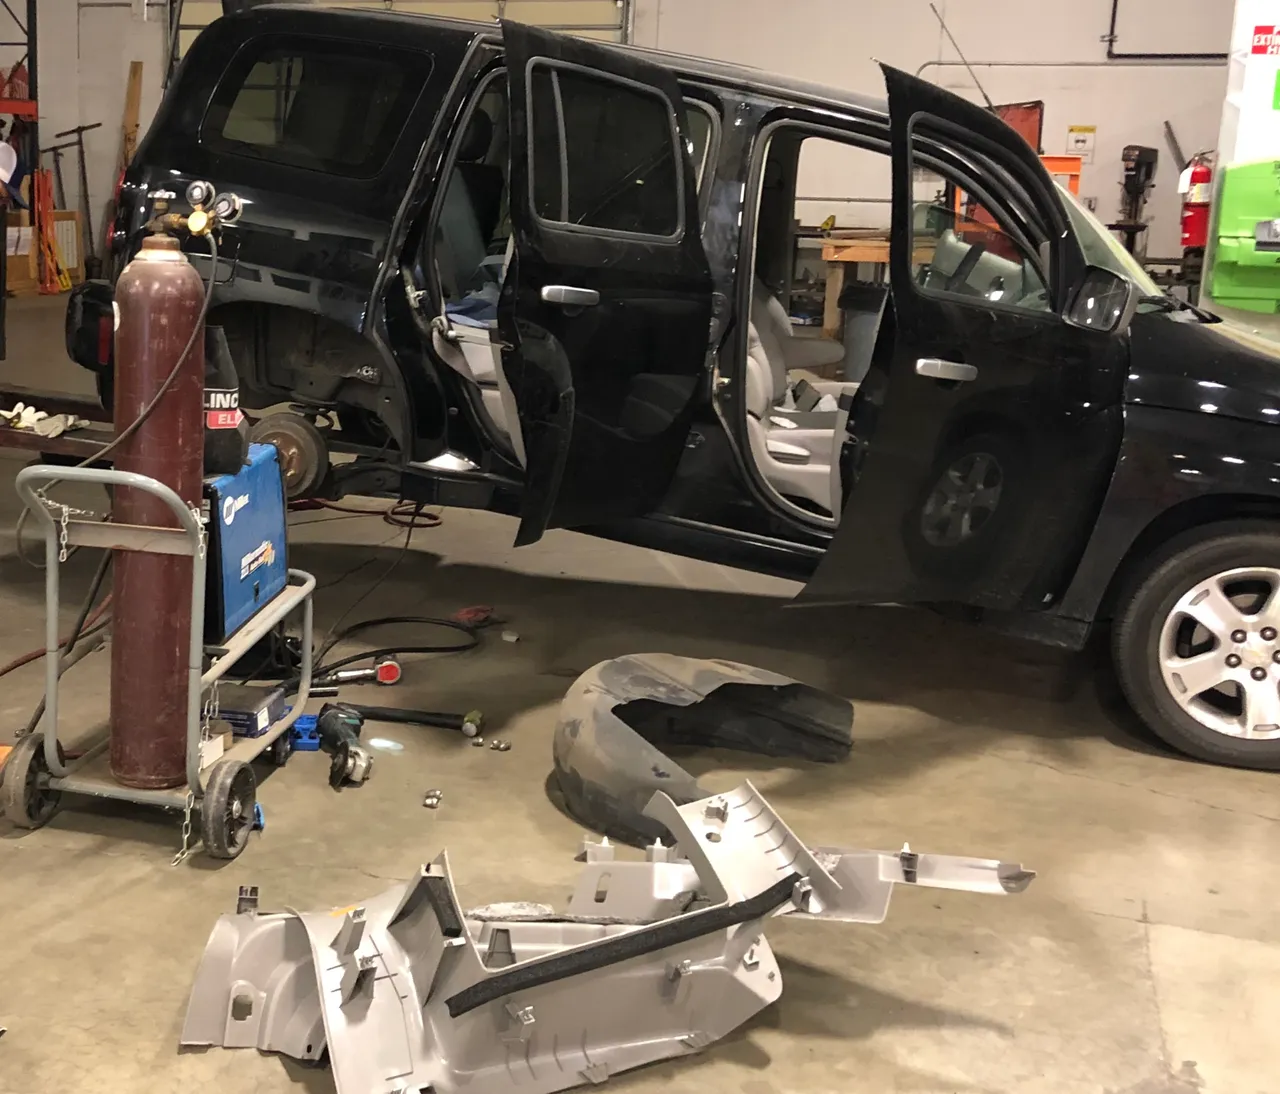
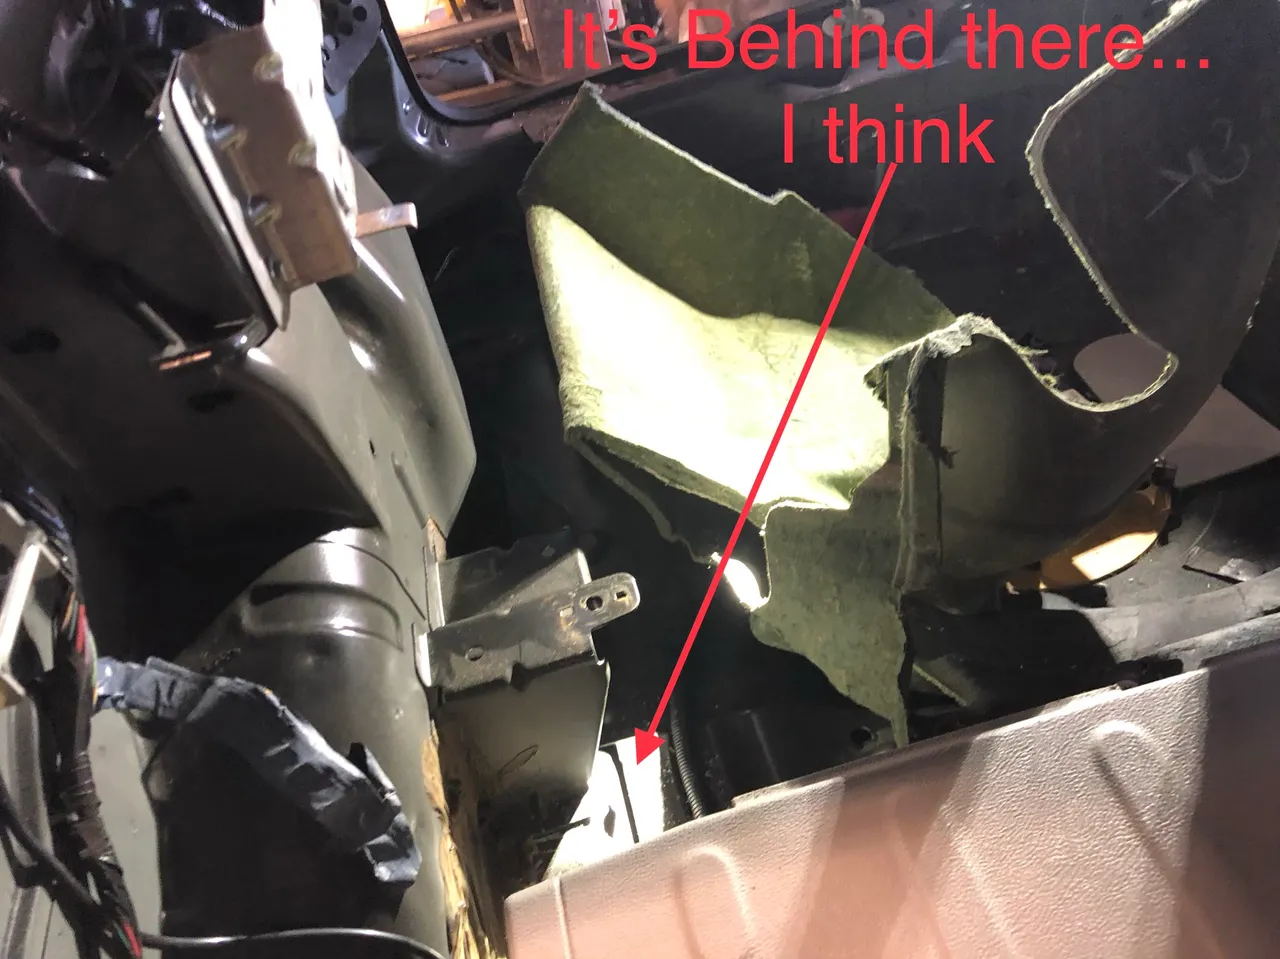
Somehow I need to find the nut that the upper shock mount bolt screws into. It obviously is where we are having the issue. The issue of the bolt spinning and spinning and not coming out. If I can’t get the bolt out I can’t replace the shock. This is where things got a little wild and the whole passenger side rear interior had to be removed in order to access the location of the upper shock mount. You know, let’s not make it convenient or anything... frickin’ engineers!!! What do they honestly think their product will never break or what?!?! Alright frustrations aside this need to get fixed and I am determined to not let this one get the best of me.
Alright so after getting the inner fender well removed, confident I could have access to the back of the bolt, then realizing there is no access to the back side of the bolt. You see I looked underneath the car prior and assumed you could gain access to the back of the bolt that way,, behind the plastic fender well... WRONG!!
So then it was onto the next option, tear out some of the... or basically all the interior on the passenger side rear of the car in hopes of finding some sort of access point to this bolt. Yes even the spare tire had to go...
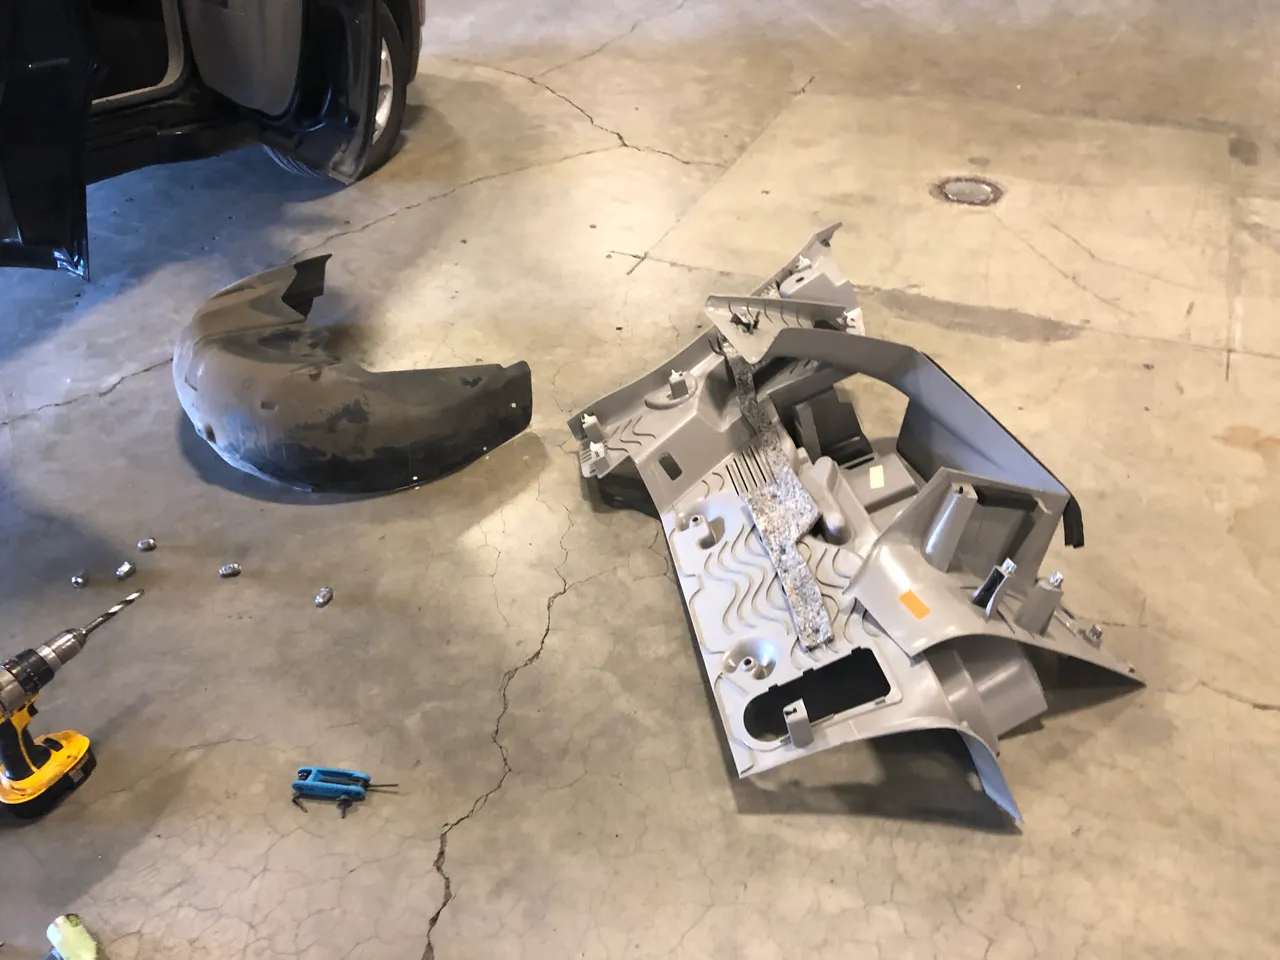
This project seemed to have no possible solution to this clunking shock issue. Even after removing the interior panels there was still zero access to the back side of the bolt. It’s was completely enclosed in steel!! Now why on earth would it be done like that?!?! I mean really, I have to cut my way in or what?!? All I want to do is remove 1 bolt that is it!!
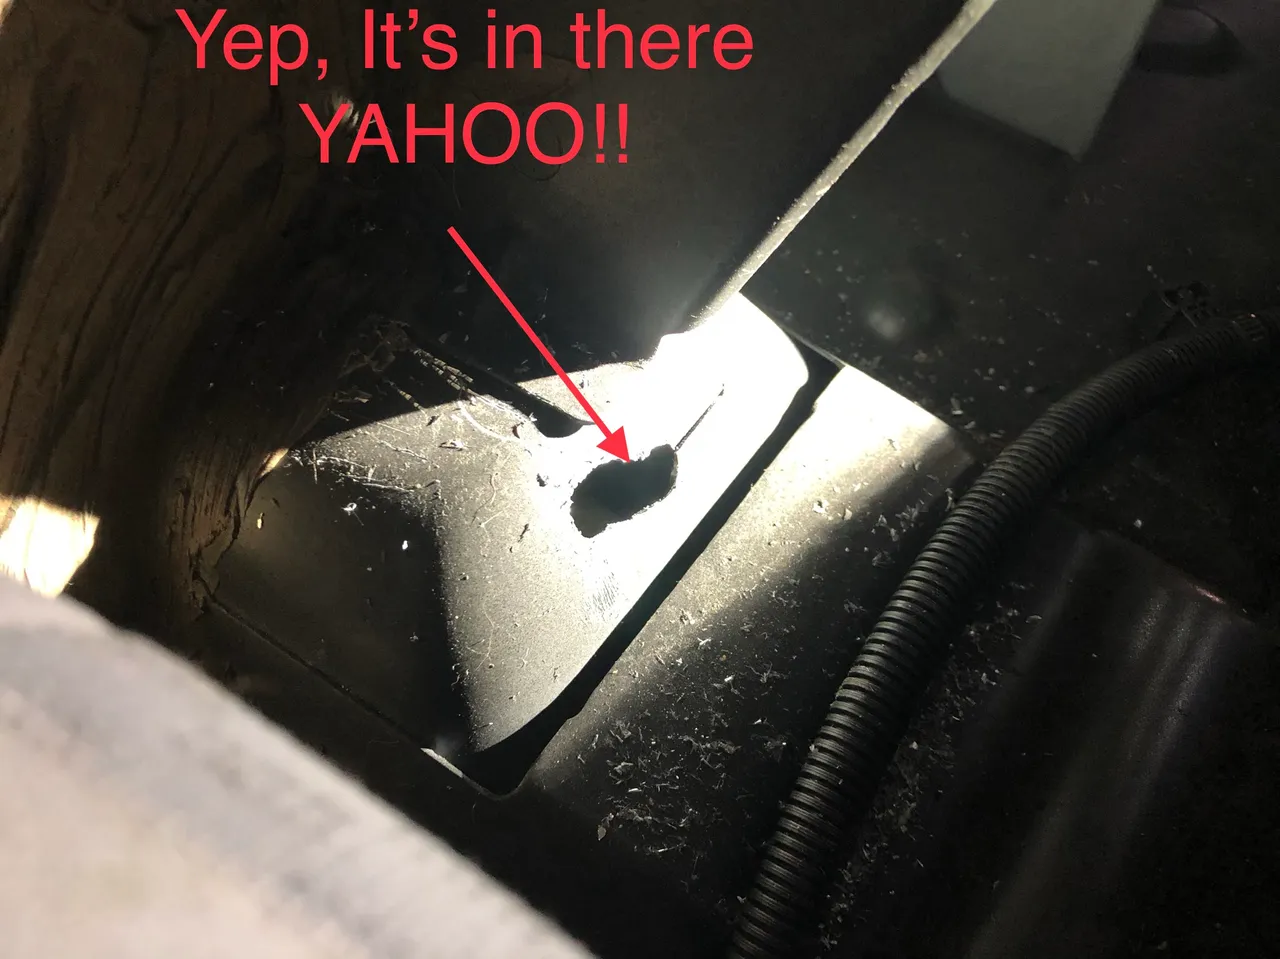
Attempting to set my frustrations aside I located where the bolt should be. With permission from my brother in law, I drilled a couple 1/2 inch holes to take a peak inside to see what was going on.
Hallelujah! I found it!!
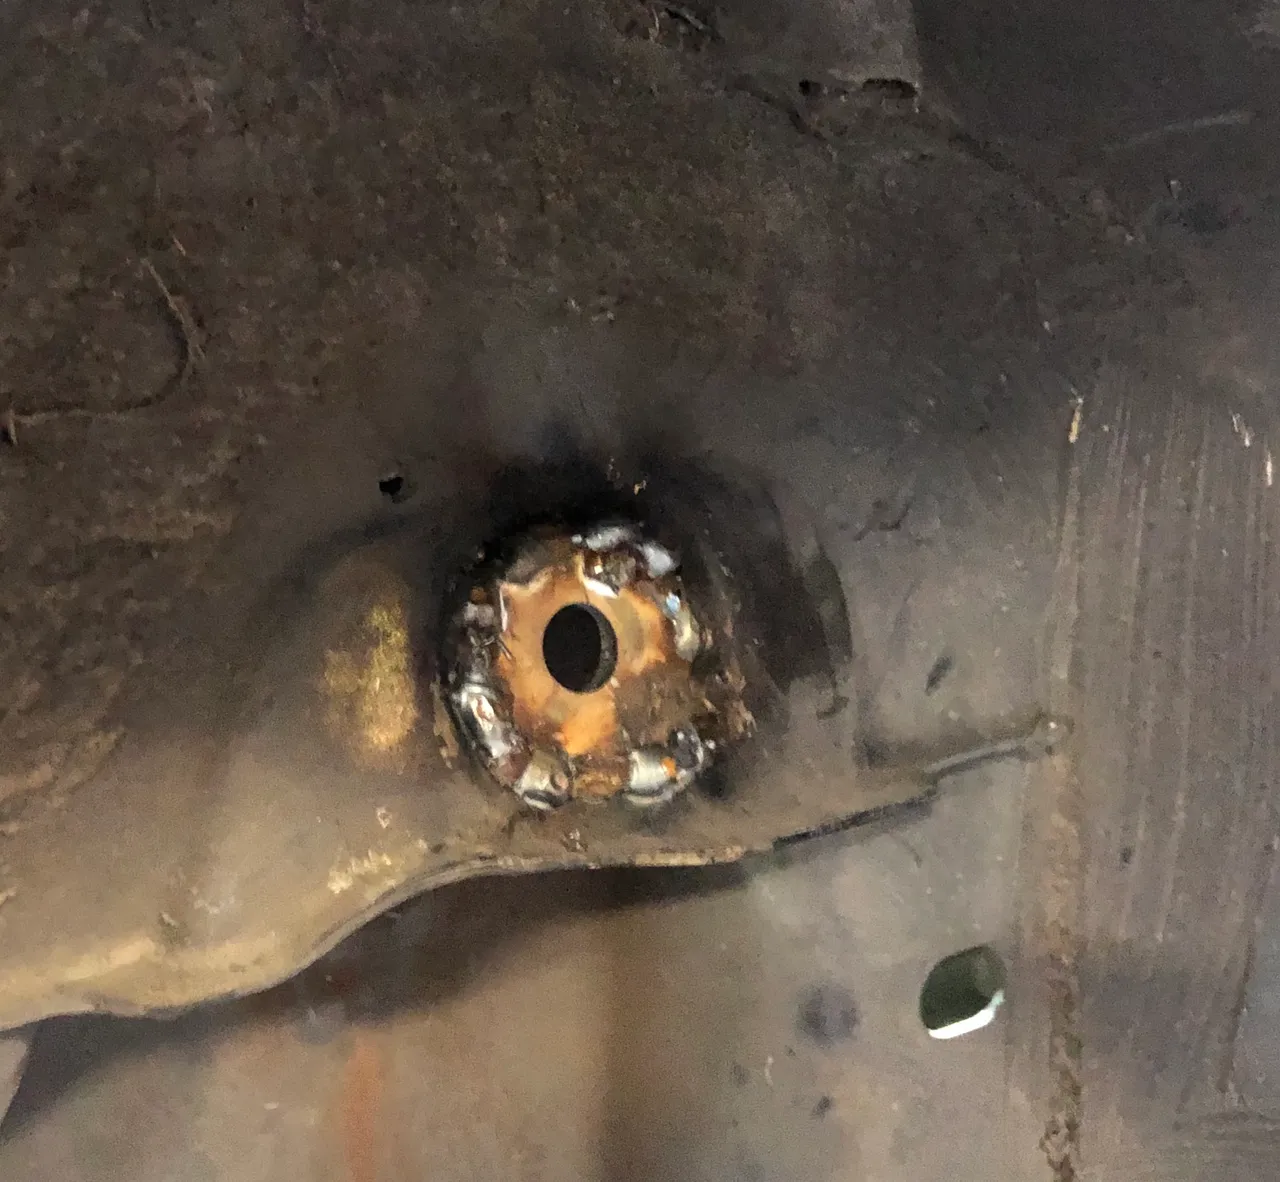
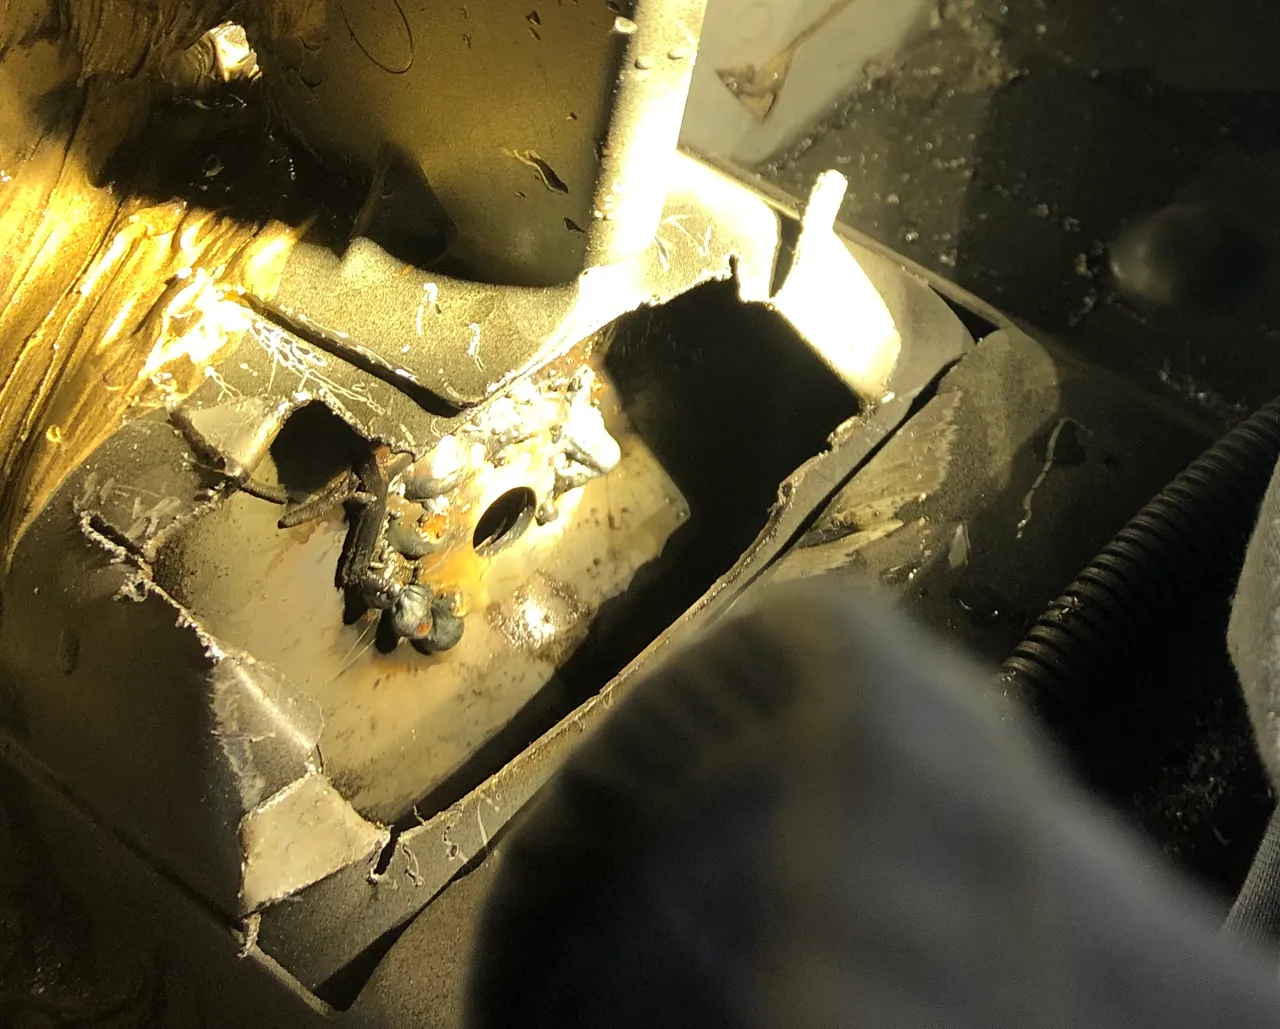
Now that I have located the back of the bolt, I needed to cut out a bigger section so I can get some tools in there to grab the “nut” on the back of this bolt. Using a Sawzall and a disc grinder, I opened it up to see exactly what I was dealing with.
It wasn’t exactly a nut because it was completely round. It also had 3 studs that seemed to have broken off. These studs are what held this circular nut in place. So without those studs the nut and bolt spin freely. Then because it was loose, it allowed the bolt to bounce around so much that the holes on either side of the shock mount became oval shaped. These oval shaped holes resulted in the awful clunking sound coming from the back of the car.
Now this doesn’t just happen overnight. From what I can tell is that someone overtightened the bolt so much it broke the nut loose on the back. How they did that, I have no idea??!! Then this the nut free to move, this allowed the bolt to become a little loose. What most likely started out as a small ticking in the beginning, eventually turned into a loud thumping/clunking sound. This would most likely takes months and months and miles and miles of driving. I now know why the previous owner never attempted to fix it. This has been a huge Nightmare to say the least.
The Fix
After all that and this problem still isn’t fixed. Ya I cut my way in and found the nut so I could remove the bolt. Now the old shock is out but simply putting the new one in won’t fix the thumping/clunking problem. I have to find a way to fix the shock mount holes that had been ovaled out. It was like sticking a 1/2 inch bolt in a 5/8 inch hole. Options for this type of repair are pretty limited considering the shock mount is built into the frame. It’s not like you can just buy a new shock mount and put it in. So it’s time to find a way to shrink the holes. Ya...Ummm shrink the holes, ya that’s it!!
I only know of a couple ways to do this and I have never actually done it myself. The first is to cut out a piece of metal bigger than the hole and replace it with a new piece of metal with the right size hole. That is fine and dandy but trying to do that to the inside piece would be more of a nightmare than this job has already became.
So my next option was find 2 round washers that fit the bolt tightly. Then weld these washers into place over the holes. The metal isn’t very thick and the shock mount itself isn’t supporting the whole weight of the vehicle. So this washer idea should work out just fine. I’m just worried about blowing holes in the metal when I weld the washers in place. So what I did was just place tack welds all the way around the washer. Then attempt to fill in between those tacks to create a solid weld.
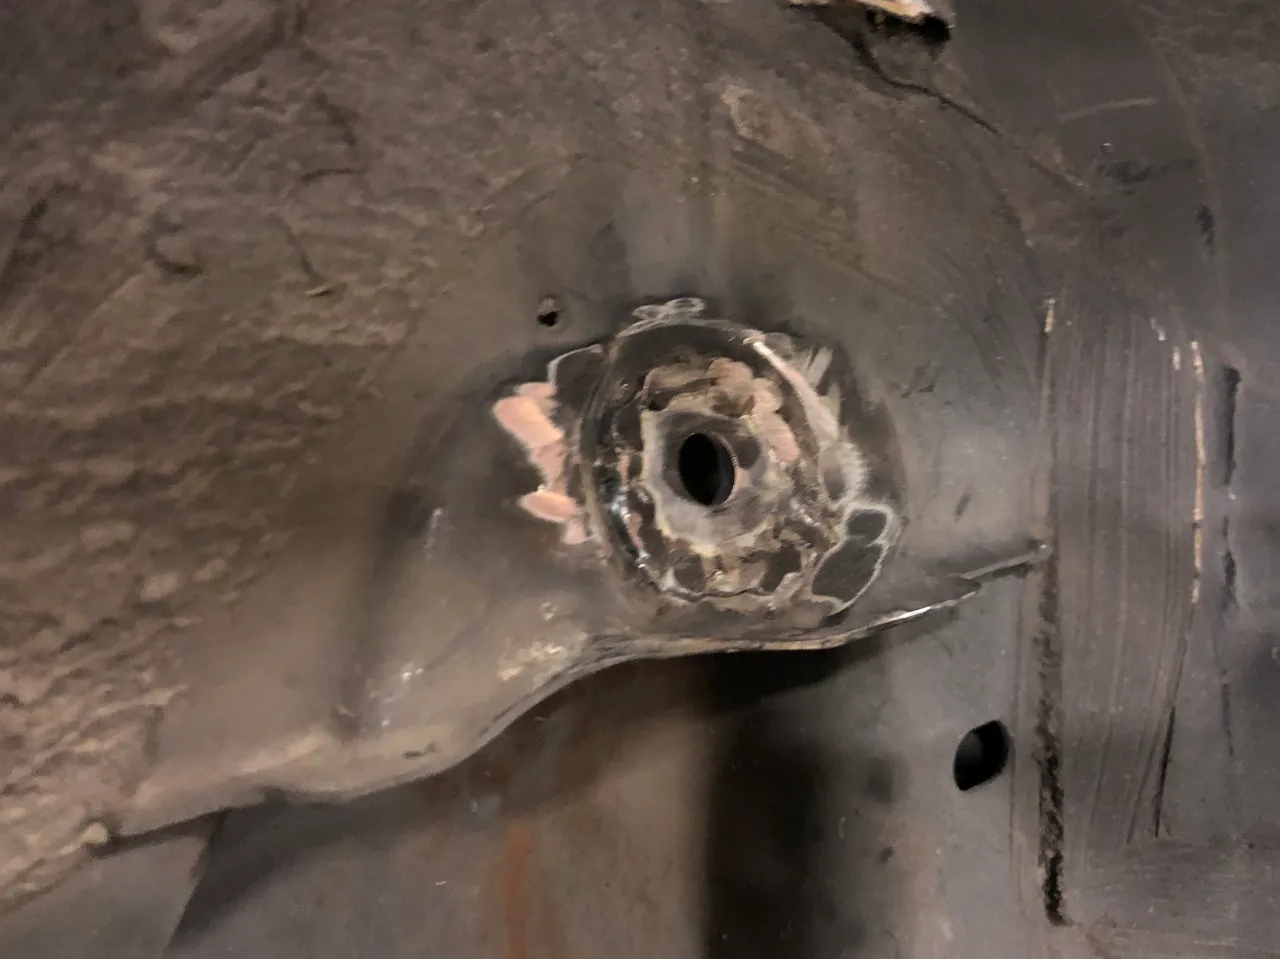
To make sure the washers were in the correct place I put the shock in place and slid the bolt in with the washers on each side. Gave each washer a tack weld to hole them in place, then removed the bolt and shock. I didn’t want the heat to ruin the rubber grommet on the shock.
The inside washer was a huge pain it the butt to get welded into place. There was barely any room to get the welder in there let alone all the way around the washer. The best I could I just had to blob the welds on, then use a dremmel tool to smooth it out a bit so the nut would fit into place. See, now that is one crappy looking weld job... Ha Ha Ha
It ain’t pretty but it will do the job. Plus I don’t think anyone is going to be getting this far into the vehicle anytime soon. Well at least I hope not :fingerscrossed
Mission Accomplished
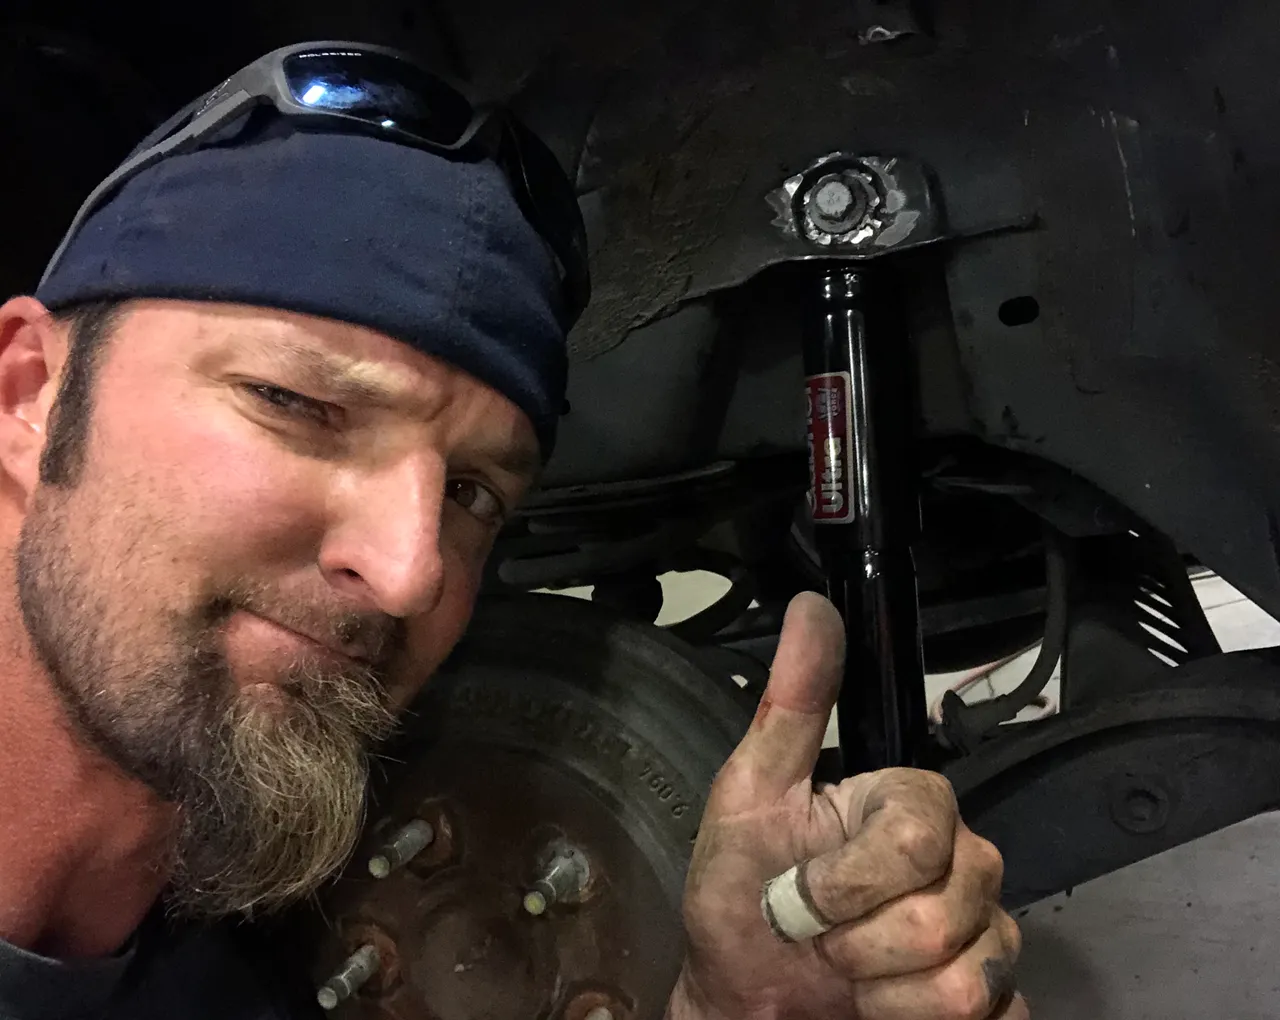
With both the washers welded into place it was time to install the shock and wrap this job up. We have been at this job for close to 4 hours. Typically changing out rear shocks takes less than an hour on this type of vehicle, but when you have issues like this it tends to take a little longer. Not to mention the fact that whoever engineered this vehicle made it nearly impossible to service the upper shock mount.
After getting the new shock into place and tightening the bolts up, this job was complete. I also might add thy is was a success also. There is no longer room for the upper bolt to wiggle around. It is a nice tight fit and I’m calling this mission ACCOMPLISHED
Well besides cleaning up the big mess off tools all over the place.
We slapped the tire back on, cleaned up the mess, put all the tools away, and washed up a little. Then it was test drive time, well time to head home and see if the washer fix did the trick. We took it to some pretty tore up roads full of bumps and pot holes... and not a single clunk or thump!! Wow!! All that work to fix something that someone else neglected. Oh well it is fixed now and hopefully it doesn’t happen to the other side. :knockonwood

Steem On
and
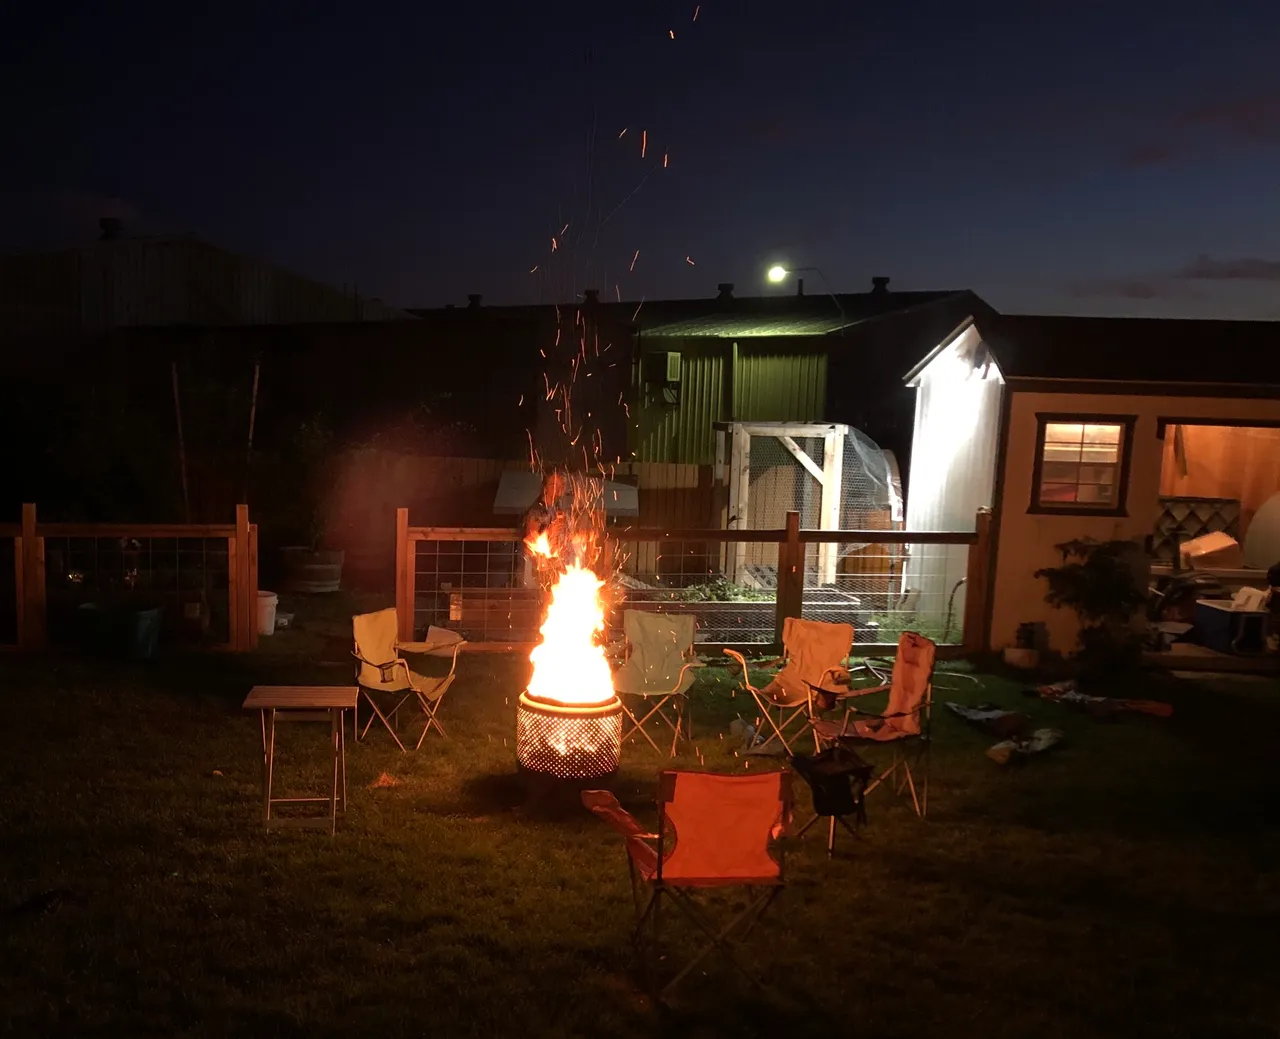
Time to celebrate
With a fire and some
S’mores


Don’t forget to mention @splatz when you encounter a post that deserves a good Splattin’ by the @splatz trail