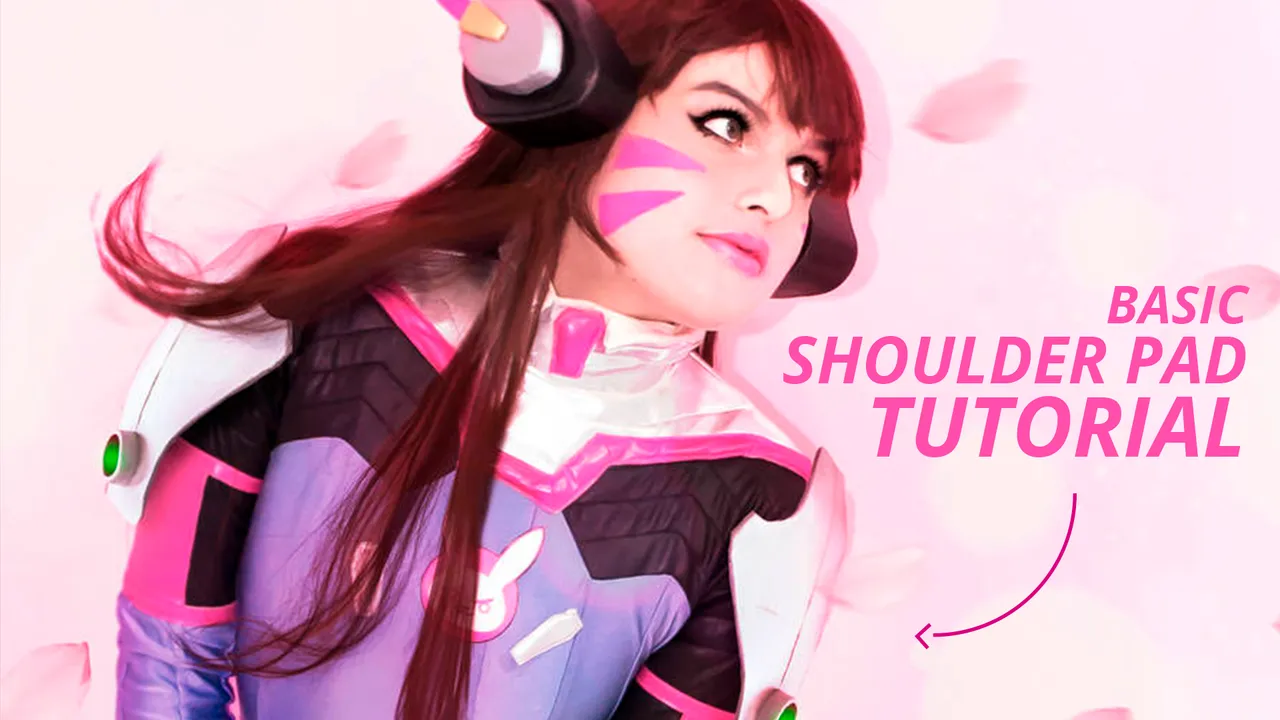
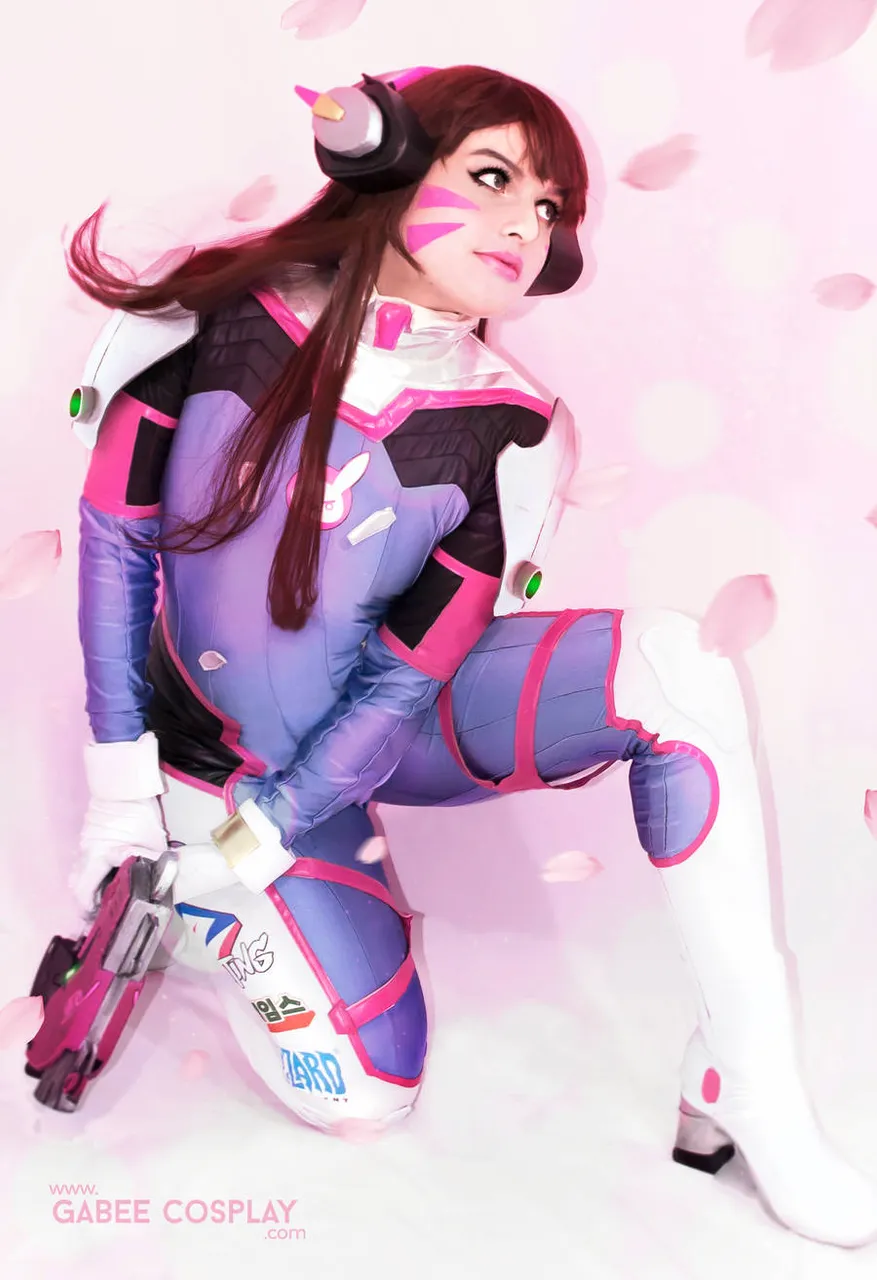
The sample I'll show you is a shoulder pad that wears a popular character from the Overwatch videogame, D.VA (Hana Song. This shoulder pad is very easy to do, all you need are these materials:
Paper or Recycled paper
Pencil/Pen
Cutter Knife or Scalpel
Craft foam or Eva Foam (2mm or 4mm of Density)
Sand Paper
Contact Cement
Gesso or Wood Glue (you can also use Plastidip or any similar sealer)
White Canned Spray Paint or White acrylic
Brushes or Sponges
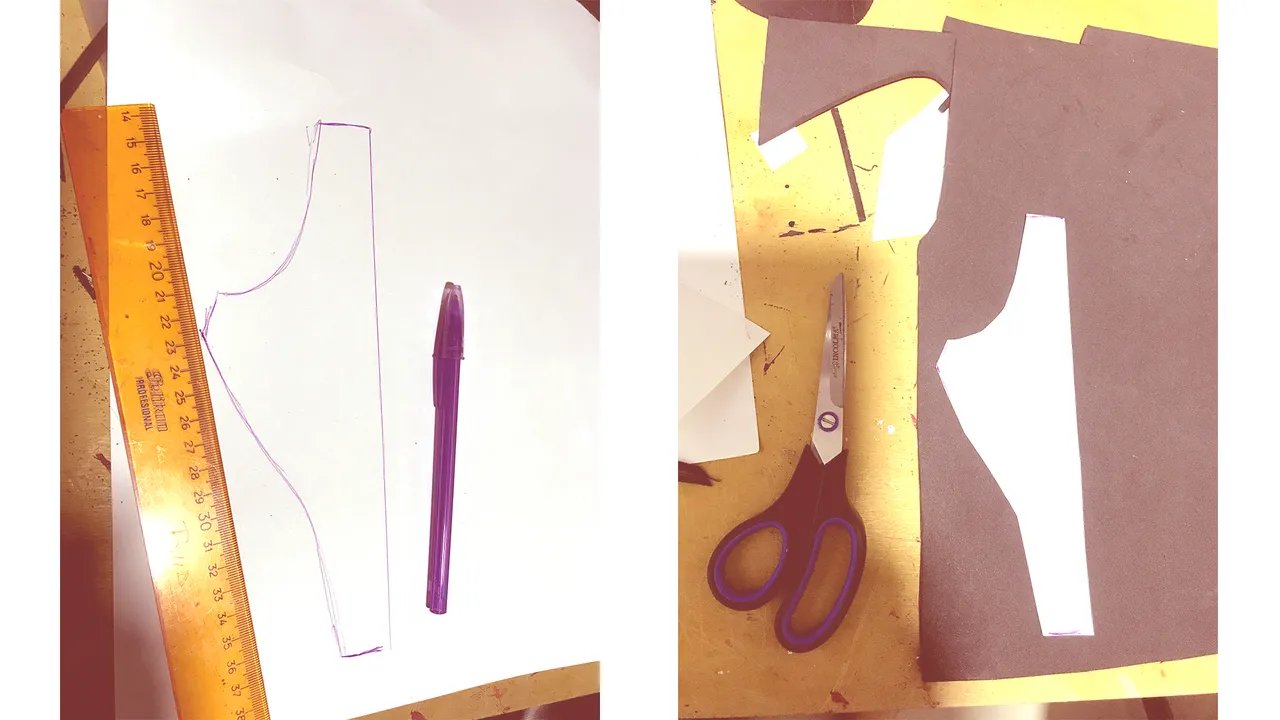
First is to make the pattern, I used white paper and a color pen to draw the first half of the shoulder pad.
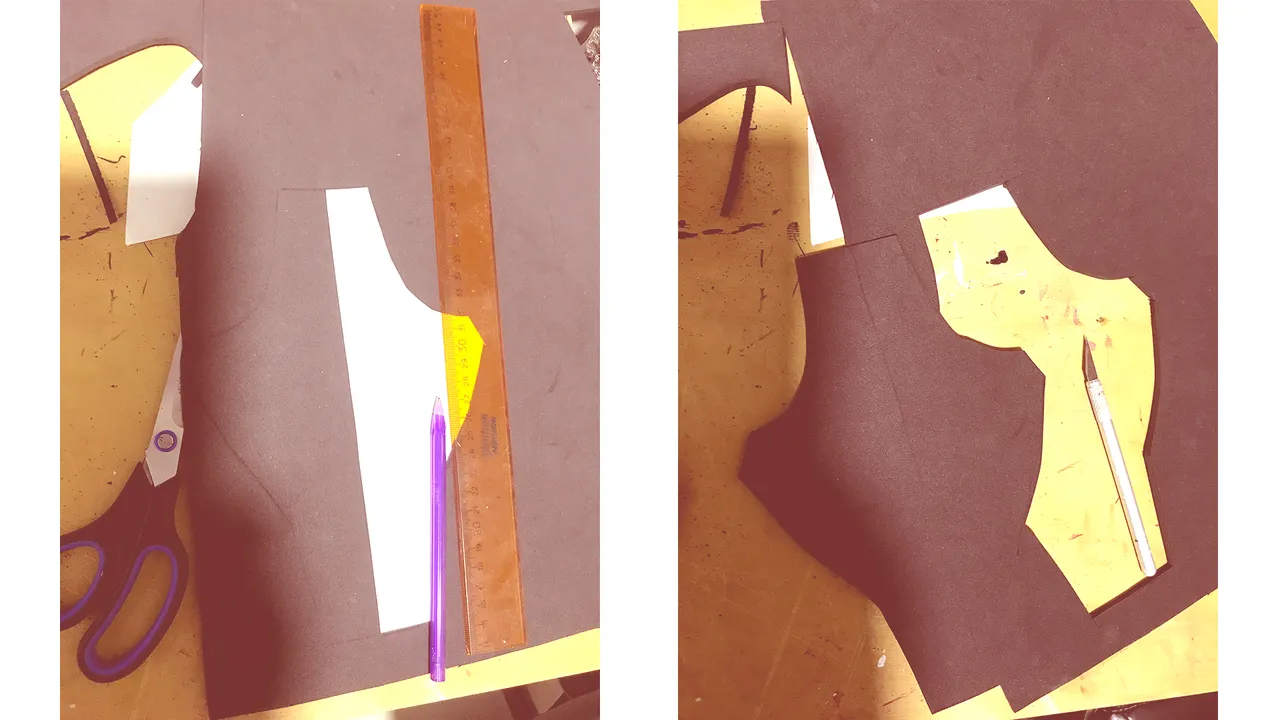
Then, I used the pattern and translated it into craft foam. Made two shapes out of the same pattern to make the complete shoulder pad. I cutted the pattern with a sharp Scalpel which helps me to cut curves in a more flexible way.
I used some sanding paper for the broders. It helps to seal and give dimension to the material.
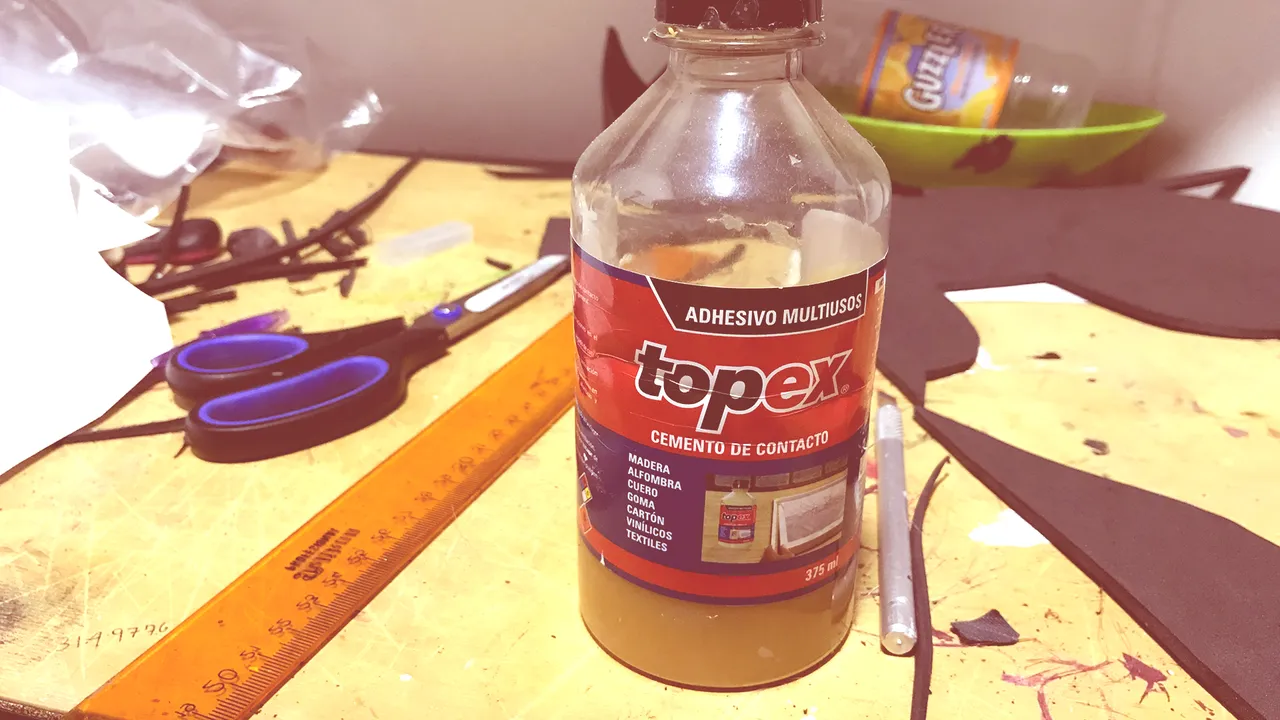
Contact cement is an adhesive used to bond plastics, it is very resistant and doesn't left lumps when dried.Warning
The flumes are toxic and the product is flammable , so be sure to use it outside or in a very ventilated area. I use it with a respiratory mask, and then I keep it properly sealed outside my working area when not used for safety.
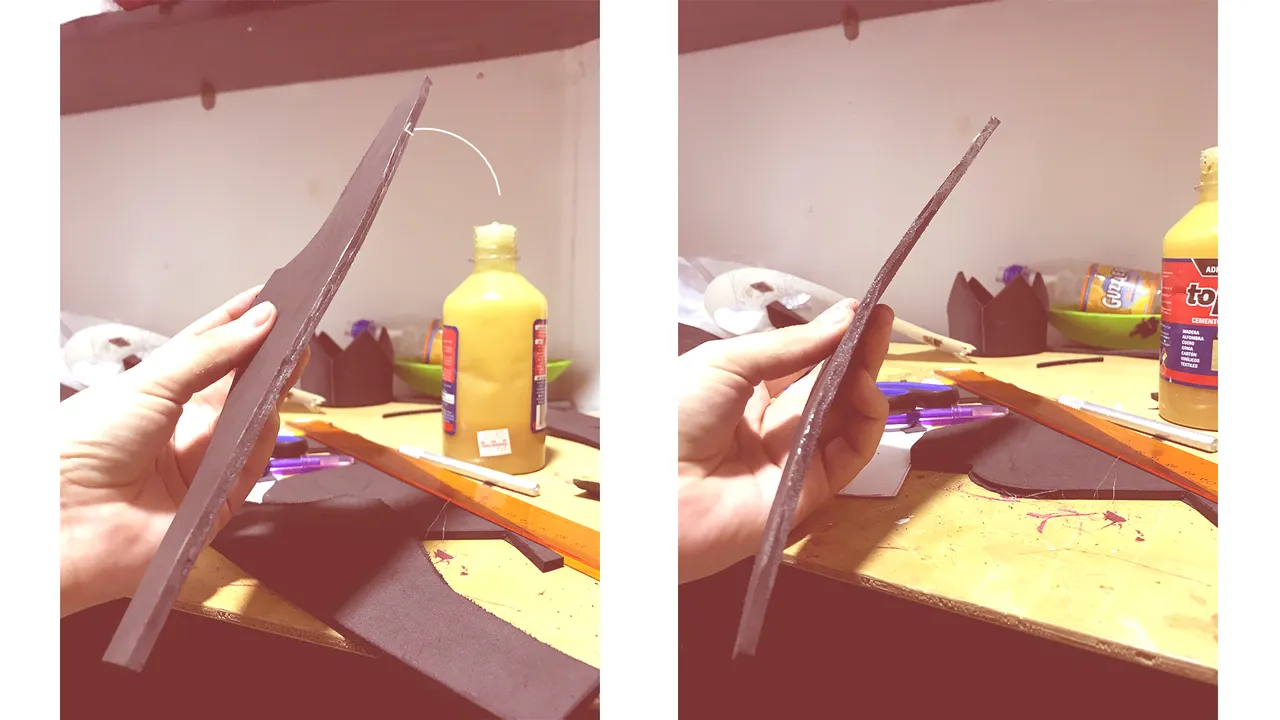
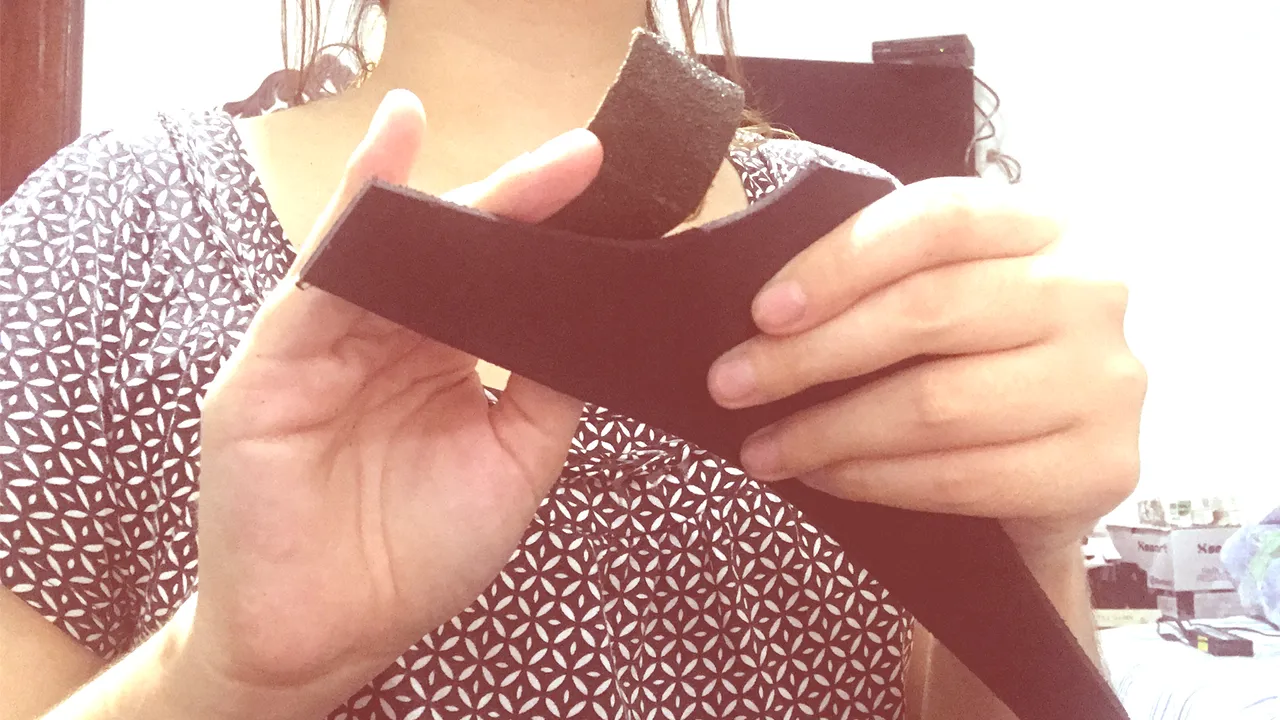
Pour just a bit of contact cement through all the border of the first piece. Do the same with the other piece while the first one dries a bit, and then press both together until it bonds. This will help the shoulder pad to curve.
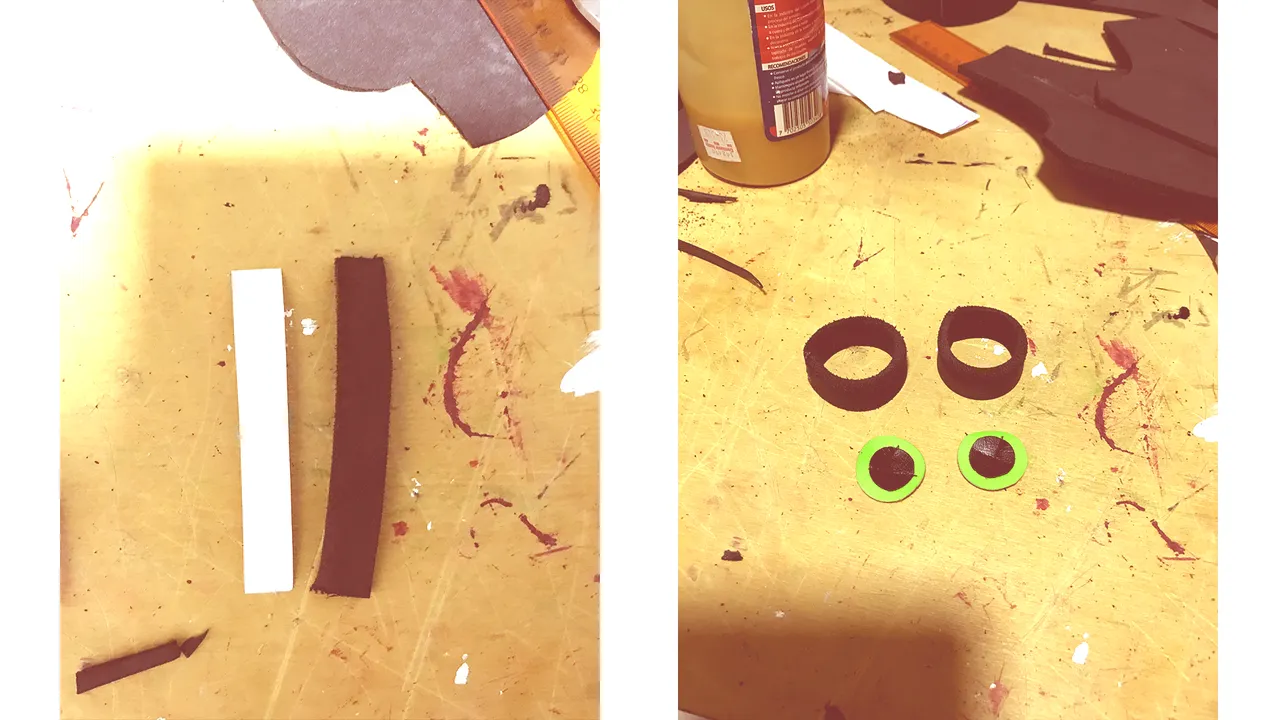
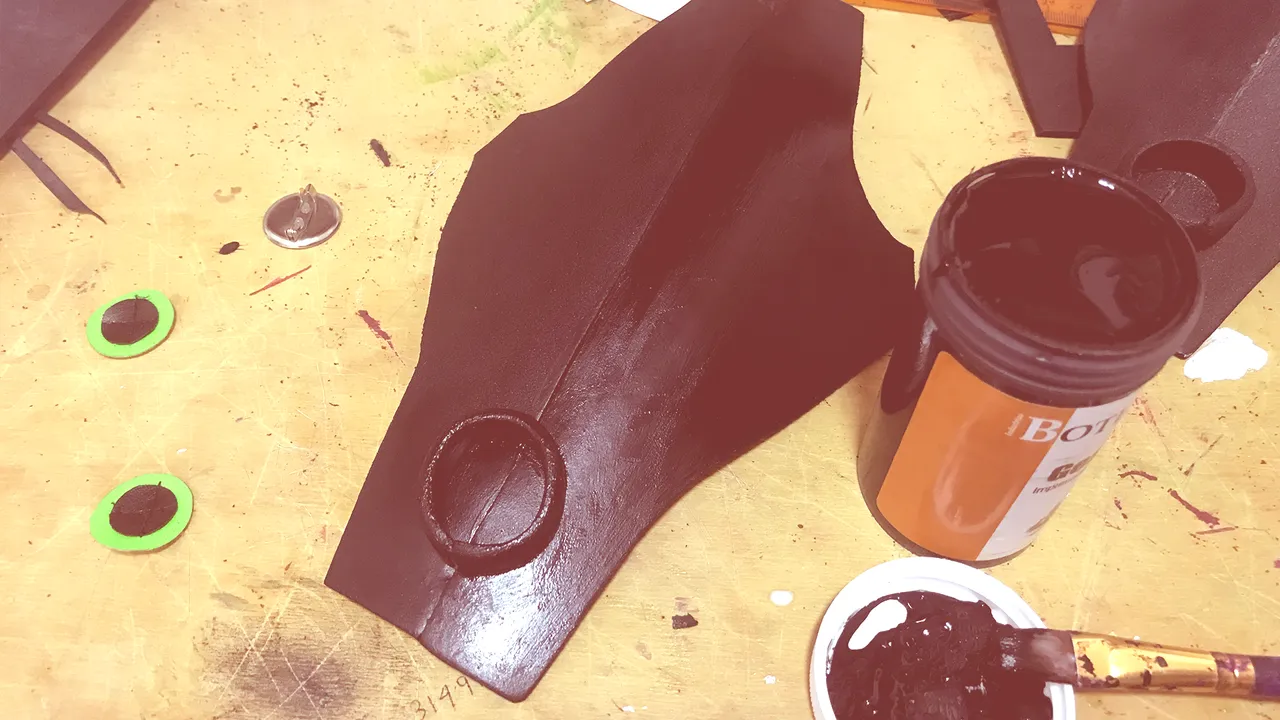
The shoulder pad design has a hole in it, so repeating the first steps I made two rings for each shoulder pad. Plus I made two inserts with some black fabric and green neon fabric.
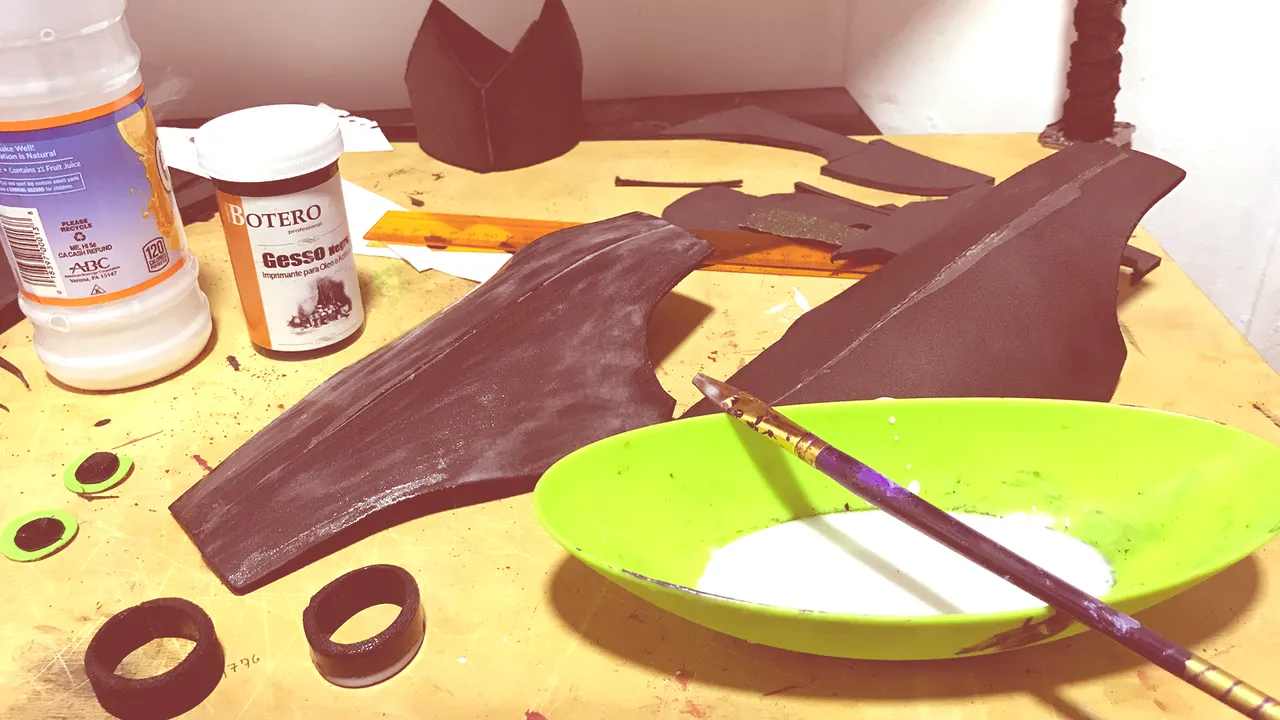
First I sealed with wood glue using a brush. Made a few layers and once it dried, applied a couple of layers of Gesso to prime it for acrylic painting.
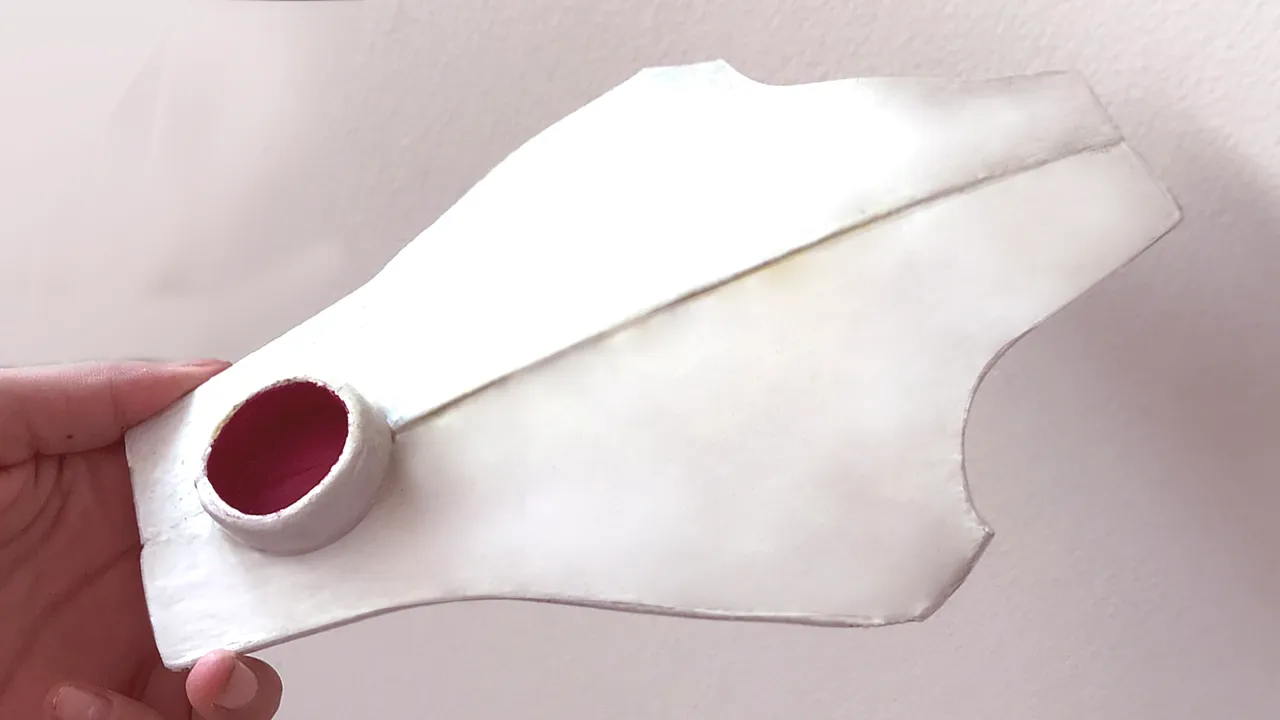
Painted all white and the holes wth fuchsia acrylic painting. Added the fabric on the holes and added a layer of matte sealer in spray. Finally attached the shoulder pads by sewing it into my costume.
This are the basics, you can use the same method for a lot more things you want to create, hope you have liked my little step-by-step! This is the final result with all my costume together:
Hope you have liked my art.
Please remember to upvote or comment if you like my content, this will help me to grow and study my theme choices for making quality content.Follow my Social Media
Cosplay Instagram: https://www.instagram.com/gabee_coplay/
Facebook: https://es-la.facebook.com/GardenDesignCosplay/