
This is the most involved project that I have designed yet. Last summer I decided to see if I could create a lamp using laser cut materials. I originally built this in Solidworks, then exported the parts into Rhino to create the assembly and add the constellation designs. Included below are the files if you want to make your own, and instructions on how to do so.
If you have any trouble following any steps, you can also look at my Instructable for this project, which includes more pictures of each step.
Files: Available here
Tools:
-Laser cutter
-CAD/graphics editing program
Supplies:
-3mm birch plywood (18x24" sheet)
-MR11 bulb
-Socket base (that fits MR11 bulbs)
-Female power jack adapter
-12V power supply adapter
-Super glue (quick drying)
-[Optional] Wood finish
NOTES:
-This was saved in Rhino, and exported to DXF and SVG. If you don't use Rhino, I would recommend trying to import the DXF file first (that one successfully imported for me); I haven't tested the SVG, and it may be missing some parts
-If you use a difference thickness plywood, you will need to modify the grids that connect the pieces
-If you use a different socket base then me, you may need modify the diameter of the laser cut piece that holds it
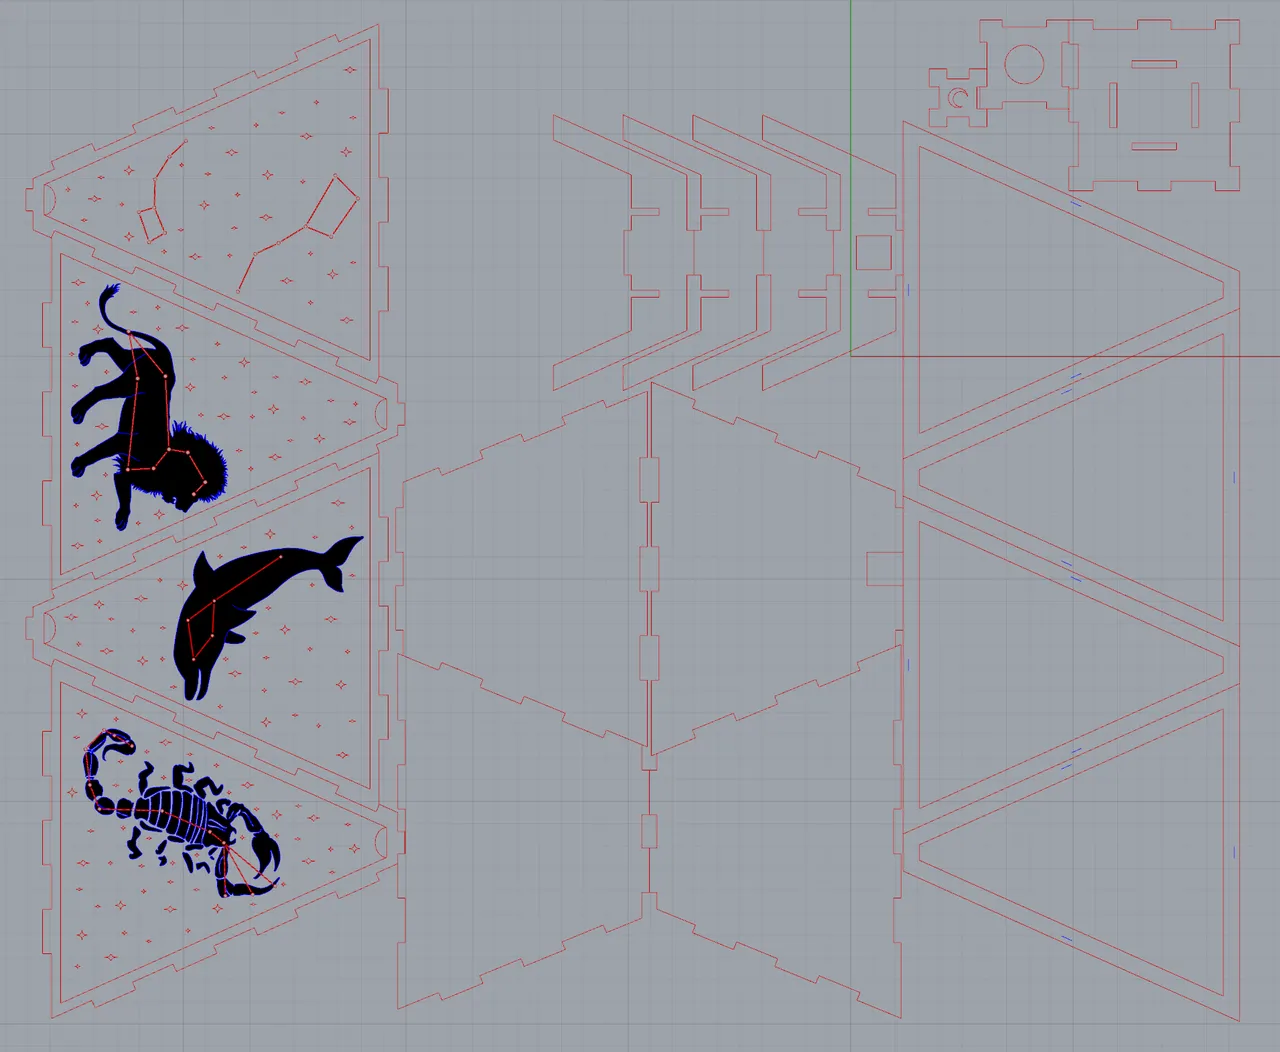
Step 1: Laser Cut
Laser cut the included template using 3mm (or 1/8") thick birch plywood It's designed to fit on an 18x24" piece.
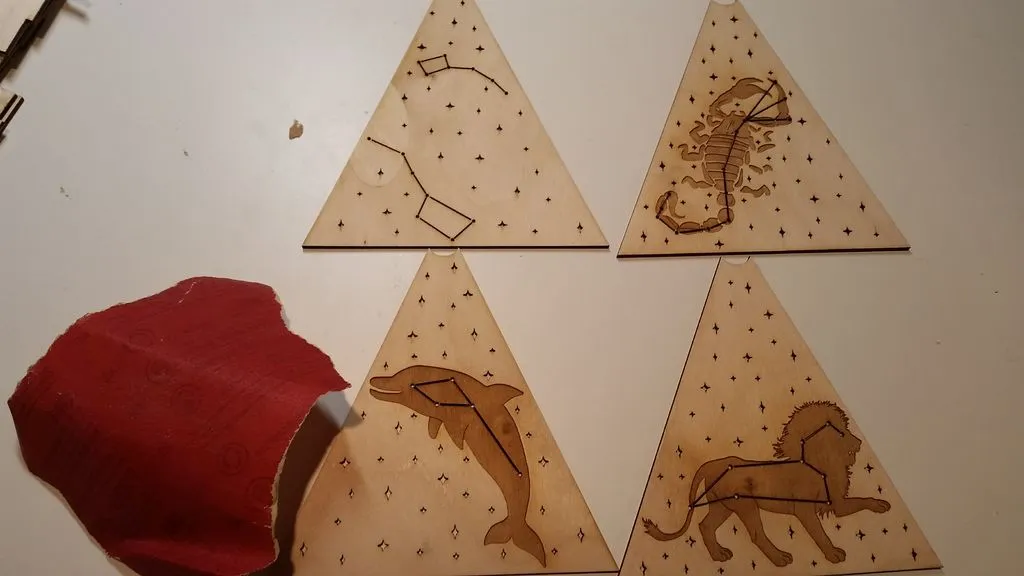
Step 2: Sand
Lightly sand the pieces using 220 grit sandpaper. This will help get rid of any rough spots caused by the laser cutter, and also smooth out the surface to help with a more even coating when applying the wood stain.
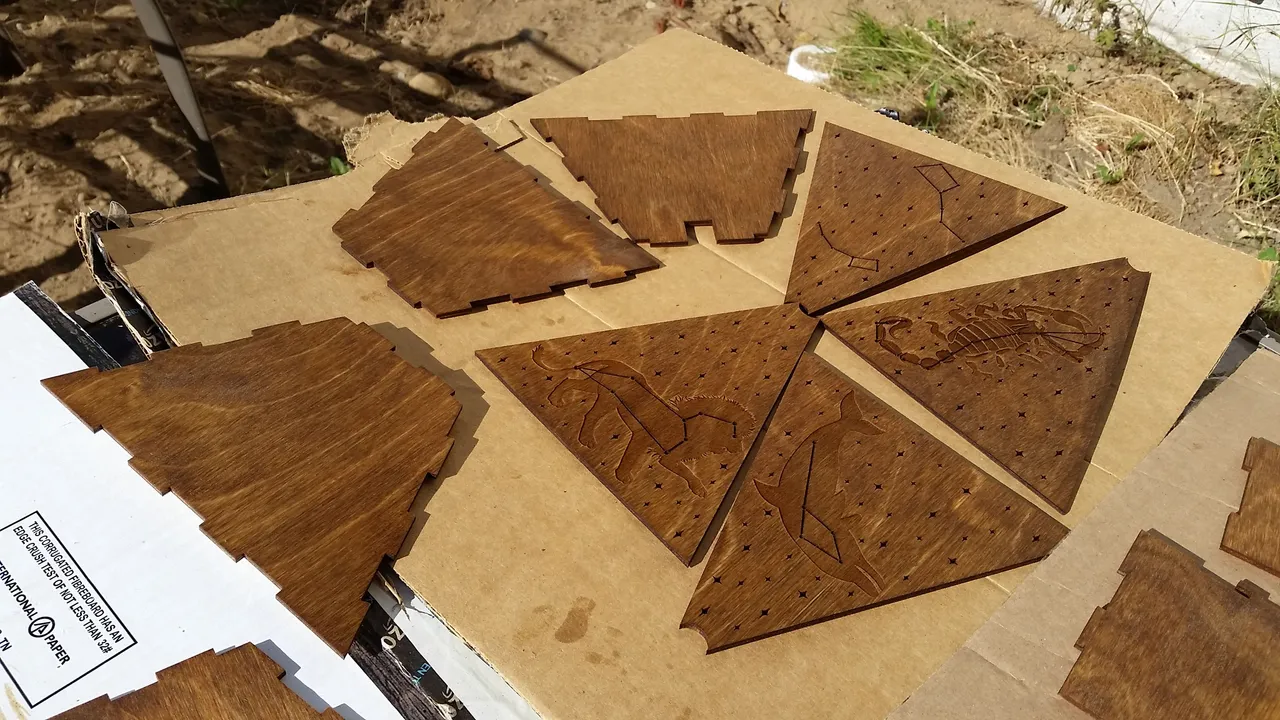
Step 3: Stain the plywood
Add 2-3 coats of the stain of your choice to the wood. You don't need to stain the pieces that are completely inside the lamp.
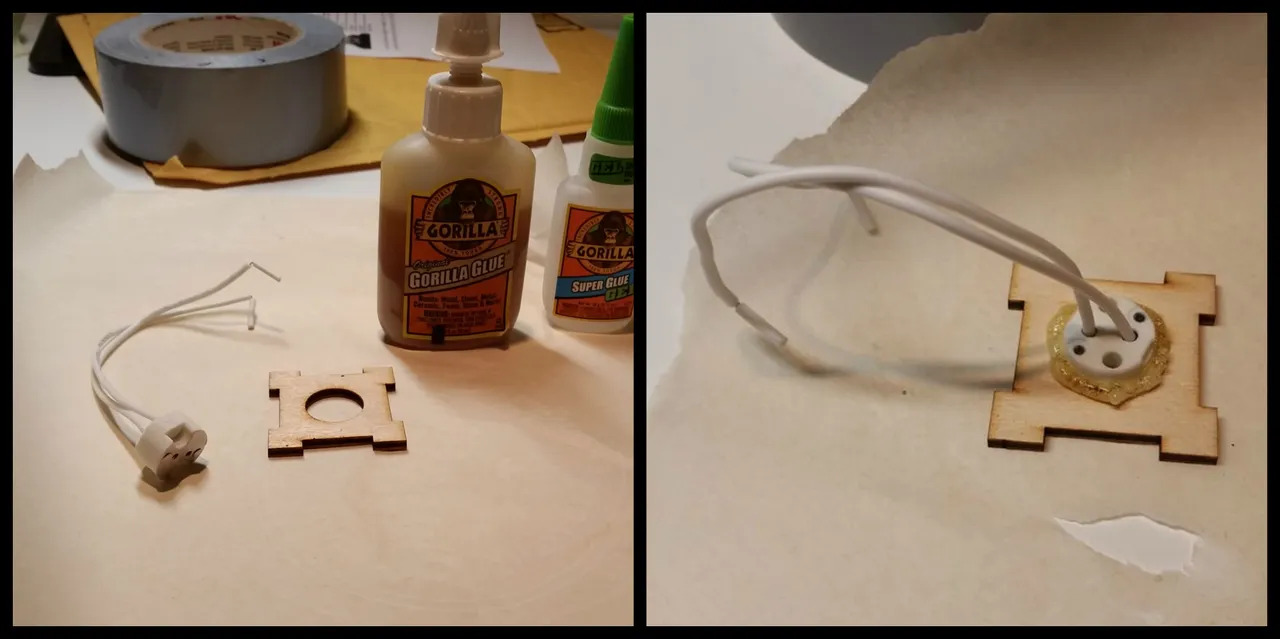
Step 4: Glue the Socket
Glue the bulb socket to the socket base. I used an expanding glue here (rather overkill), but a hot glue gun or similar would probably work better. After gluing, lay it on a flat surface so that it will dry level.
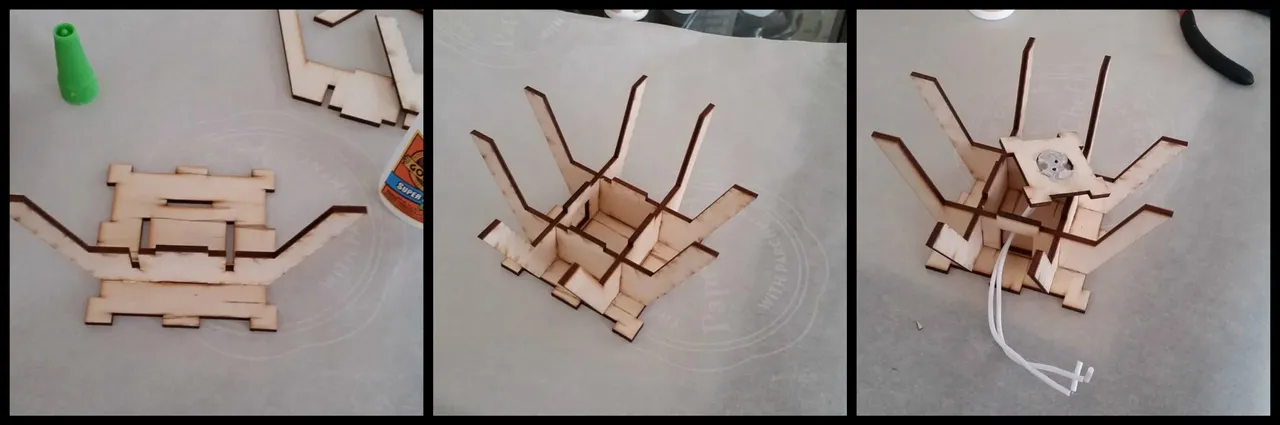
Step 5: Assemble the base
Lots of gluing! This is where quick drying glue really comes in handy, because you have to initially hold many of the pieces. Start with gluing together the base of the piece (follow the pics).
Then glue on the bottom sides on. Use the ribs of the bottom part to help line up the sides. Also, the 4 side pieces have two different types of joints mesh, so make sure that the two sides mesh together before applying the super glue and trying to stick them together.
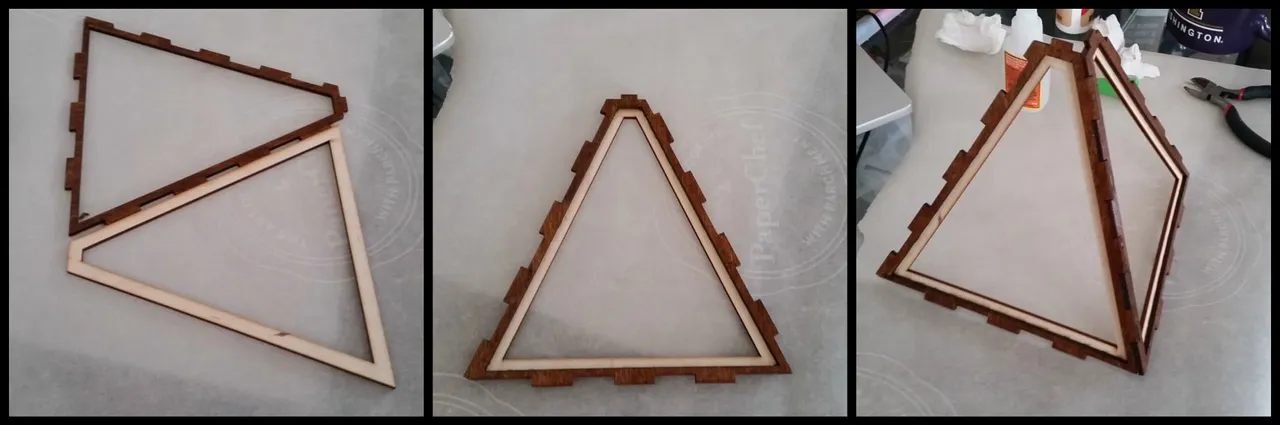
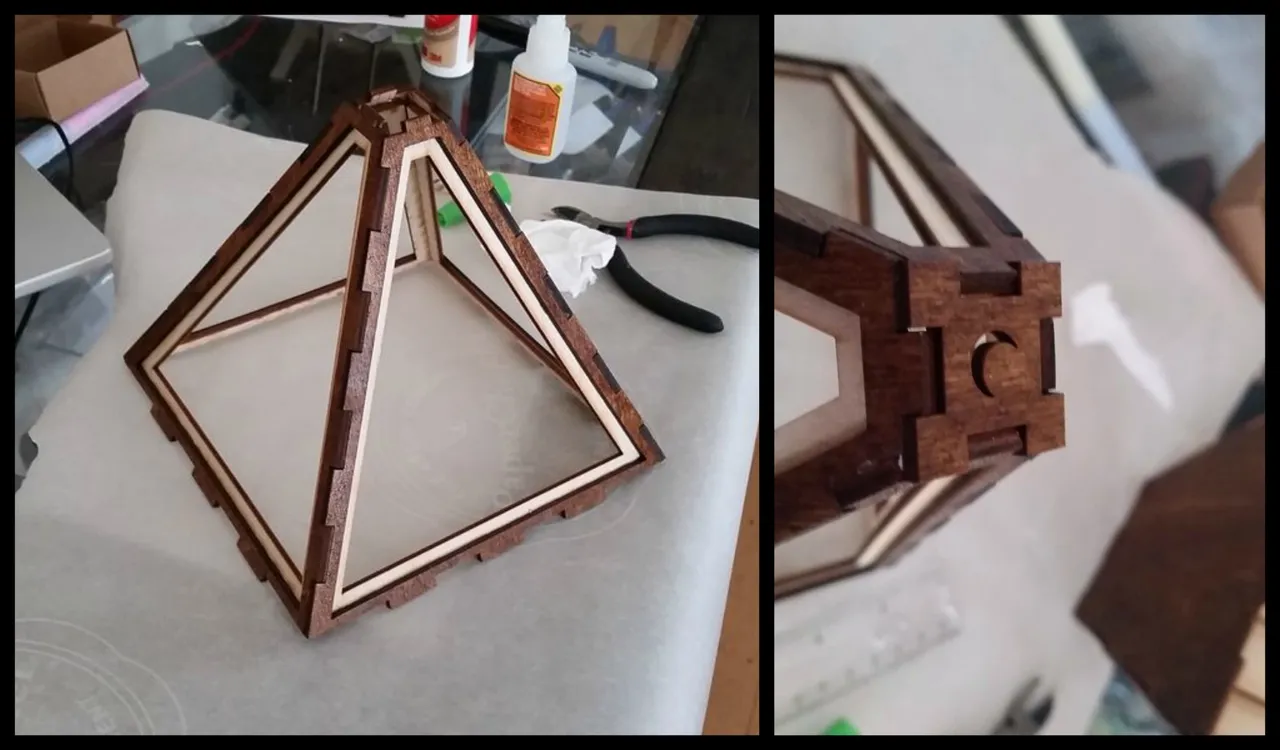
Step 6: Assemble the Top
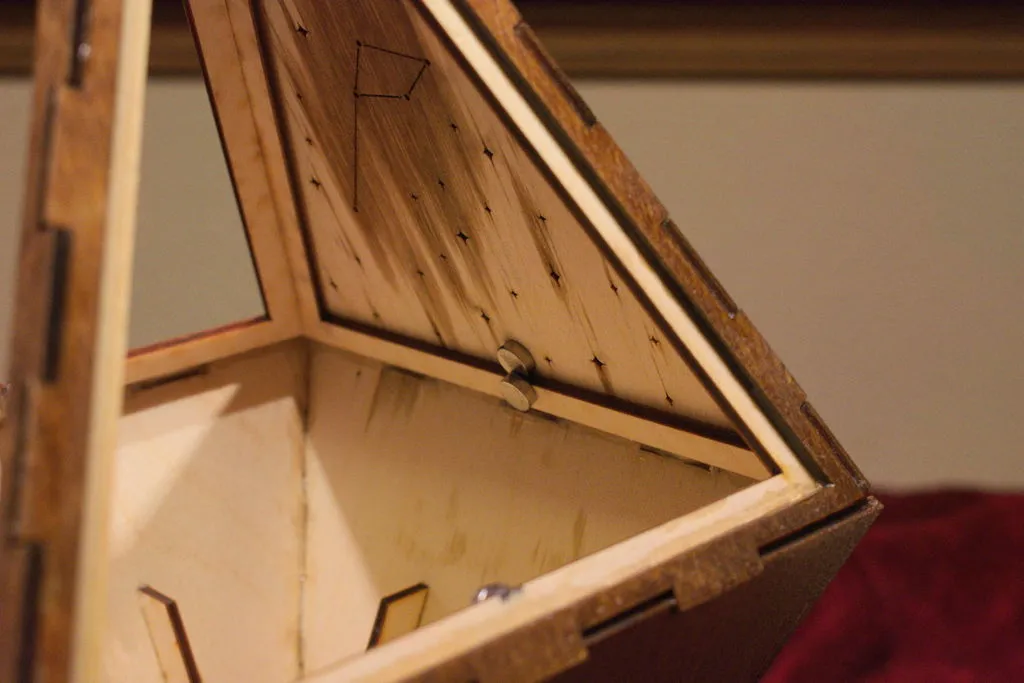
Next, put together the top assembly. Do this by gluing the inner and outer triangular pieces together (first 4 pics). There should be 3 lines on the 3 sides of the inner triangle that were etched in when they were laser cut; these correspond to where the inside edges of the outer triangle go when you glue the pieces together. Once you glue them together, make sure to wipe off any residual glue (3rd pic), because you don't want that drying where the constellation panels are going to go (else they won't sit right).
Then glue the combined triangular pieces together by putting glue in the joint and holding the two pieces together perpendicular to each other until the glue is dried. Do this for all four pieces, and once that is done, glue the piece with a crescent moon to the top.
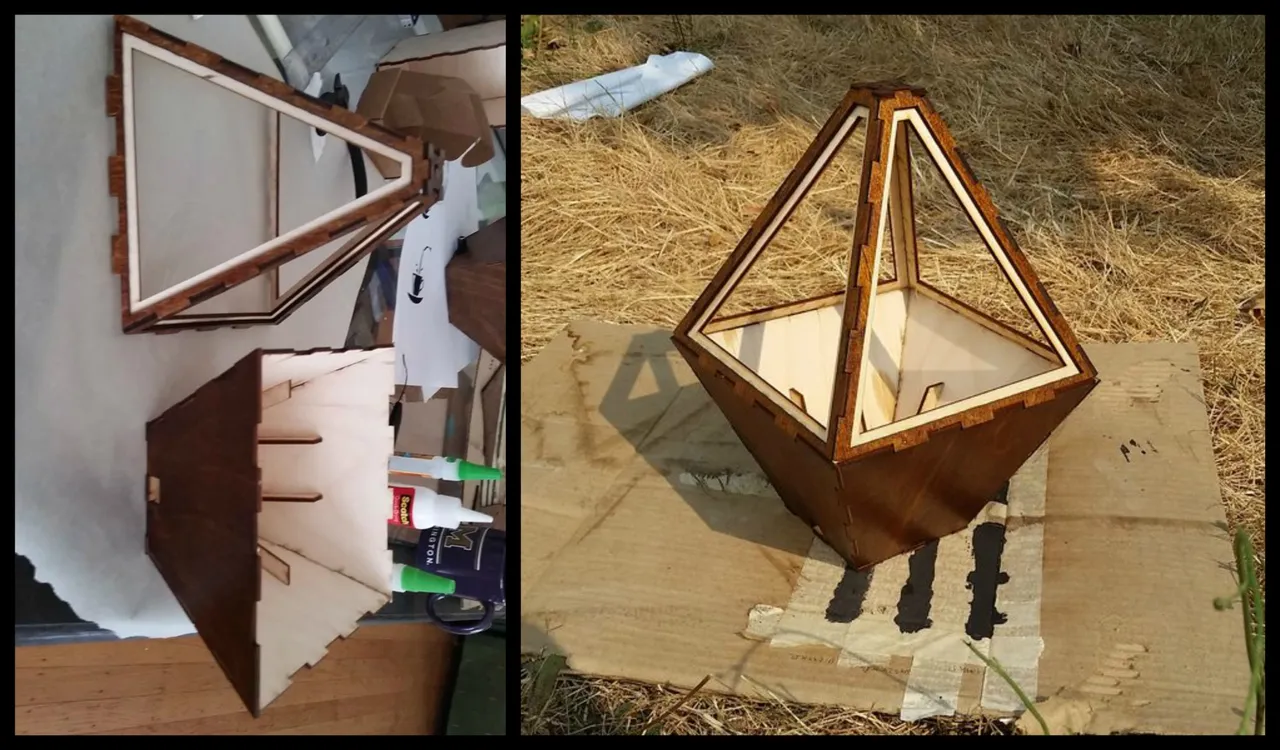
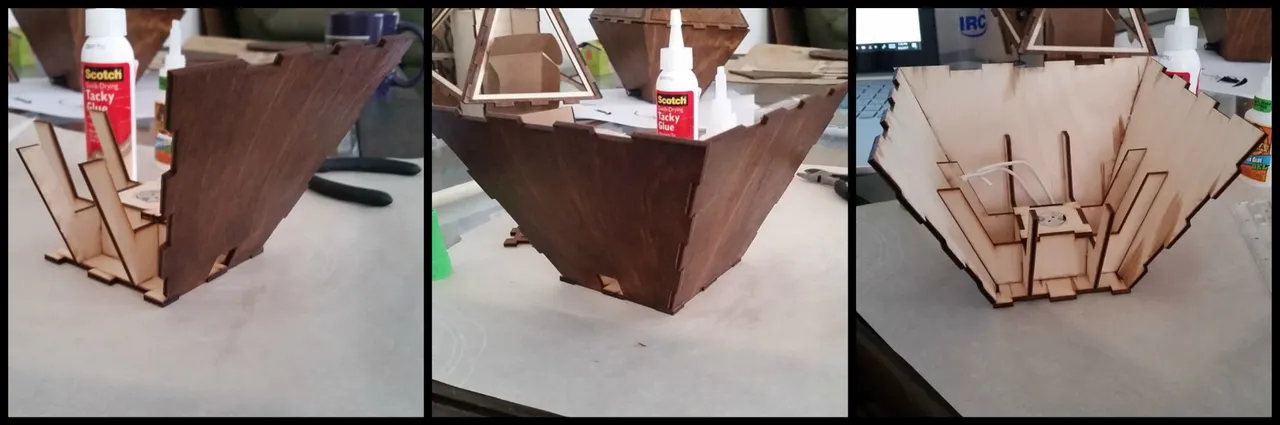
Step 7: Join Top and Bottom Assemblies
Now join the top and bottom assemblies of the lamp. When doing this, try to make sure that the glue is on all of the sides of the joints, because it is important to maximize the surface area that is glued.
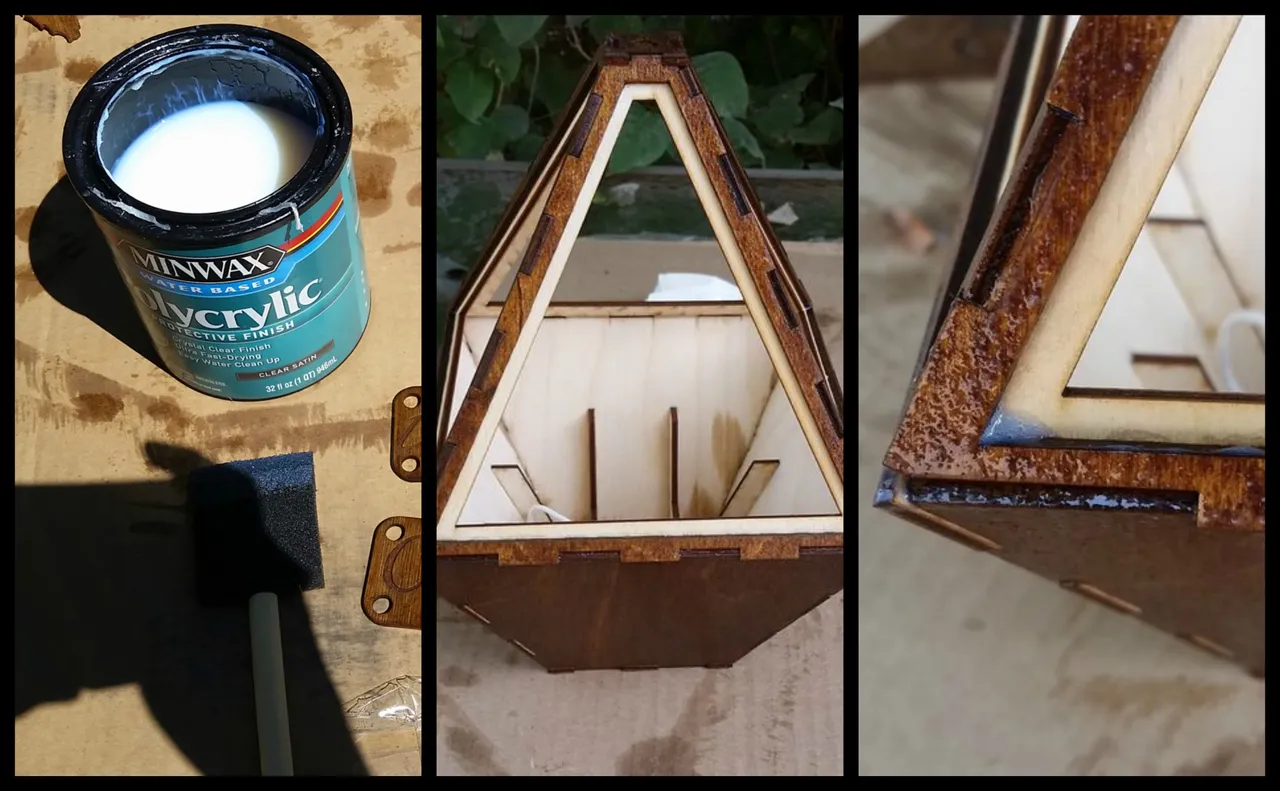
Step 8: Apply Wood Finish
Next apply wood finish to the lamp if you plan on using finish. I used two coatings on the lamp structure, and just one on the constellation panels. I only did one on the panels because I had to use a toothpick to make sure that the finish wasn't getting into the holes and lines that were a part of the constellation pattern (this would dim the light, which I didn't want). Also make sure to wipe up any wood finish that pools up on the inside edges of the lamp (pic 3)
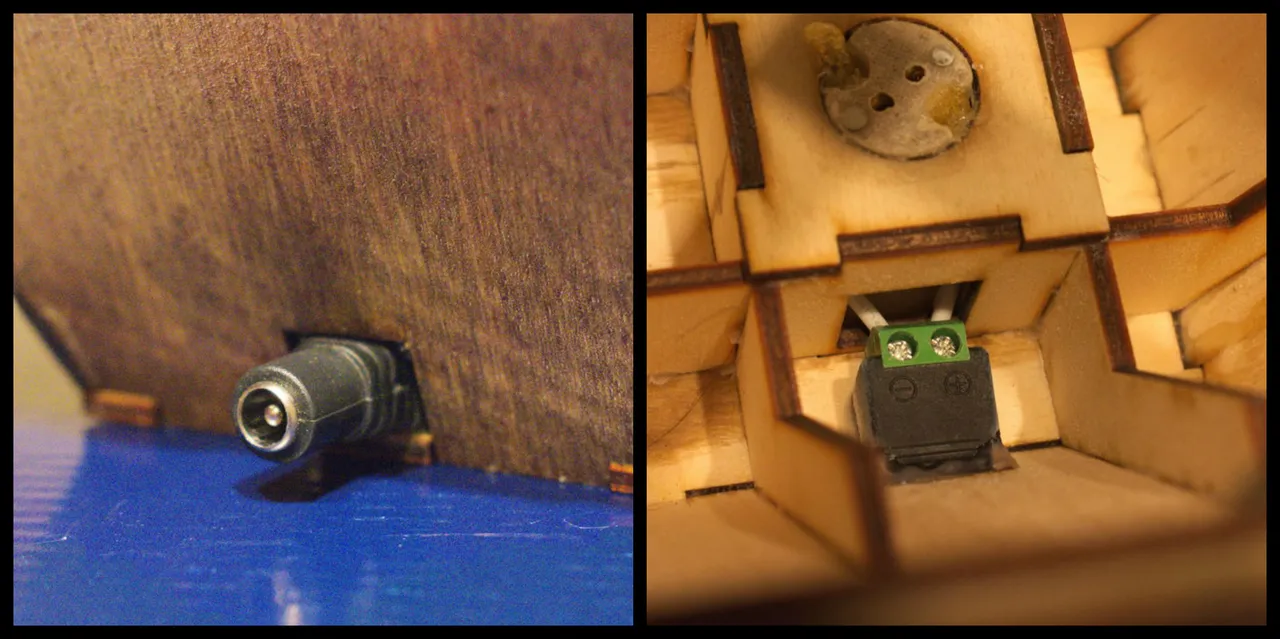
Step 9: Add adapter
Attach the wires from the socket base to the adapter, and then glue the adapter into place in the hole on the side. This might be another place where using a glue with a thicker viscosity (like tacky or expanding glue) would help setting the piece in place.
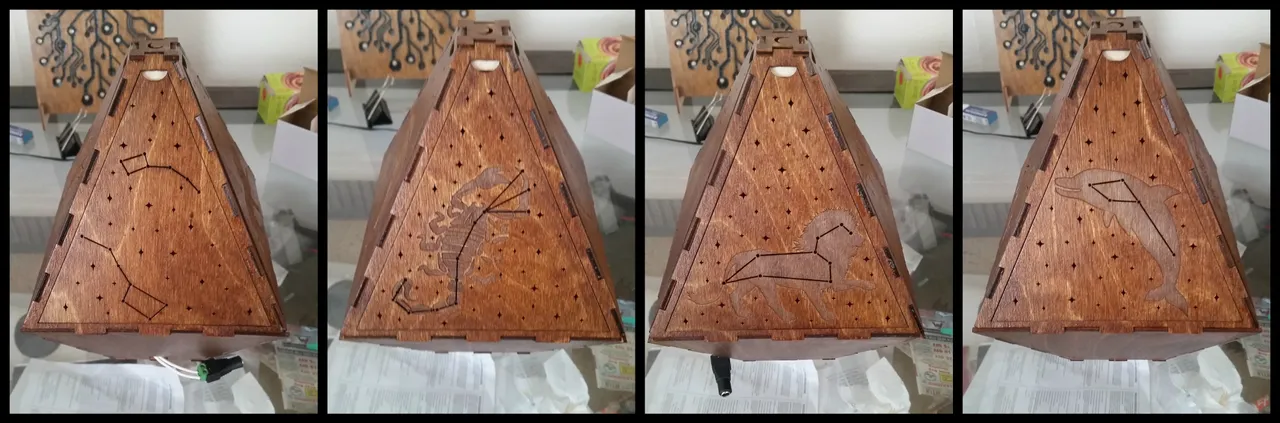
Step 10: Attach Panels
Finally, you will want to put the constellation panels onto the lamp. I used magnets to hold the panels in place, because I wanted to leave the option open for making different types of panels that I could put into the lamp later. However, if you only plan on using these ones, I would recommend gluing the panels on (with the possible exception of one of the panels, so you can access the inside).
And your done! Thank you for reading this DIY tutorial. Let me know if you have any questions or comments
This post is also my first submission to the new weekly woodworking competition