Dear Steemians!
It‘s been a while since I posted something, because I was working on a new character based on @w0olf ‘s Reimagine Challenge Contest, which is already long over. As usual I tried to create a 3D model to get better at my skills. It‘s always a challenge with a deadline and it was again a bit too tight for me, but this time I used the opportunity to prepare a model, that I can animate.
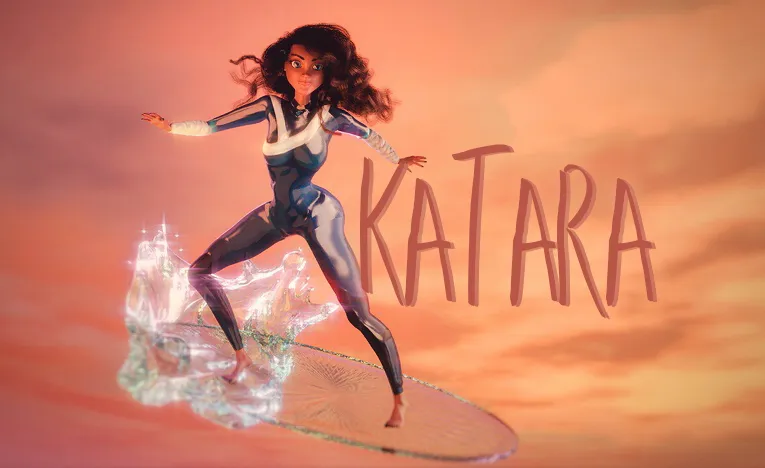
I decided to reimagine Katara from Avatar, The Last Airbender, as I always loved to watch it on Nickelodeon. I even watched it again 2 years ago on Prime Video and started the new series The Legend of Korra, but I prefered the original- you are never too old to watch animations ;)
At first I wanted to create an elder version of Katara with a long dress and high slits, but quickly changed my idea in turning Katara into a surfer, changing her clothing into a wetsuit, controlling the waves for the best ride!
So here are my first sketches- I didn‘t give much detail to it as I like to change things up when I sculpt the 3D model in Zbrush.
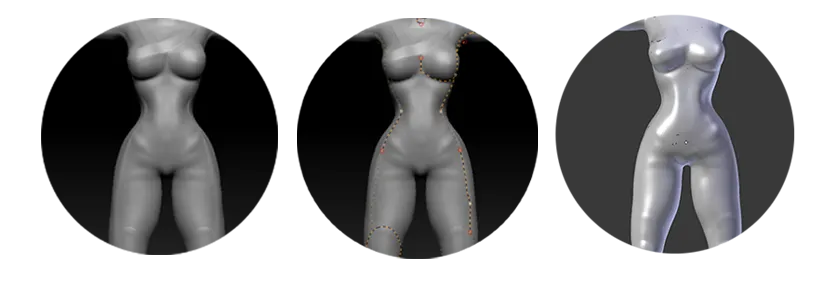
After the concept you usually sketch a turnaround, but I skipped that part and started to create a form with ZSpheres, then turn it into a mesh and started to give the model more and more details. When the body was quite ready, I added Subtools by masking the mesh and extracting the desired area (wetsuit & nails). I added an extra Subtool, by inserting a Sphere and forming in into one eyelash. After getting the right form, the the Deformation tool, I placed the lash, copied 2/3 other lashes and placed them correctly to form a group of eyelashes. I duplicated the group and adjusted them, until everything together looked like complete eyelashes.
I exported the Subtools separately as obj-files and imported them in Blender. The model is quite detailed, so a retopology is the step of creating a lower poly version of the model. I started creating the retopo manually, but this step is so time consuming. I started using the ZRemesher in ZBrush, to clean and lower the topology for a faster result. To give re the remesh a bit more control, I used the Topology brush to draw on some curves were it was necessary . Well never be too lazy, because you will regret it afterwards, when you want to animate your character. But well, it was done and to keep the details of the High-Poly, I "baked" it on the Low-Poly.
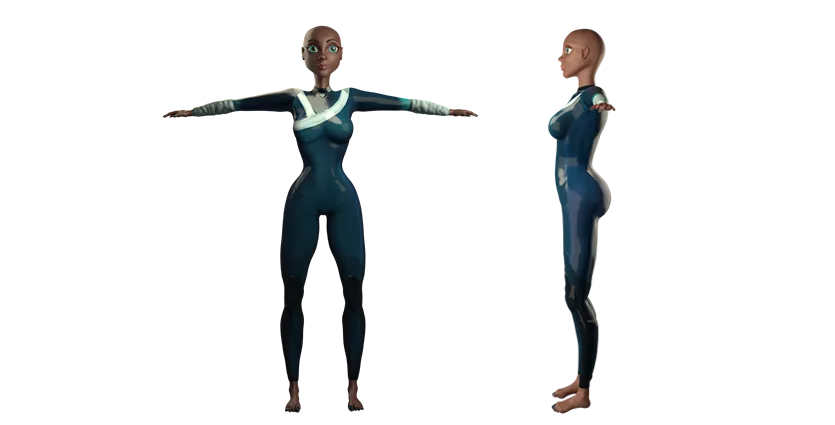
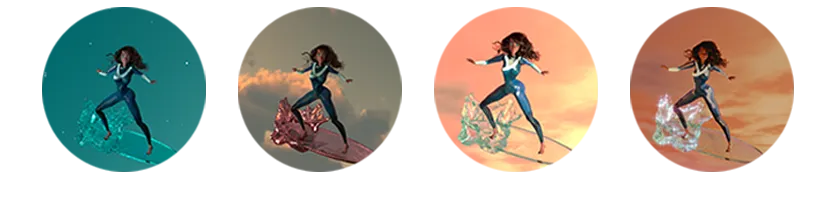
I UV-wrapped the mesh to flatten the Low Poly. This step is necessary to create a UV-Map where you can decide to color in the model precisely. I stayed in Blender and used the Texture Paint-Mode to texture Katara. To make the look of the render more interesting you have to start shading (in my case I used the Cycles Render and mostly used the Principled Shader). I just found a FREE HDRI MAP to light up the scene and also for the background of my title. But for the gif I disabled the camera visibility, so that you can only see the reflection of it on the materials.
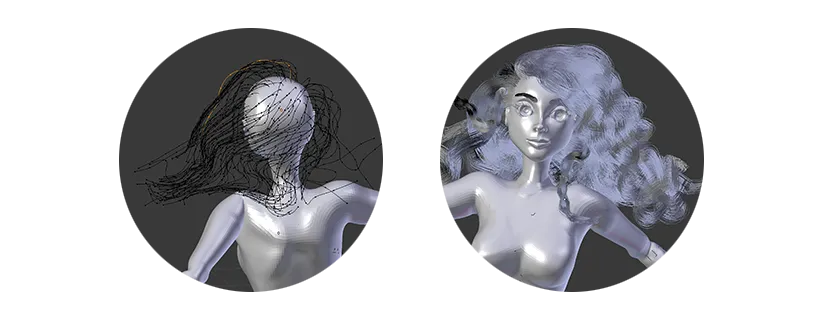
What is missing? Right! Hair!! So this is the first time ever I tried to create sort of realistic hair. I used particle systems before, but never for a hairstyle. The braided hairstyle was a bit complicated and it was driving me crazy, so I decided to give Katara a typical wet and curly surfer-hair look and positioned it already in the way the hairstyle would flow, while surfing and added to little braids, to give the character something from the original.
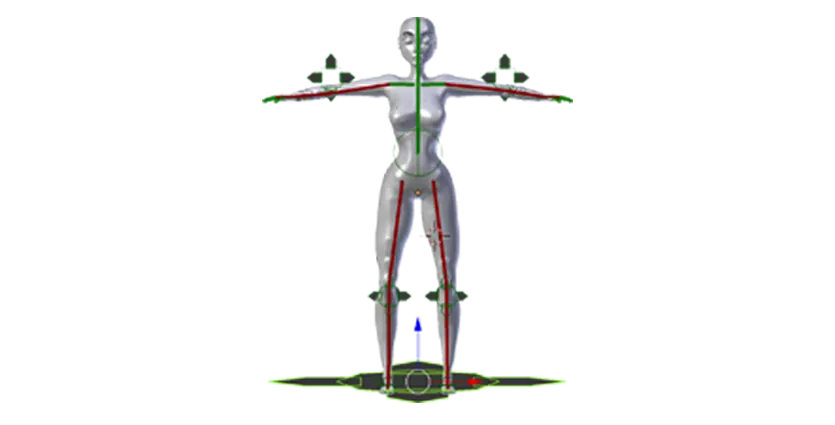
To give the model a pose, I had to rig it = give it a skeleton/joints! The next step is binding the skin to the rigg to determine, how the body moves and what will move if you rotate a certain joint. For this I used the Weight-Paint Mode: blue for no motion and red for the biggest influence. As I mentioned your model shouldn‘t be too detailed, but I used the Remesher and it was apparently not enough. It wasn‘t laggy, it‘s just more complication and you make more mistakes you can‘t fix that easy when there are too many polygons.
With the use of EasyFX I was able to composite the render a bit, which is a great and easy way to do compositing for beginners.
I rendered the simple turnaround animation with the help of SheepIt!, a render farm for Blender. I hope you like my result! It‘s really a challenge with a small timeframe:D I spent too much time tweaking the sculpt in ZBrush and also finding a pose, but it‘s so much fun using my knowledge or refreshing something I forgot or didn‘t use a lot. I even learned something new for this challenge!
Please check out the other entries, as the other characters given were Hades from Disney‘s Hercules and Gaz from Invader Zim! Here are the top three and the winner with the most votes is @cartoonistpandan! I loved so many of the entries, but my absolute favorite is @oreille-pointue 's version, because I also went with the surfer idea, but her‘s is so much more magical and fun and I admire how good she is with coloring!
Here‘s my post of the last challenge:)
Until next time!