I tried out the new release of Blender 3d, version 2.8 and decided to make a quick tutorial on how to model the STEEM logo, enjoy!
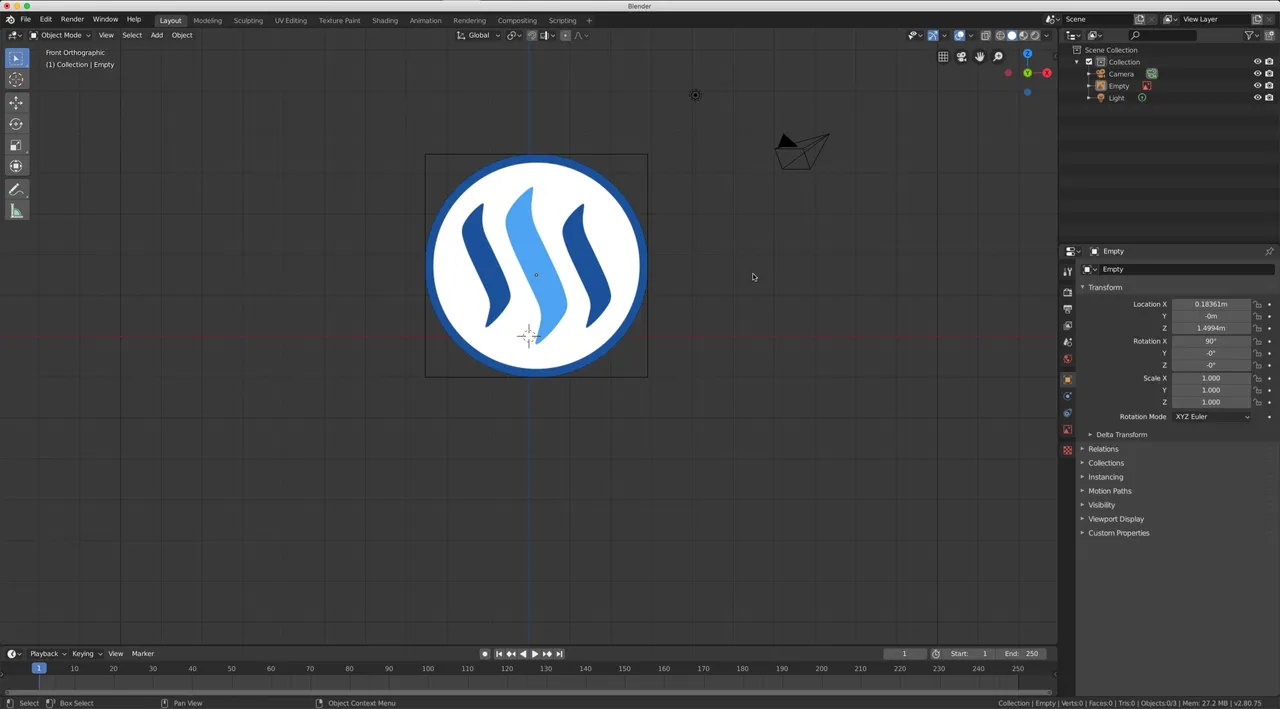
First find a STEEM logo on the internet and drag the file into a Blender view. I have selected the Front View.
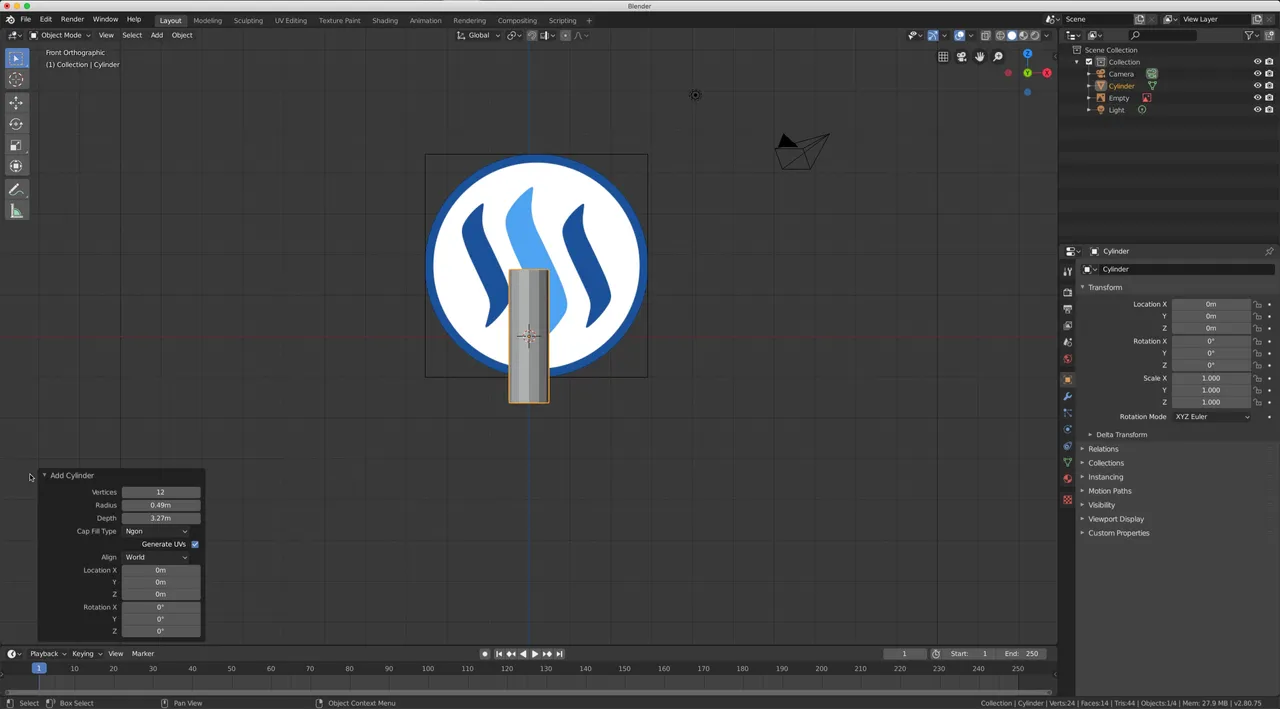
With SHIFT+A open the context menu and add a Cylinder to the scene.
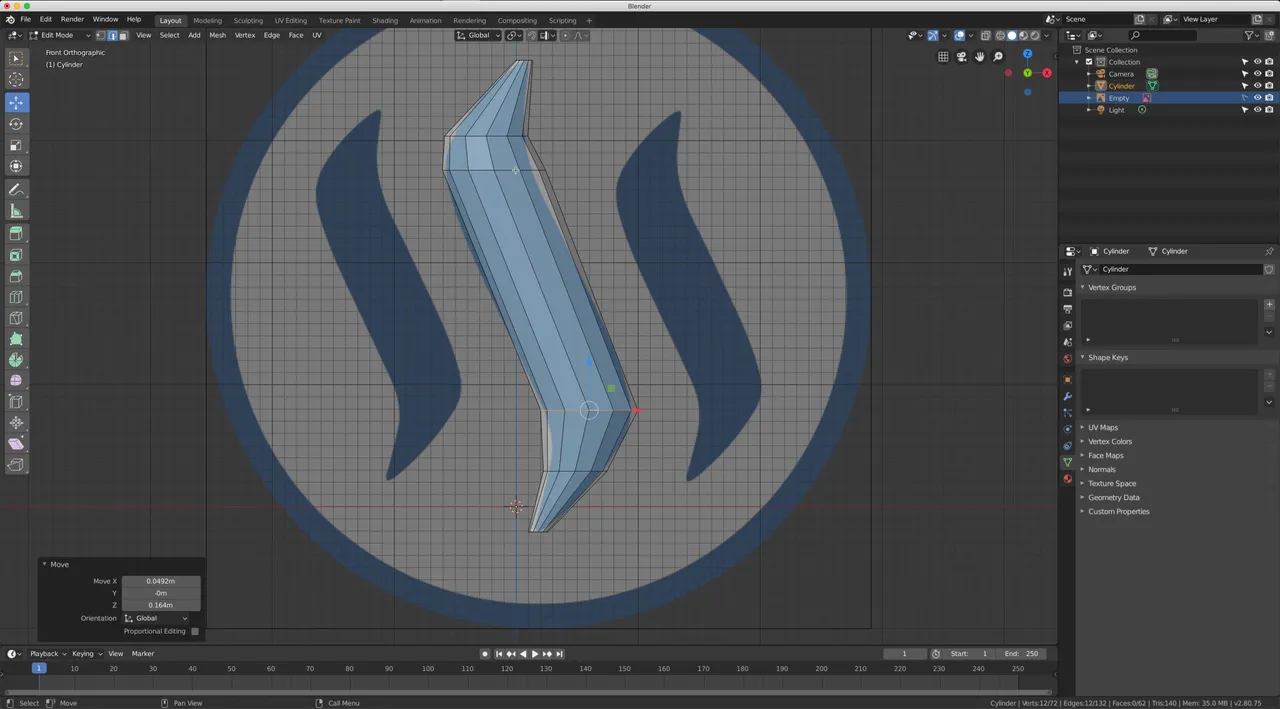
Now it is time to bring the Cylinder in shape. Select first the edge ring using Alt + MouseClick and than G button to move the Cylinder in place.
In order to get a better result once we smooth out the surface, it is best to replace the current flat surface (n points) at the top and end of the cylinder with a surface that has 4 points.
Now I use a modifier called Subsurface which will smooth out the edged surface to a round surface.
Final step is to make two clones of the initial shape and place them next and right.
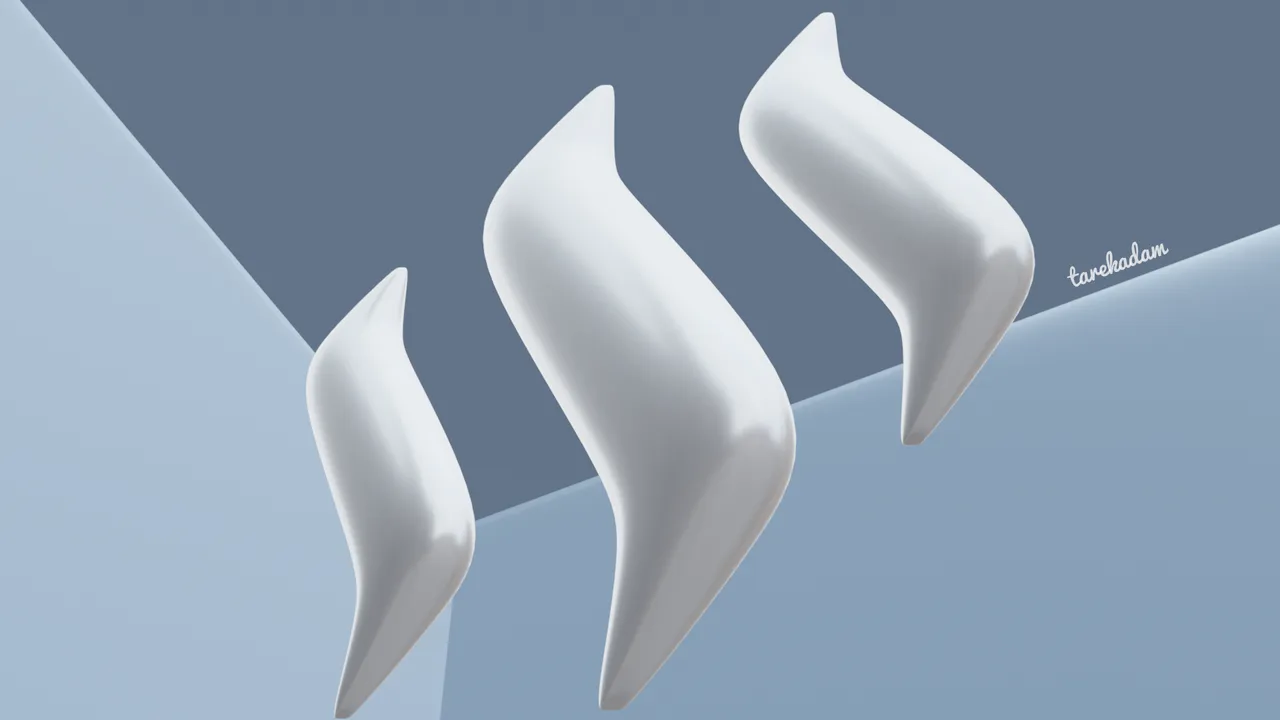
Adding some nice shiny white material.
