Are you enjoying these gorge summer days?! Same. I'm always here to inspire and awaken your creativity to decorate your space. Today, I have a #DIY project that's fun and easy. Get the #Fam in on it. Letz go!
4th of July, while a blast, is over. Why not get ahead of Halloween with this fun, cost-effective and easy wand DIY. Here's what you'll need:
MATERIALS
Translucent pony beads
And/or glitter pony beads
Star-shaped metal cookie cutters
Metal baking sheet or cake pan
Aluminum foil
Electric/gas grill or toaster oven (preferably outside)
Wooden dowels
Hot glue gun
Acrylic jewels/gems (optional)

Step #1. Fill cookie cutters with beads
First place cookie cutters on a foil-covered baking sheet and fill the star with the pony beads of your choice.
Step #2. Melt the Beads
Cook for 5-10 minutes at 400-450 degrees F (200-230 C). I used an electric grill but a toaster oven outside works well also. The time will vary depending on the size of the stars and the temperature. I set my timer for 5 minutes and then checked it frequently after that.
Note: The fumes from melting plastic are not good to breathe, which is why I do the melting step outside. If you decide to do this inside. Ventilate well!
Step #3. Remove from cookie cutters
Next, remove the tray when the beads are completely melted and flat (ideally). Be careful not to allow it to get too hot and start to bubble. Allow the stars to cool completely then pop the stars out of the cookie cutters.
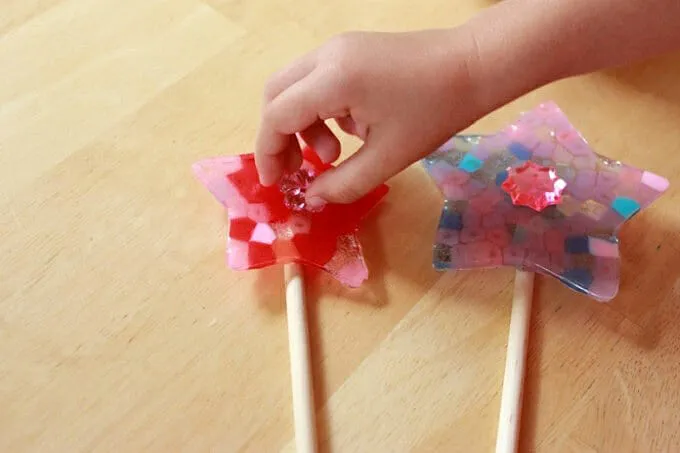
Step #4. Glue dowel to star
Then, use a hot glue gun to attach the wooden dowels to the backs of the stars. You could also tie a ribbon to each wooden dowel as well.
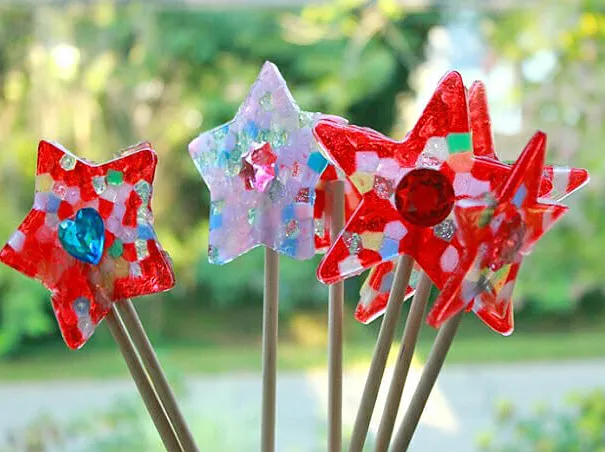
You could add a large "jewel" to the center, other details or glitter for even more fun.
Otherwise, "Accio finito!"
Tried it? Lmk in the comments below how it turned out. I love to see you live what you dream! TTYL