This tutorial will guide you through you the installation steps of Cygwin from https://www.cygwin.com/install.html with tools to access Git repositories.
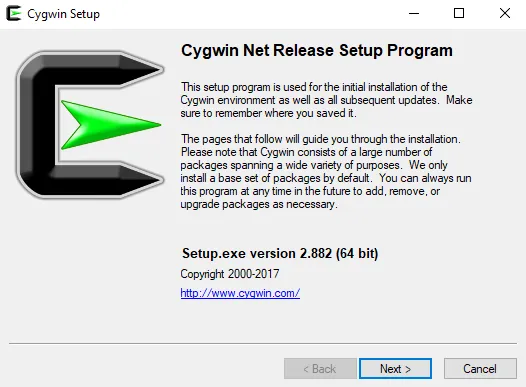
Click the setup-x86_64.exe link to download. Open the installer from the bottom of the browser to start the installation process. Click Next to begin the installation process:
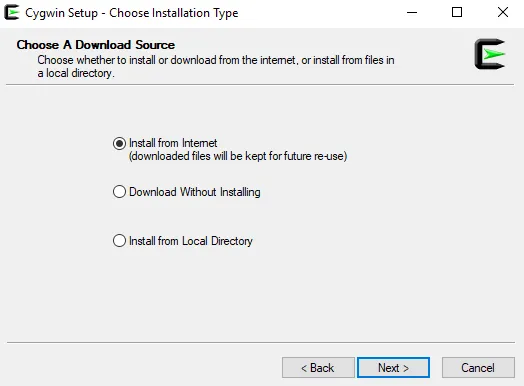
Keep the default “Install from Internet” option selected and click Next:
Keep the default installation directory and install for All Users:

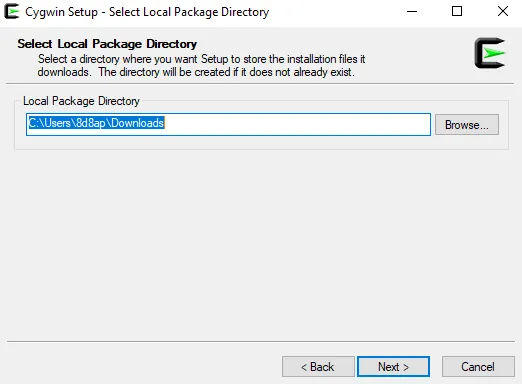
Keep the default Local Package Directory and select Next:
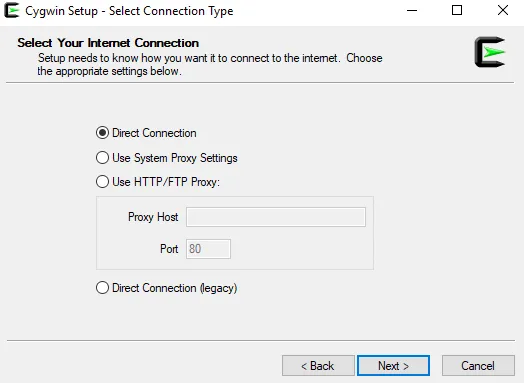
Keep the default Direct Connection for the connection type and click Next:
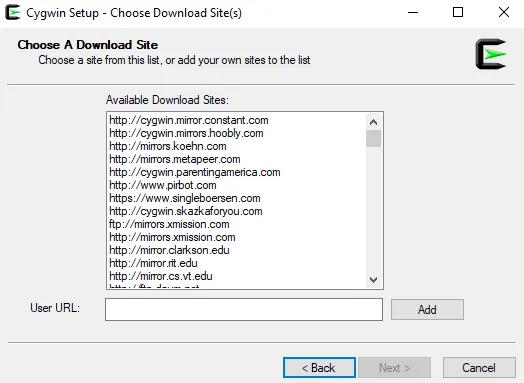
Choose any mirror that is as close to you as possible for faster downloading and click Next:
Now, install the git package for Cygwin and click Next:
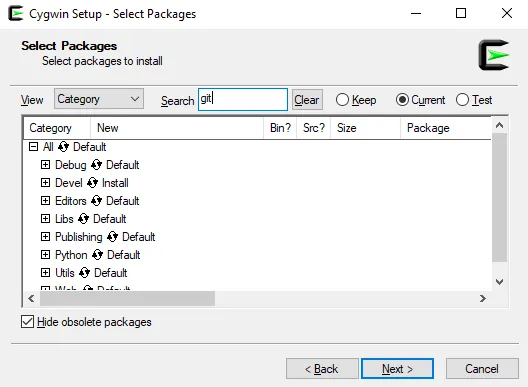
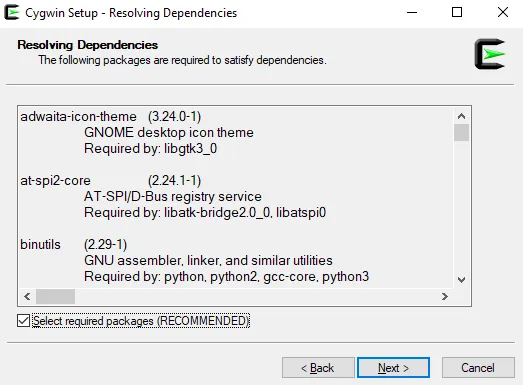
All of the default dependencies are selected by default, so click Next:
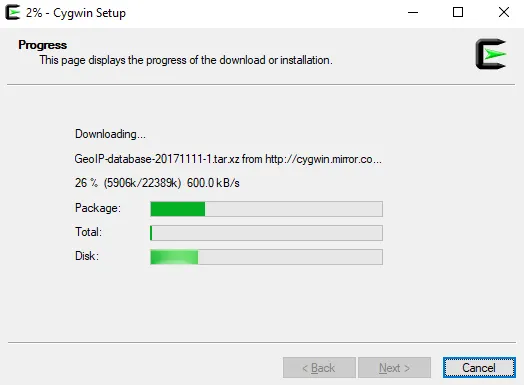
Wait for the packages to be installed and click Next when finished. This might take a while, so it is time to take a break.
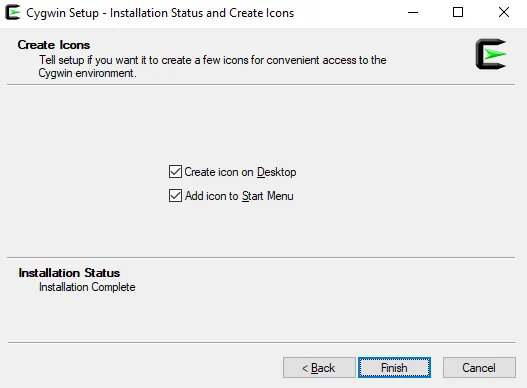
Once it finishes, click Finish:
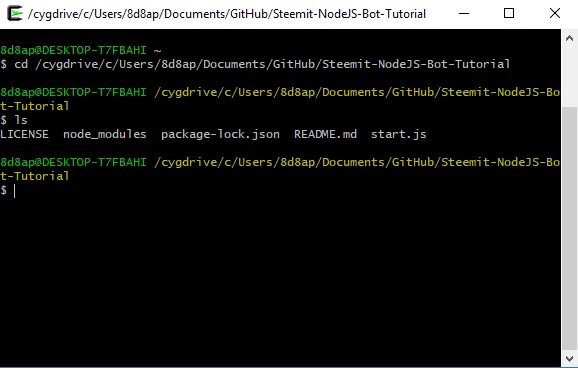
Test that it was installed correctly by opening the Cygwin terminal from the Desktop alias or it's installation destination C:\cygwin64
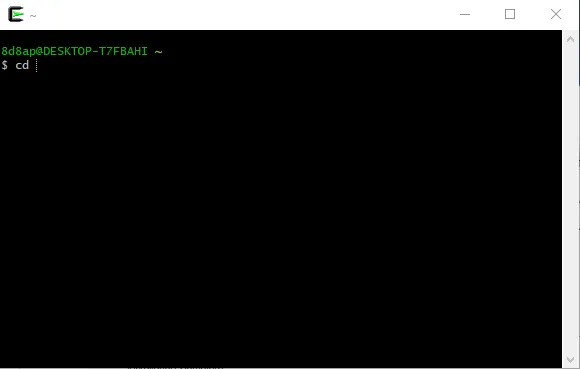
You now have a Linux Shell over your Windows 10 computer. You can use common Linux commands and install packages for most tools available for Linux. Git is also available to use.