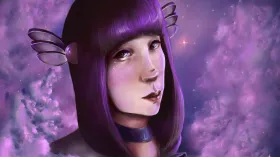
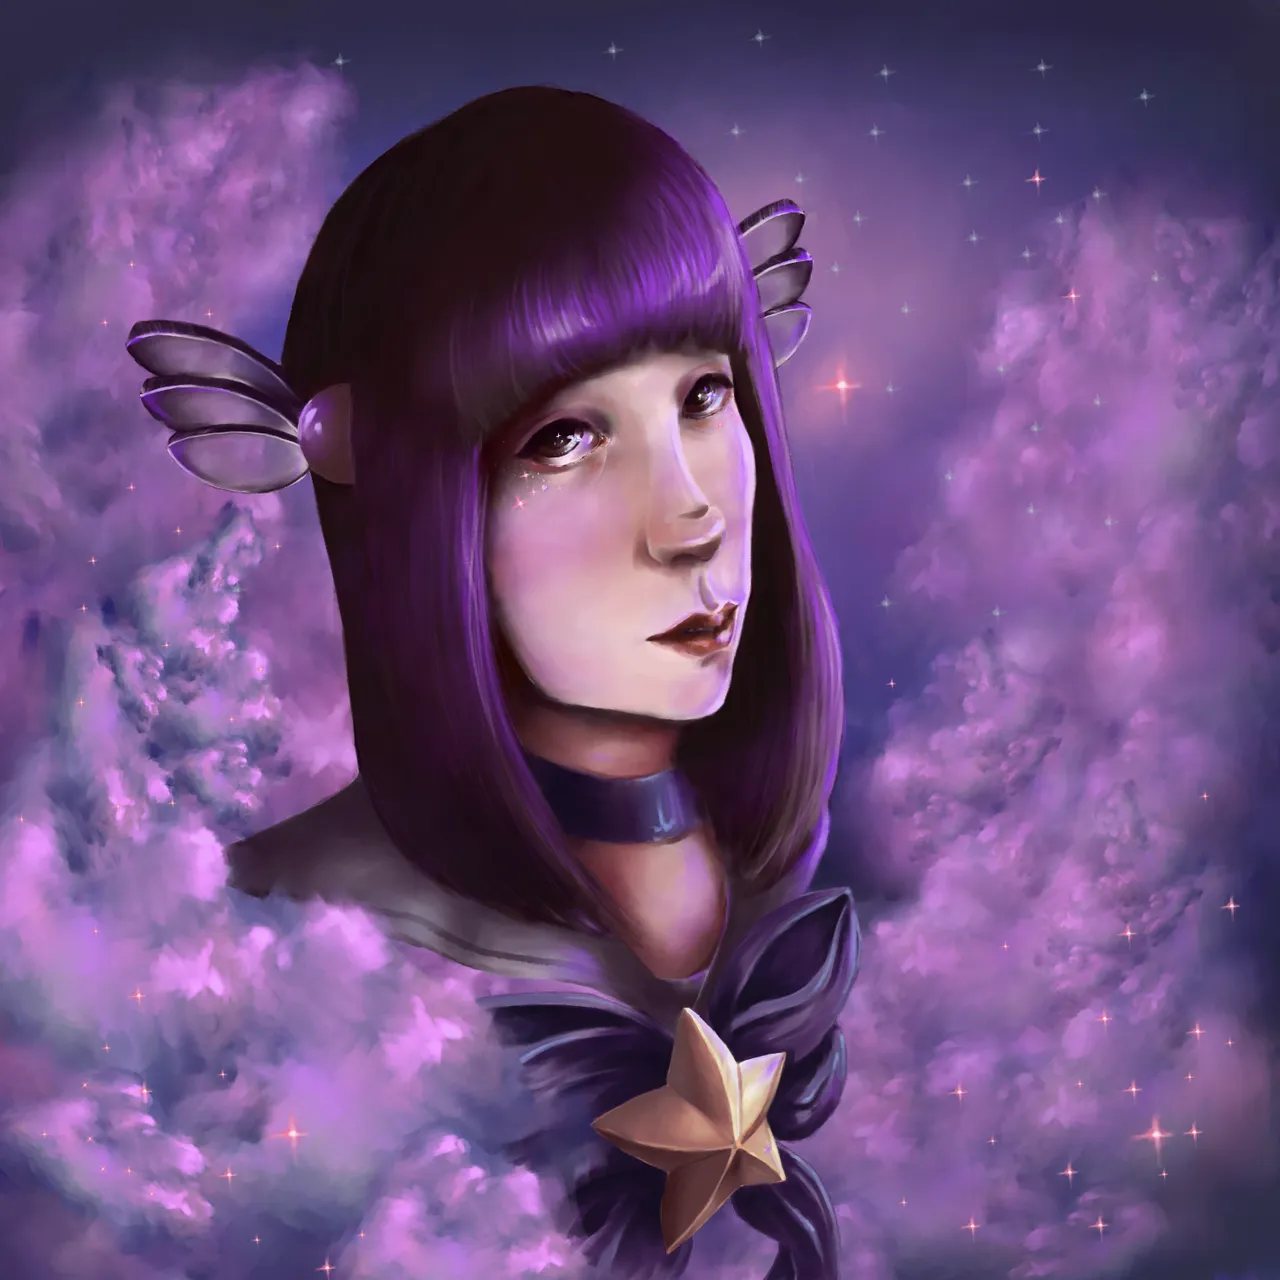
- Sssssaludos nuevamente, amados viajeros que moran por estos parajes. En esta oportunidad quiero compartir con ustedes esta bonita ilustración, con la que me he divertido un montón; misma que es una comisión que me ha encargado una preciosa viajera del cósmos (cuento con su permiso para publicarla en esta web). Para ella me pidió que la retratara como una Star Guardians (League of Legends), y es lo que he hecho.
*Nota: La entrada que están por apreciar no se trata de un tutorial, sino más bien de mis ganas de compartir con ustedes el proceso que llevo a cabo durante mis trabajos, y de esperar que quizá puedan serles útiles de algún modo. Comprendo que es la misma idea de un tutorial, sin embargo, aún con ello, repito, esto no es un tutorial.
Así pues, me dispongo a mostrarles el procedimiento que he seguido para obtener este resultado. - Greetings again, dear travelers who live in these places. In this opportunity I want to share with you this beautiful illustration, with which I have had a lot of fun; same that is a commission that has been entrusted to me by a beautiful traveler of the cosmos (I have her permission to publish it on this website). For her, she asked me to portray her as a Star Guardians (League of Legends), and that's what I've done.
*Note: The entry you are about to appreciate is not about a tutorial, but rather about my desire to share with you the process that I carried out during my work, and to hope that maybe they can be useful in some way. I understand that it is the same idea of a tutorial, however, even with it, I repeat, this is not a tutorial.
So, I am going to show you the procedure that I followed to obtain this result.

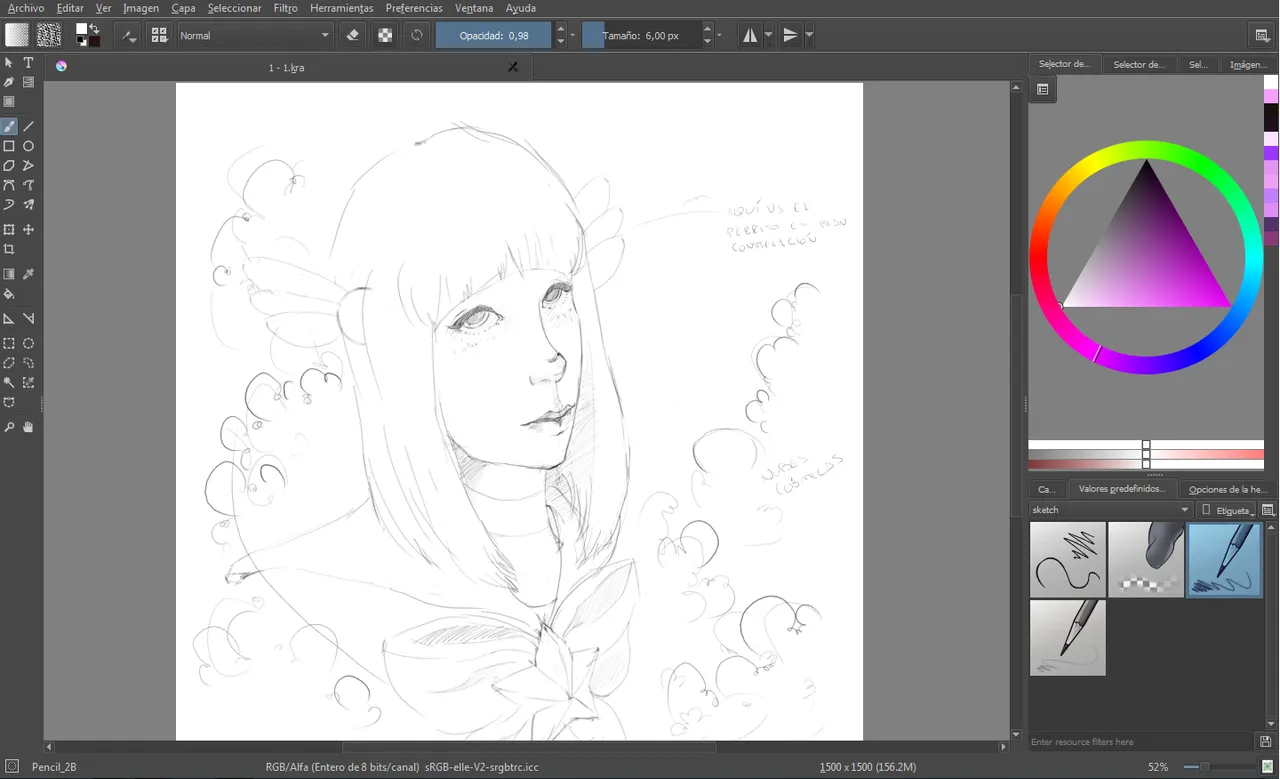
1.
En primera instancia desarrollé un esbozo valiéndome del lápiz 2B (disponible en el menú desplegable de pinceles, en la categoría sketch).
In the first instance I developed a sketch using pencil 2B (available in the drop-down menu of brushes, in the sketch category).
2.
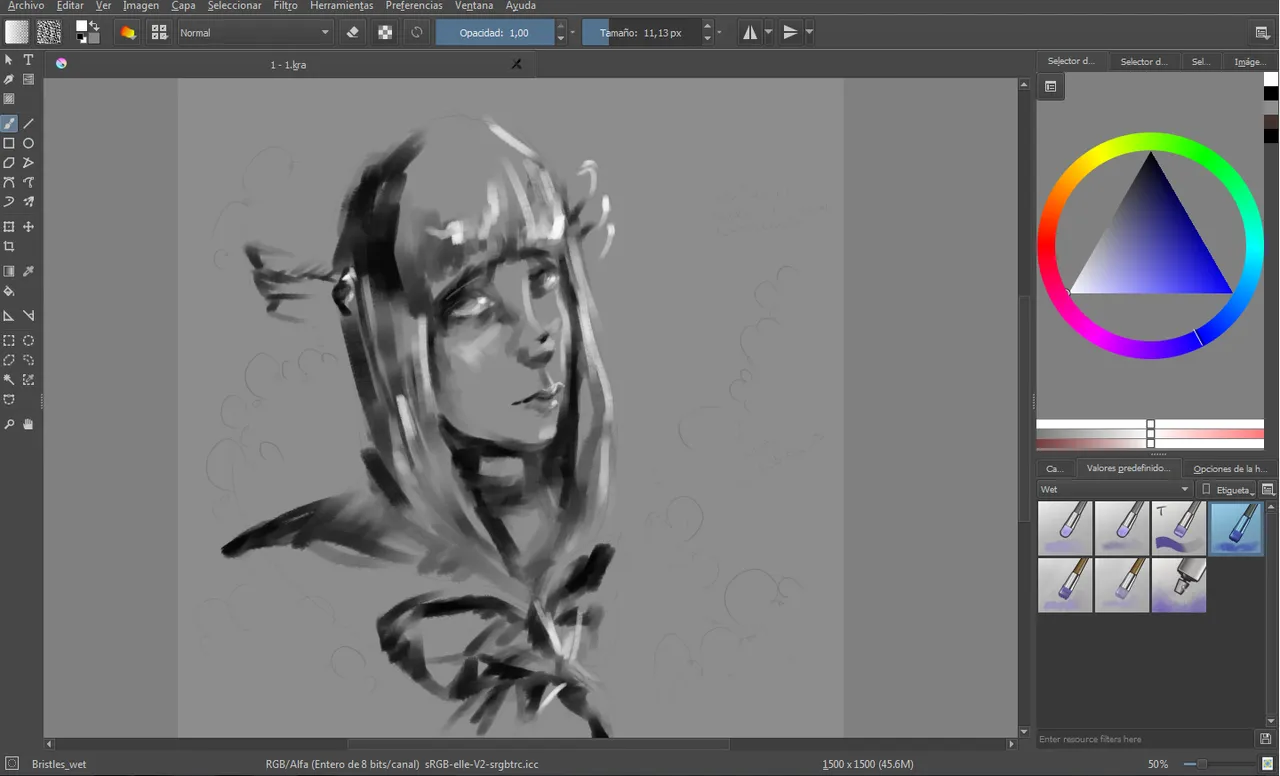
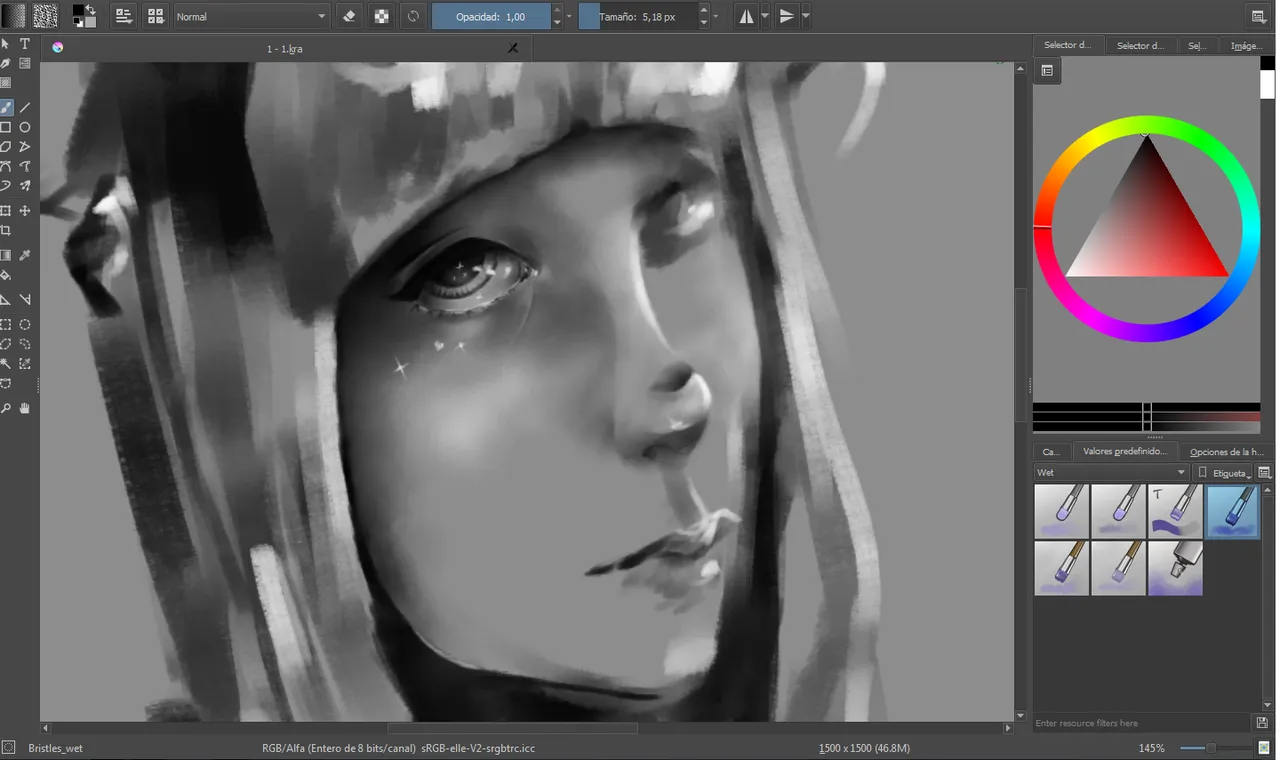
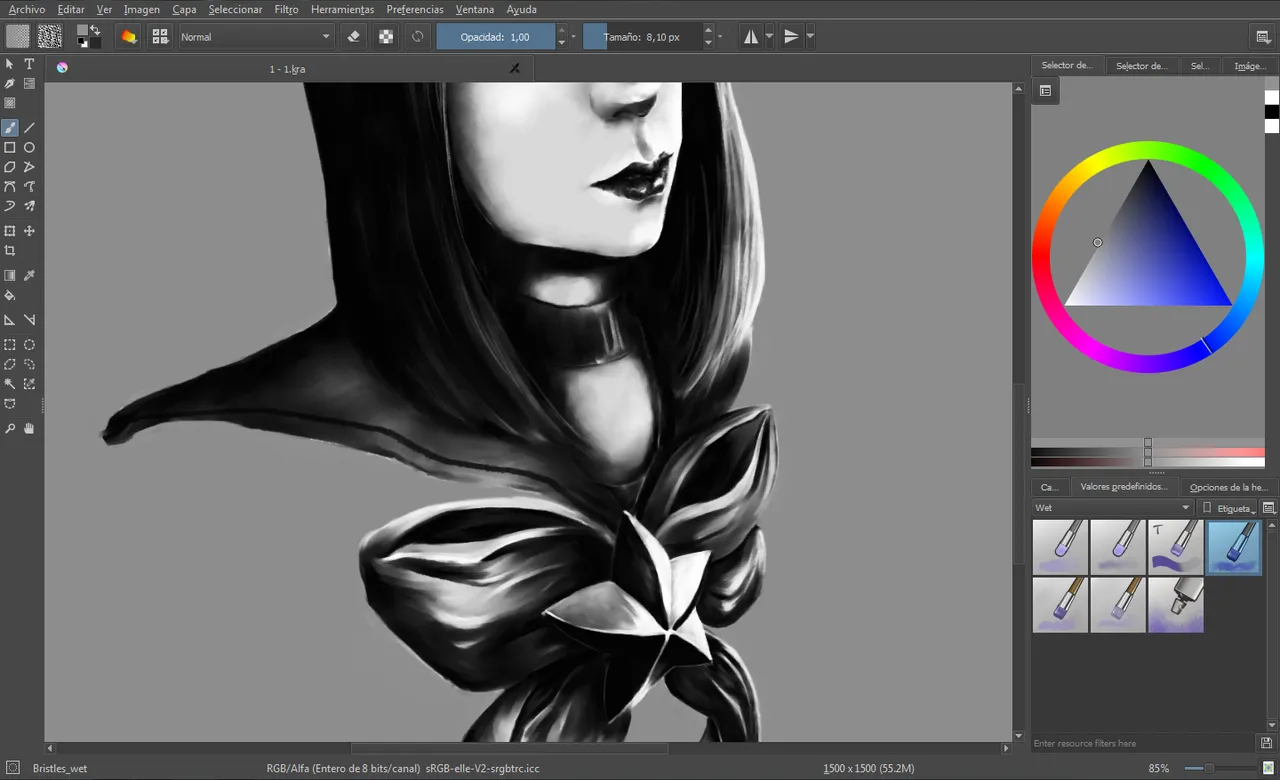
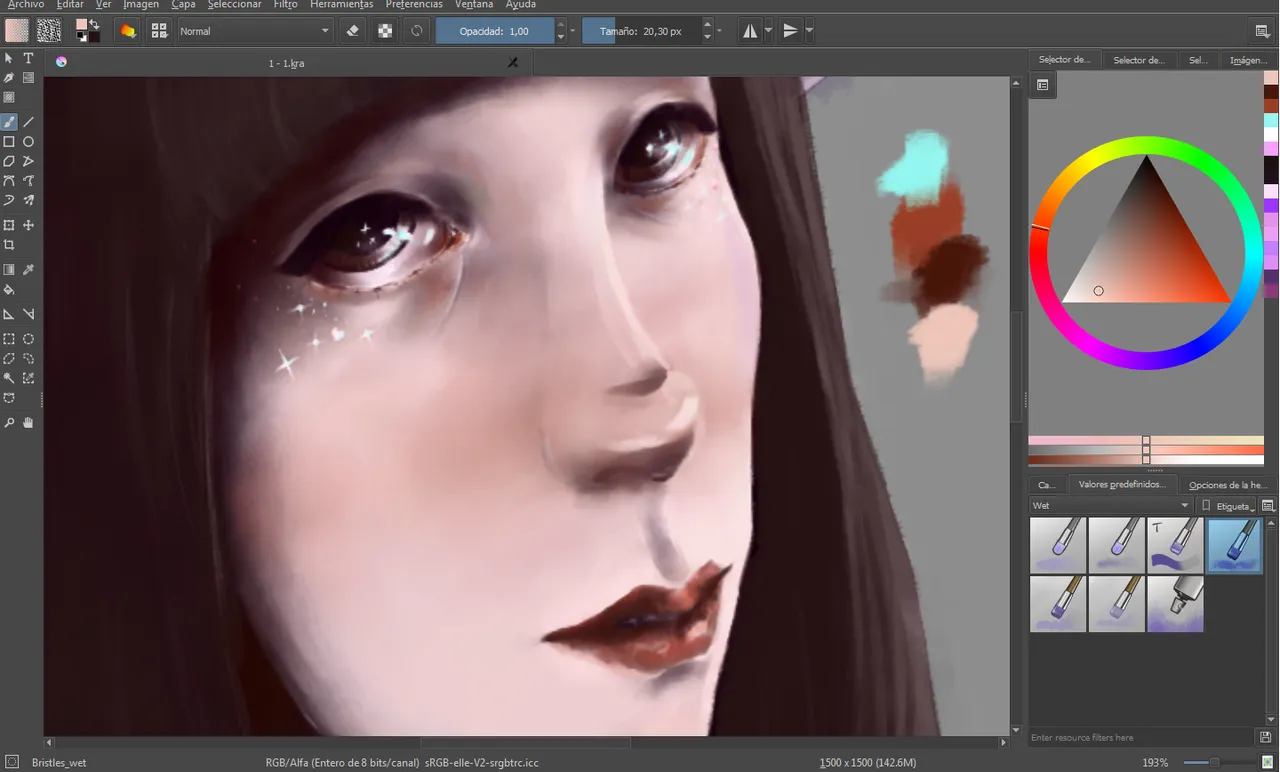
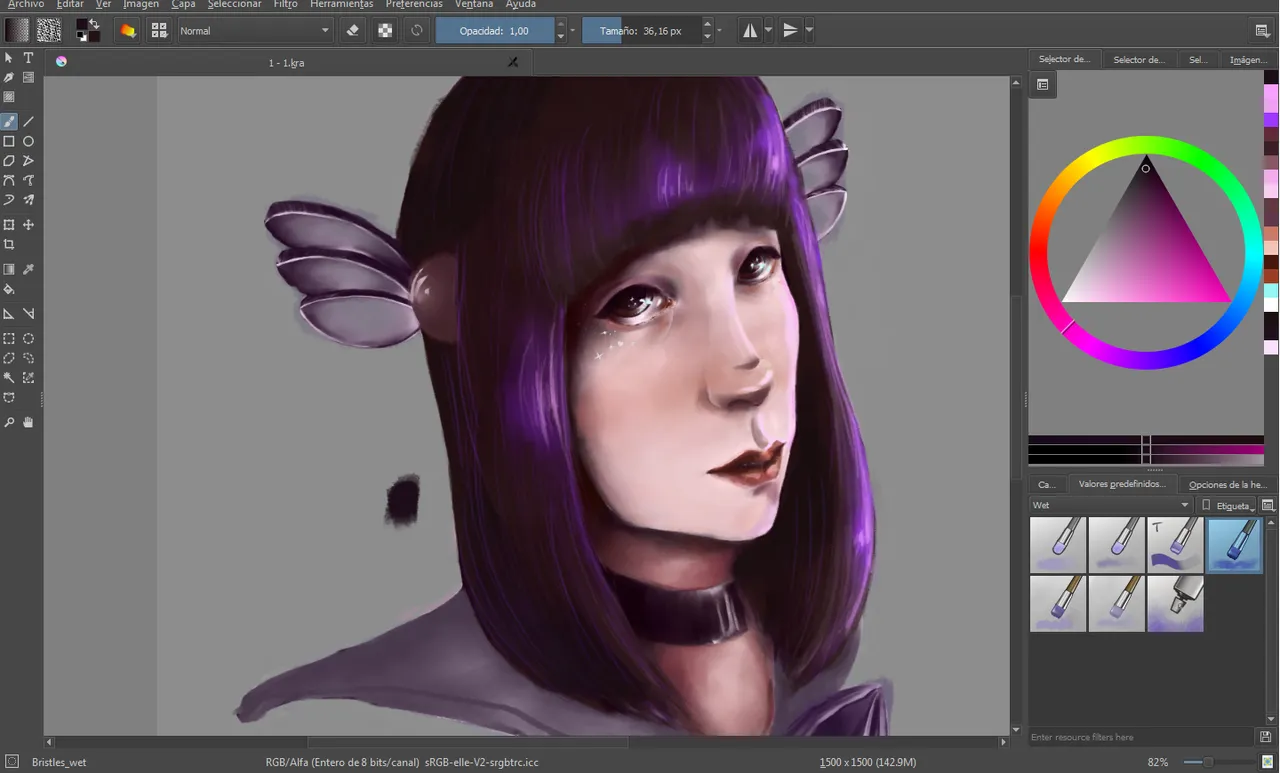
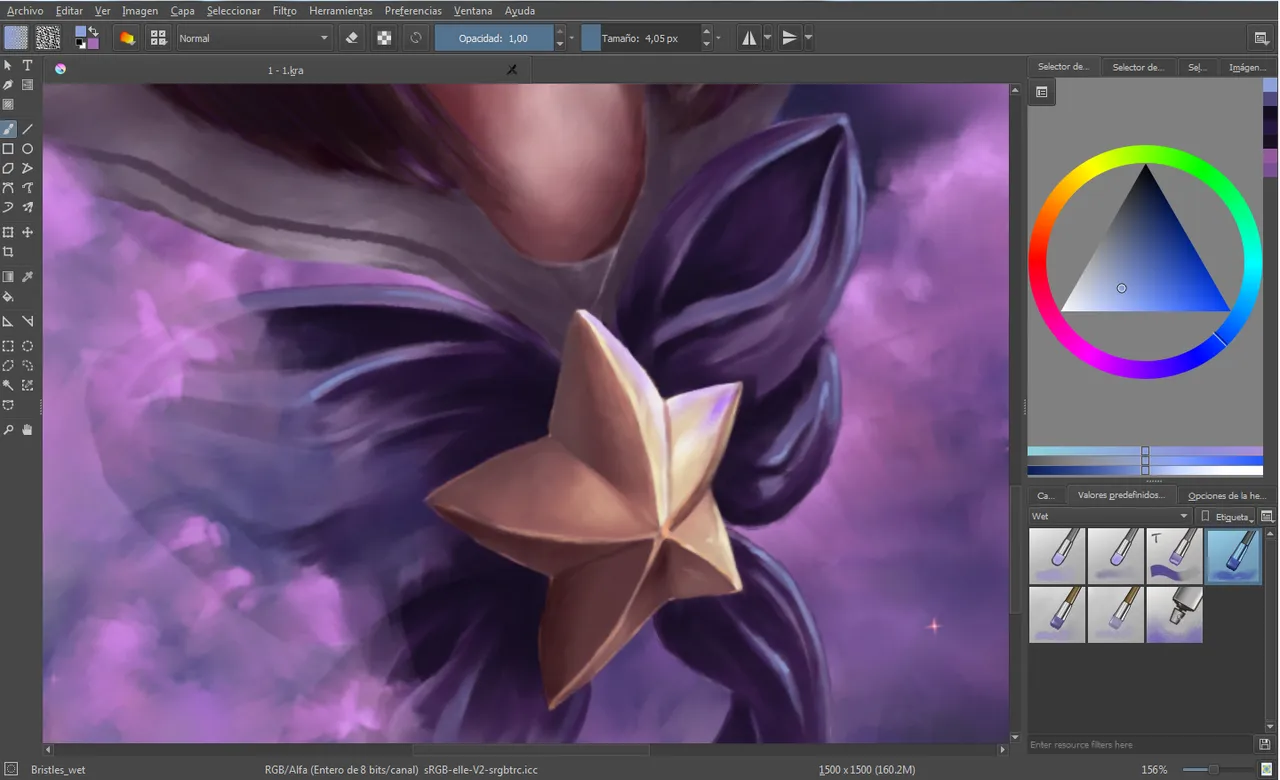
Una vez hecho esto, comencé a generar una escala de grises en la que ubicaría los tonos, así como los volúmenes, iniciando con una mancha; para ello utilicé el pincel bristles wet (disponible en el menú desplegable de pinceles, en la categoría wet)
Once this was done, I began to generate a gray scale in which I would place the tones, as well as the volumes, starting with a spot; for this I used the bristles wet brush (available in the drop-down menu of brushes, in the wet category)
3.1, 3.2, 3.3, 3.4, 3.5.
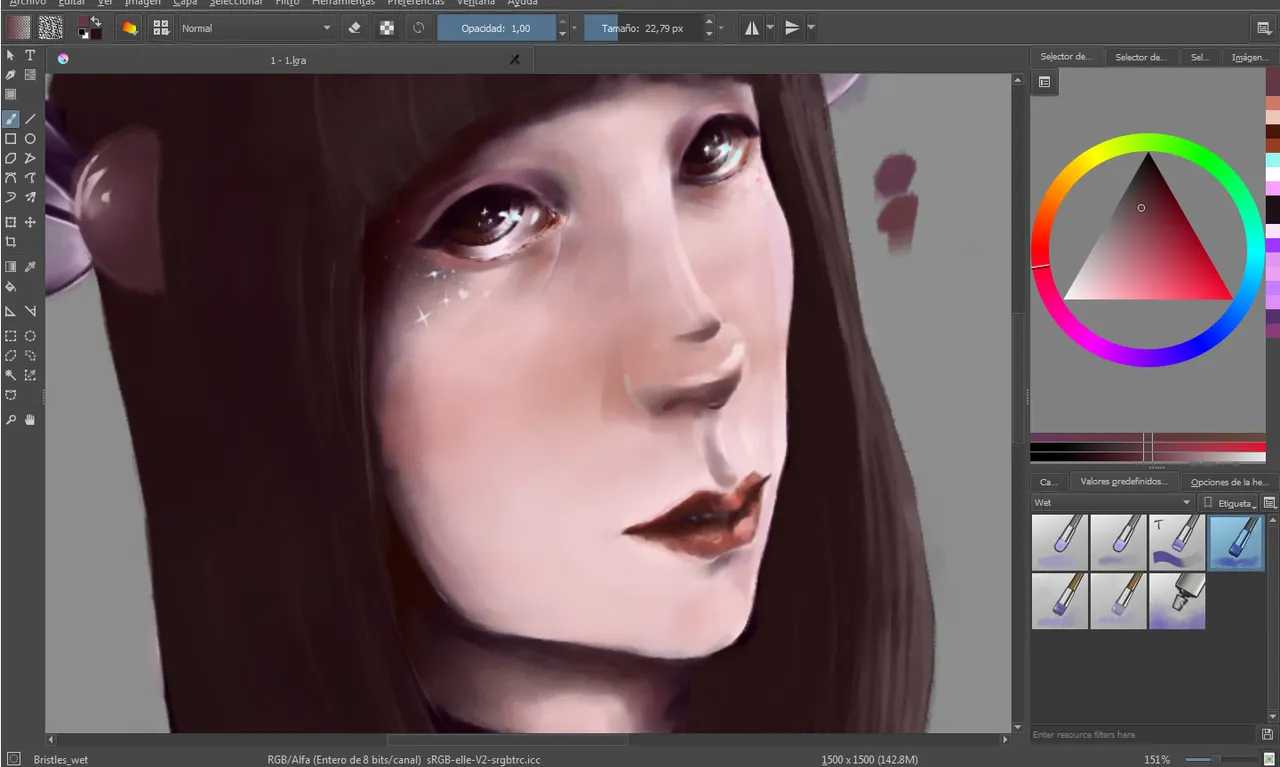
Continuando con el pincel bristles wet, comencé a definir los elementos, aplicando las pinceladas de un modo más minucioso, emulando las distintas texturas; así, para la piel, con el fin de acreditarle su característica suavidad, opté por ejercer una mínima presión sobre la tableta gráfica. Por otra parte, para el cabello decidí añadir trazos de un modo vertical/curvo, en paralelísmo con la forma del mismo; mientras que para las telas reparé en unas pinceladas más descuidadas procurando simular los pliegues y texturas de las mismas.
Continuing with the brush bristles wet, I began to define the elements, applying the brushstrokes in a more meticulous way, emulating the different textures; So, for the skin, in order to accredit its characteristic softness, I opted to exert a minimum pressure on the graphics tablet. On the other hand, for the hair I decided to add strokes in a vertical / curved way, in parallel with the shape of it; while for the fabrics I noticed some more careless brush strokes trying to simulate the folds and textures of the same.
4.1, 4.2.
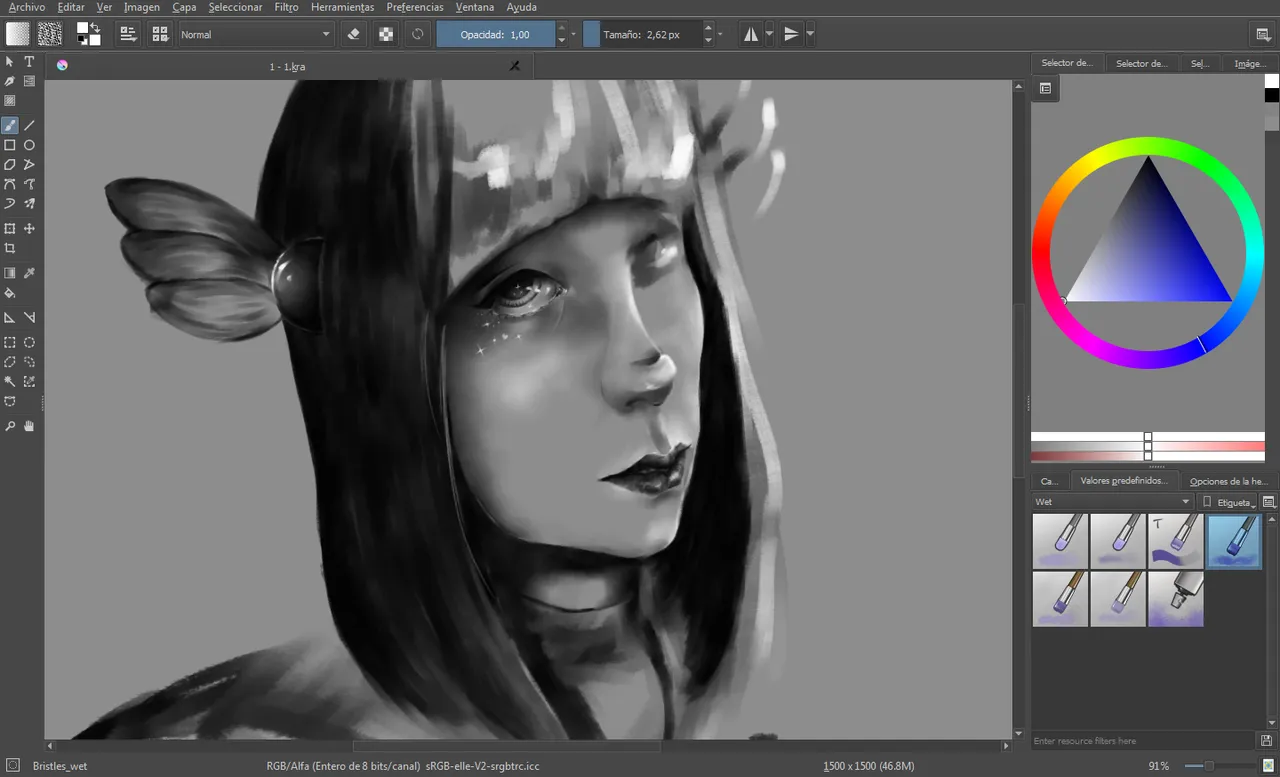
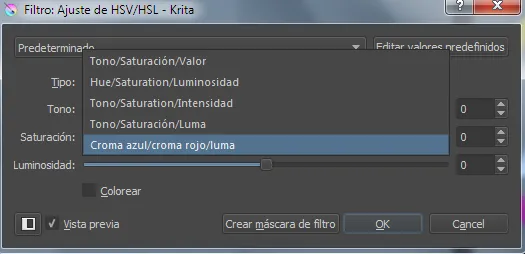
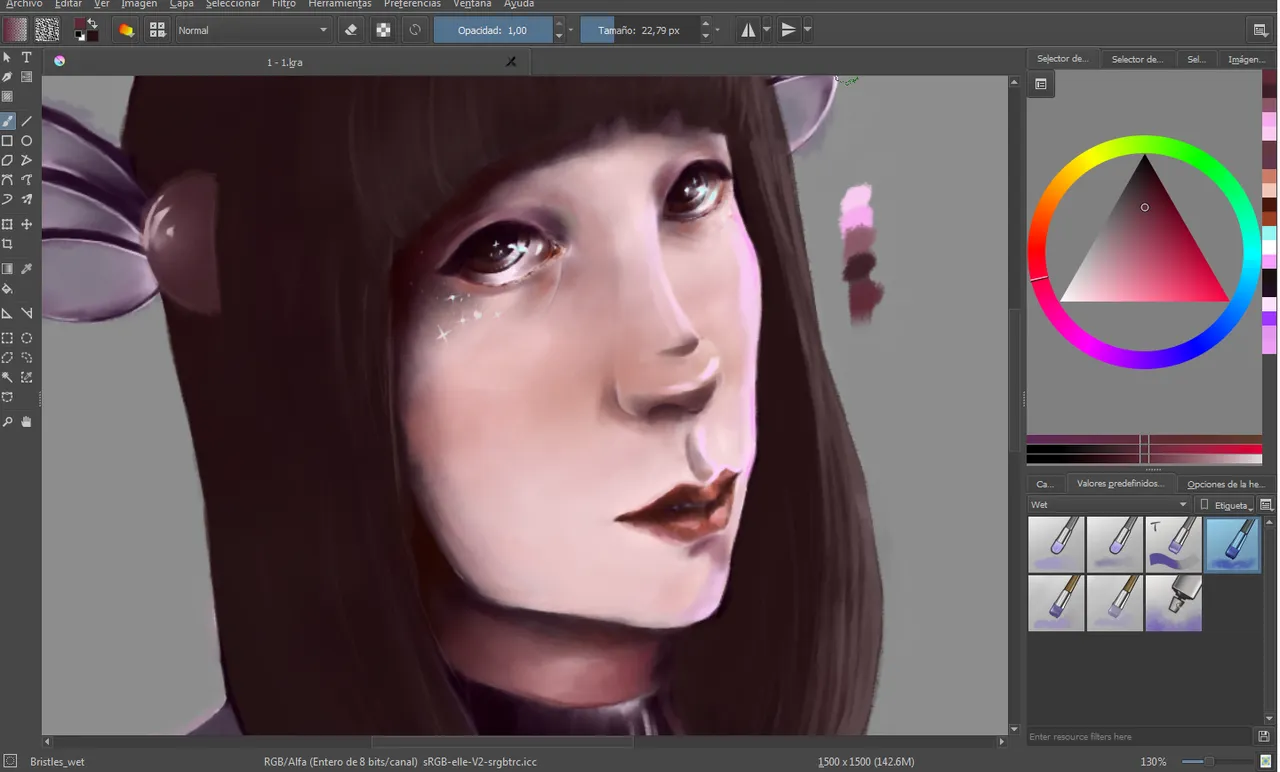
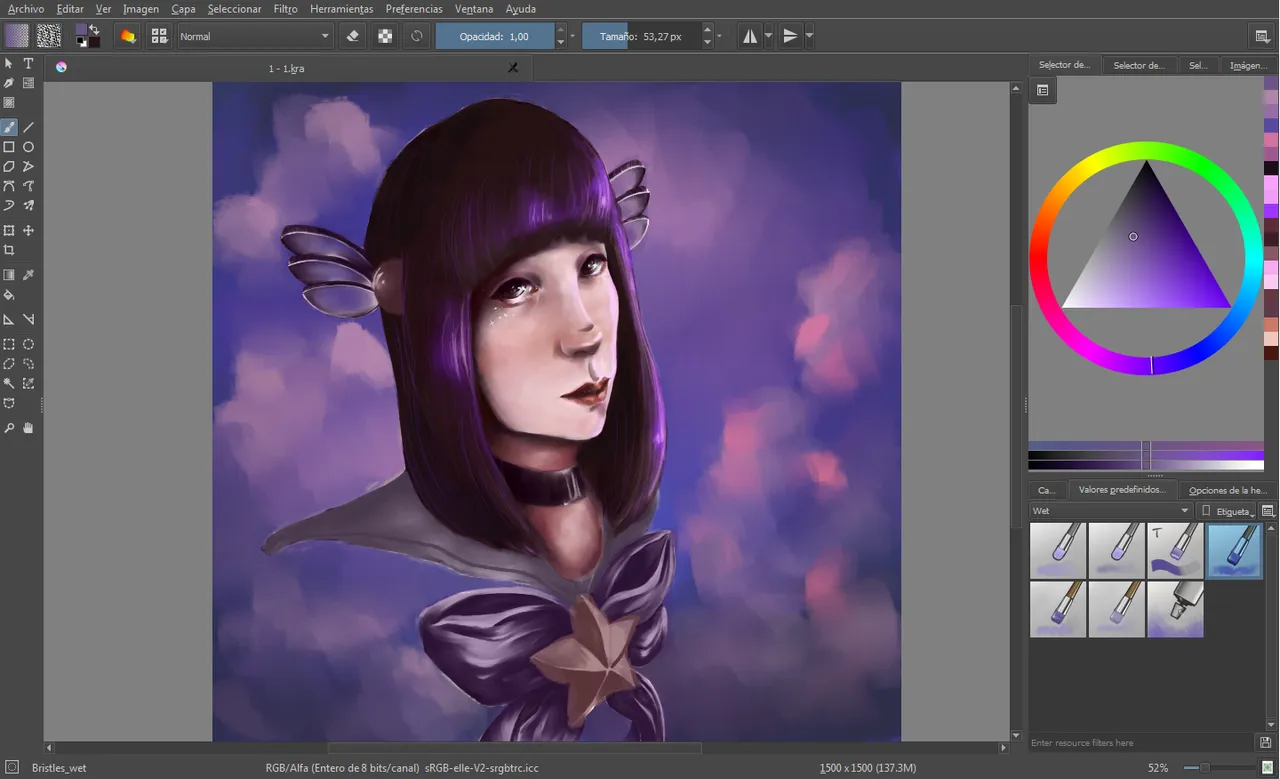
Una vez finalizada la escala de grises, la convertí en una escala monocrómatica en la que predominaba el violeta, pues esto me serviría más adelante para matizar la composición, y por consiguiente armonizarla.
Para ajustar el color presioné en mi teclado CTRL+U > tipo > croma azul/croma rojo/luma > ajusté de modo manual las opciones > OK
Once the gray scale was finished, I turned it into a monochromatic scale in which violet predominated, because this would later serve to qualify the composition, and therefore harmonize it.
To adjust the color I pressed on my keyboard CTRL + U> type> chroma blue / chroma red / luma> I adjusted manually the options> OK
5.
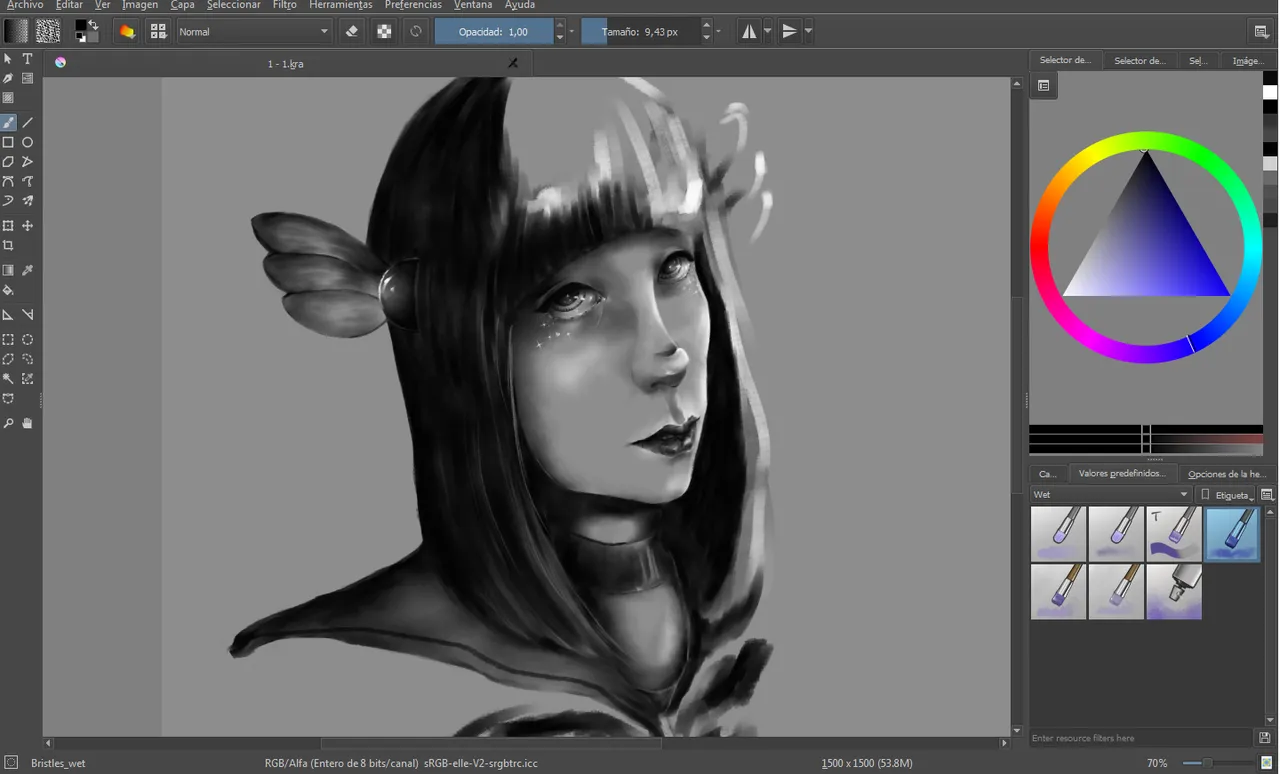
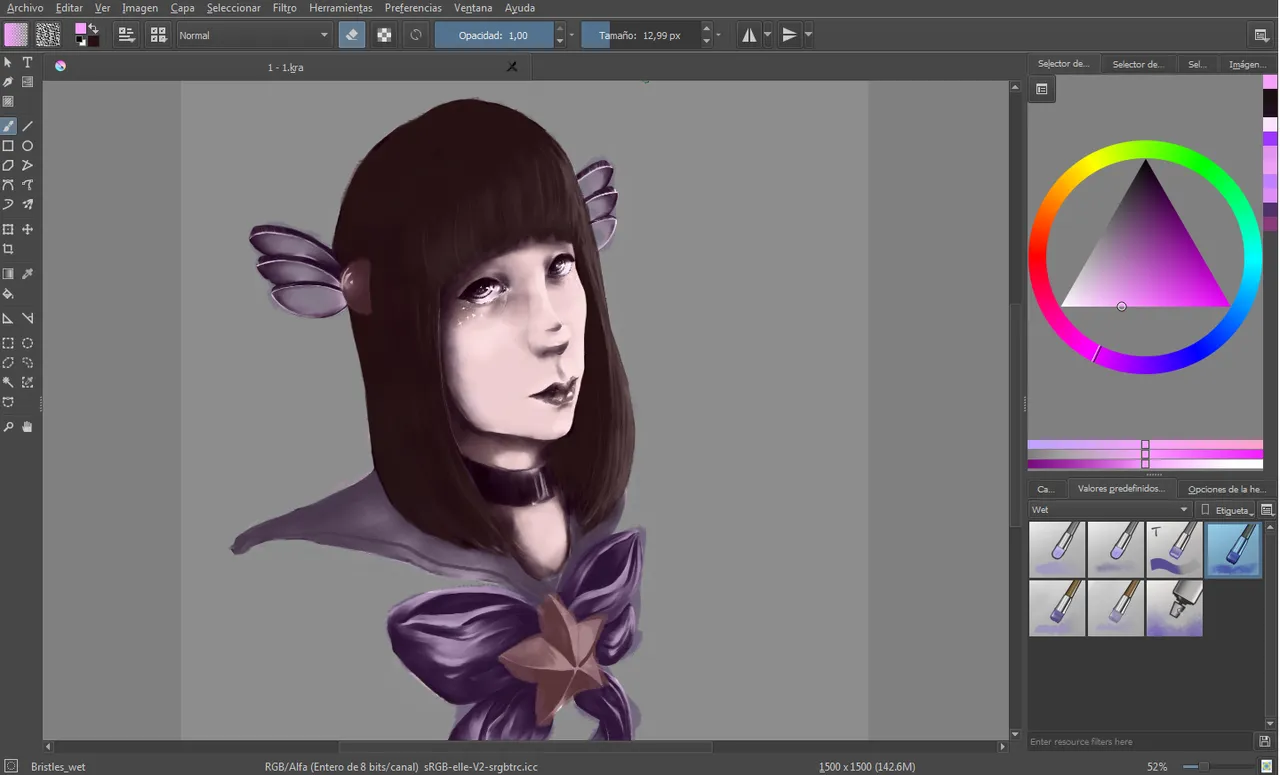
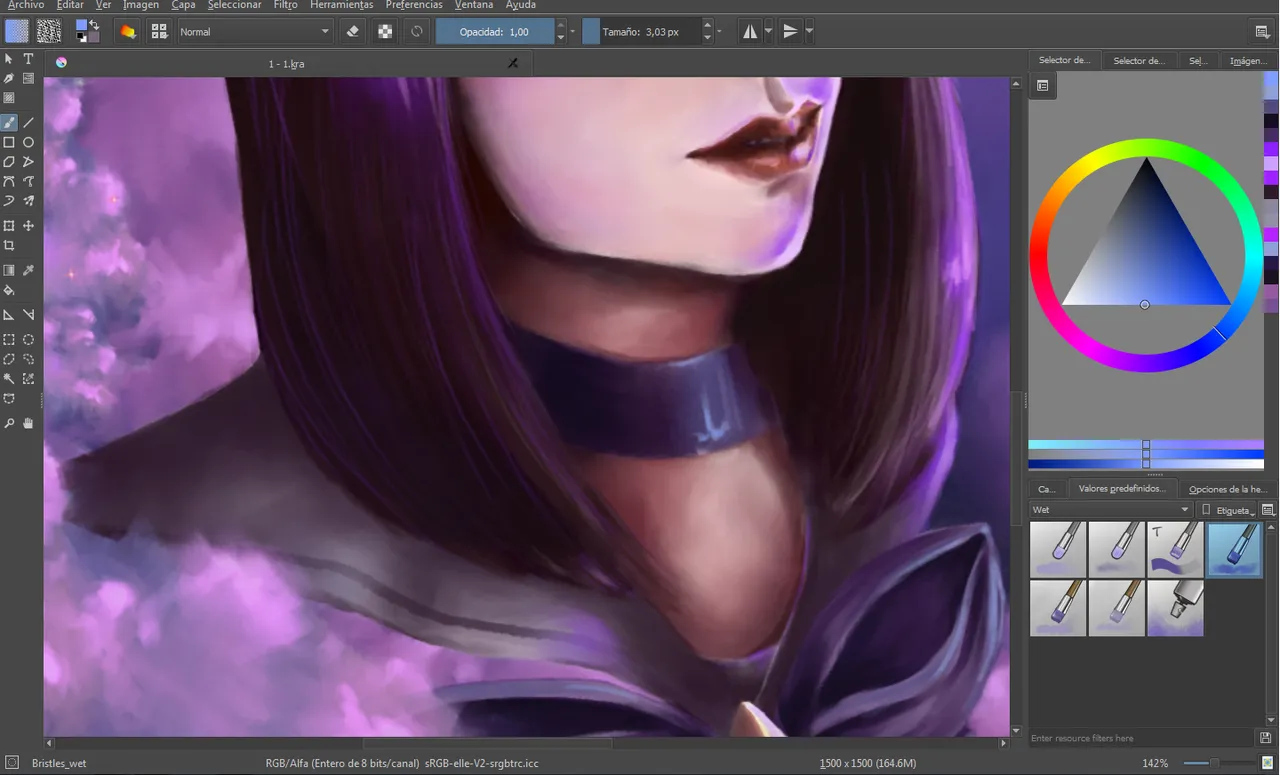
Seguidamente añadí los colores planos de cada elemento, separándolos en capas individuales. Es importante hacer esto último, en vista de que cada color posee su propia luminosidad, por tanto, algunos deberán mantener una mayor o menor opacidad.
Then I added the flat colors of each element, separating them into individual layers. It is important to do the latter, since each color has its own luminosity, therefore, some should maintain a greater or lesser opacity.
6.1, 6.2, 6.3
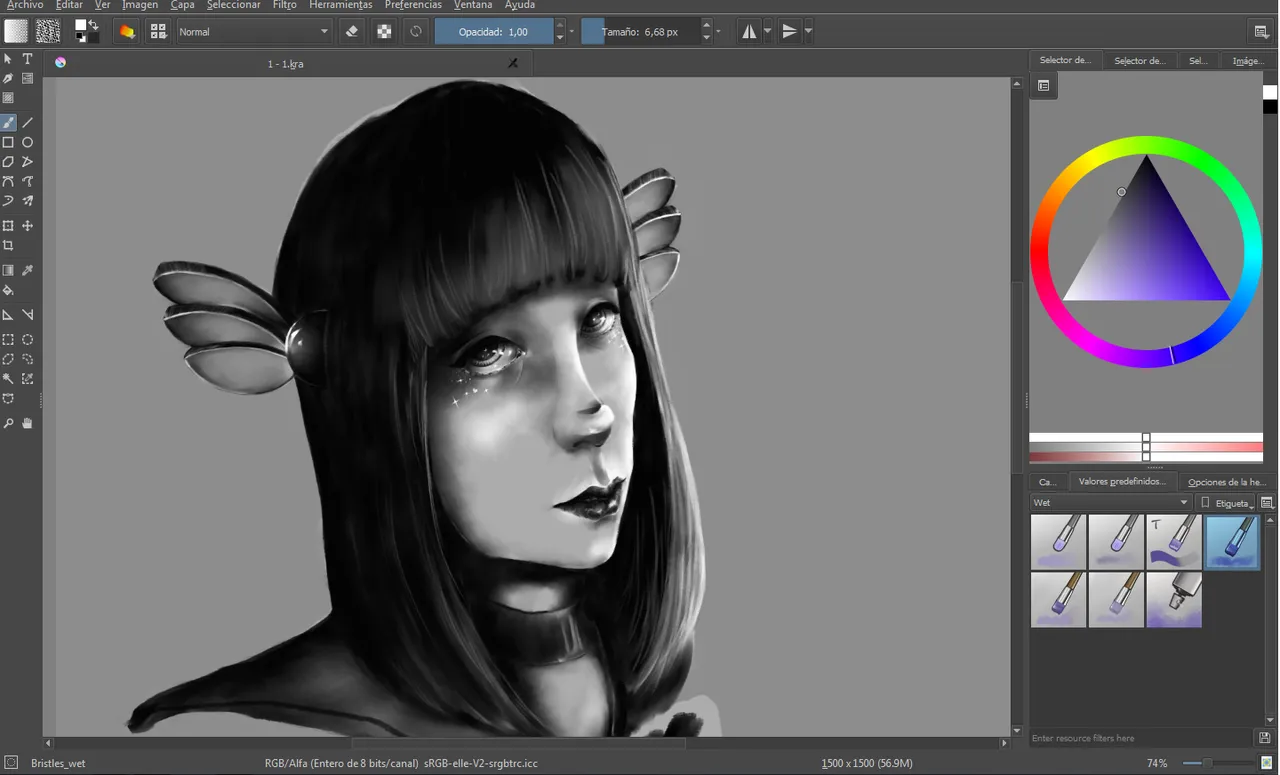
Yyyy, ahora viene mi parte favorita: colorear la piel. Para matizarla me valí en su mayoría de rojos y violetas, sin embargo además empleé en una mínima cantidad azul-verde en un tono muy alto.
Aaaand, now comes my favorite part: coloring the skin. To qualify it I used mostly reds and violets, however I also used a very small amount of blue-green in a very high tone.
7.1, 7.2
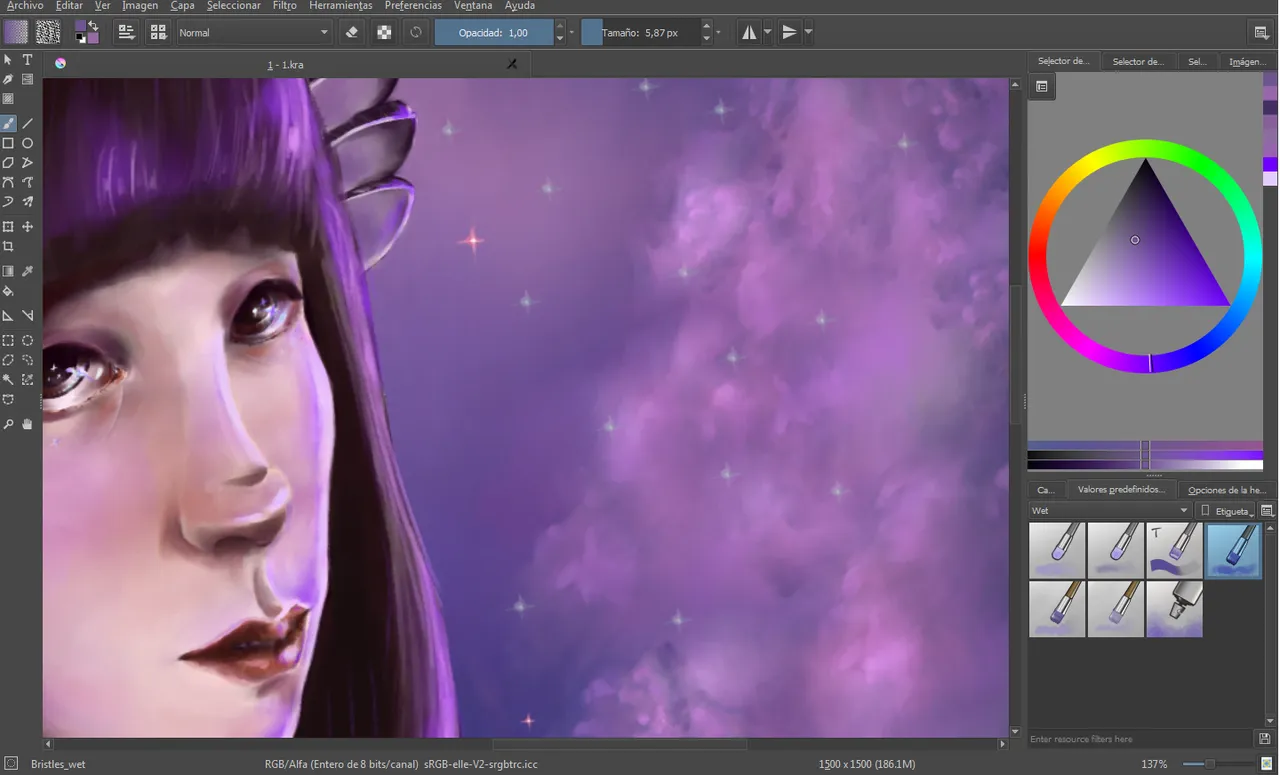
Acto seguido comencé a matizar el cabello, teñiéndolo de una luz violeta de un tono alto, generando trazos paralelos a la forma del cabello.
Then I began to tone the hair, dyeing it with a violet light of a high tone, generating lines parallel to the shape of the hair.
8.1, 8.2, 8.2
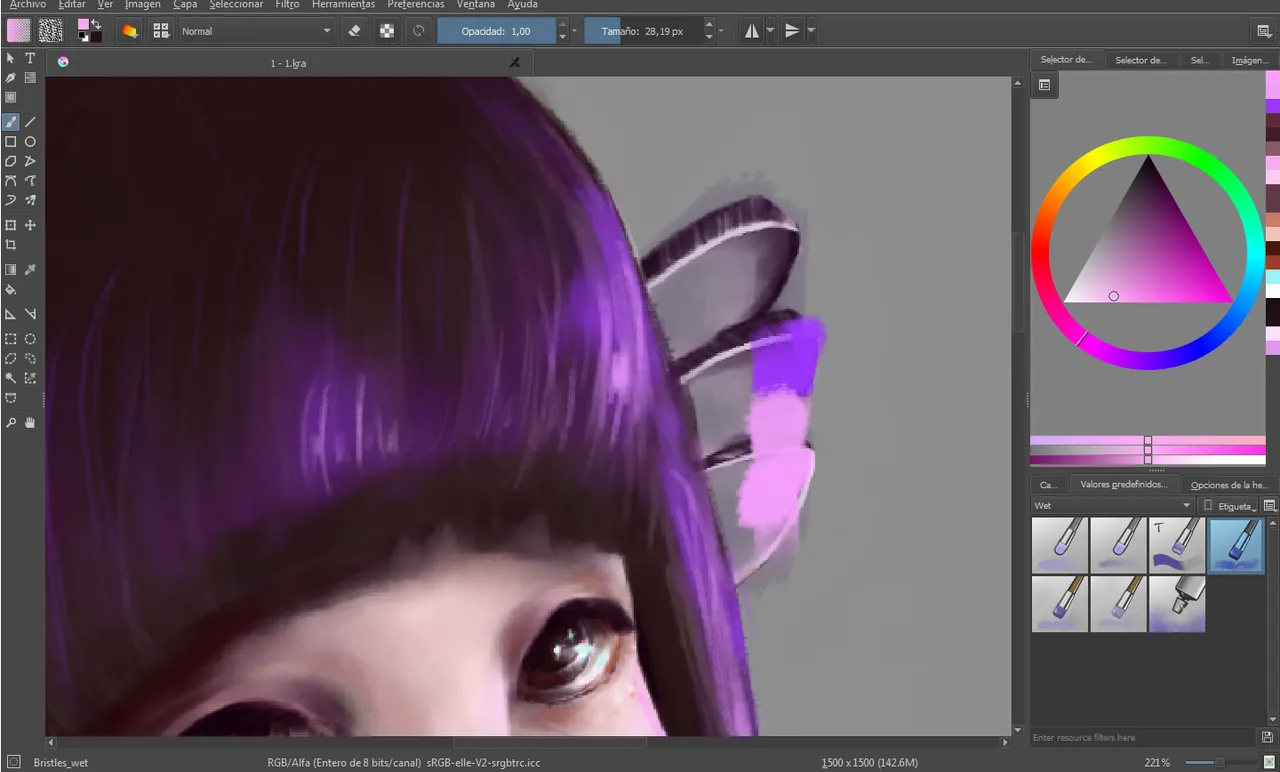
Para continuar, me dispuse a trabajar el fondo, iniciando por una mancha en la que ubicaría los colores que se encontrarían en el mismo. Seguidamente añadí estrellas y por último comencé a ubicar las nubes, formándolas a través de trazos muy cortos con líneas curvas, así como diagonales.
To continue, I set out to work the background, starting with a spot where I would place the colors that would be in it. Then I added stars and finally I began to locate the clouds, forming them through very short lines with curved lines, as well as diagonals.
9.
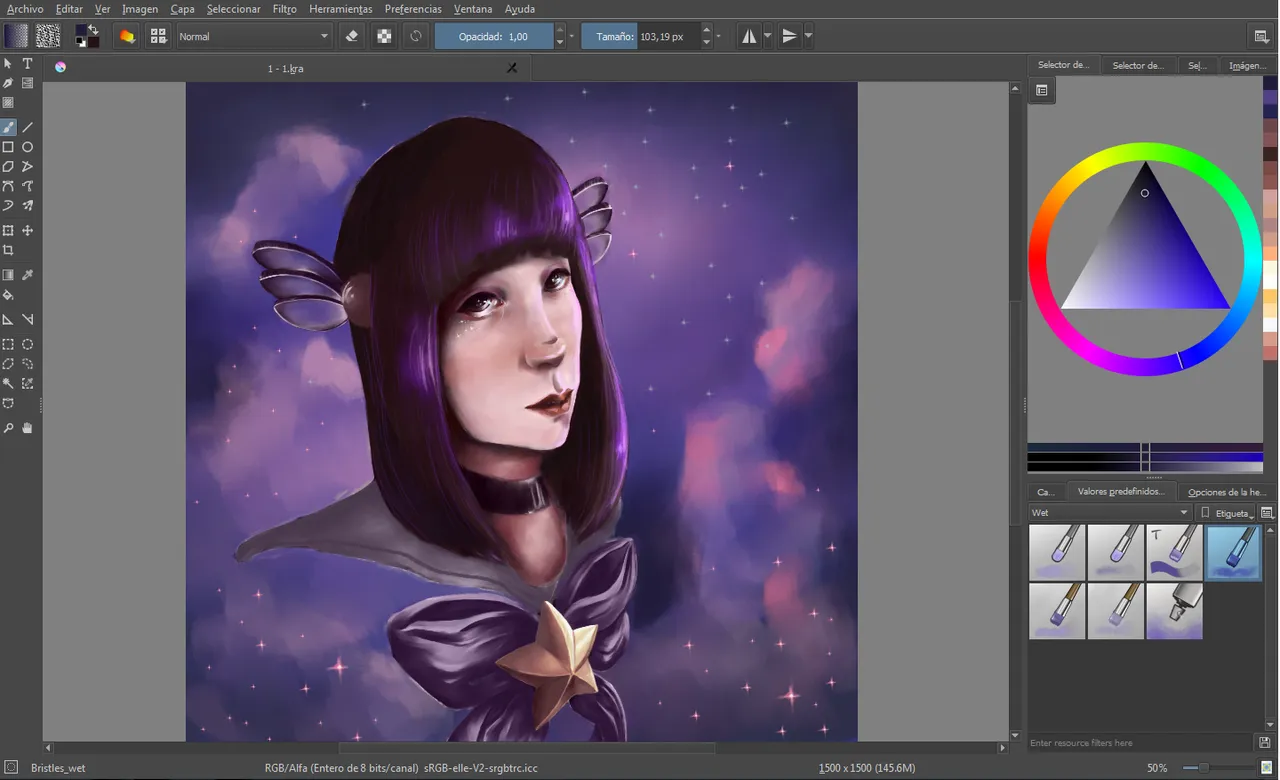
Seguidamente añadí tonos altos y bajos al lazo, con el fin de evocarle una profundidad más acusada y por consiguiente un mayor realismo.
Then I added high and low tones to the bun, to evoke a deeper depth and, therefore, a greater realism.
10.
De igual modo hice con el cuello de la franela y el collar.
In the same way I did with the neck of the flannel and the collar.
11.
Continué trabajando en las nubes, presionado cada vez menos la tableta gráfica.
I continued working in the clouds, pressing less and less the graphic tablet.
12.
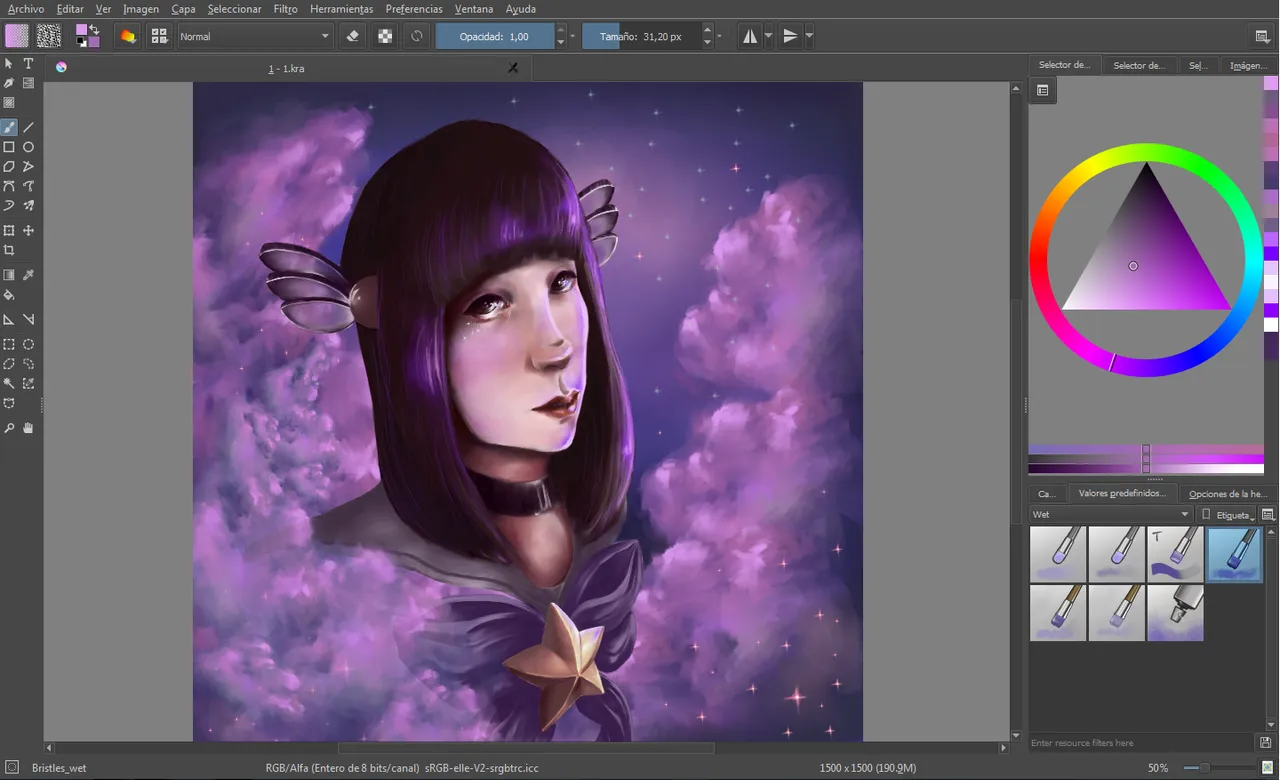
Para finalizar añadí algunos detalles.
To finish I added some details.
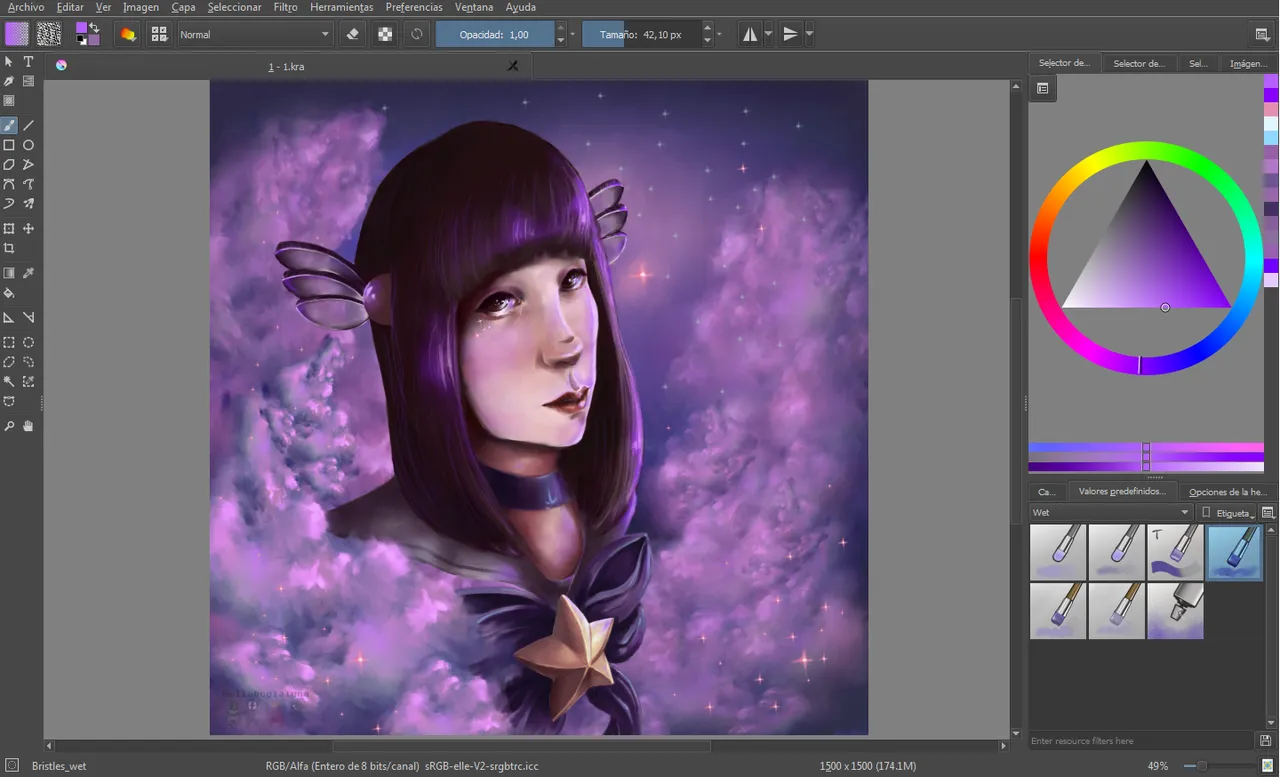
- ¡Yyyyy, he aquí la ilustración finalizada! Realmente me agradó bastante realizarla, así como además me hizo llegar a la conclusión de que me encantaría continuar creando ilustraciónes cuya composición cuente con focos lumínicos de diversos colores de un modo bastante acentuado. En fin, gracias por leer hasta el final, y recuerden que continuaremos subiendo entradas de este tipo, se despiden con muuuuucho amor y corazones, el Lobo y la Luna <3 ¡Buen viaje!
P.D.: La ilustración fue realizada en el software libre krita 3.1.3; utilizando la tableta gráfica Huion 580.
Facebook
Tumblr
Instagram
Deviantart
Attribution 4.0 International License"
Copyright @elsll - All Rights Reserved