To participate in the CryptalDash ICO, you have to set up an ERC20 compatible wallet such as MyEtherWallet, Mist, Parity and so forth. Note that your exchange account doesn’t count as your own wallet at any time because you don’t have control over their private keys. I highly recommend using MYEtherWallet; it makes the process of buying Ether through Coinbase quite easy.
Setting up MyEtherWallet (MEW)
Step 1: Visit https://www.myetherwallet.com/
Due to many phishing attempts by sites mirroring MEW’s site, you are strongly advised to bookmark the page. As a secondary precaution, examine the page’s URL for MYETHERWALLETLLC[US] certificate to ascertain its authenticity. To access the page, click here
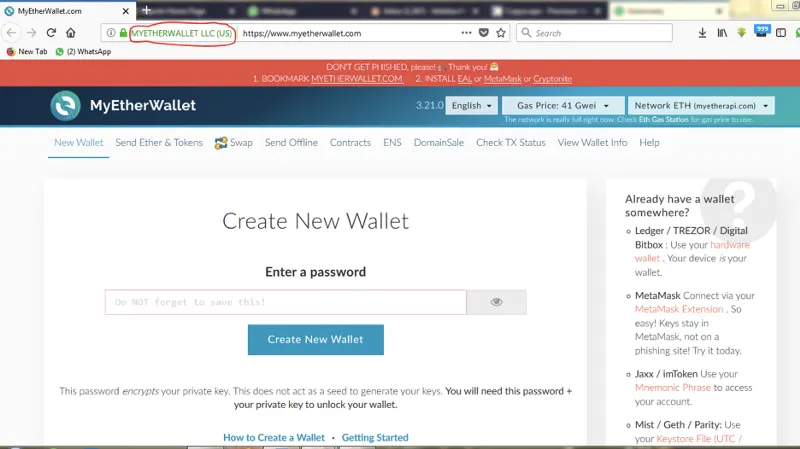 .
.
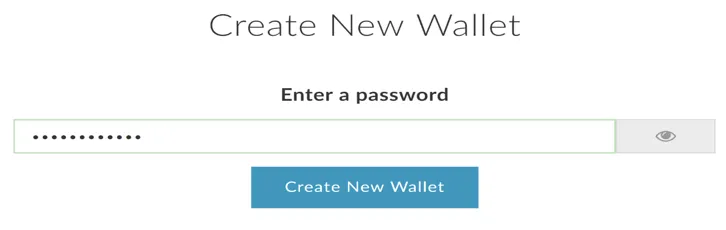
Step 2: Create New Wallet
At the homepage, enter a strong password and click “Create New Wallet” button to proceed. I would advise that you choose a long arbitrary password for better security. Write down your password and keep it in a safe place; it will help in case you lose it.
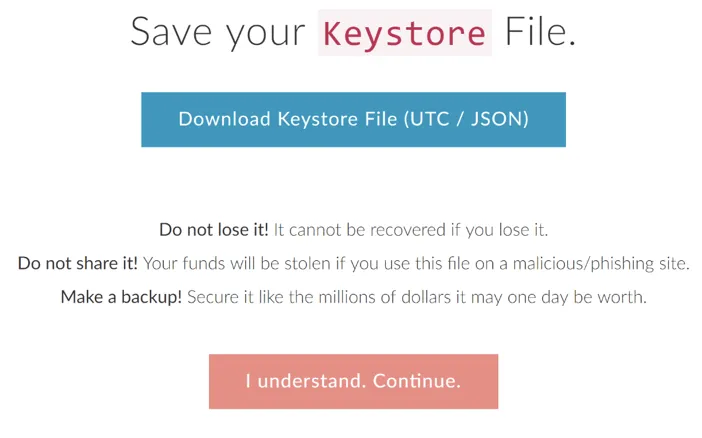
Step 3: Download, Save and Store the Keystore File
Now you have to download your Keystore file that comes in JSON or UTC format. Be sure to keep it. You’ll need the Keystore file when restoring or recovering your wallet. Besides, the file can also be used to access MyEtherWallet together with a password. Back up the Keystore file and click “I Understand. Continue” to proceed.
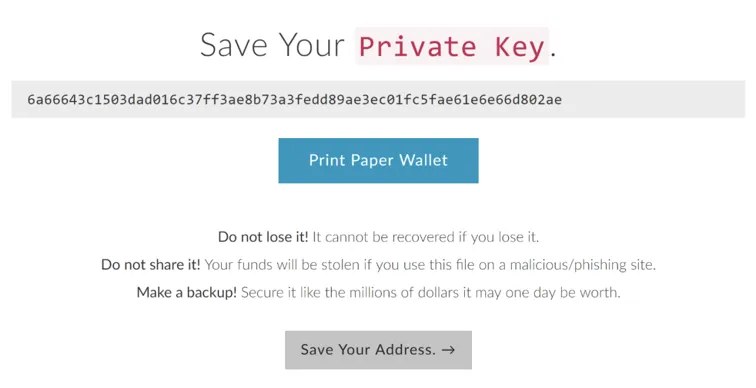
Step 4: Keep Your Private Keys
As the name suggests, private keys should only be accessed by you. They’re similar to PIN numbers used when accessing a bank account. Store the Private Key in the same folder with the Keystore file; you can also encrypt it to enhance the security of your wallet. Note that private keys aren’t password-protected/encrypted, they’re just bear.
Step 5: Access Your Wallet
Your wallet’s public key is the same as the account number of your bank; it is simply the address through which others can send you Ether or any ERC20 coins. On the category “How would you like to access your wallet,” pick an option that suits you from the list. For beginners without any hardware wallet, access from the Keystore file is recommended. Consequently, you’ll have to input your keystore file and password whenever you open your wallet. Keystore files are relatively secure because they are encrypted versions of the private keys.
Now, select the Keystore file you had downloaded earlier. Key in your password and hit the “Unlock” button.
Step 6: Now create a back-up
Congratulations! You just unlocked your wallet

It is imperative to back up your private and public keys as well as the Keystore file, be sure to keep them in a very secure location. You now have a wallet that can support the ETH and ERC20 coins. Therefore, you can participate in an ICO or receive and send coins. You can save the private and public keys in a QR-Code form as seen below.
Below is a guide on how to sign up and buy ETH on Coinbase.
1. Sign up for Coinbase
First, you have to sign up for a Coinbase account. Key in your personal details, and choose a strong password. Check the user agreement checkbox and hit “Create Account.”
To access this page, click here
(
2. Complete the verification Process
Now, you have to complete some verification steps before you can use the account. A section of the verification procedure is the ID authentication where you are obliged to present a photograph of your driver’s license. This will increase your daily spending limits to $1000 up from $200 using debit cards and $5,000 for (ACH) bank transactions complete with a $10,000 weekly cap bank limits.
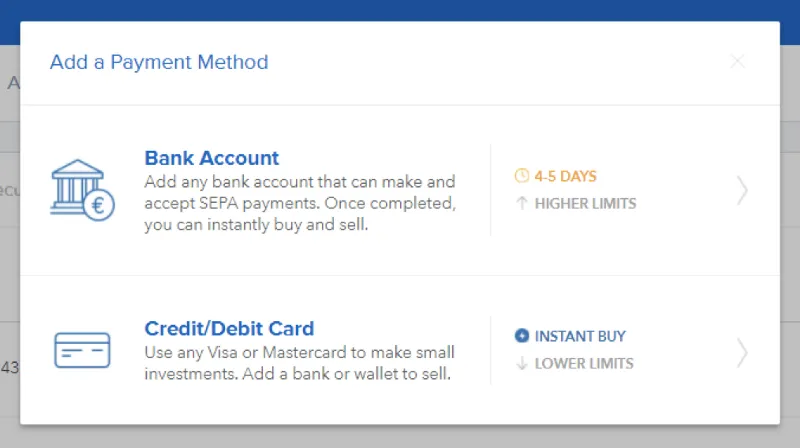
3. Connect Your Bank Account, Credit Card or Debit Card
After you’ve successfully signed up, link the account to your credit card, debit card or bank account. Input your payment system (Bank account or credit card)
4. Buy Ethereum
Go to ‘Buy/Sell’, pick the amount of Ethereum that you intend to purchase, and then click on ‘Buy Ethereum’
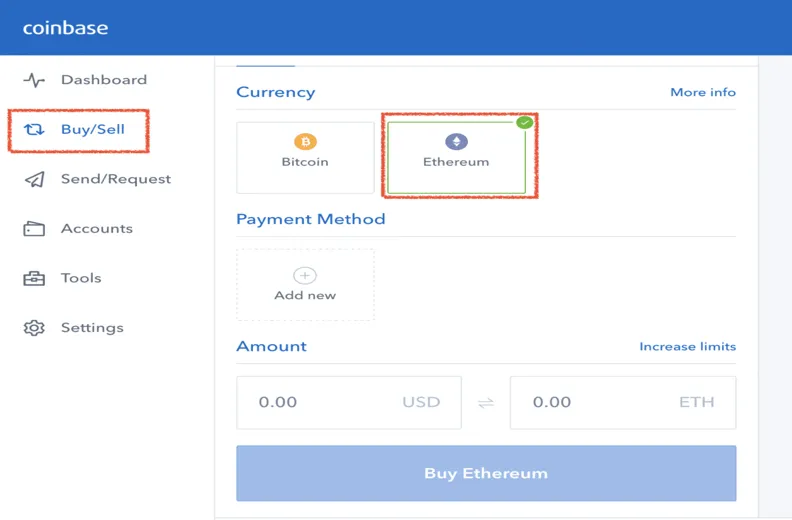
5. Input the amount you want to spend
Enter the amount of dollars you want in cryptocurrency, in the USD box on the left. The value of the crypto coin will automatically populate the ETH box. Likewise, you can also input the amount of coins you want to buy in the cryptocurrency box on the right and it will generate its values worth in dollars.
Once you’re contented with the amount and price of the digital currency you want to buy, tap on the blue ‘Buy’ option at the bottom of the screen. This will prompt a confirmation page that sums up your purchase, complete with the rate at which you bought the coin for, payment method, time of arrival, and charges levied by Coinbase.
To participate in the CryptalDash ICO, here are some sequence of actions you’ll have to undergo;
Visit the official CryptalDash official page and register for an account. You can click here to sign up. When you’ve already registered, visit the main ICO page: https://www.cryptaldash.com/account/buy. Input the number of tokens you wish to buy or the amount of dollars you wish to spend.
Select a payment method. For this case, select Ethereum then hit the button “Order.” You should see a page that displays the amount of ETH needed to complete your transaction. Note down the transaction/payment ID because you’ll need it in case of any transactional issues.
Copy the destination address labeled “send to address” and input the corresponding amount of ETH on your personal wallet. Once you’ve selected the amount to contribute, input the correct gas value (200,000 is recommended)
Confirm the transaction details and hit “send” button.
On the CryptalDash ICO page, click “check status” to track your transaction.
Beware of Gas
All Ethereum transactions require Gas depending on the complexity of their operations. Regular transactions need not have a default Gas limit since they’re rather straightforward. Nonetheless, ICO transactions are overly complex than normal transfers. This explains the need for more Gas power to execute smart contracts. If your gas limit is too low, the transaction will fail, and you’ll get refunded automatically.
Tip: Never forget to verify transactions when sending coins from one location to another

CryptalDash ICO Page
CryptalDash Whitepaper
CryptalDash Exchange Masternode