It took me a while to get used to the Nano S. It’s like having a remote control for your laptop, which doesn’t feel intuitive to me. I thought I had got the hang of it though until I downloaded the Ripple wallet. It simply didn’t work. Turns out, it’s not as simple as the other wallets on the Ledger Manager.
Ledger give instructions on their website on how to activate it https://ledger.zendesk.com/hc/en-us/articles/115005177349, but I still found things a bit hard to follow.
Basically, first you have to download it on your computer from https://www.ledgerwallet.com/apps/ripple
The note highlighted in green freaked me out a bit: ‘WARNING: never use a Ledger device that has already been initialized. You must choose your PIN code and write down your 24 words by yourself.`’
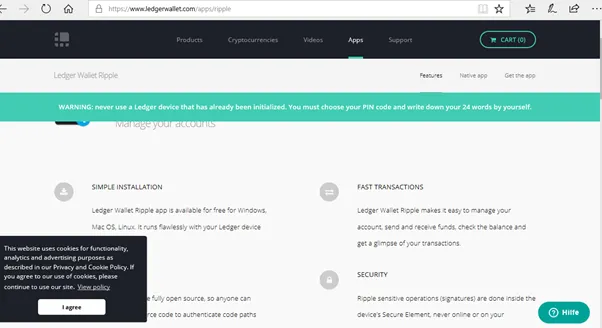
It took a while that they meant that you shouldn’t buy a Nano that’s been initialised, not that you shouldn’t download the Ripple wallet onto one that you have initialised yourself. D’oh!
Next step: download the Ripple wallet from Ledger Manager.
Once that's done, go to Settings on the wallet with the Nano S, and disable Browser Support (Settings – Browser Support – No), as in the other wallets.
Close the Ledger wallet.
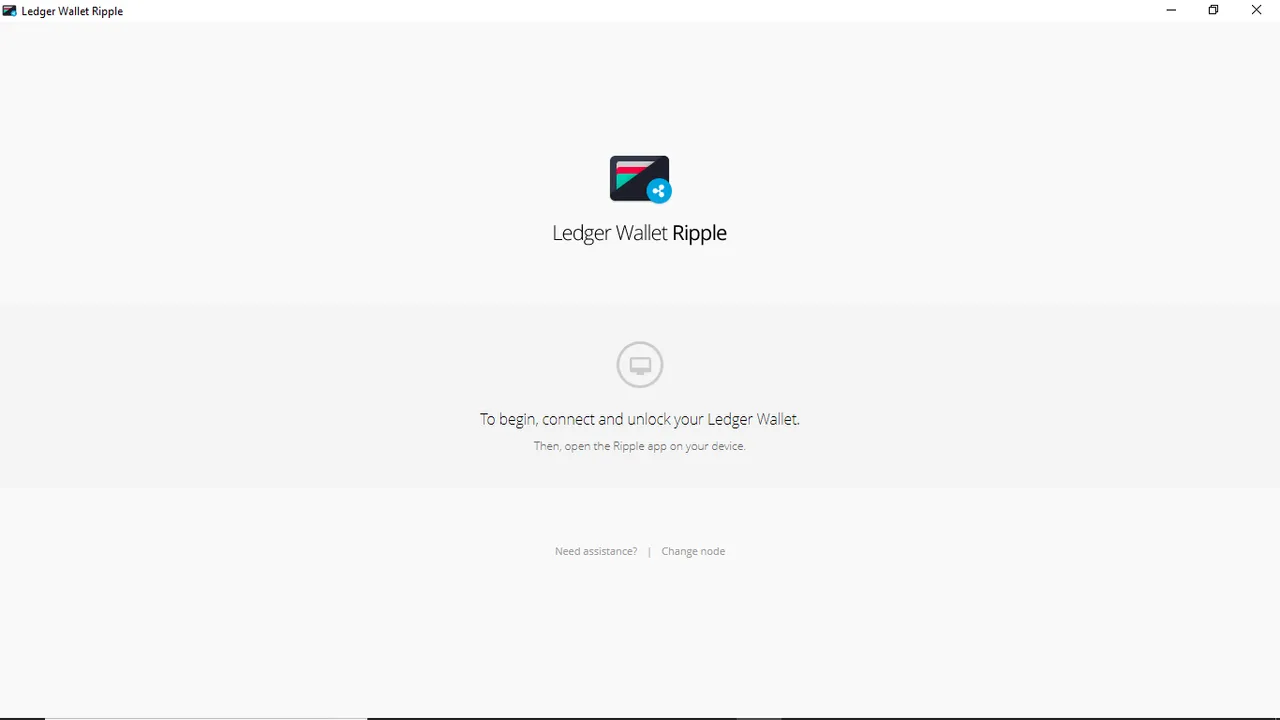
Then you should have a fully functional Ripple wallet using the downloaded app. Just connect your Nano S and go…
Note that you need to transfer a minimum of 20 XRP – otherwise the wallet won’t work.
Sending and Receiving Ripple
In addition to the address, Ripple has a ‘Tag’ line. When sending Ripple from an exchange to your Nano you can leave the tag empty, but when sending from the Nano to Bittrex (and presumably other exchanges) you need it.
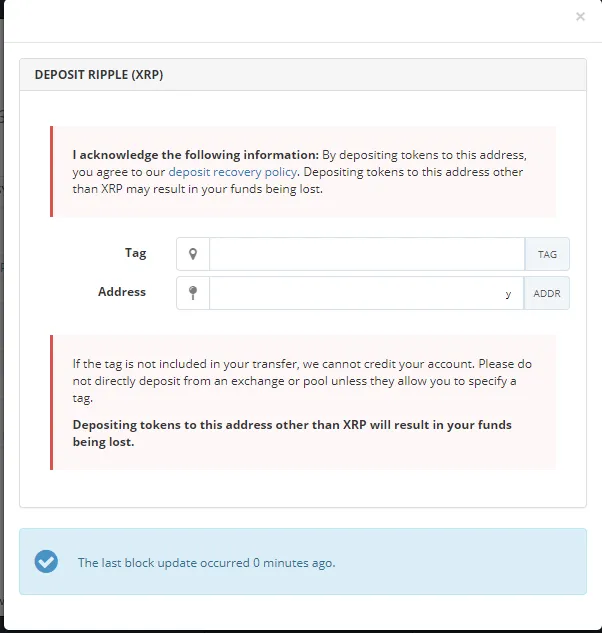
To get it, hit the ‘advanced’ button on the bottom left of the screen on your Ripple wallet.
Once again, easy once you know how…
Onwards and upwards…