
DCEX sign up and verification step by step guide. Use this 5 step guide to easily register your account on DCEX. Then, learn how to secure your account and get verified fast.
First, let's go over the registration process.
Step 1: DCEX Sign Up
Start by visiting the DCEX home page.
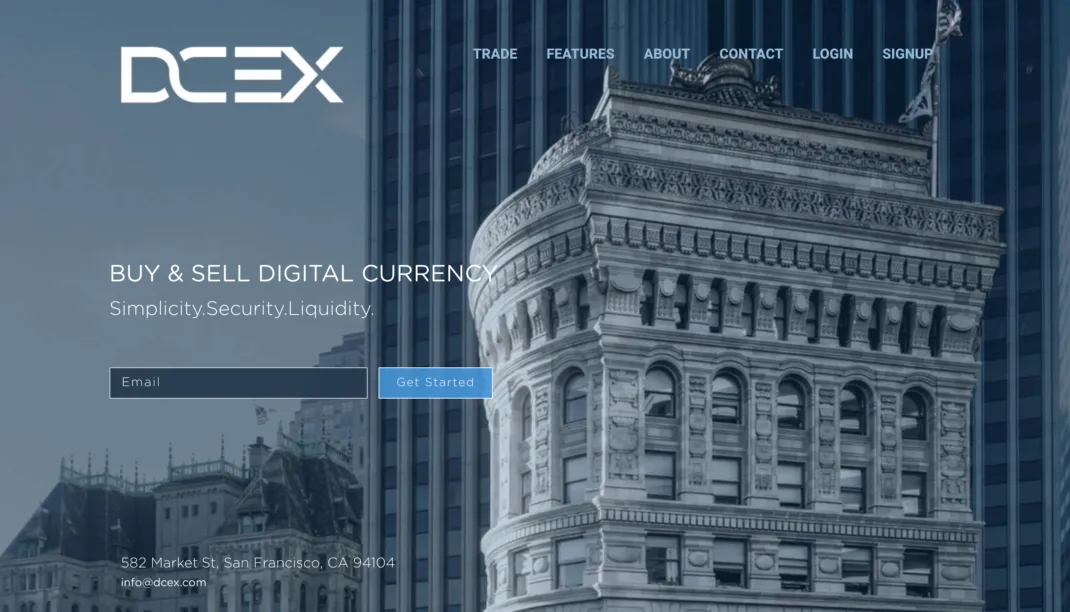
Here, you'll see a form requesting your email address to begin DCEX sign up. Enter your email and click the “Get Started” button to continue.
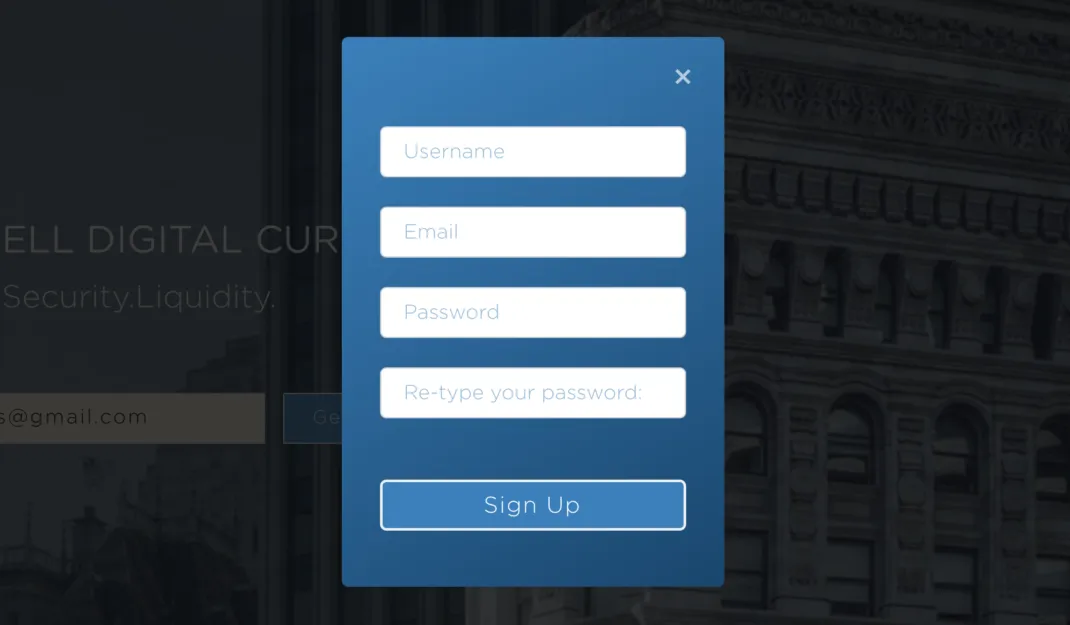
A full registration form will pop up with your email address pre-filled. Complete the form by entering your desired username and password. DCEX requires a password of at least 8 characters and one capital letter.
Click the “Sign Up” button to finish your account registration. Once submitted, you'll be given instructions to check your email to complete registration.

You'll receive an email titled “DCEX - Activate your Account.” from “DCEX”. Open that email and click the “Activate” button to continue.
Upon successful account activation, you'll be taken back to the DCEX home page. Now you're ready to log in to your account.
Step 2: DCEX Login
Log in to your DCEX account by clicking the “LOGIN” menu item in the top navigation menu.

Clicking the “LOGIN” menu item will display the DCEX sign in form.
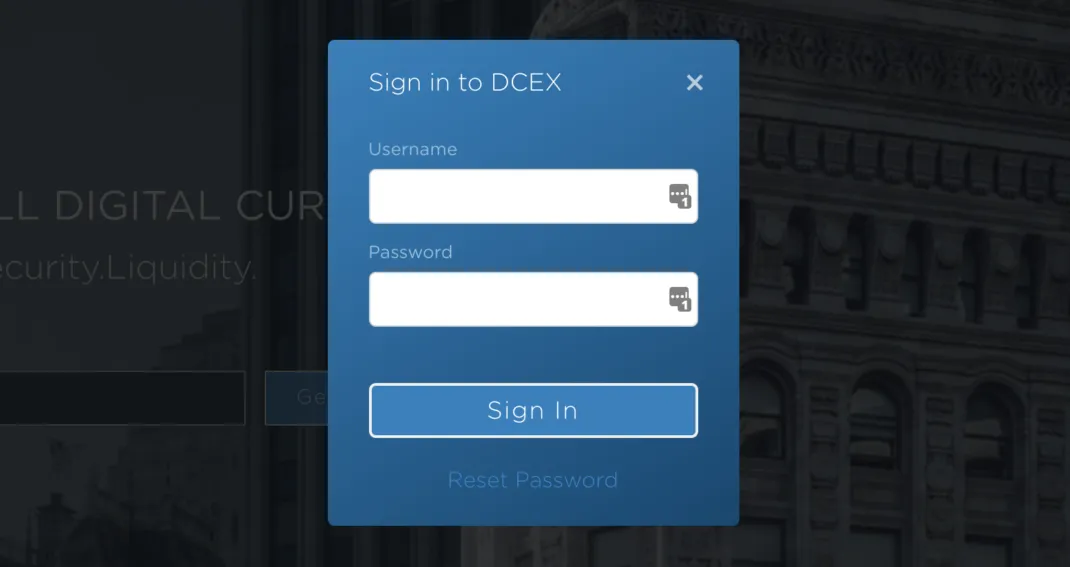
Here you'll enter your username and password. Click the “Sign In” button to log in to your account.
Once you're logged in, you'll be presented with this welcome popup message.
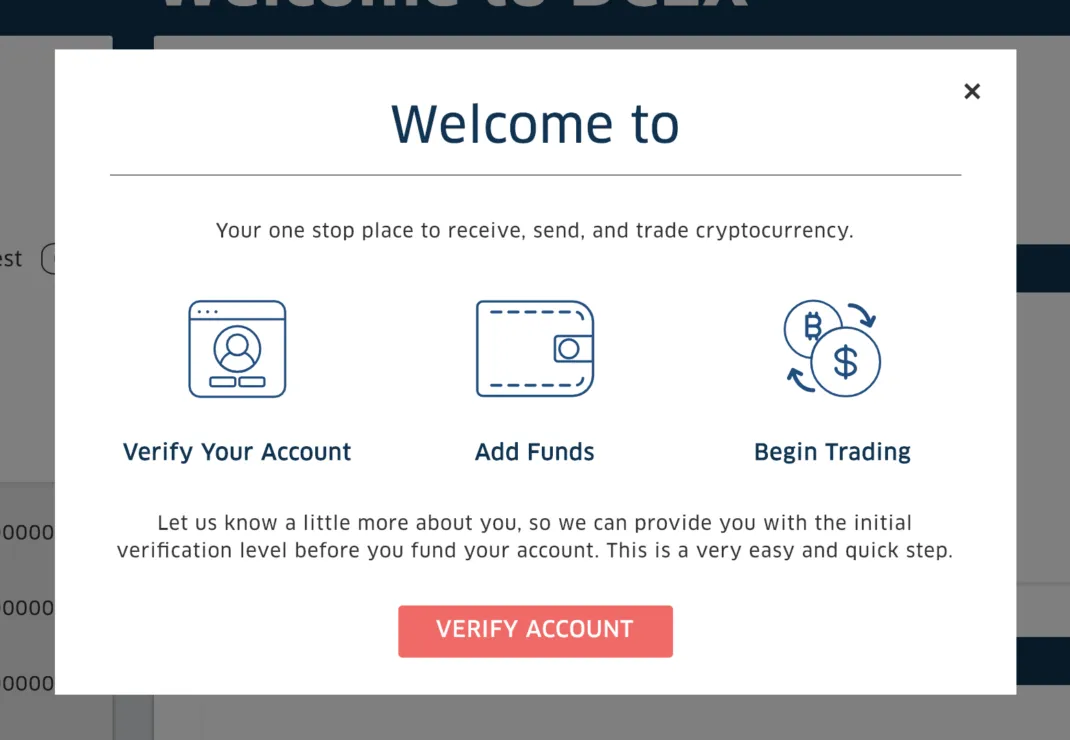
In order to fund your DCEX account, you must first get verified. We'll do that now. Click the “VERIFY ACCOUNT” button to begin.
Step 3: DCEX Verification
You can get to the DCEX verification form by visiting your Account Settings page. The DCEX Account Settings page will have your verification level on the bottom.
Click the “VERIFY ACCOUNT” button to display the verification form below.
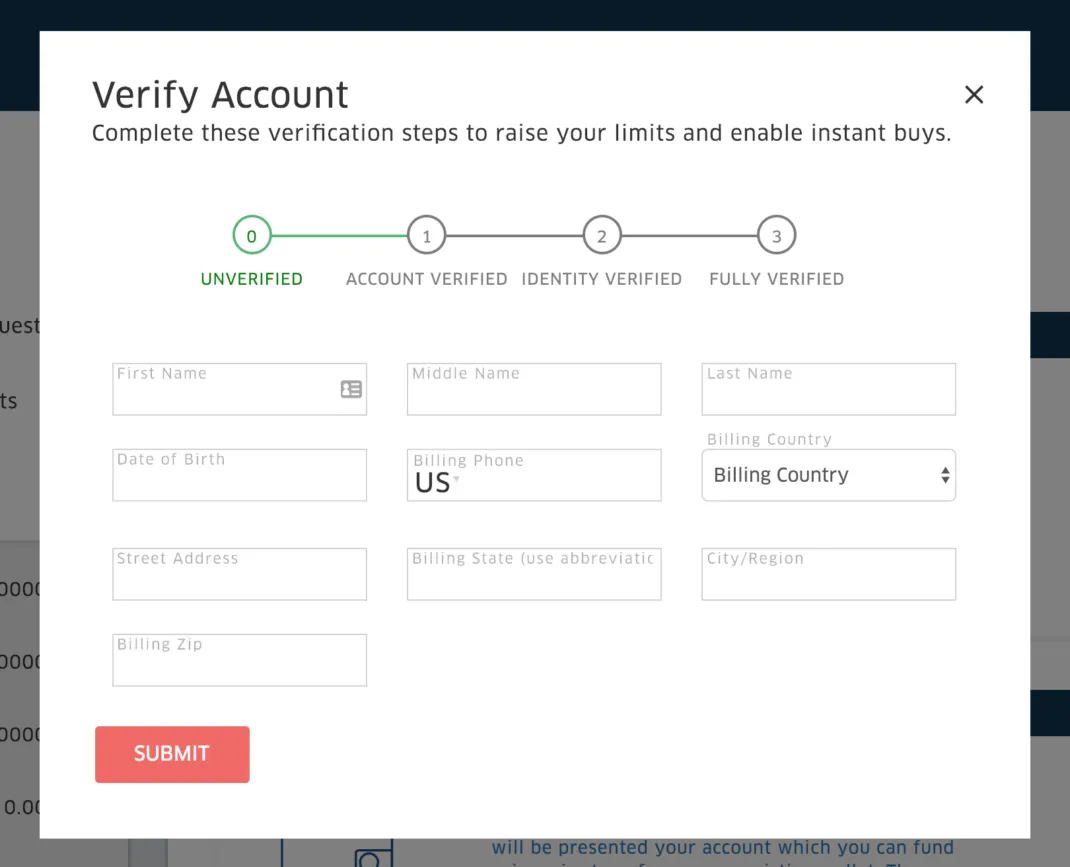
Once you're on the Verify Account form, start entering your information. Enter your full name, date of birth, billing phone, billing country, address, billing state, city and billing zip code.
After submitting your information, your account will be verified.
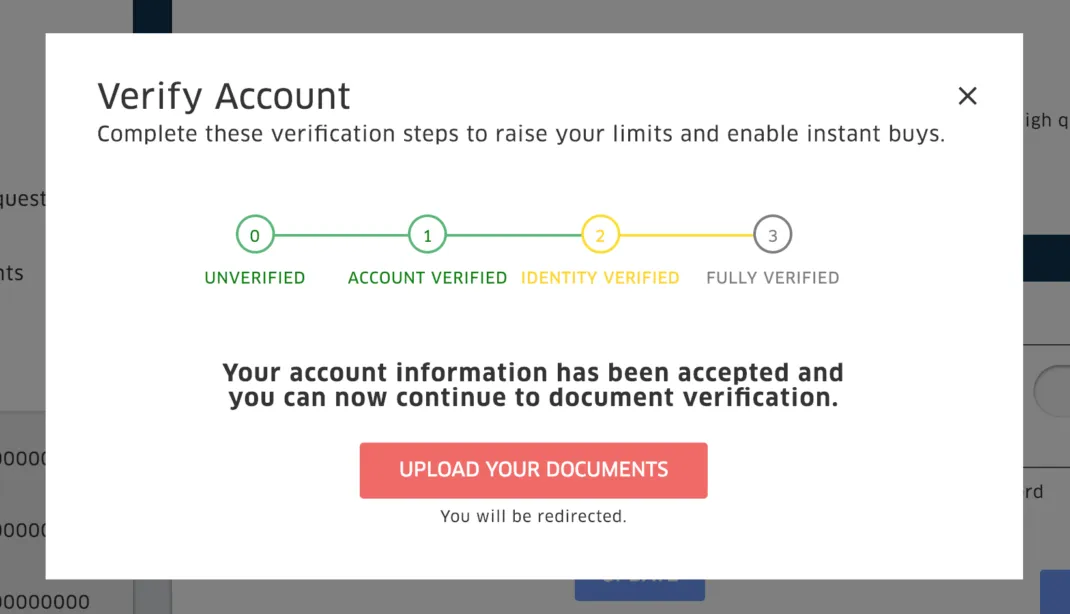
You're now at step 1 of the verification process. Let's continue to step 2 and complete the identity verification procedure. Click the “UPLOAD YOUR DOCUMENTS” button to continue.
Step 4: DCEX Identity Verification
You can get to the DCEX identity verification form by visiting your Account Settings page. The DCEX Account Settings page will have your verification level on the bottom.
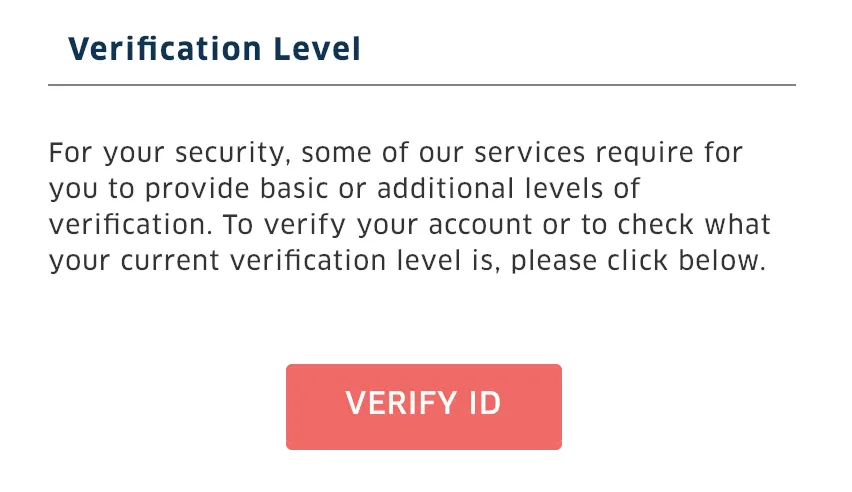
Click the “VERIFY ID” button to display your verification level status.
To continue with this step, you'll need to have your passport, identity card or driver's license ready.
When you're ready, click the “UPLOAD YOUR DOCUMENTS” button. You'll be taken to the DCEX Upload ID page.
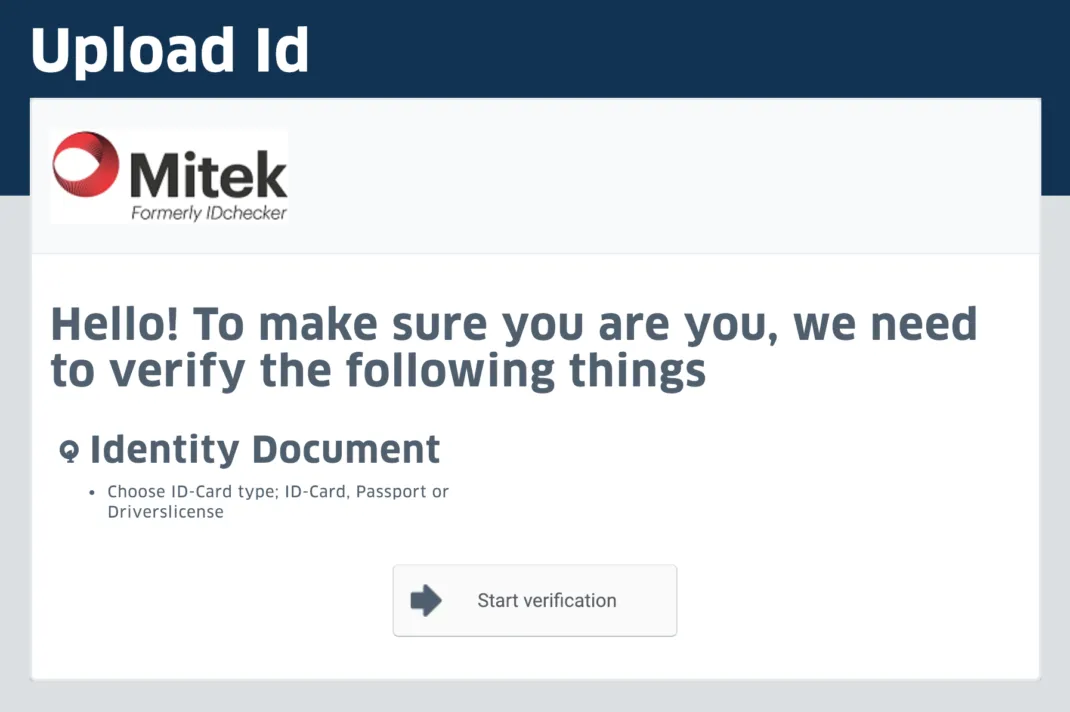
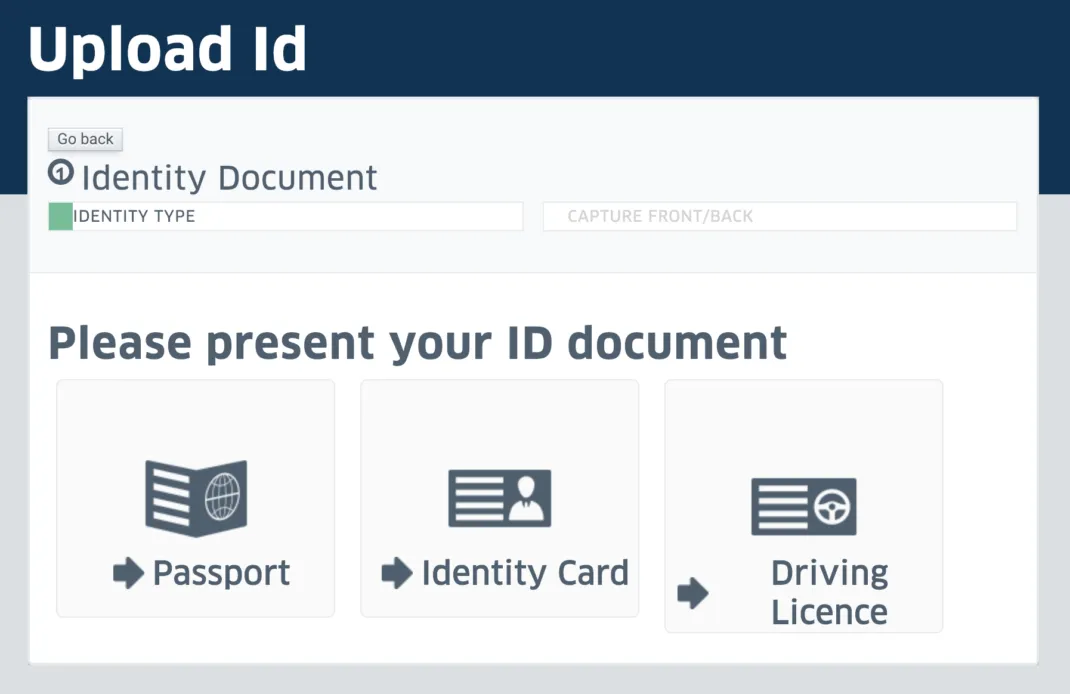
Click the “Start verification” button to begin your identity verification. Then choose the identity document you'd like to use for verification.
Next, you'll be asked to upload a high-resolution image of the front of your identity document.
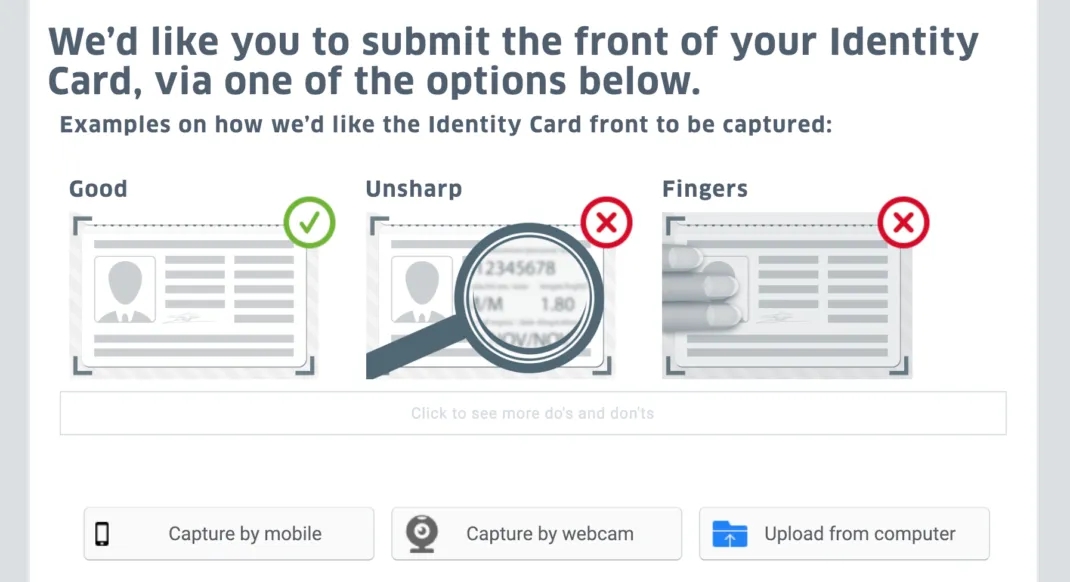
As you can see in the screenshot above, you can capture the image via mobile, webcam or computer upload. Keep in mind, you will want to use high-quality images for this step.
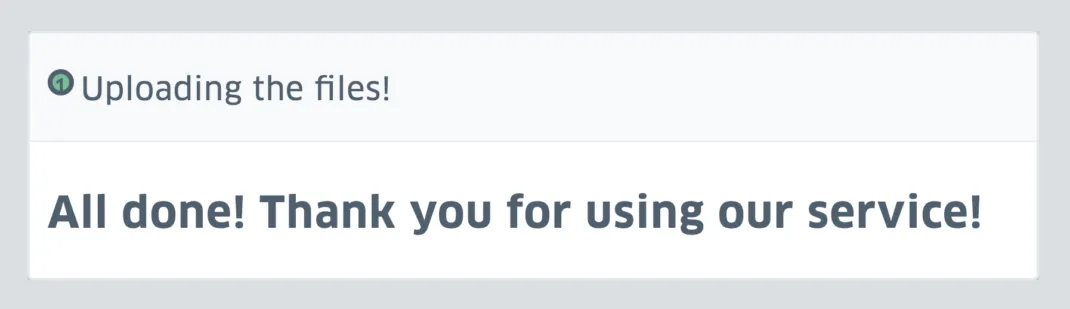
After submitting your documents you will see the file upload success message below.
Now, all you have to do is wait for your DCEX account to be fully verified. You have to wait for a DCEX rep to go over your account and manually approve your verification.
In the meantime, I'll show you how to enable two-factor authentication to improve your account security.
Step 5: Enable 2FA on Your DCEX Account
What is Two-Factor Authentication?
Two-Factor Authentication (or 2FA) is used to better secure your account from potential hackers. By using 2FA, hackers will have to take it a step further to break into your account.
By using 2FA, you will confirm logins with your phone, email or sometimes an authenticator app.
In this case, DCEX uses the Google Authenticator for 2FA protection. To continue with the next steps ensure you have the Google Authenticator app for IOS or Android.
Activating DCEX 2FA With Google Authenticator
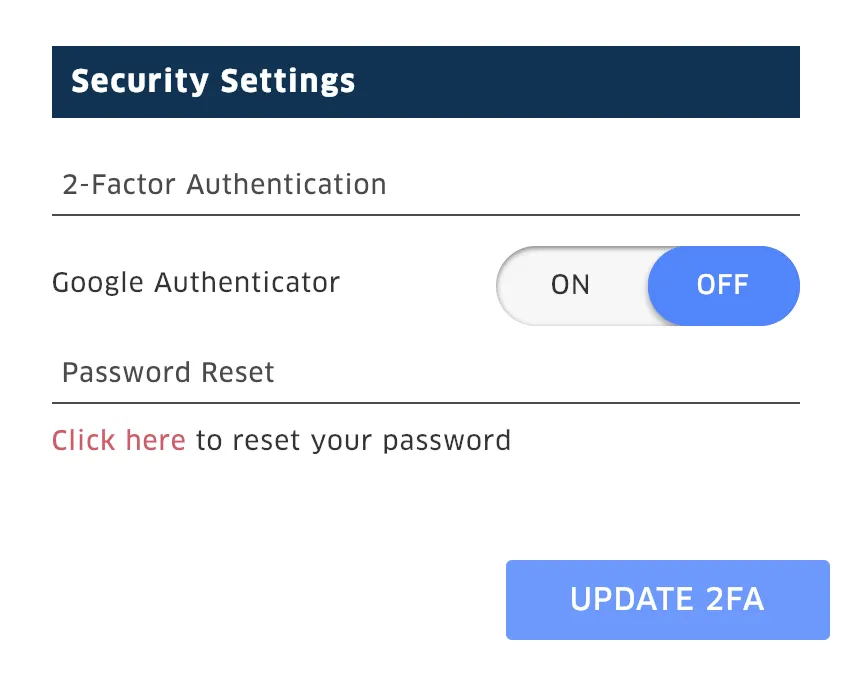
In your DCEX account settings, you'll see an option for Two-Factor Authentication. Change the toggle to the “On” position and click the “Update 2FA” button.
You'll be presented with the DCEX Google Authenticator form below.
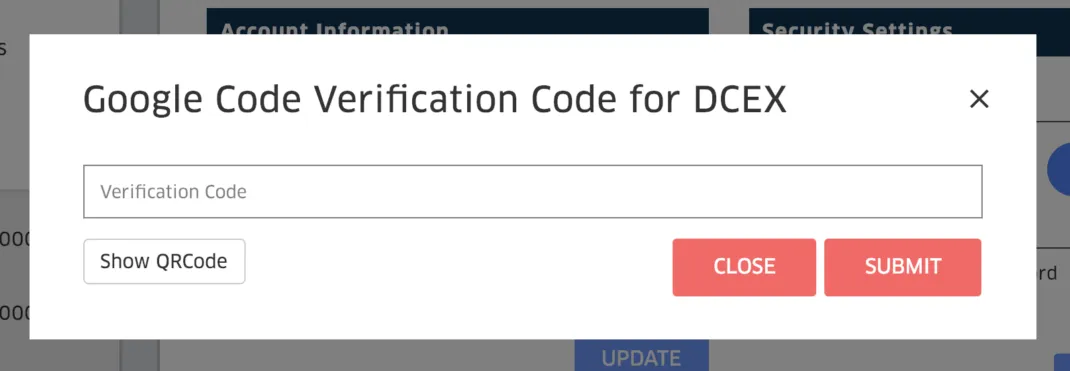
Click the “Show QRCode” button to display your 2FA QR code. You'll need this QR code to add your DCEX account to the Google Authenticator app.
Download the Google Authenticator app for IOS or Android if you haven't already.
Add Your DCEX Secret Key to the Google Authenticator
Open the Google Authenticator app on your phone and tap the “+” plus symbol in the upper right corner. This will give you two options — “Scan barcode” or “Manual entry”.
- Scan barcode: Scan the barcode on the DCEX 2FA setup screen. This will capture your 16 digit DCEX Security Key and add your account to Google Authenticator.
Once you add your account to Google Authenticator, the app will begin generating DCEX authenticator codes. Copy the 6 digits from the Google Authenticator app into the DCEX “Authentication Code” field.
Finally, click the “Enable 2FA” button to complete your DCEX 2FA setup.
If you receive an error message stating that the code is incorrect, wait a minute and try a newly generated authentication code.
Logging in to DCEX with 2FA
Now that you have 2FA enabled on your account, you're required to enter it upon your account sign in.
On the login form, enter your username and password and click “Sign In” like normal.
On successful credential submission, DCEX will check if your account has 2FA enabled. If enabled, you'll also be asked to enter your 2FA code.
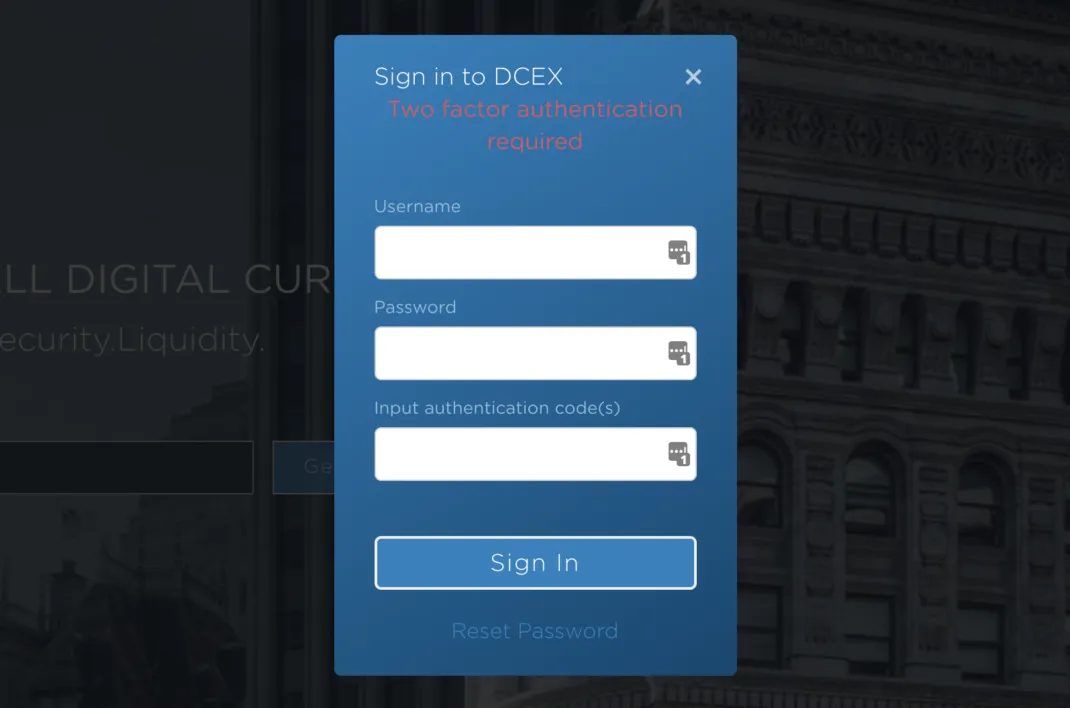
Use the Google Authenticator app to get your 6 digit verification code. Enter that code in the authentication code field. Finish by clicking the “Sign In” button to access your account.
Conclusion
By now you should have your DCEX sign up complete. Your account should also either be verified or in process of getting verified.
You learned step-by-step how to set up your DCEX 2FA. In addition, You learned how to use 2FA to sign in to your account.
Were you able to get your DCEX account verified? What made you want to sign up for a DCEX account?
Posted from my blog with SteemPress : https://xrpontop.com/dcex-sign-up-verification-guide/