With my workshop shell complete, it is time to build out the inside. We decided the first thing needed is a workbench, then everything else can be built on that for the most part. So we got to piecing together the wood to construct the frame and lay planks down on top. We could have used plywood, but I did not want any processed wood in my workshop such as MDF or plywood as it off gases nasty stuff over time as they break down. I went ahead and spent more money going with 2x6 table tops, and I think they will last a very long time.
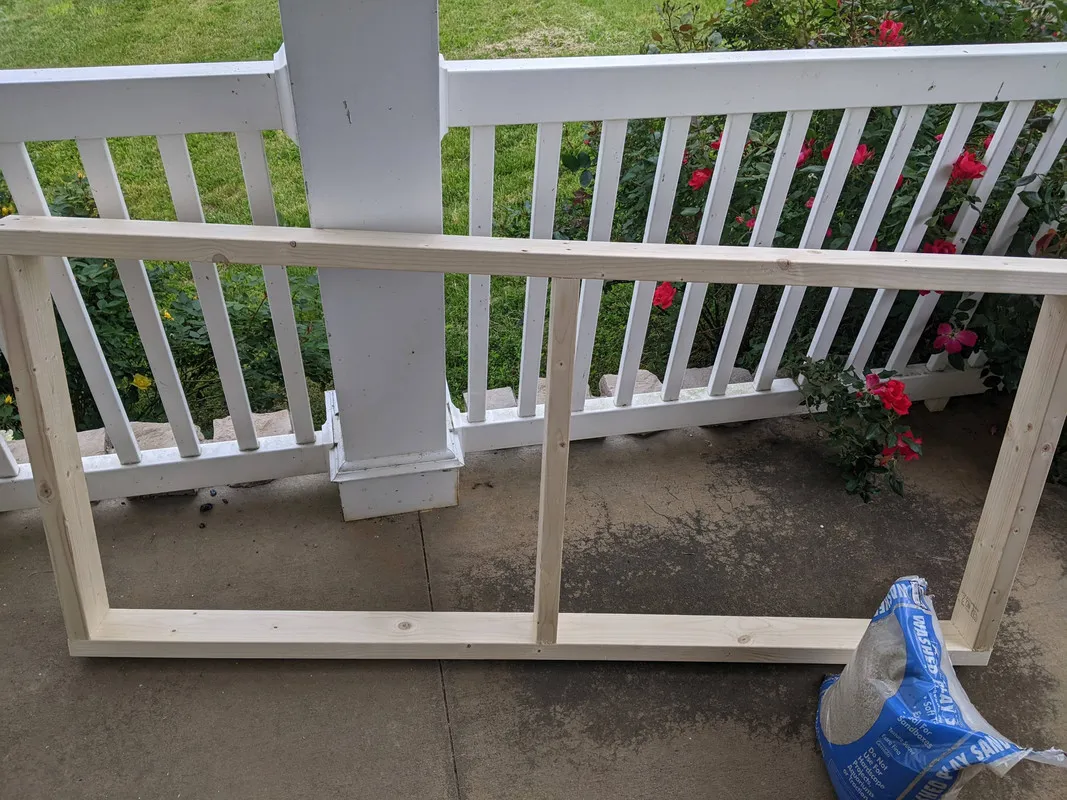
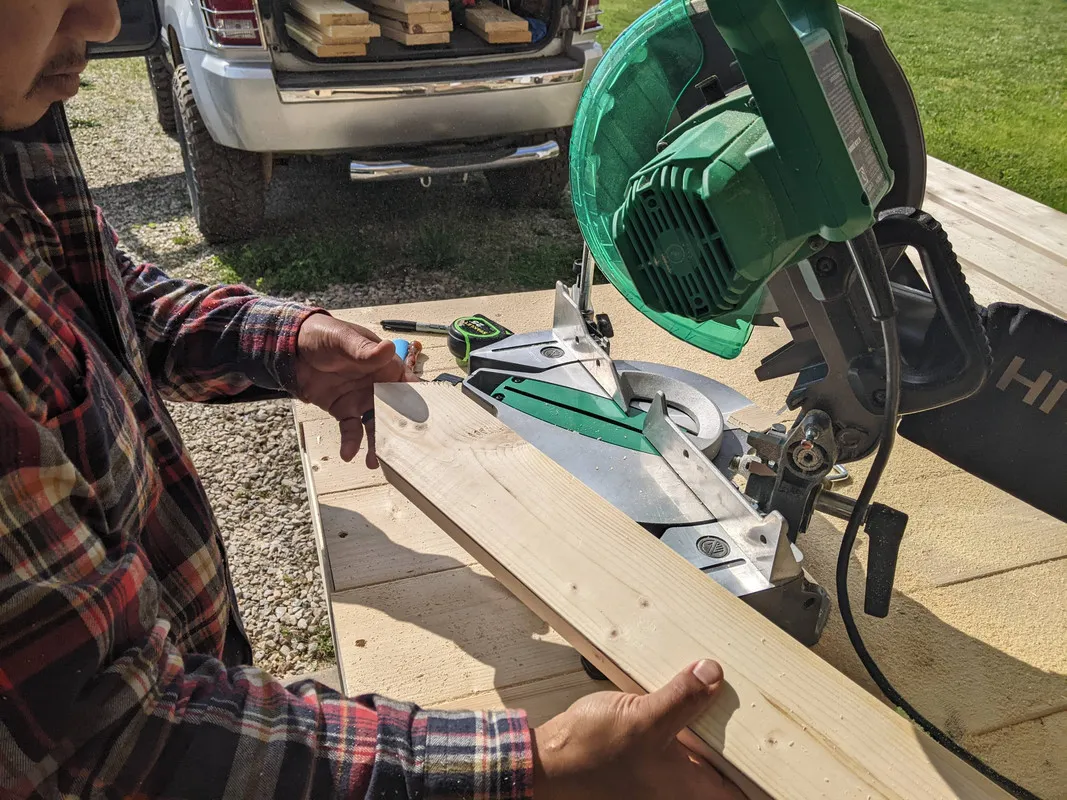
Building the frames we used regular 2x4's that were heat treated. Cutting them to size we screwed them in using 3 inch wood screws.
The legs are built using 2x4's and 2x6's. We screw them in and make sure they are nice and strong before putting the frame up.
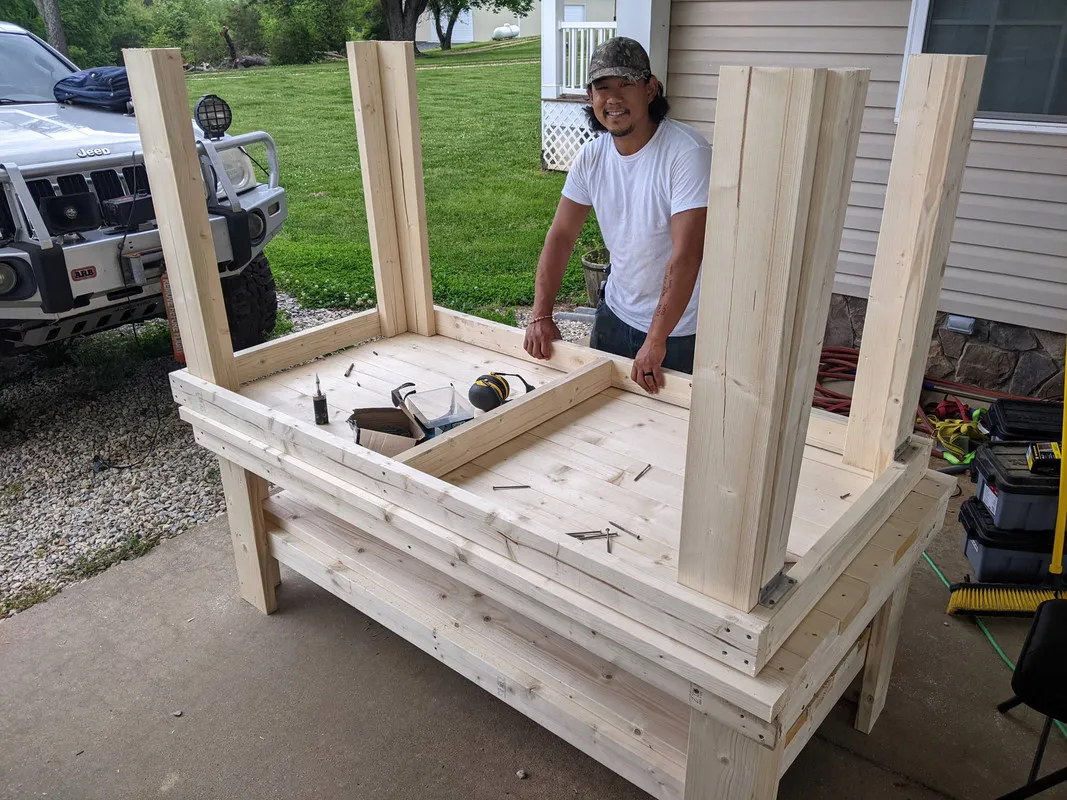
Building the top upside down seems to be the way to go, and then we flip it over.
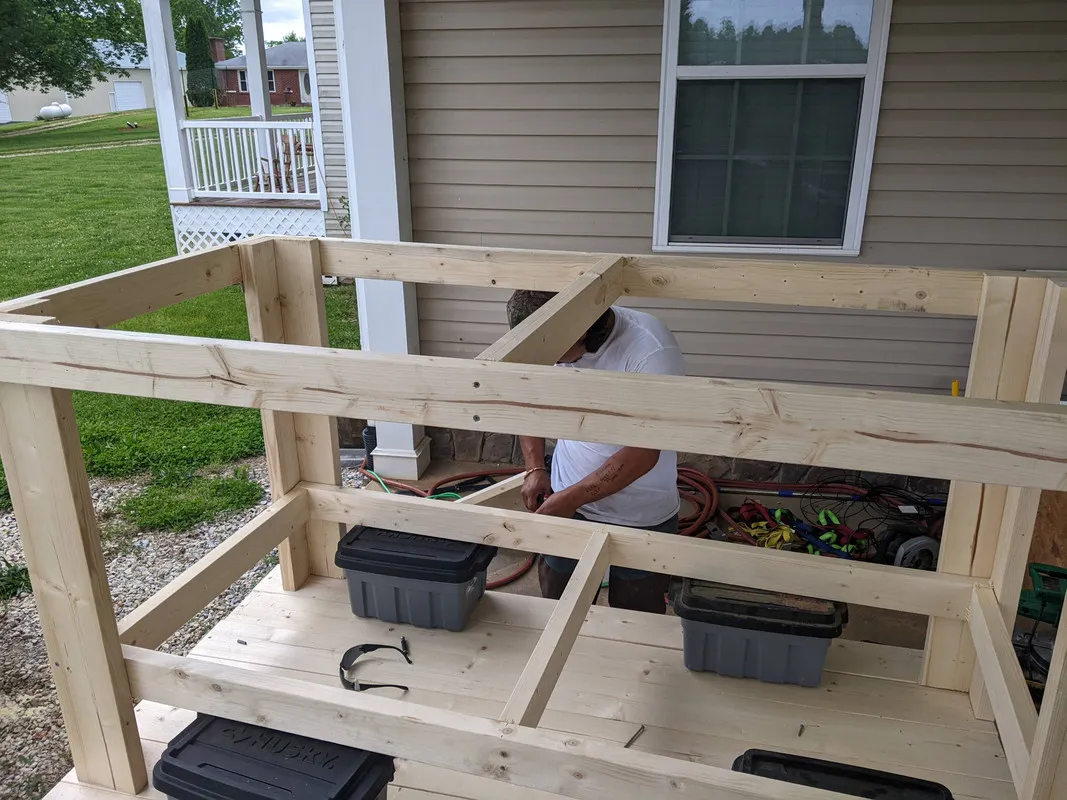
The bottom shelf is raised a few inches off the ground, we used some plastic storage totes for the spacing. Worked out well.

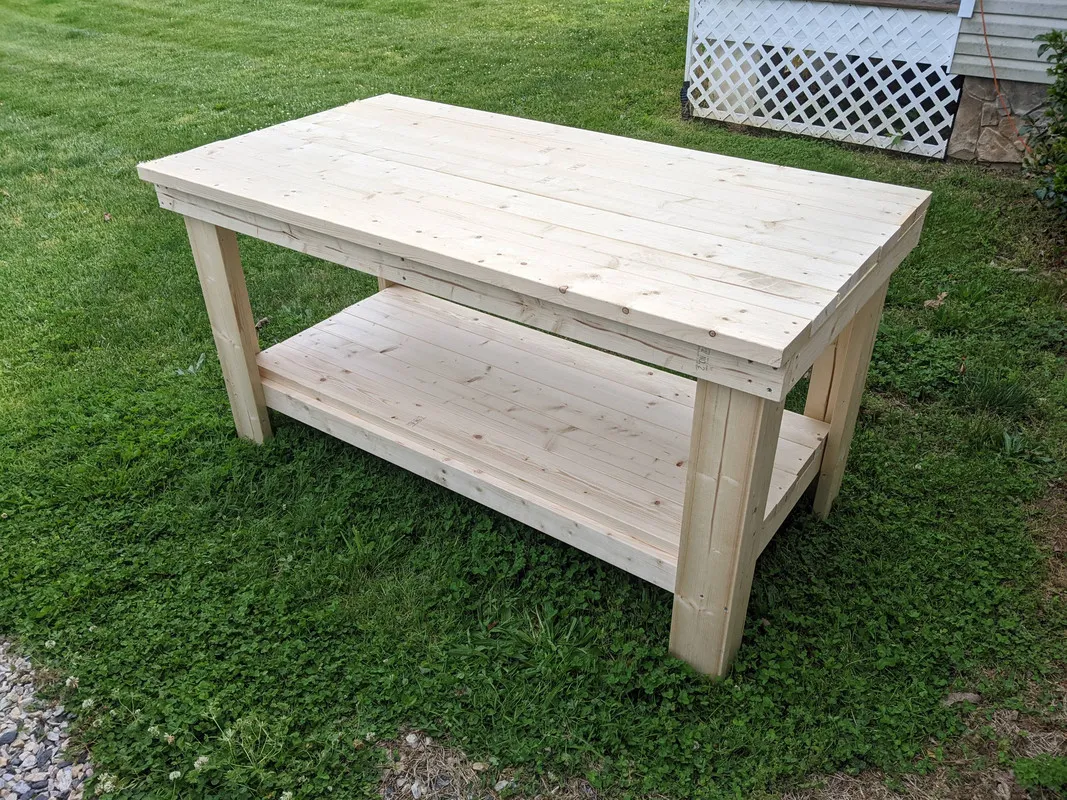
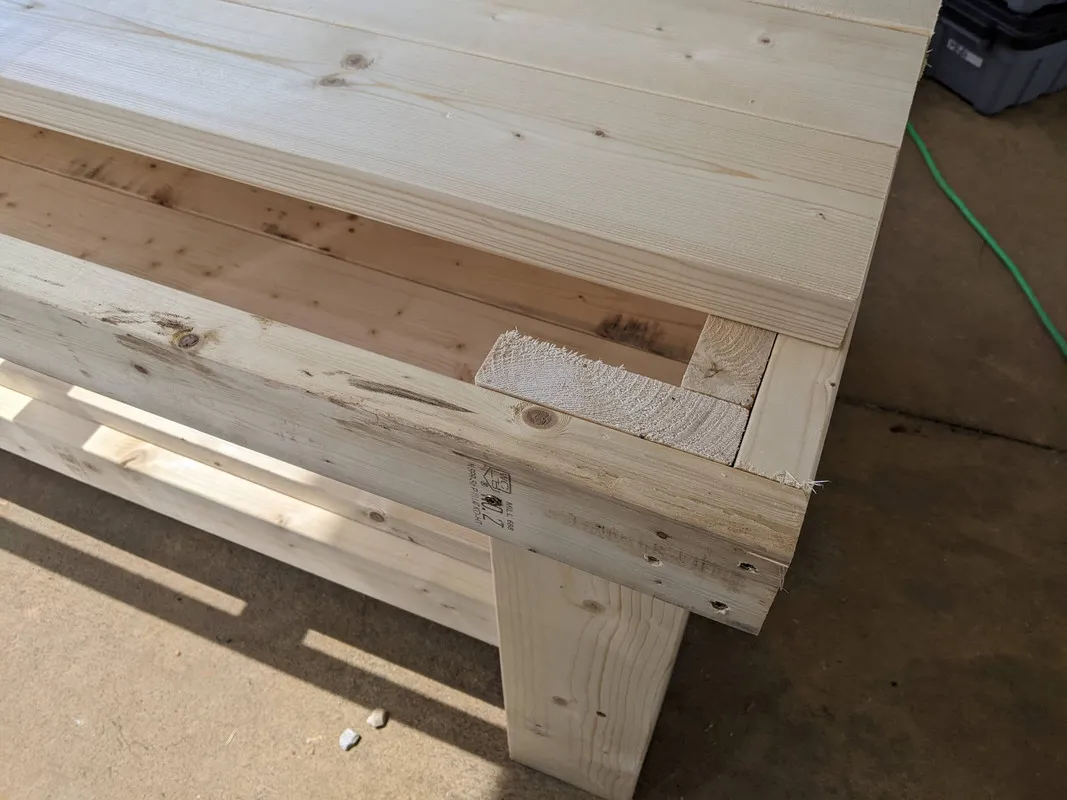
With the frame complete, we can now put the 2x6 planks on. This will be the top and shelfs surfaces.
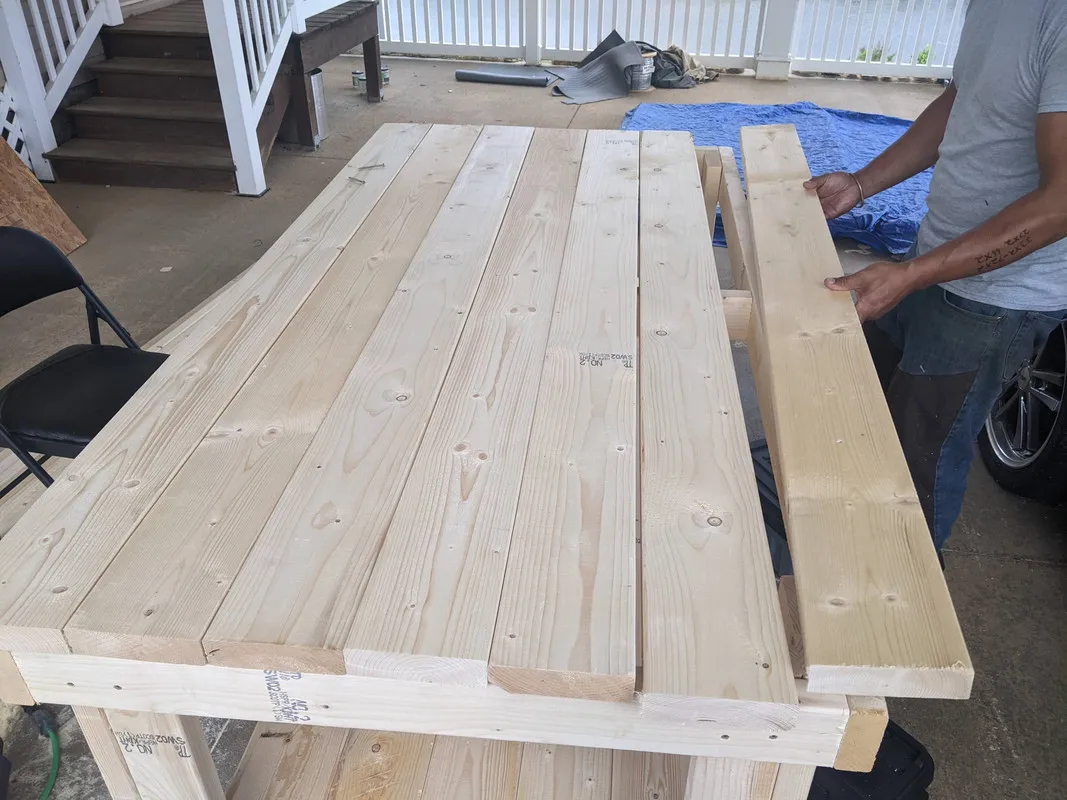
We hang off a little bit of both sides that way we can fit seven boards and leave no gaps.

Now we have the first workbench, it made life so much easier. Not having to squat on the ground cutting everything.
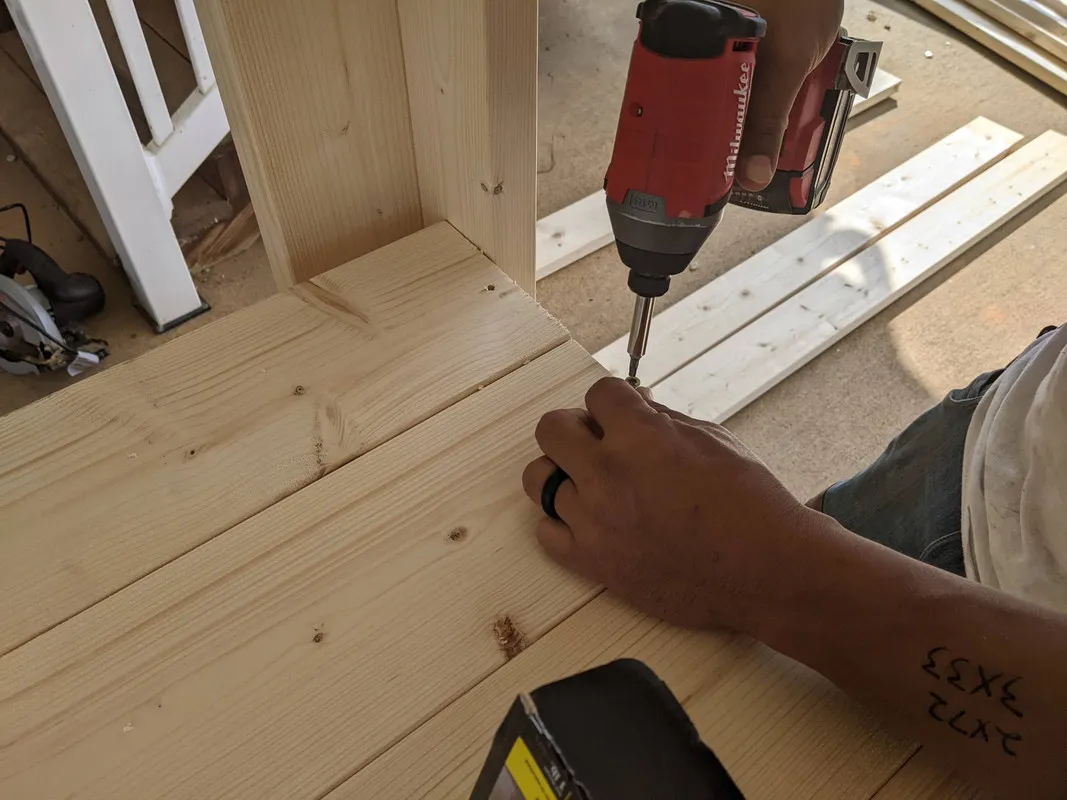
We put in the 2x6 planks with some smaller screws, just enough to hold the planks to the frame.
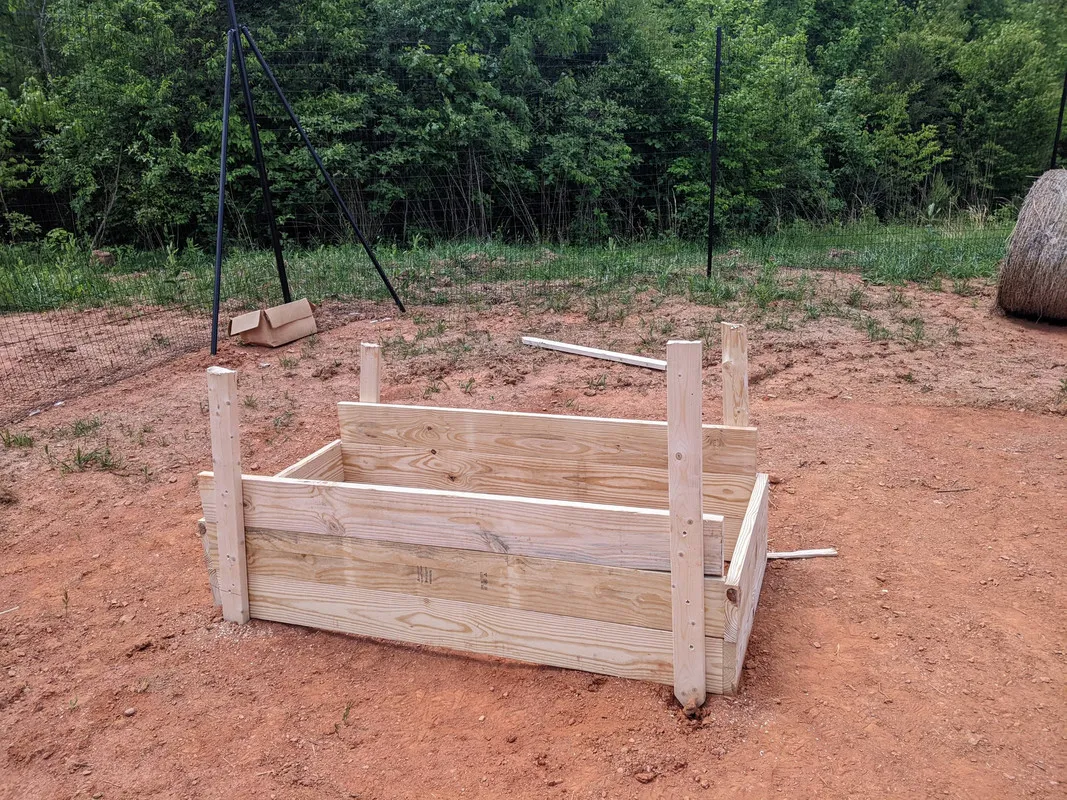
Starting work on the 1/3 acre garden beds:
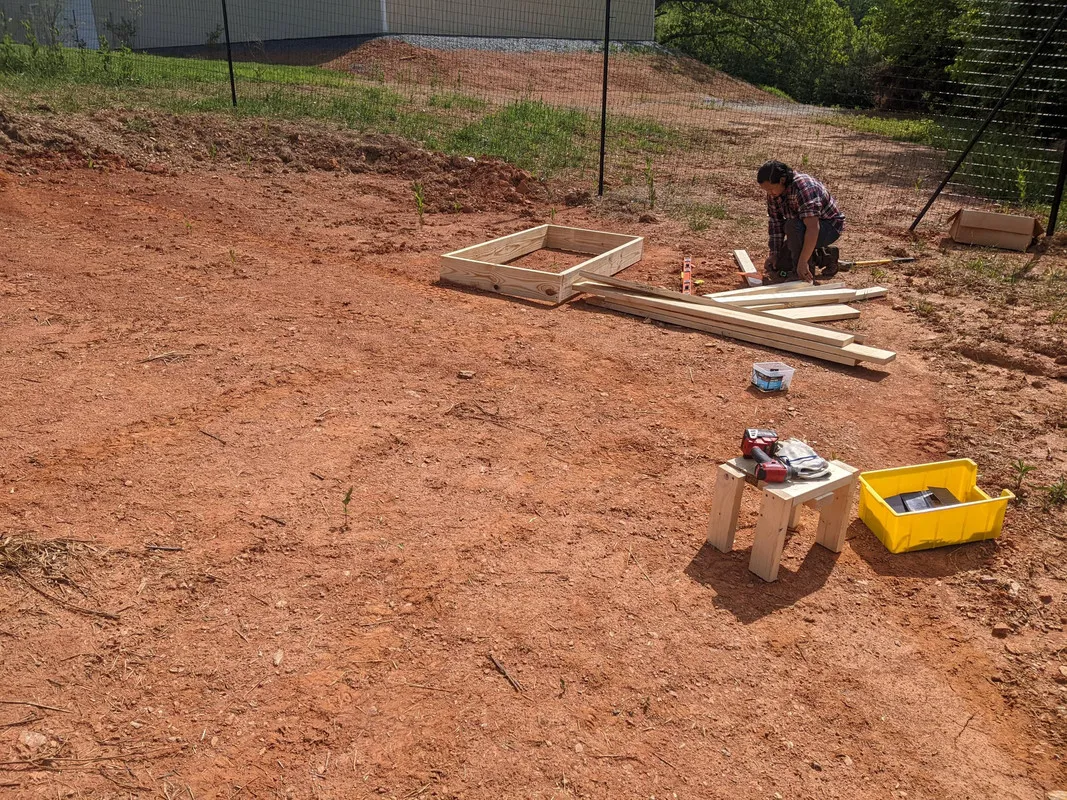
First was to build the frame, and then we would build it up more. Adding more planks to the desired height.
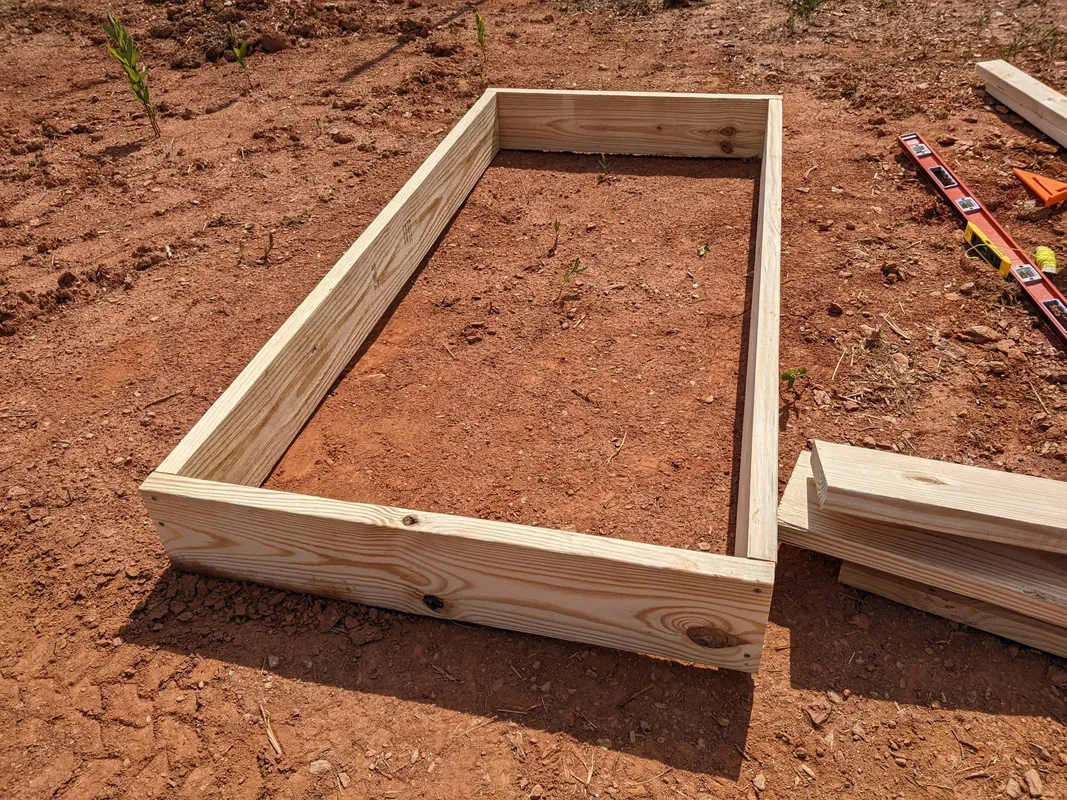
Once they are all built, we will add tree logs, branches and dirt to make what is known as a hugelkultur.
We bought some 2x8's as well and just enough to construct one rectangular garden bed. Three feet wide and six feet long is the size we went with, so we can buy 12 foot planks and cut them to size.
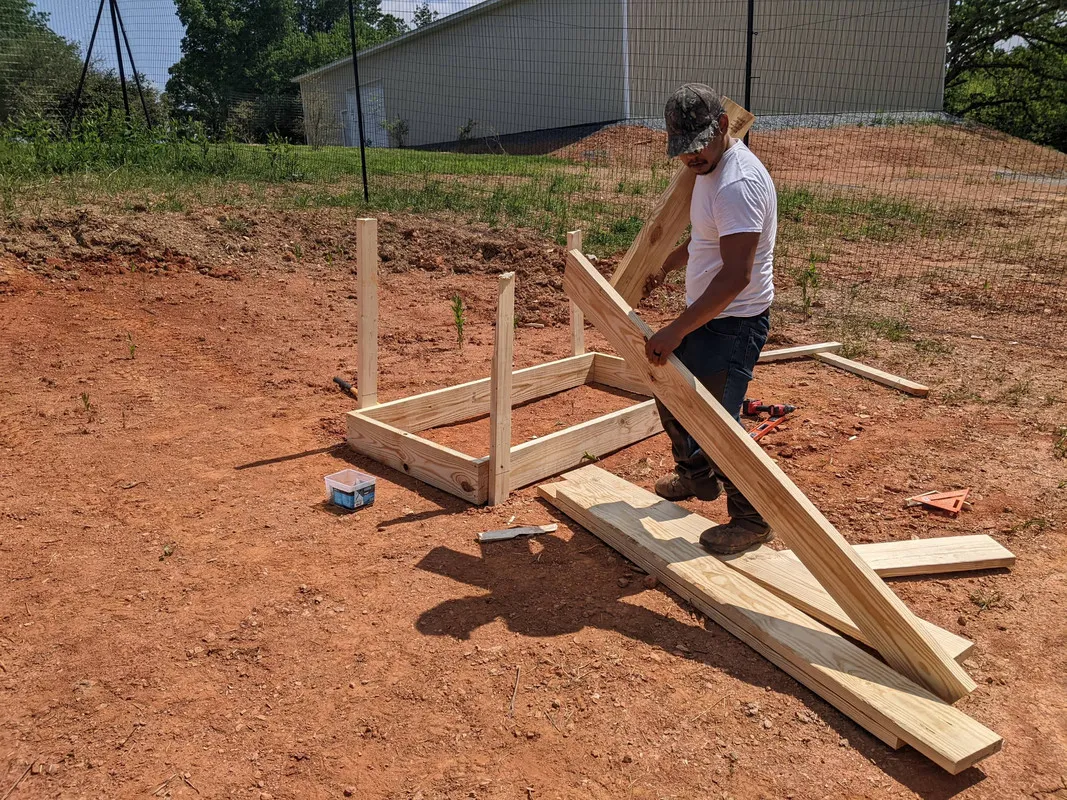
Making stakes that we planned on driving into the ground, but it ended up being more work than needed. Next time we will just make them flush with the dirt.
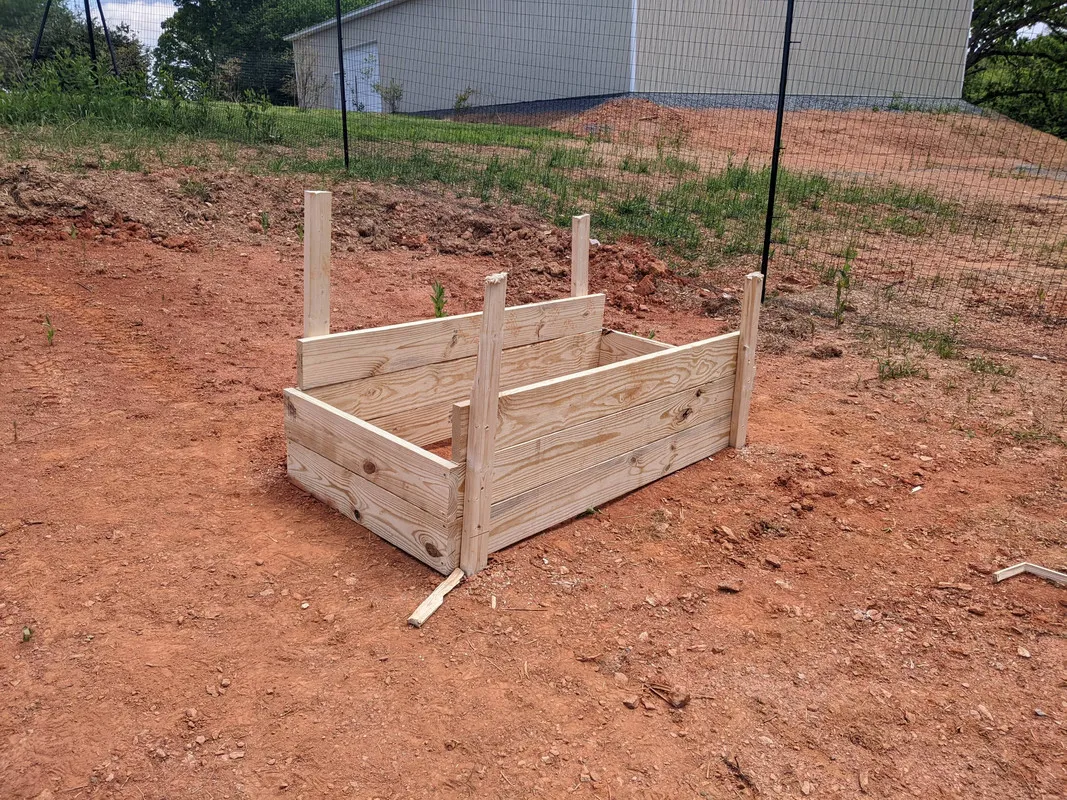
These stakes will let us build the bed higher, up to the height of the vertical 2x4s if we wanted. Its hard to say the height of the bed, probably waist height.
We ran out of wood, so we just got up as much as we could. Knowing how these came out, now we can purchase lots more wood to build more.
Building out the workshop shelving:
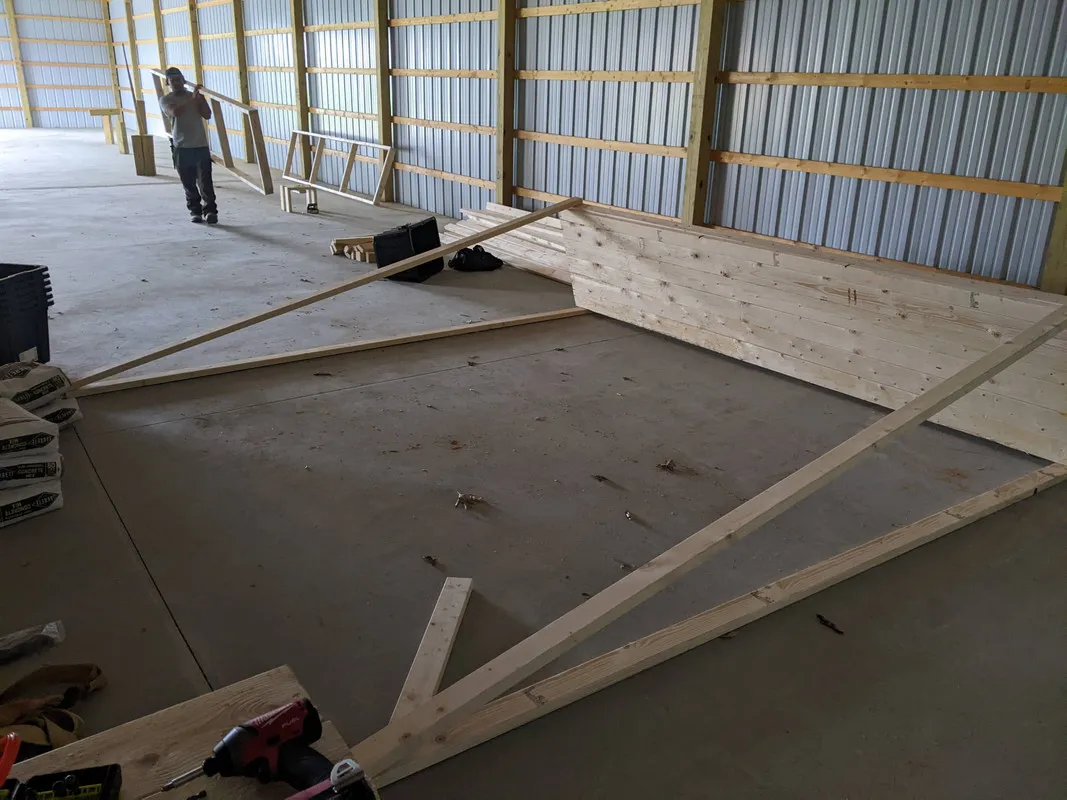
Having a big workshop is quite nice, but with everything on the floor right now its far from ideal. We decided to build some 12' by 12' shelves, one word to describe them is.. Huge.
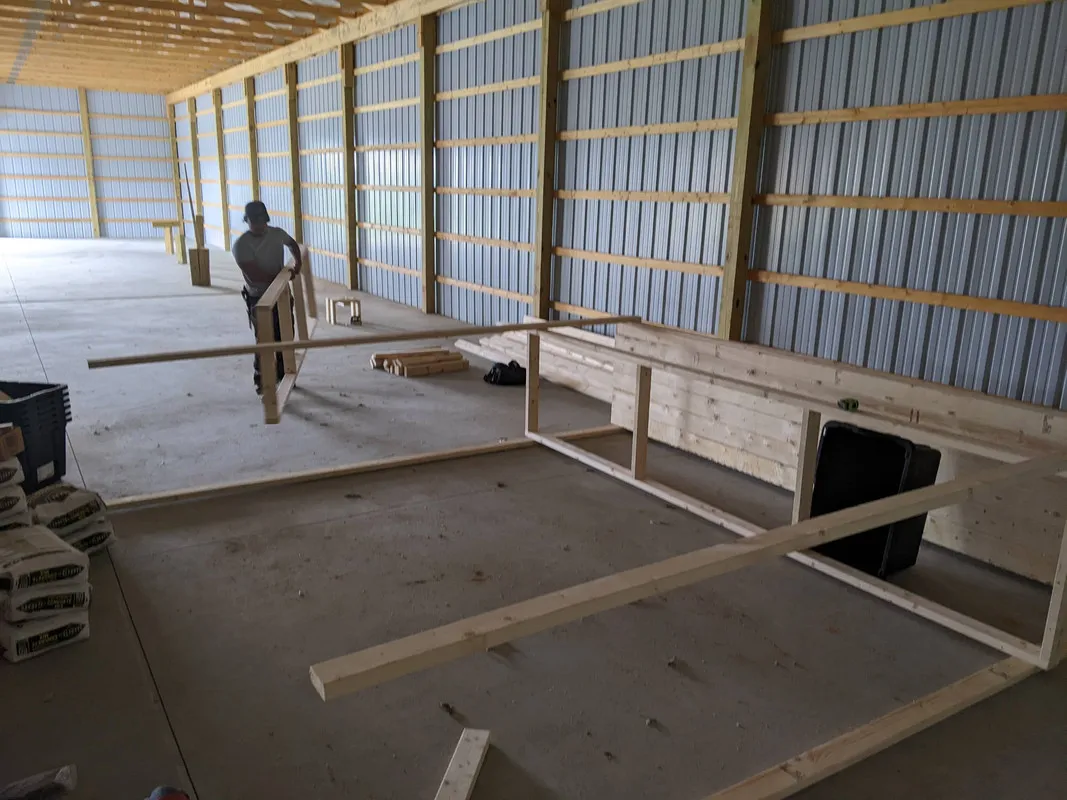
We lay 2x4 supports along 3 points on the frame, four are seen now and two more as added once the shelf is turned up on its side.
Raising it up together it was not too hard, would have bee nearly impossible with all the 2x6's mounted so we must do that once its been raised.
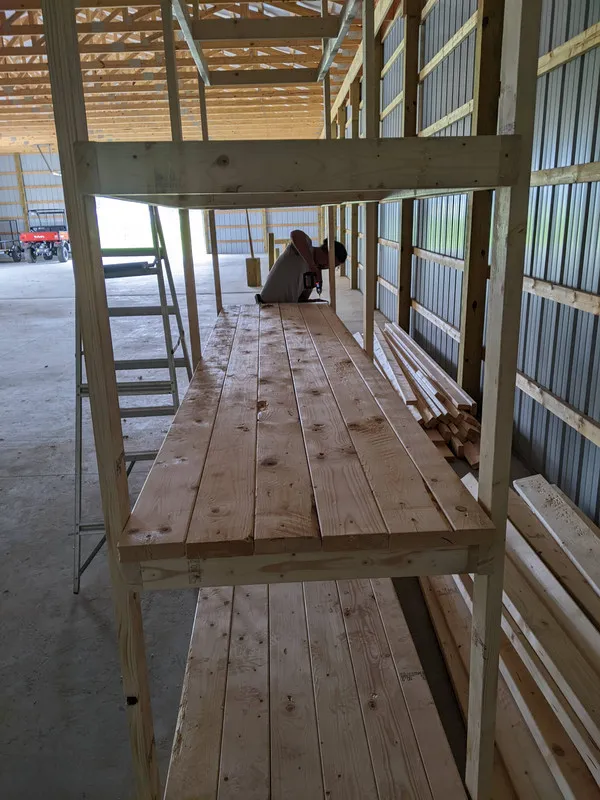
Adding the 2x6 planks after the frame is all build and set up is key. Those planks add what feels like 10x to the weight of the shelf. But should be very strong and last a long time.
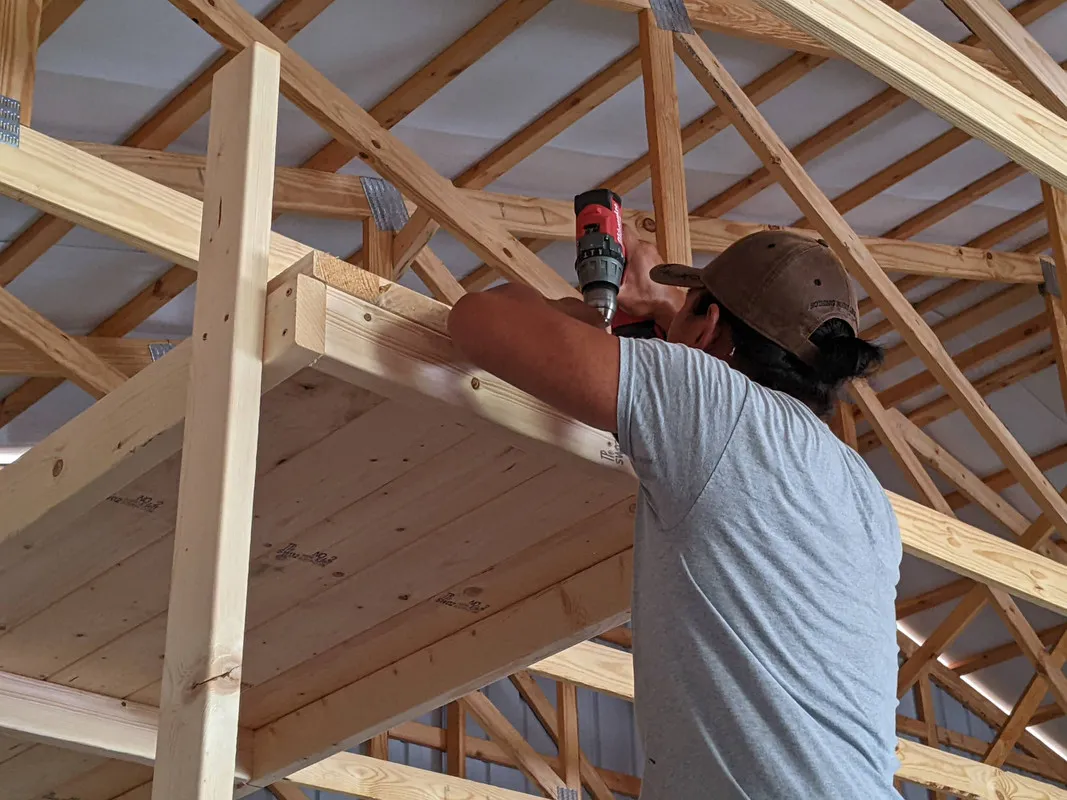
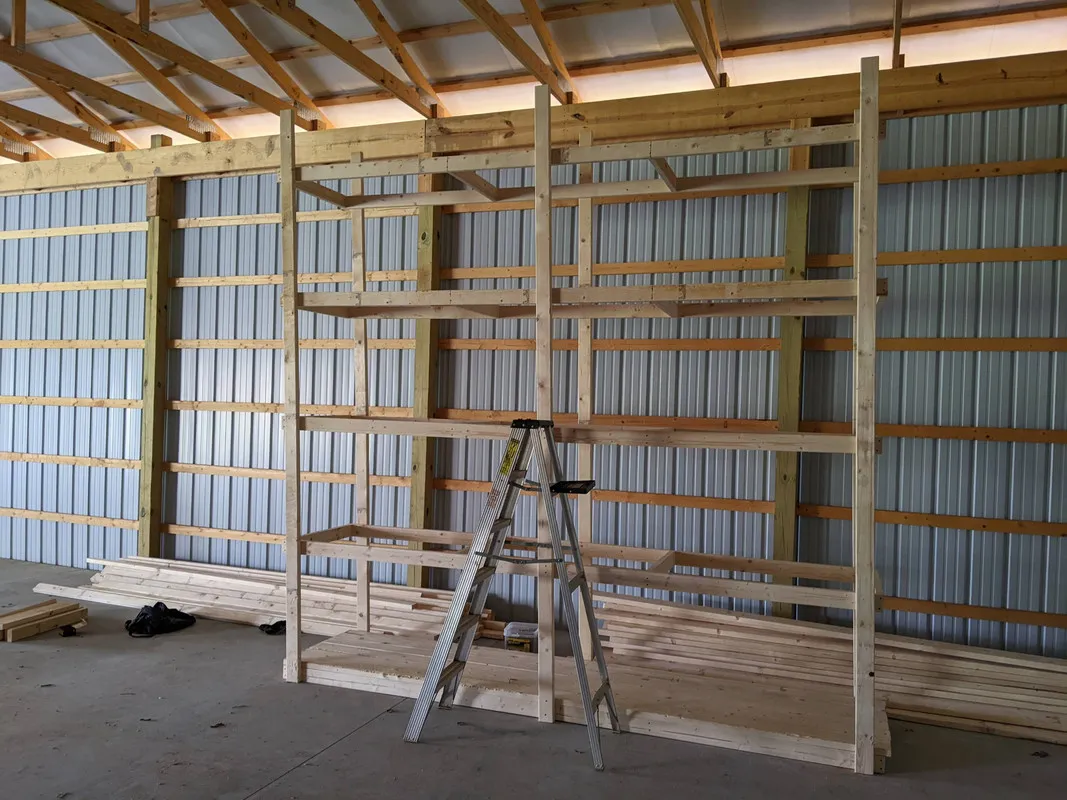
Getting the last 2x6's up on the 5th level of the shelf was quite hard, being nearly 12 feet up in the air it made it hard to work with. But we got it done.. a few stripped screw bits later.. haha
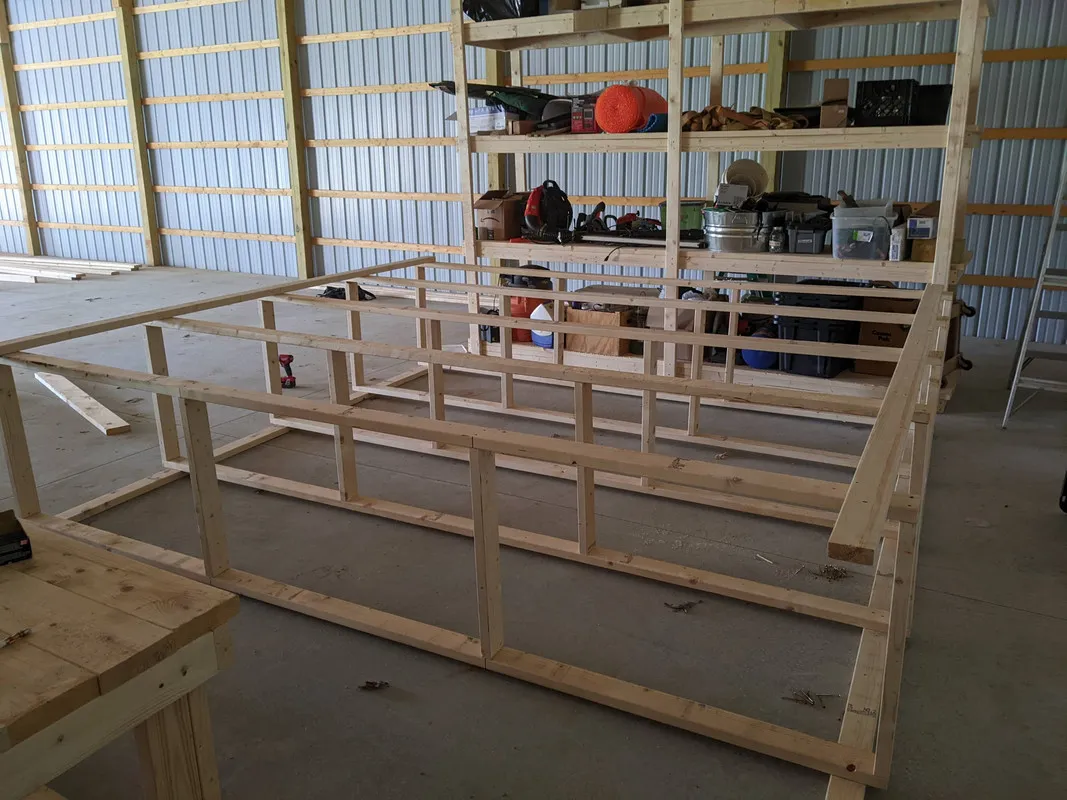
With one of them complete, we put all the near by items on it.. Mostly stuff in the way of the 2nd shelf we are building. Soon I will have four or more of these shelves, and I think we can get everything off the ground that was just placed there before I had any storage.
Next up is to build more, and we are thinking about building a few extra large workbenches.. The length of one of these shelves at 12'. We would only need one or two of them in the shop. And then the smaller ones can be put on wheels and moved around where needed.