My success and expensive fail when installing a laser on my Stepcraft 840!
First a word of warning, NEVER EVER work with a laser this powerful without the proper protective equipment! It will destroy your eyesight with a mere reflexion!
But when that is taken care of, it is great fun to experiment with!!
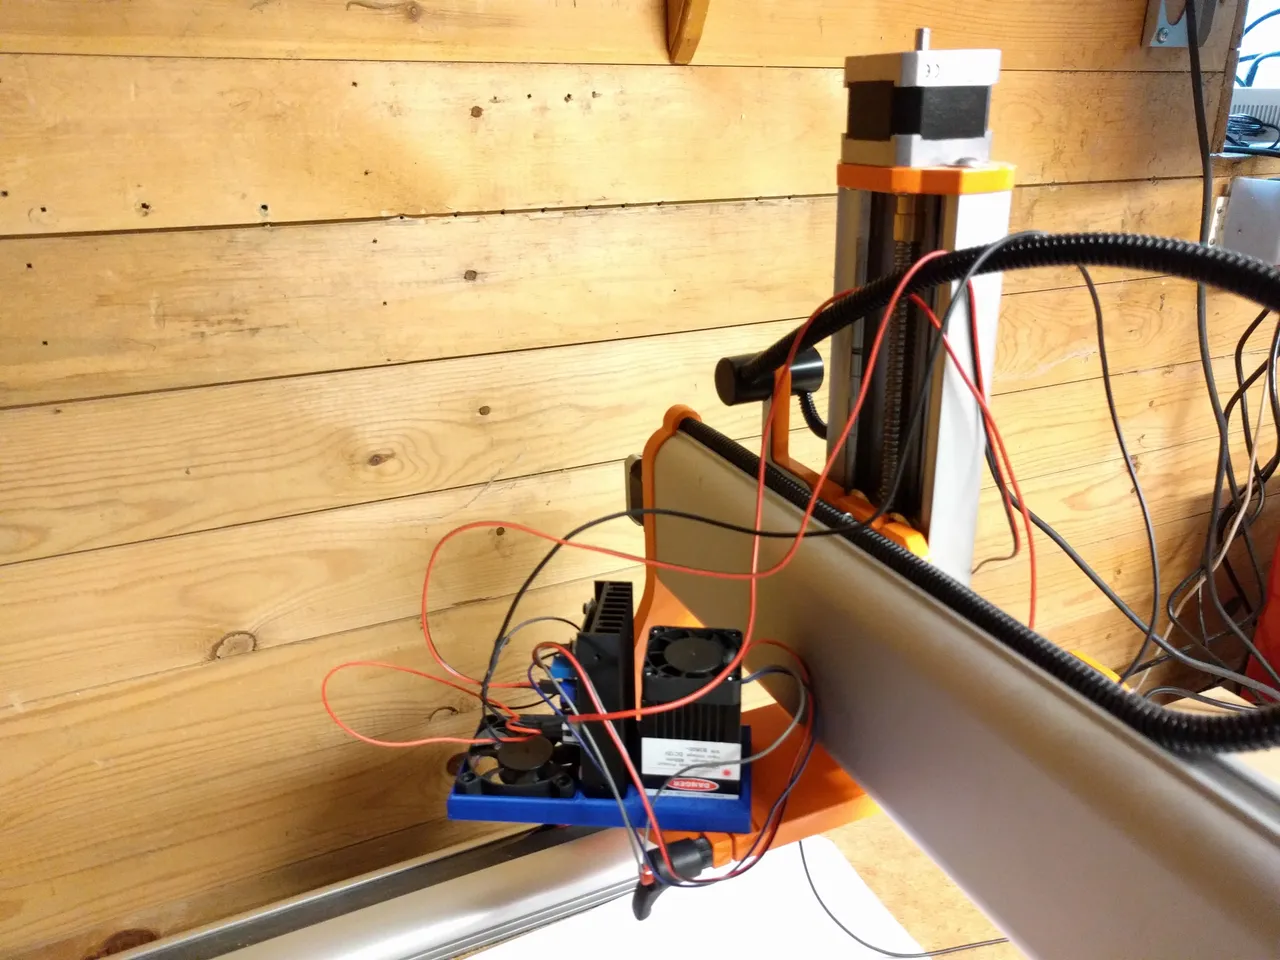
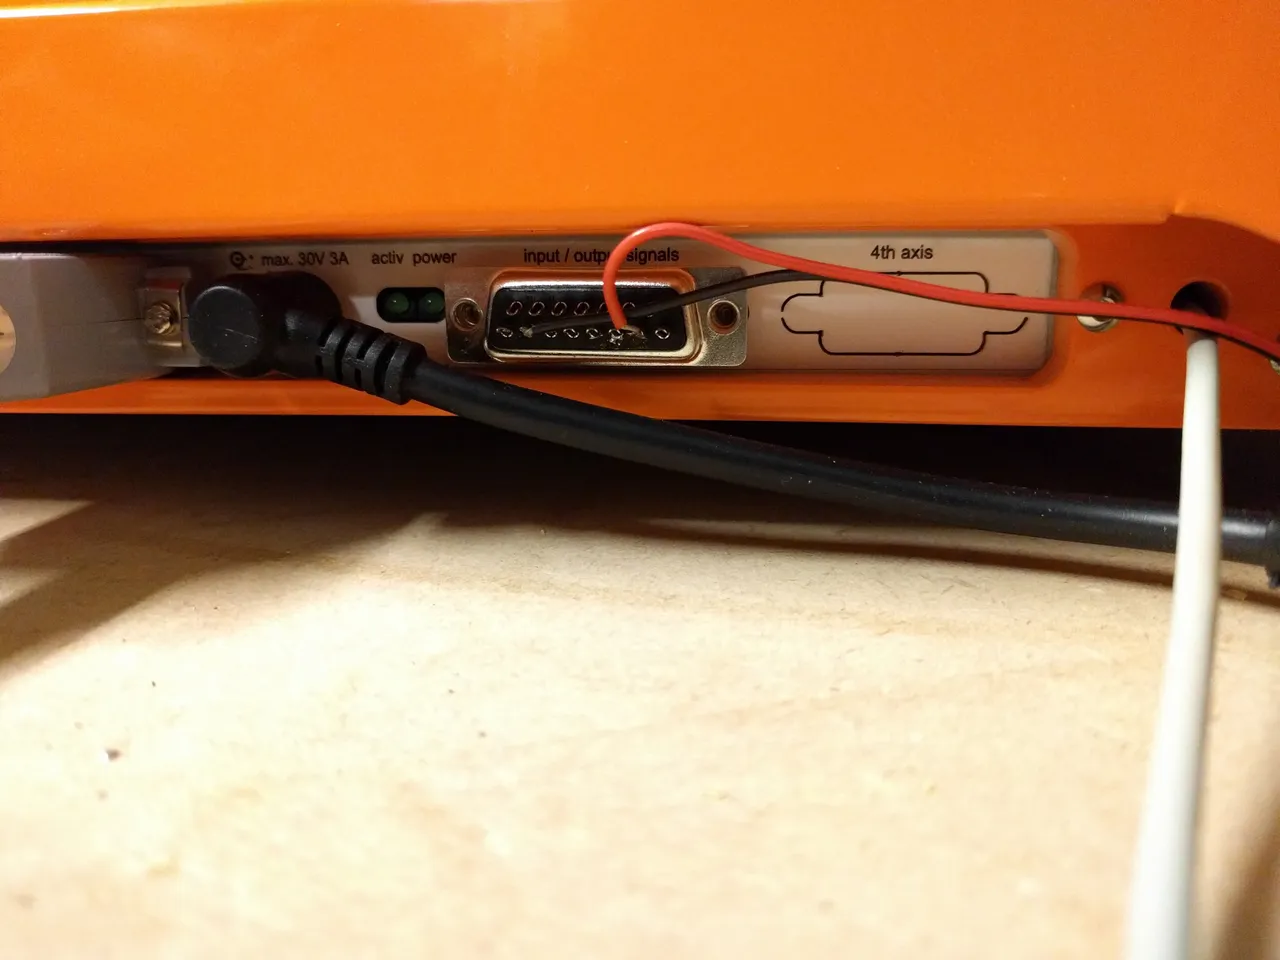
I bought an "EleksMaker® LA03-3500 450nm 3.5W Blue Laser Module With TTL" from Banggood, it's a 3.5W blue laser diode that comes complete with a driver board ready for TTL modulation of the laser power level. My SC840 has an DB15 connector for accessories like this and I hooked up the laser to the PWM-controlled pins there:
As you all can see I'm not very good at soldering! But it get's the job done at least...
Here comes the big fail... I had some problems getting the SW to output the correct signal and I tried to measure at the pins of the DB15 connector. It worked fine for several measurements until I accidentally touched another pin in the connector and released the magic blue smoke from the SC840 motherboard! That was a $215 lesson that took a week to fix...
But I replaced the motherboard and in the meantime I had solved the signal problem, turns out that you use a different command to start the laser, M10/M11 instead of the M3/M5 for the spindle start.
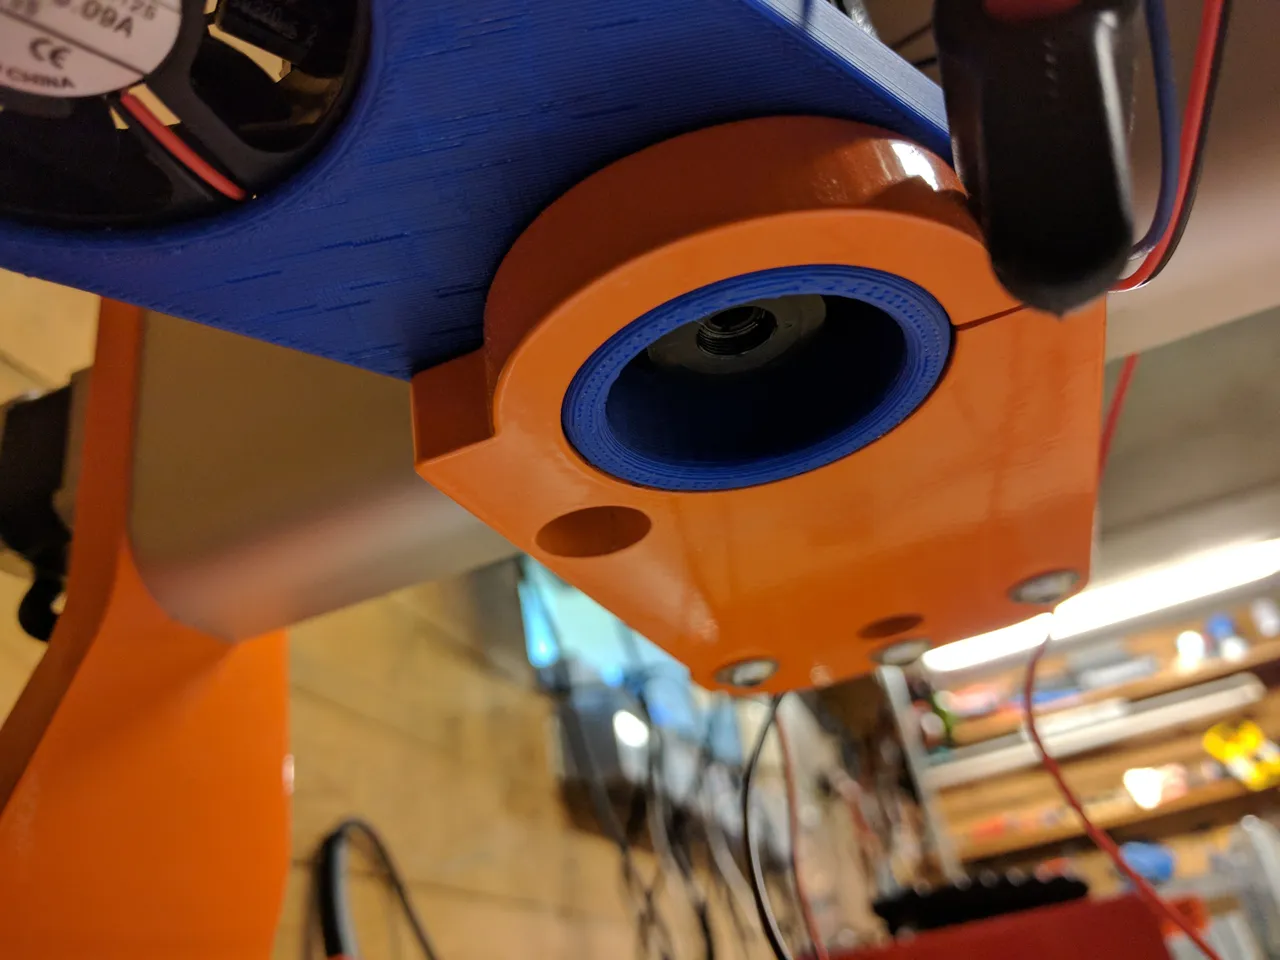
Here is the business end of the laser and also where the focusing is done, a normal focusing distance is around 50-75mm/2-3" for best power. You can also see the blue 3D-printed part I use to fit the laser into the 43mm standard tool holder of the SC840. I attached a computer fan as well to remove the smoke from the beam.
The laser is now working well and I have started experimenting with cutting paper, cardboard, wood and leather!