Current article: https://blog.digitaloak.it/en/posts/create-development-env
Say what?
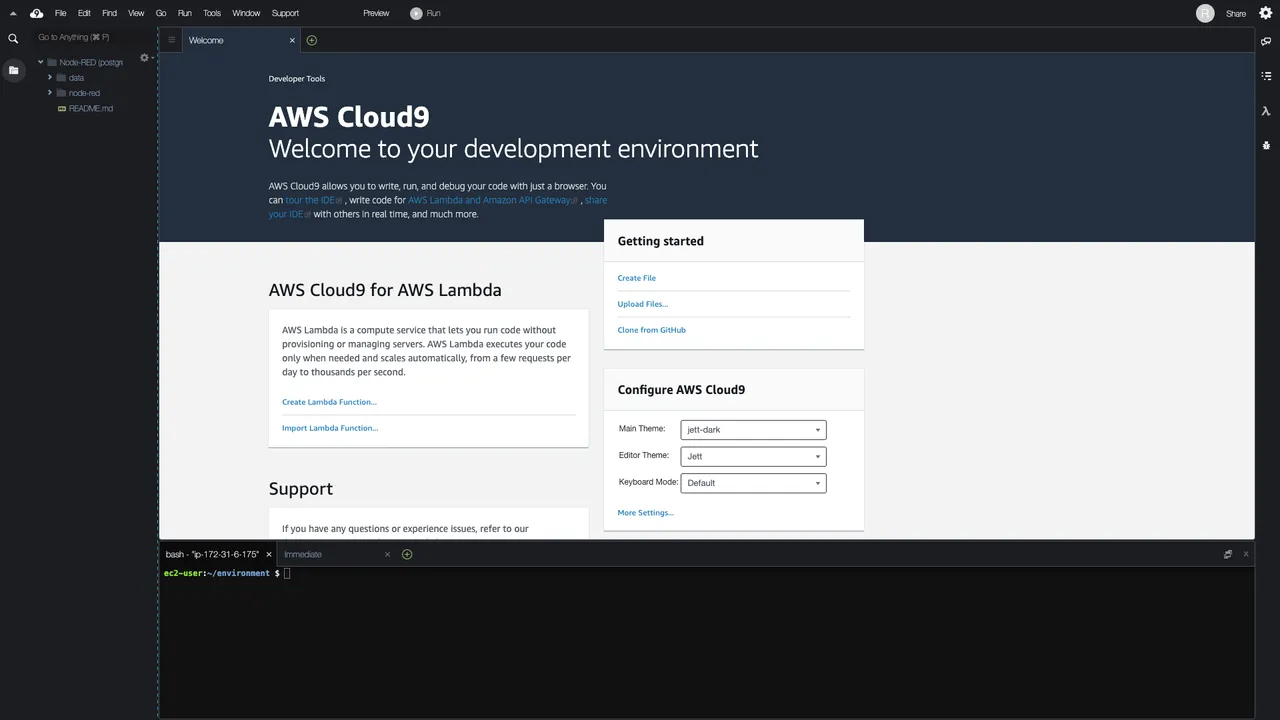
AWS Cloud9 is an accessible via web browser IDE with full access to the machine with installed Linux distribution (EC2 instance or your server) and with built in many features.
You can read more about it here https://aws.amazon.com/cloud9/ and about pricing here https://aws.amazon.com/cloud9/pricing/. Below screenshot presenting editor.
Why?
- It’s free
- It’s accessible via web browser
- It has support for collaboration
- It has full access to OS
- You can connect IDE to your machine (free) or to one available in AWS (you can use for free t2.micro instance in free tier)
It’s handy to run development environment, share workspace with other developers and publish work for external or internal preview.
How?
In our example we will use Node-RED docker image and AWS EC2 t2.micro instance. Let’s split work into multiple parts:
- create new AWS user and run Cloud9 workspace
- create Node-RED development environment
- share Node-RED instance making it available from outside
- share Node-RED instance via VNC "gateway"
Last two are optional and important if you want share access to your services. First option is about mapping port from EC2 to service (in this example to Node-RED docker container), second is the same as first but relates only to VNC service from which you have access to all services in your docker virtual network.
It is also possible to share your AWS Cloud9 workspace using its built in functionality.
Requirements
- basic AWS knowledge and AWS account
- basic Docker knowledge
Create new AWS user and run Cloud9 workspace
- Create new group “C9”, go to: IAM service > Groups > Create New Group (check policies: AWSCloud9EnvironmentMember, AWSCloud9User)
- Create new user, go to: IAM service > Users > Add user (check option: “AWS Management Console access”; select option: 3. “Autogenerated password”; check option: “Require password reset”) > attach user to group “C9” > …
- At fifth step copy generated password
- Log in as new created user passing copied password and then create the new one
Create Node-RED development environment
Go to Cloud9 service and Create environment > Create a new instance for environment (EC2); Select Amazon Linux > Next step > Create environment
For our development purpose we need access to two Node-RED container folders from host (Cloud9 editor):
- /data - user data
- /usr/src/node-red - application data
To achieve it, we will run container, copy to host specified above two folders, remove container and again start it with mounted, previously copied folders. Then we will modify permissions for container "node-red" user to have same UID and GID as host user.
- Create network
docker network create --driver bridge pink --subnet 172.30.0.0/16 - Run Node-RED in Docker
docker run -d -ti \ --name node-red \ --restart always \ -p 8080:1880 \ nodered/node-red:latest - Copy two folders from the container: /data and /usr/src/node-red
docker cp -a -L node-red:/data /home/ec2-user/environment docker cp -a -L node-red:/usr/src/node-red /home/ec2-user/environment - Remove container
docker rm -f node-red - Run again NR in Docker container with local, previously copied folders
docker run -ti -d \ --name node-red \ --hostname node-red \ --mount type=bind,source=/home/ec2-user/environment/data,target=/data \ --mount type=bind,source=/home/ec2-user/environment/node-red,target=/usr/src/node-red \ --restart always \ --net pink \ --ip 172.30.0.11 \ -p 8080:1880 \ nodered/node-red:latest - Because docker image is based on Alpine Linux, you have to install shadow package to change UID and GID
docker exec -ti -u root node-red bash echo http://dl-2.alpinelinux.org/alpine/latest-stable/community/ >> /etc/apk/repositories apk --no-cache add shadow - Change UID and GID for user “node-red” in NR container so user in host and user in container has the same UID and GID
usermod -u 501 node-red groupmod -g 501 node-red find / -user 1000 -exec chown -h node-red {} \; find / -group 1000 -exec chgrp -h node-red {} \; exit - Restart container
docker restart node-red - Enable projects feature by editing "data" > "settings.js" in Cloud9 editor. In "settings.js" change property value "editorTheme" > "projects" > "enabled" value to "true".
editorTheme: { projects: { // To enable the Projects feature, set this value to true enabled: true } } - Restart container
docker restart node-red
To open Node-RED flow editor (http service is listening on 8080), click “Preview” > “Preview Running Application”. Open URL in browser of your choice.
Share Node-RED instance making it available from outside
- Sign in to AWS Console as root or other authorised user which can change security group settings
- Go to "EC2" service, select instance in "Instances" used by Cloud9 and click on security group listed in its description in the bottom panel
- Go to “Inbound” tab, click “Edit” and add the new rule for TCP port 8080 allowing access for “0.0.0.0/0, ::/0” (or other defined by you)
Now you can access it using EC2 instance public domain with enabled port.
Share Node-RED instance via VNC "gateway"
- Run VNC container, set your preferred resolution
docker run \ -it \ --name vnc \ -p 8081:80 \ -v /dev/shm:/dev/shm \ --net pink \ -e RESOLUTION=800x600 \ -e VNC_PASSWORD=Upd4t34lm4n4ch \ --ip 172.30.0.16 \ -d dorowu/ubuntu-desktop-lxde-vnc - Modify EC2 security group, allow inbound traffic for 8081 TCP port (same steps as above)
- Now you can access it using EC2 instance public domain with enabled port
Video (steps visualisation)
Video is also available on
Appendix
Problem: Error when installing c9 on remote machine with Debian Stretch “tmux: need UTF-8 locale (LC_CTYPE) but have ANSI_X3.4–1968”
Solution: install package locales-all
Thanks to
- nixCraft for an article: https://www.cyberciti.biz/faq/linux-change-user-group-uid-gid-for-all-owned-files/