Photoshop is the most used software among all the software where the imaging processes are done with the basic and professional tools. Some tools are like the base of the image editing. Clipping Path Company use the Photoshop mostly for the product image editing and retouching because it has all the options for the editing and retouching. Even if you can’t use one tool to go around with the images then you can use other tools that work as the alternatives to most of the tools which might not be as good as the manual tools. Manual tools are needed the most to alter the images for best results, alternatives will only give you an idea how the things should go but the manual will do it for you with precise results.

And to know about the preciseness you need to know what will work best for the product images with harder complexity of lower complexities. Here in this writing you will get some of the important tools name that will work great with the images when needed but if you need extra then you will definitely need to work harder with the mouse and the keyboard as well. Remember Photoshop is well-known for its manual process than the automatons, so try to learn the manuals first.
What are Photoshop Clipping Paths?
Some might know the use of Clipping Paths under Adobe Photoshop but very few knows about what is it actually? The paths are the vector lines that can move anyway and anywhere, the movement of the paths is done with the Pen tool that goes around the subject and object and even to the sides where others can’t reach.
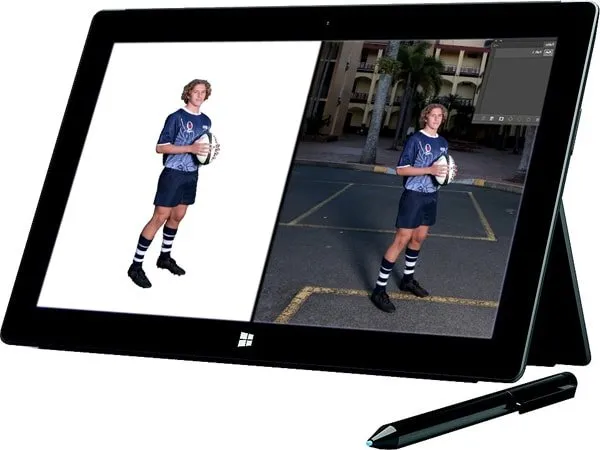
When you are working with an product image and need a cutout then you can certainly use a lot of the tools from the Photoshop, the cutout here depends on the image complexity mostly because some of the images aren’t that easy to cutout the parts that’s unnecessary to you. The basic use of the Photoshop clipping path is to cut out the background and replace with new.

In this writing you will get the idea of how vector paths are used for specific cutting to mask off the unwanted objects, only an EPS (encapsulated postscript) can obtain the vector data. The path in Photoshop is quite similar as the Adobe Illustrator Path which is a vector graphic that defines the edges of an image.
In Photoshop creating vector shape is known as the Clipping Path which if you save will appear in the layout program. Now you will have some options that will create worst and best clipping paths.
Worst Way to Create a Path:
Using the Magic tool- You may hear from a lot of people that magic wand tool creates the paths the most amazingly then you should read this out carefully. Well it is a great shortcut but not great for an image to stand out perfectly, and later it will be mess to correct it.

Magic wand tool selects the large area where the color difference is found, if you shift click on the particular area it will select the color that it will find the most, if you click on other color it will then select the area that has the same color in large amount.
Some product images will come along with the large different background color that you will be happy to select, but here comes an option with it which is the inversion which causes the inversion of the selection to delete which means if you select the subject then you will delete the background but if you select the background then you will delete the subject. In order to keep the subject you need to select the subject and inverse the selection to delete the background.
To create the vector paths, go to the Paths Palette, click on the little sub menu arrow in the top and select the ‘Make work path’ which will ask to settle a tolerance for the image, here tolerance has a great deal to make if you increase it, it will increase the selection as in shrink in the object and if you decease it then it will expand and less like to select the particular correctly.
After the selection is made, save the paths and now select the clipping path to alter others. Here as you go with the mouse you will keep on selecting and deselecting. This helps in selecting the parts that needs to be selected with the pen tool. Clipping Path can go around any object that you need and when you are done drawing you can see the difference of the magic wand selection and clipping selections. You will definitely find the cautious difference that will shock you completely.
The Best Way To Create Paths With Clipping Path Service:
When it comes to best clipping paths there is no option to skip or to shortcut to gain a perfect cut out. This process is completely manual; here you can use any other tool to go around the object. When you will visit the Photoshop tool palette here you will find some of these which you will need to use and they are Pen Tool + Add anchor point tool, -delete anchor point tool and convert point tool which you don’t need to use constantly from the toolbar.
And now many might think that the pen tool can leave the subject to be very smoothing but no, the smoothness of the object gets destroyed with the cutting out. It leaves the edges very hard and harsh as it goes along the edges and so if you use this tool to cut out background then you will never be able to restore that smoothness. It is more like the paper cut edges that you might find easier to understand. Rather using of Clipping Path Service for semi transparent objects, use the Image Masking Service , it helps in smoothing the edges like it is, it keeps the smoothness as it is without destroying it.