Welcome Steemians, E30 fans, followers of this epic restoration!
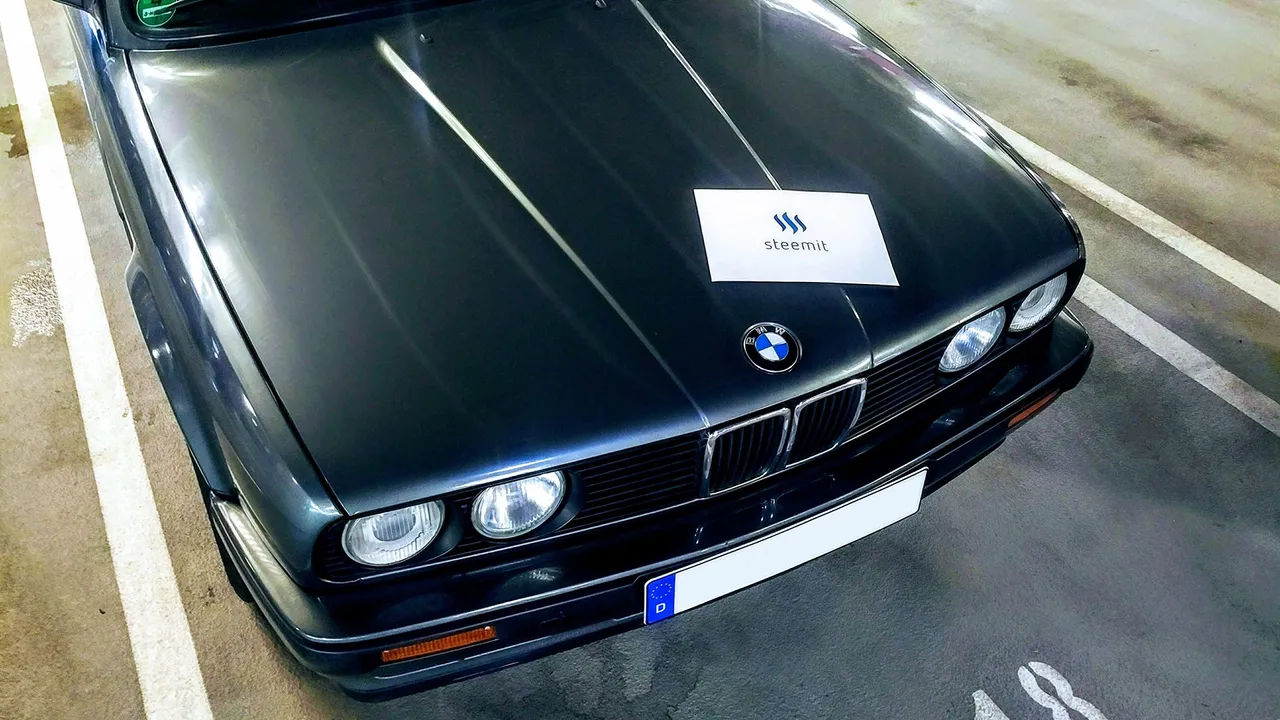
Since I joined and blogged about the car it seemingly refuses to start unless I attach this to the front bumper...
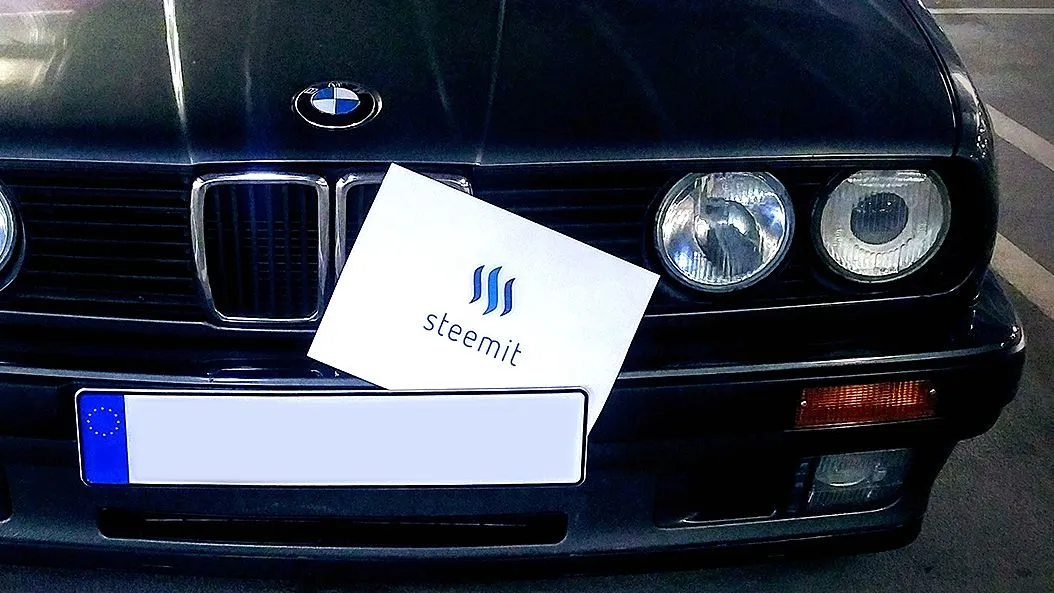
:)
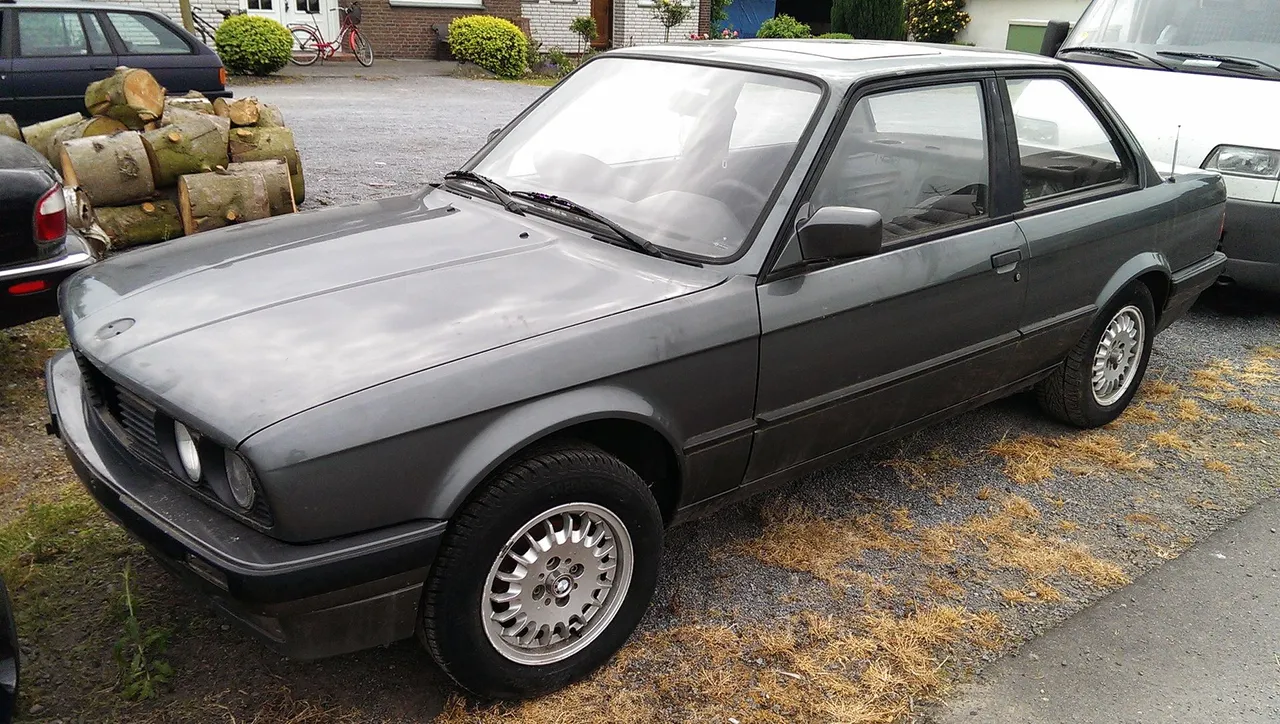
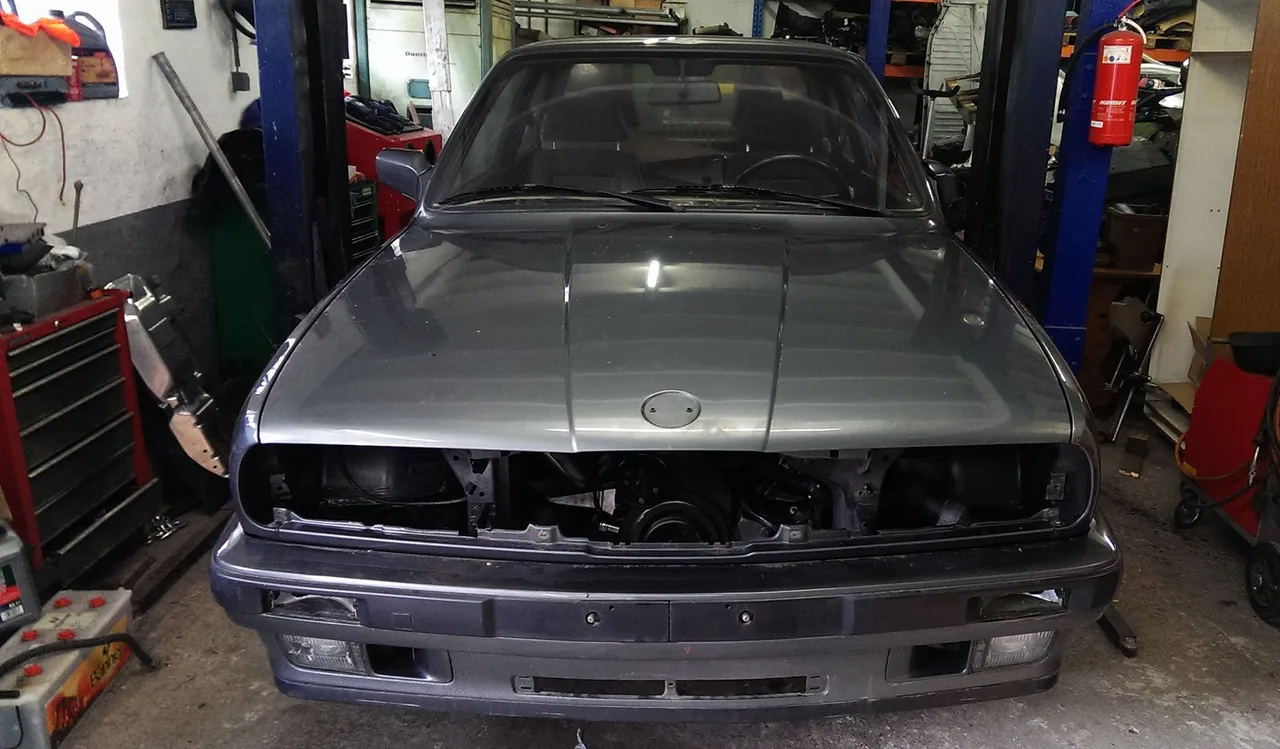
So this is my 1987 BMW E30:
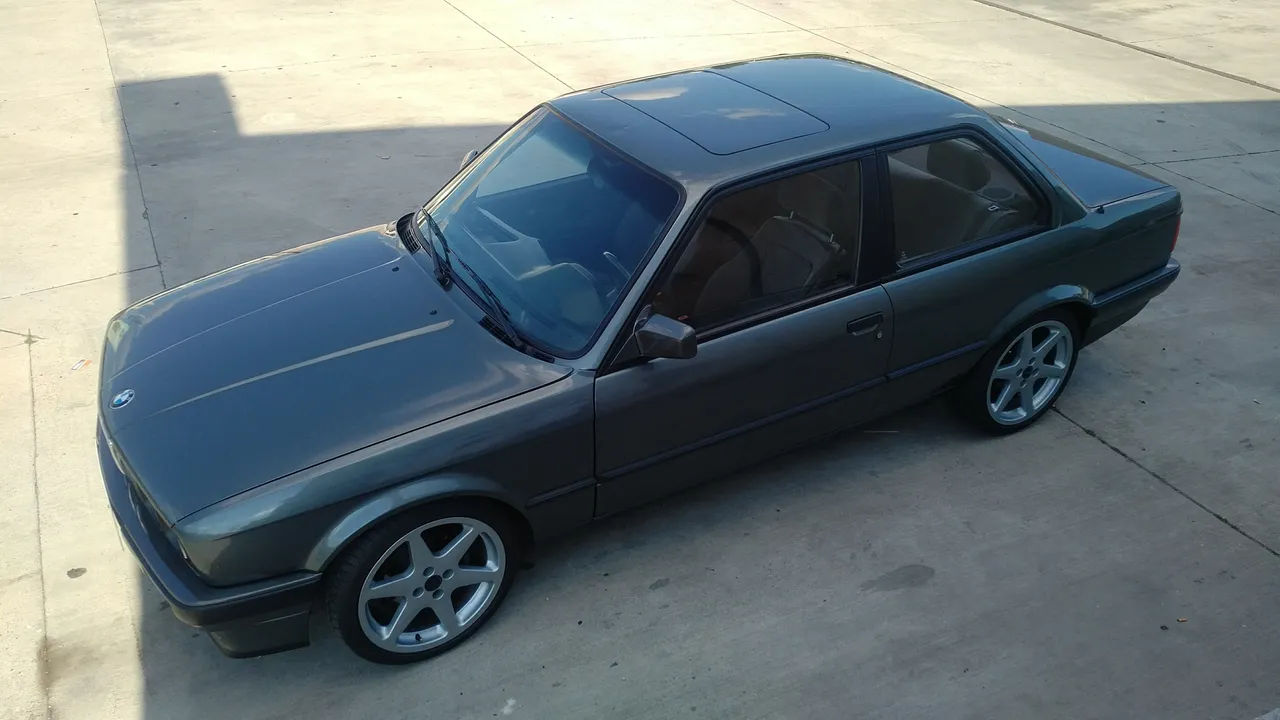
This is where I started with this particular car in May of 2015:
This is my personal blog about the full on #restoration of a 1980s #BMW which actually turned out to be two restorations and one engine rebuild.
Some people say you don't buy an #E30 you build one. Man I hear that! I'm here to share my story with you and give some insights into what my mechanic and I went through to get this car on the road (again). I'll go through every detail and leave nothing out.
Today I'll go into a recap of the disassembly of the donor and the new base, removing rust and repainting the engine bay and starting reassembly.
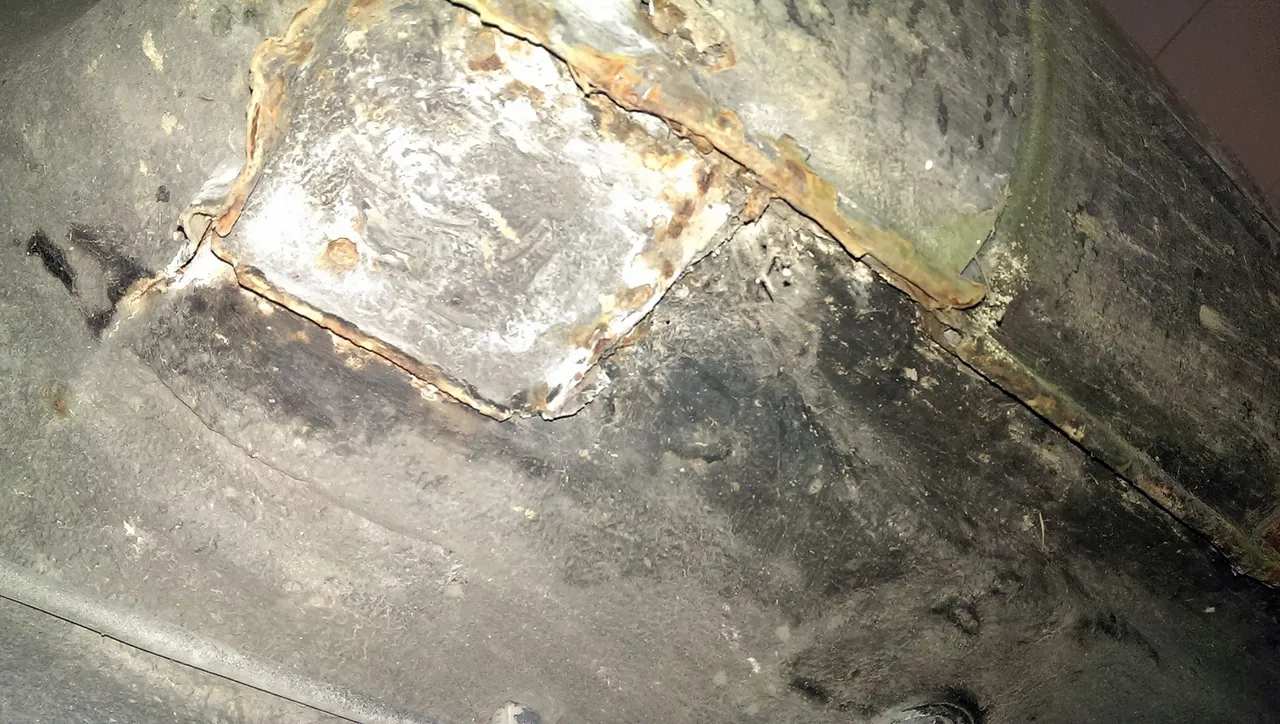
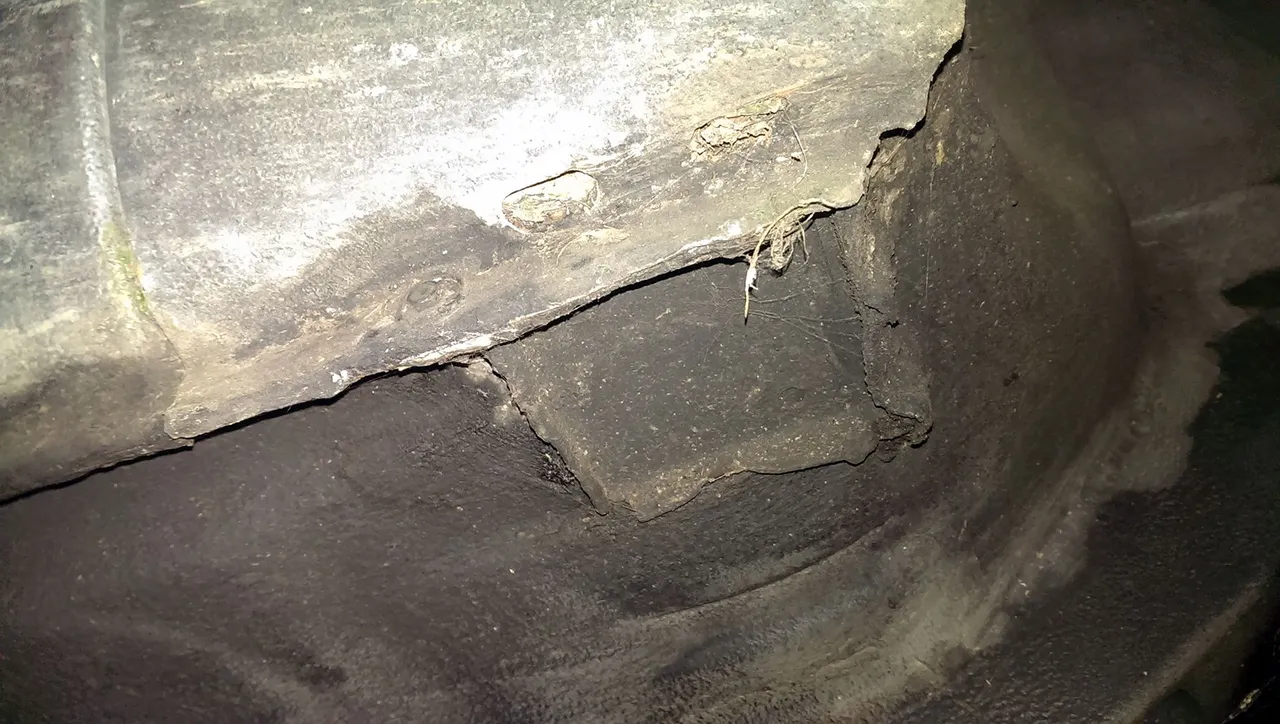
So after stripping the old body due to catastrophic corrosion...
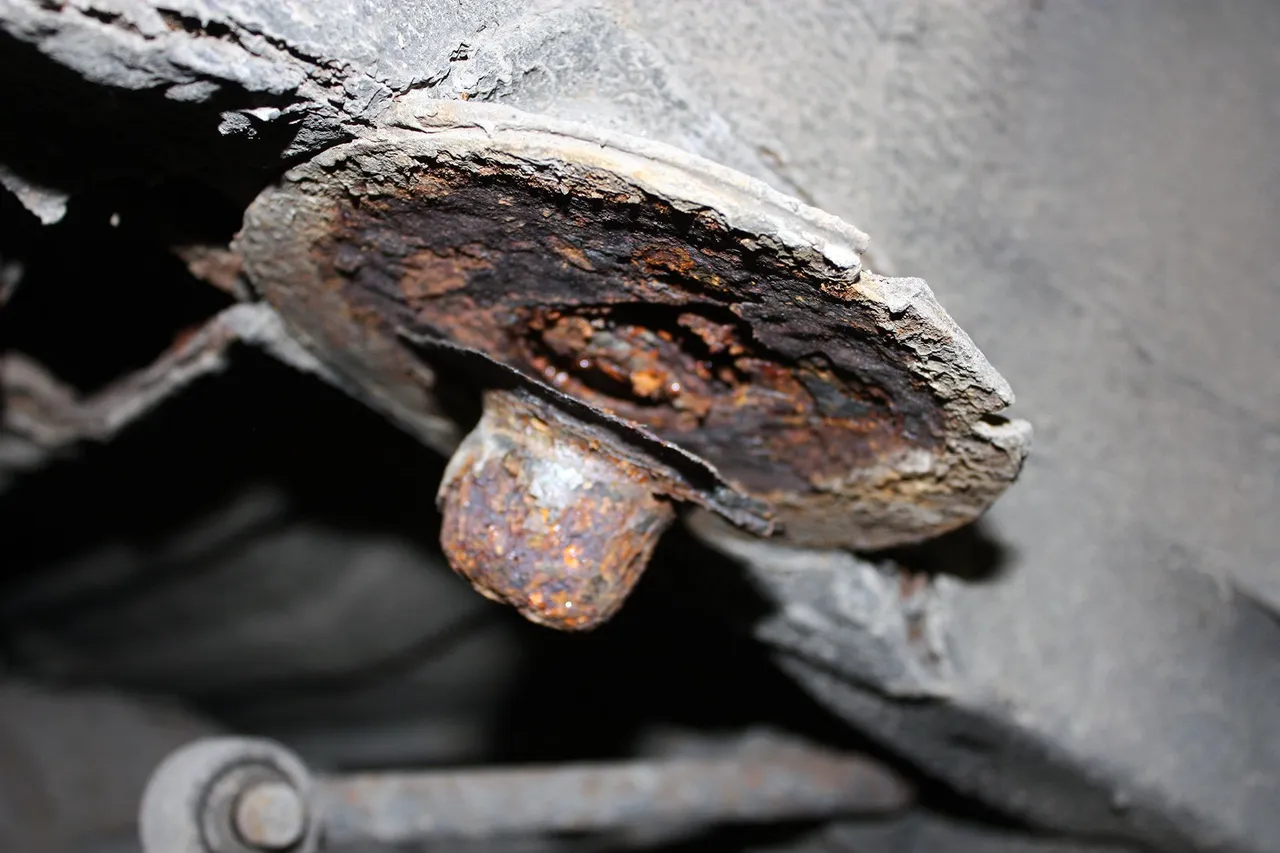
Yeah that was a rear frame spring mount. Instant death sentence basically.
I guess you spend most time during restorations with stripping and reassembling cars. Lesson learned and I can't emphasize this enough is that you should take great care in labeling, sorting and storing old parts. You're gonna need some of them, will want to get rid of others later on, will need to restore/fix some and nothing will be more frustrating or time intensive as searching for parts you need and know you have but are unable to find. I learned that the hard way. In the end I put more than 100 parts, screws, etc. on a big table took a picture and posted it on a forum to have the old cracks tell me what's what - true story!
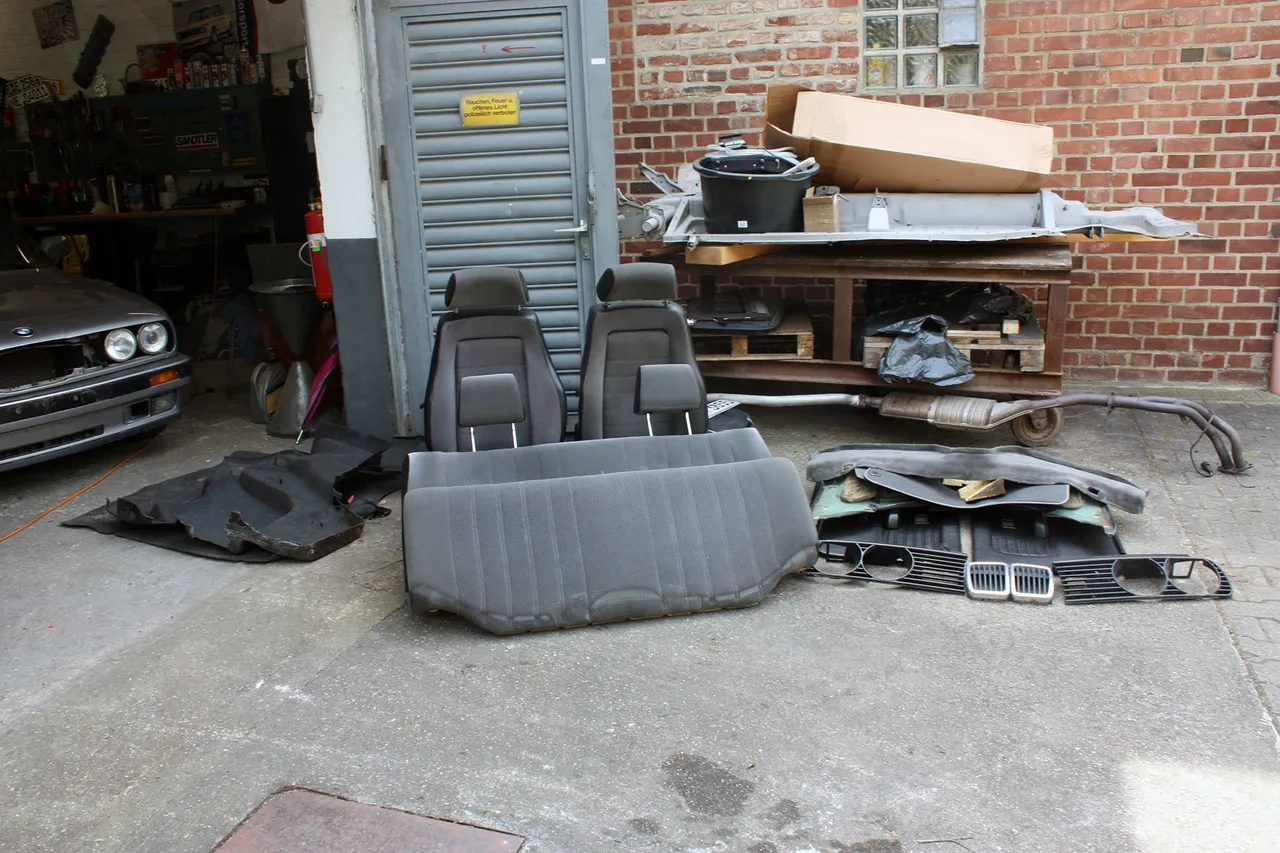
So I had my interior set aside...
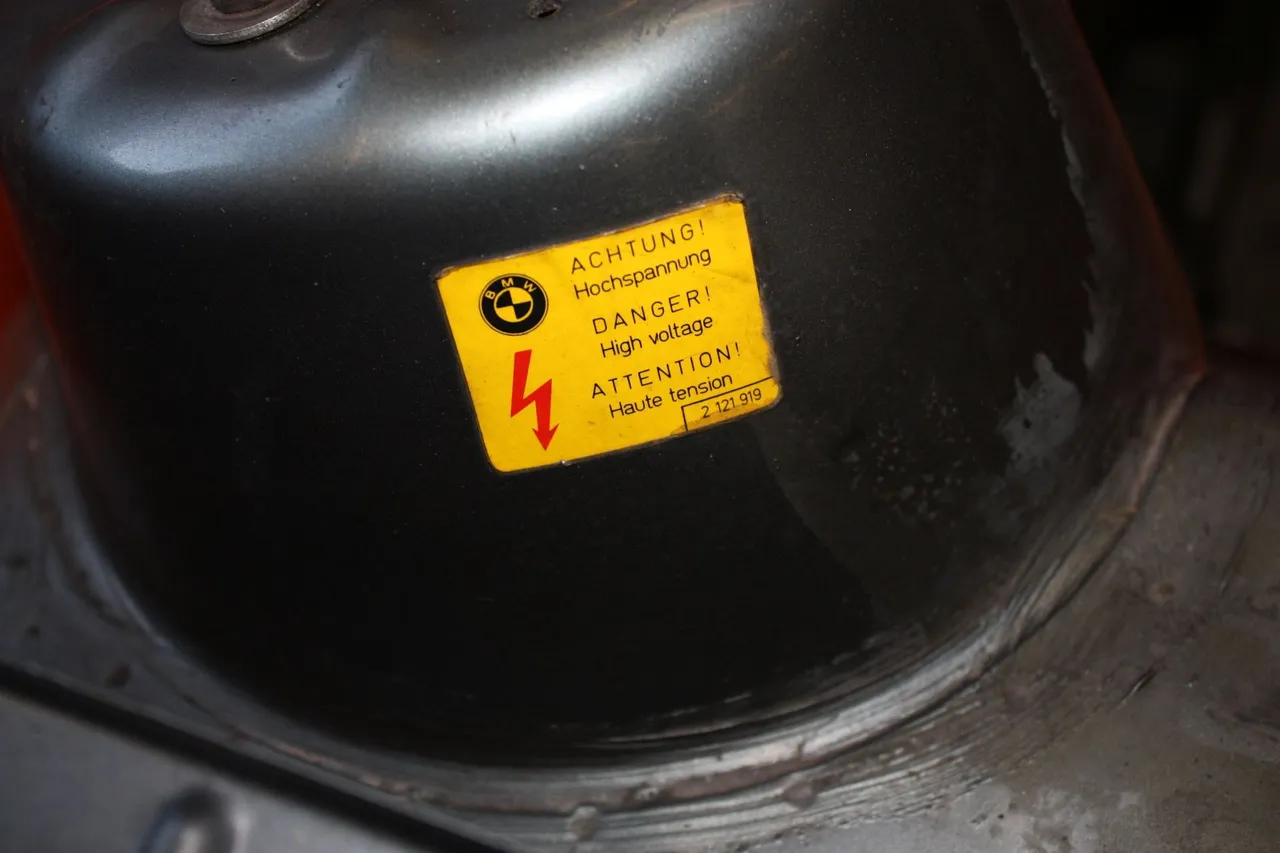
...and stripped the rest to prep it for the crusher. One last look at that genuine tire pressure sticker confirming it is an authentic 325i:

And off it goes...
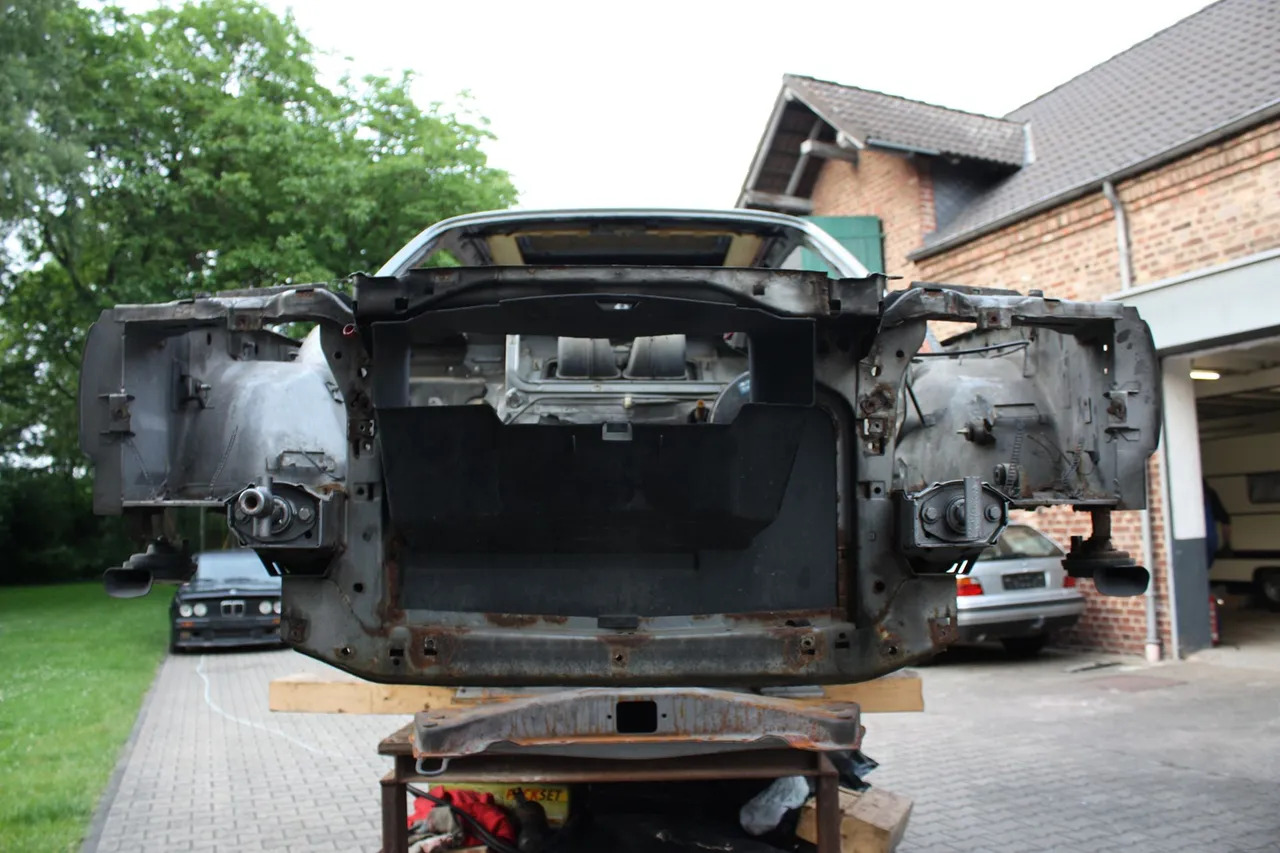
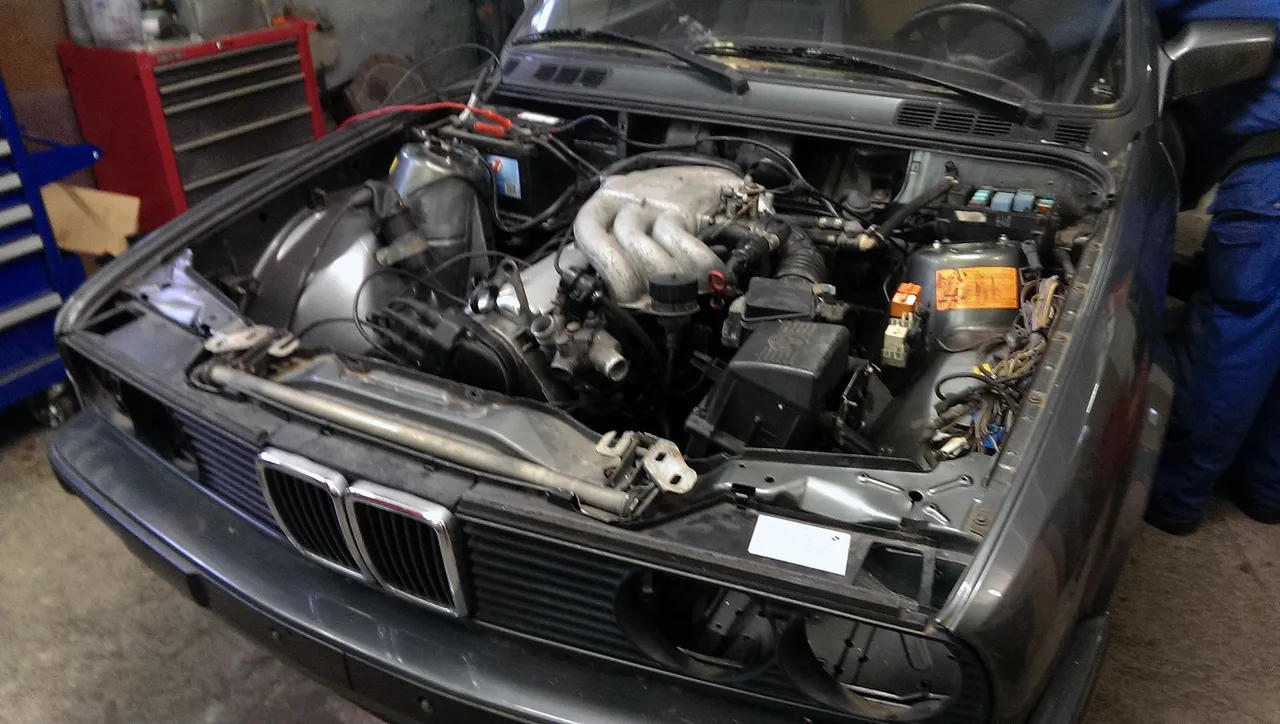
Time then to disassemble another E30 only this time the body condition warrants spending more time on it :)

As you can see the engine is out as I'll be putting in my newly rebuild stroker engine later. Good thing is this car had an engine failure years ago so it was largely disposed of. I bought it in 2014, it had been deregistered since 2008. The fatally damaged engine block:
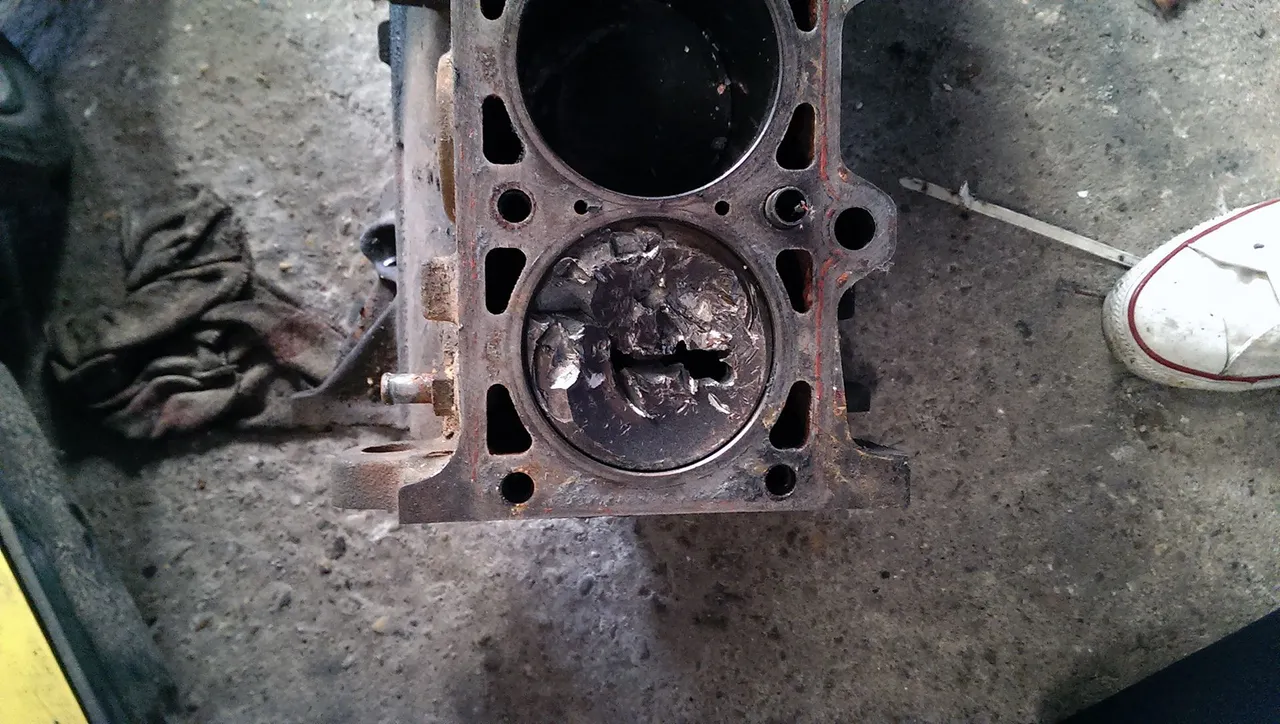
So lot's to chew on for the metals scrapper: engine block, rusty exhaust from header to muffler, transmission and some more 'spare parts':
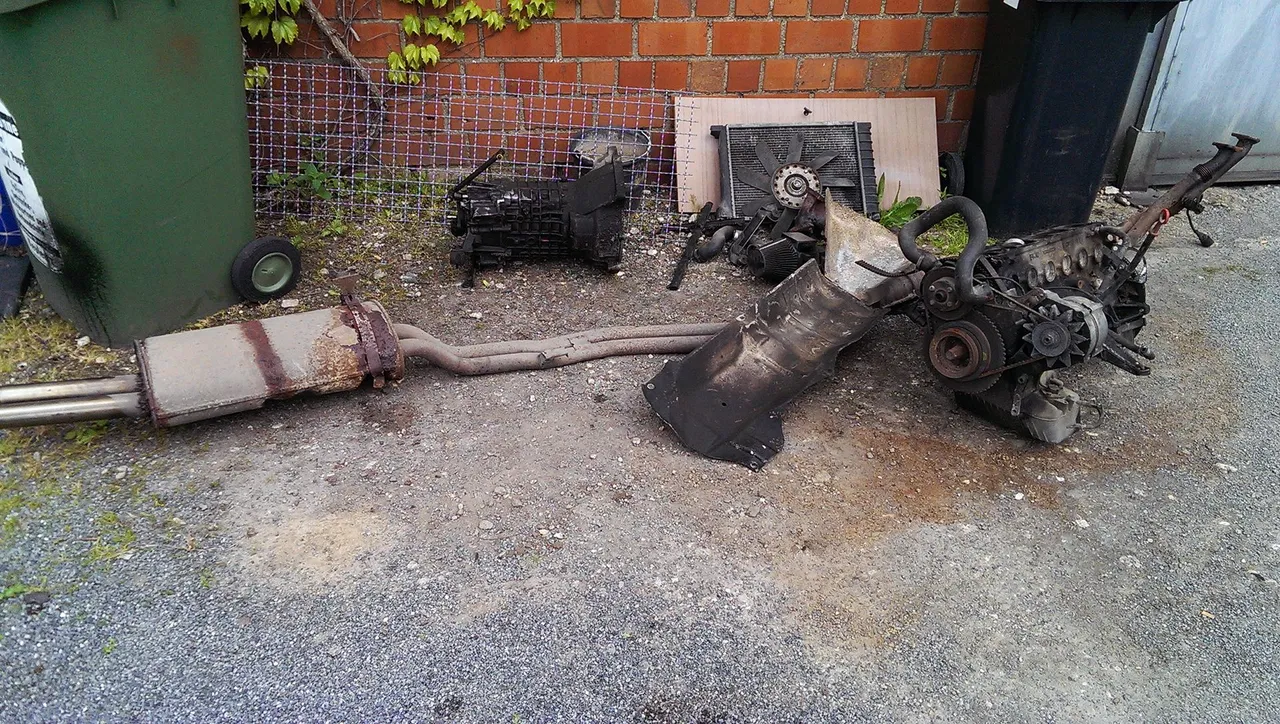
Enough room then for the new engine but first some work to do in the engine bay in terms of cleaning and painting.
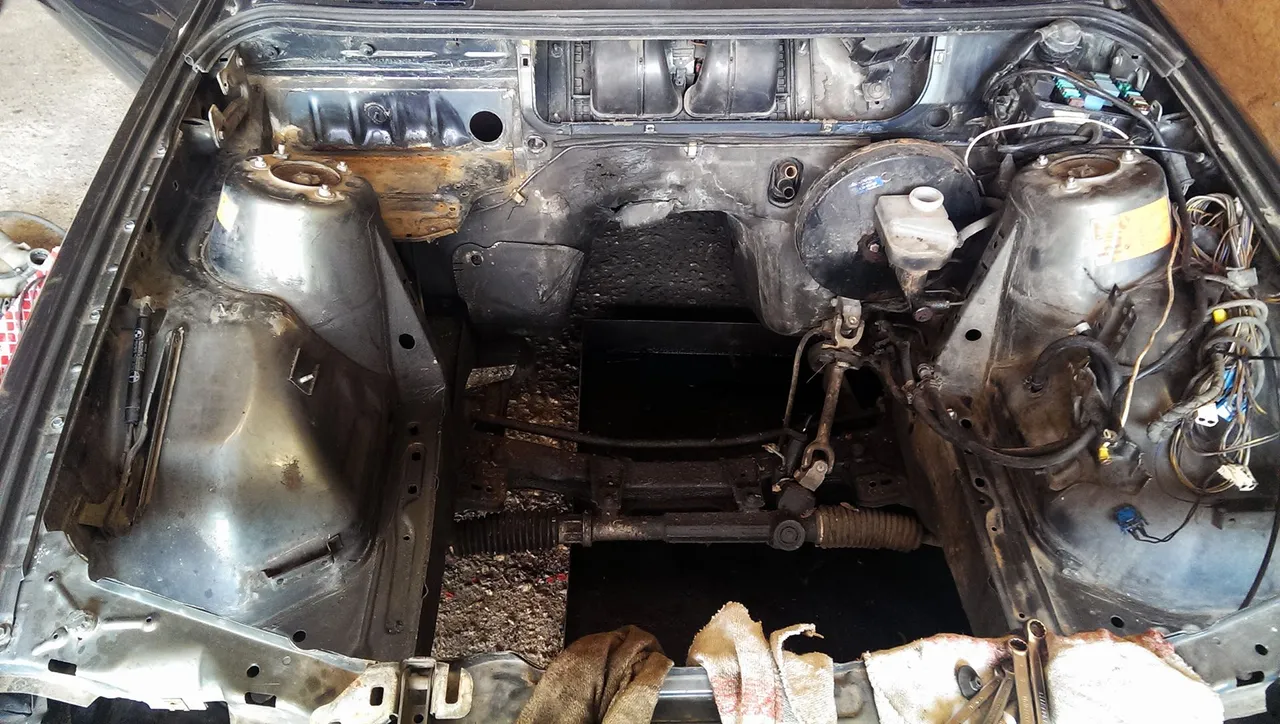
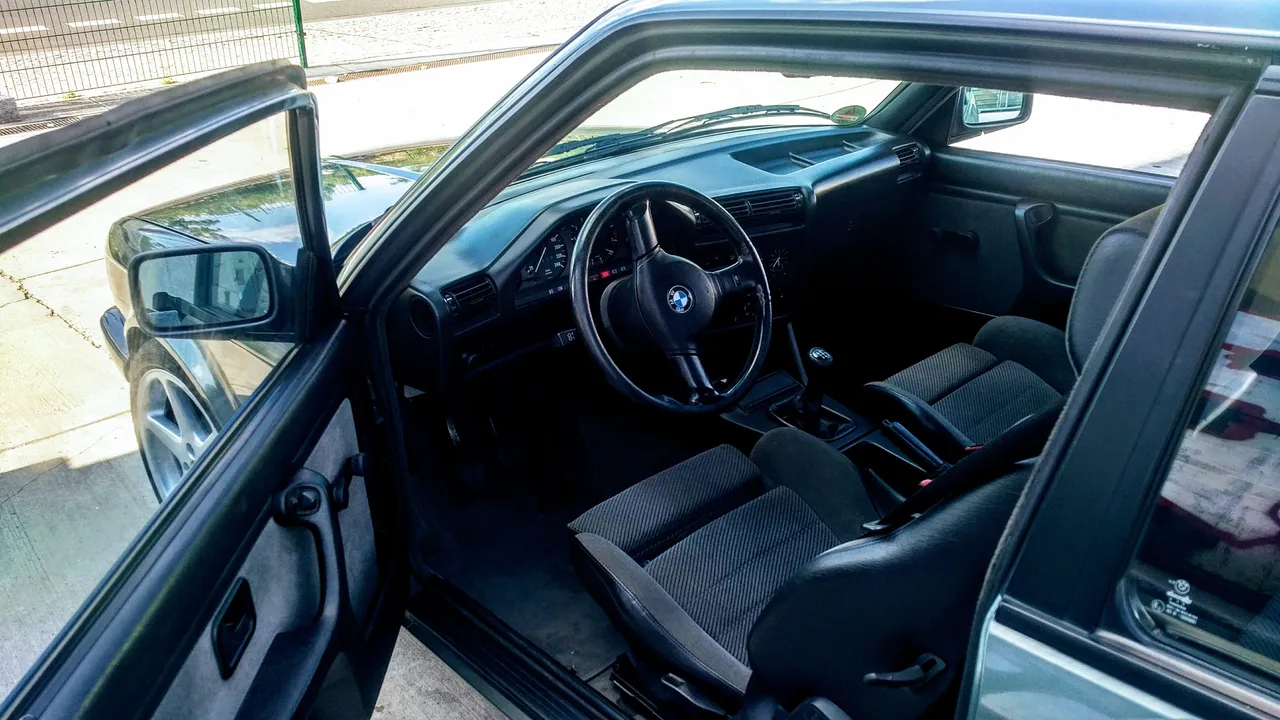
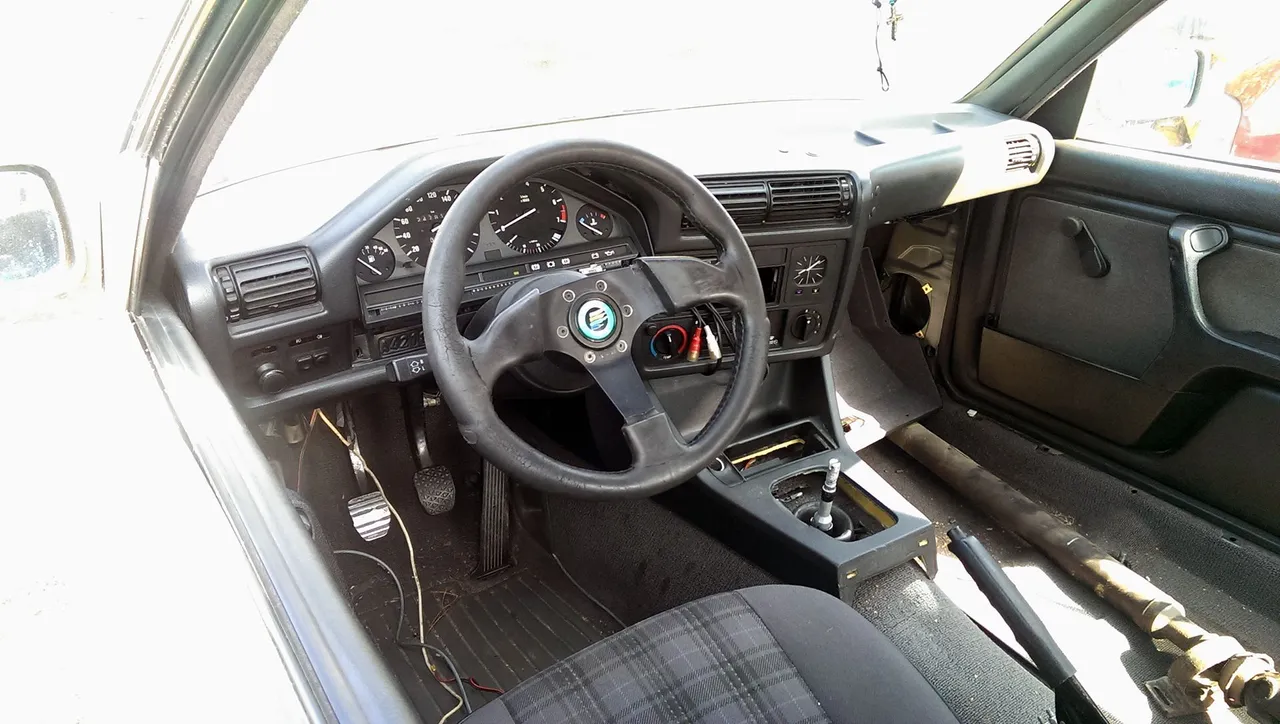
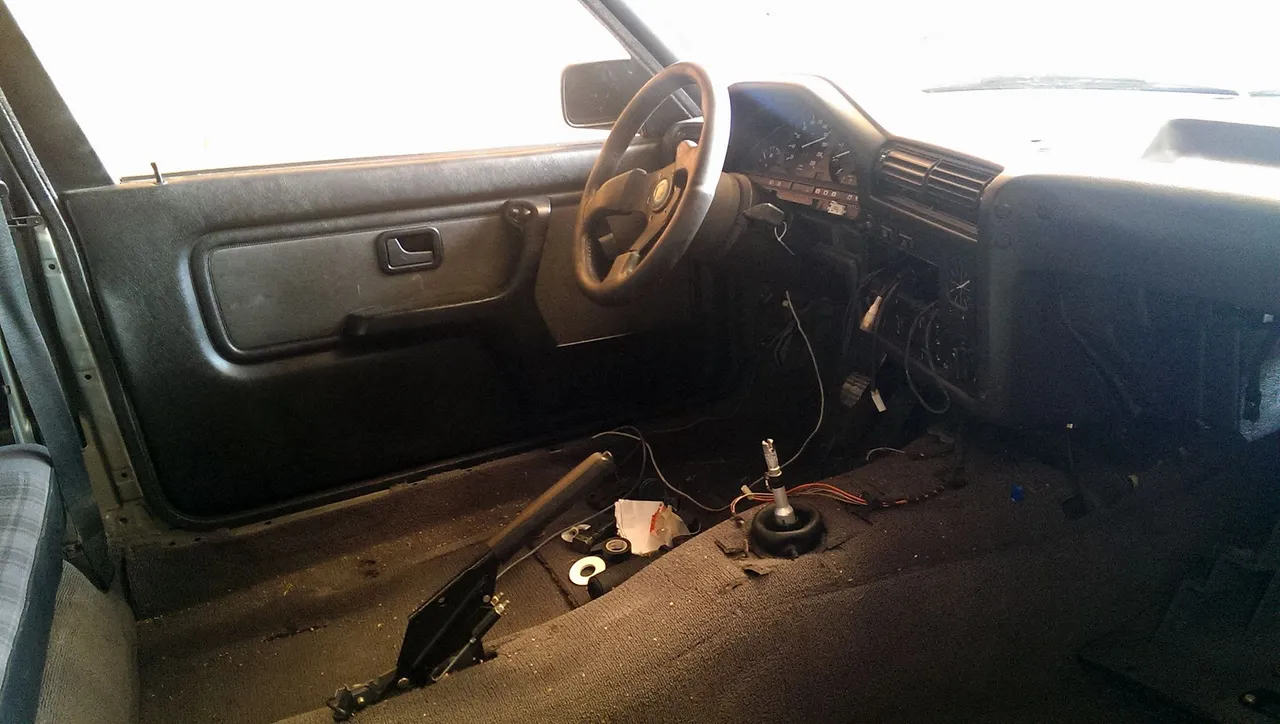
Lots to do on the inside as well. Long story short EVERYTHING goes including the carpet and that rather tasteful if completely out of place Personal Nardi steering wheel which was quite popular in 70s and 80s Porsches, Ferraris and Audis.
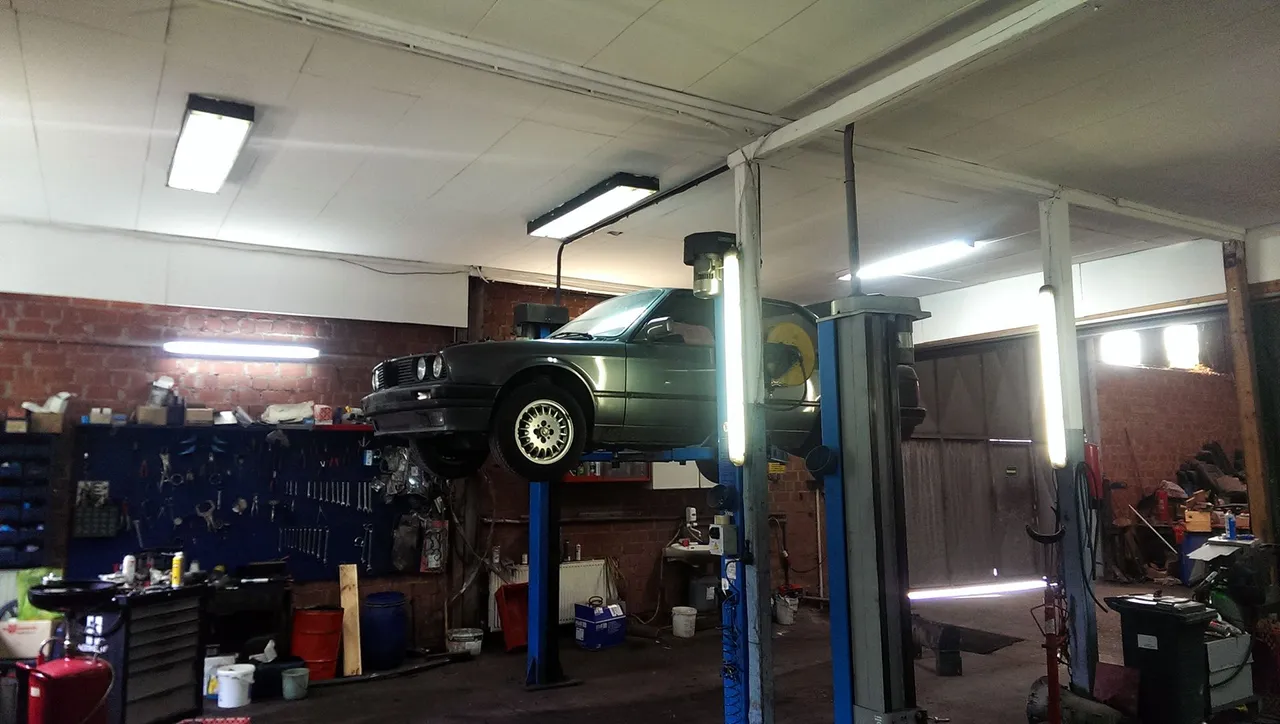
So up it goes let's check the substance of this bugger...
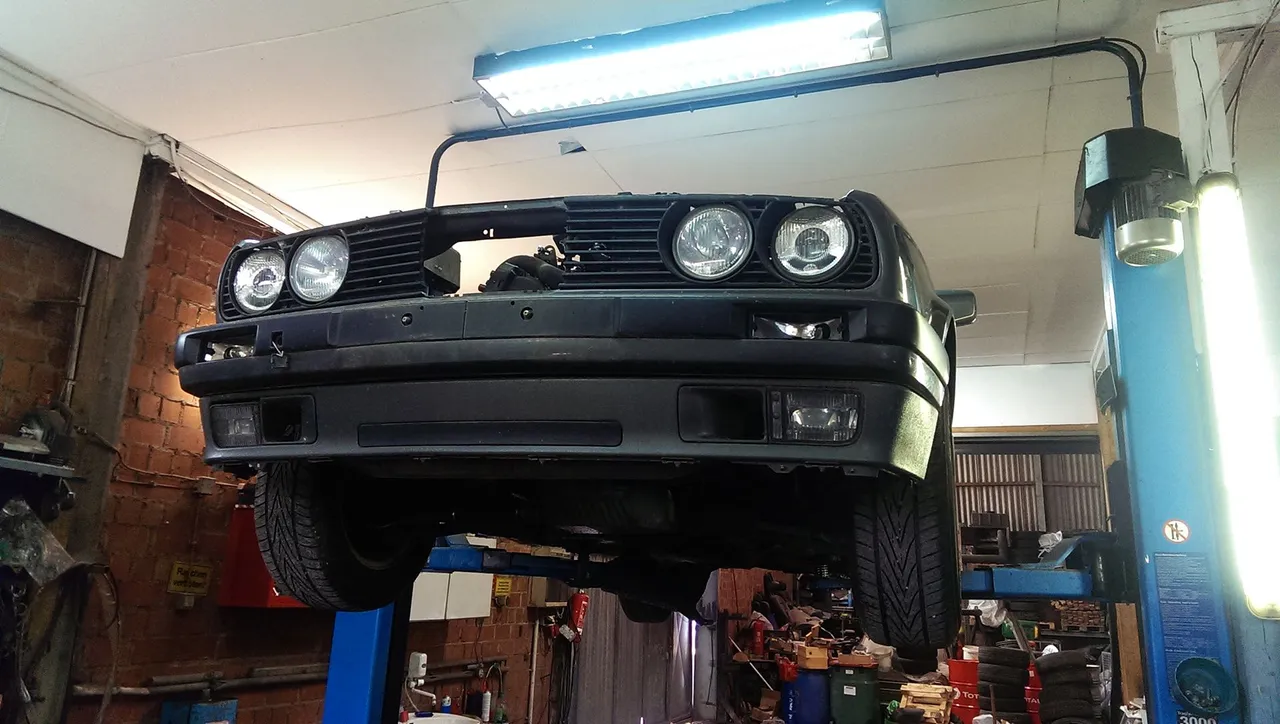
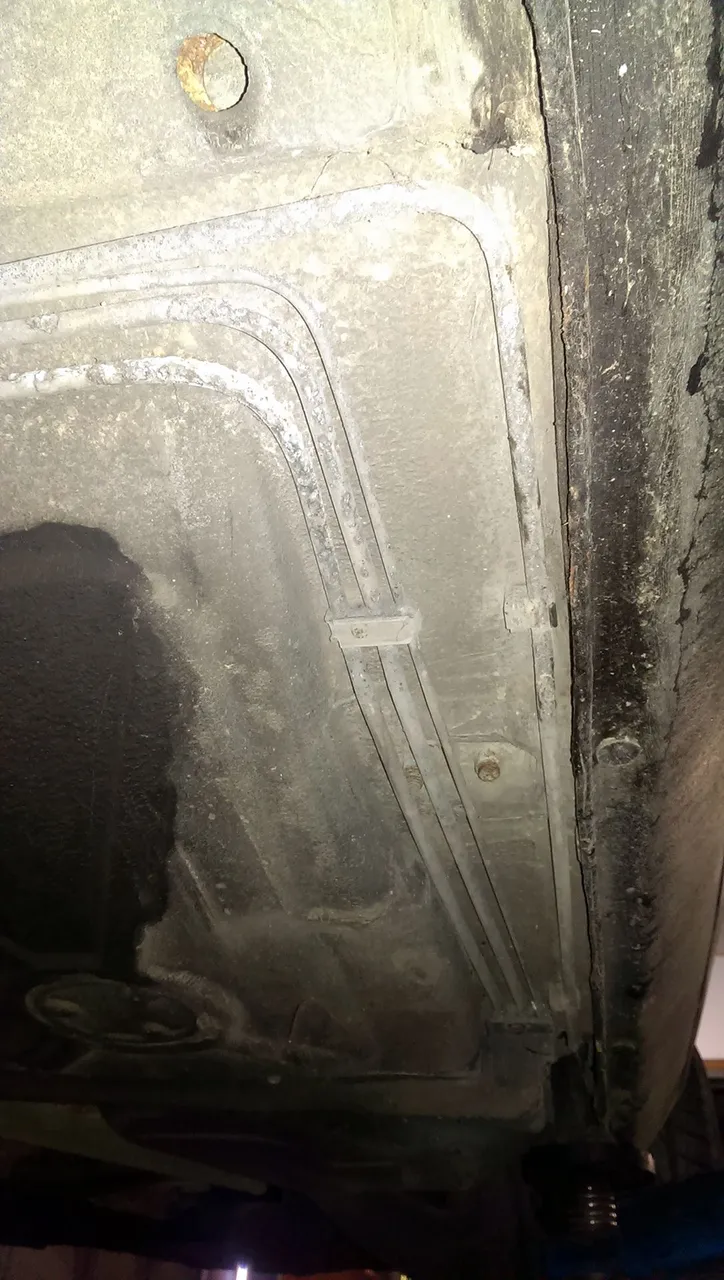

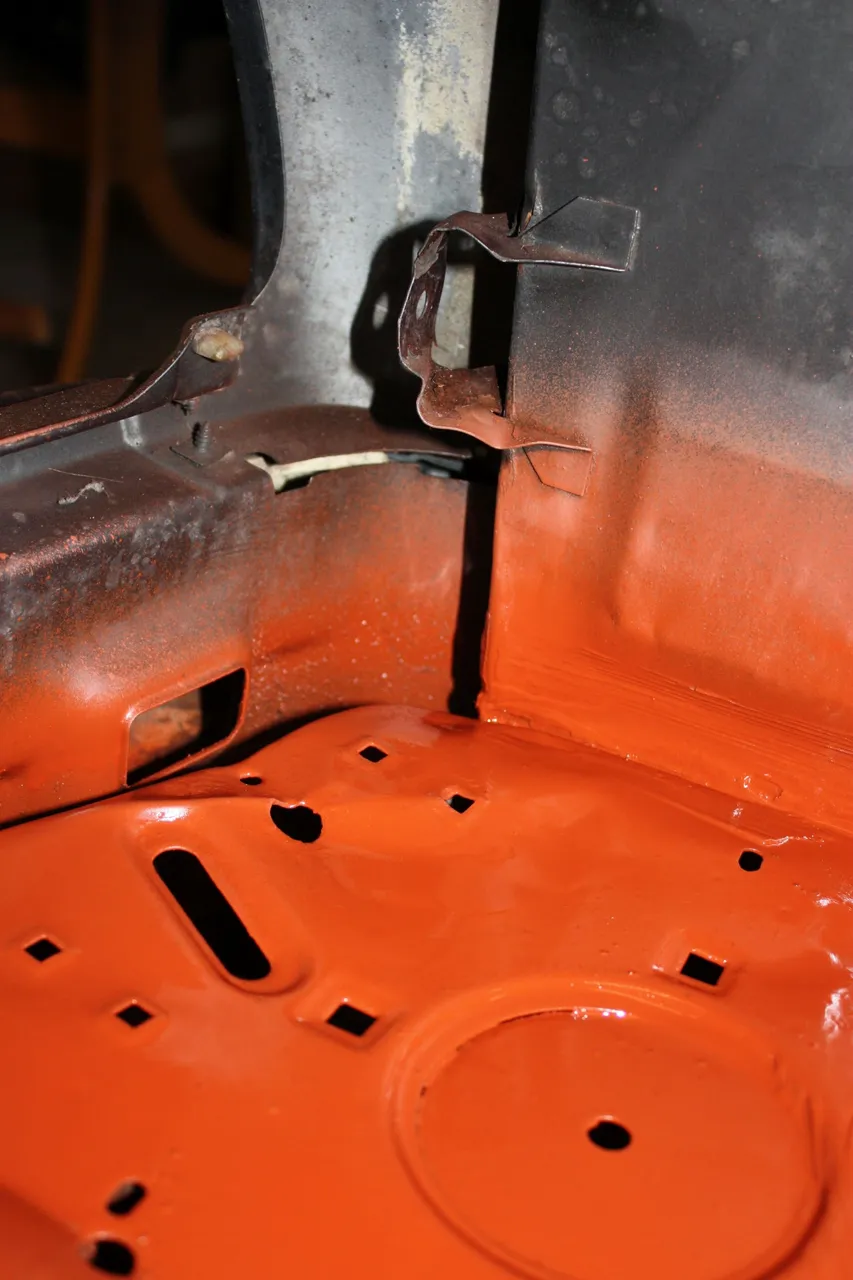
Hmmm...there's nothing there really. Not even a fluke of rust only some botanic signs of life due to the long early retirement. These are just the top spots to check on E30s along the rocker panels, rear apron, jack attach points etc. and they all looked great.
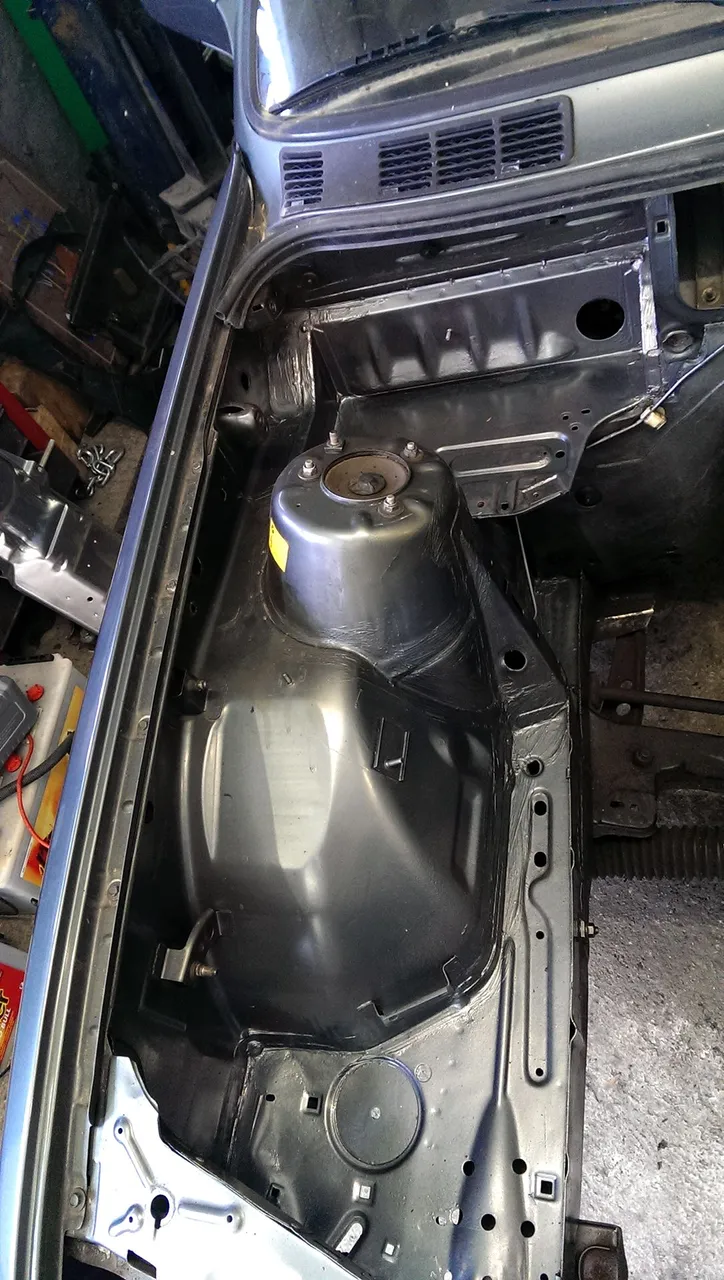
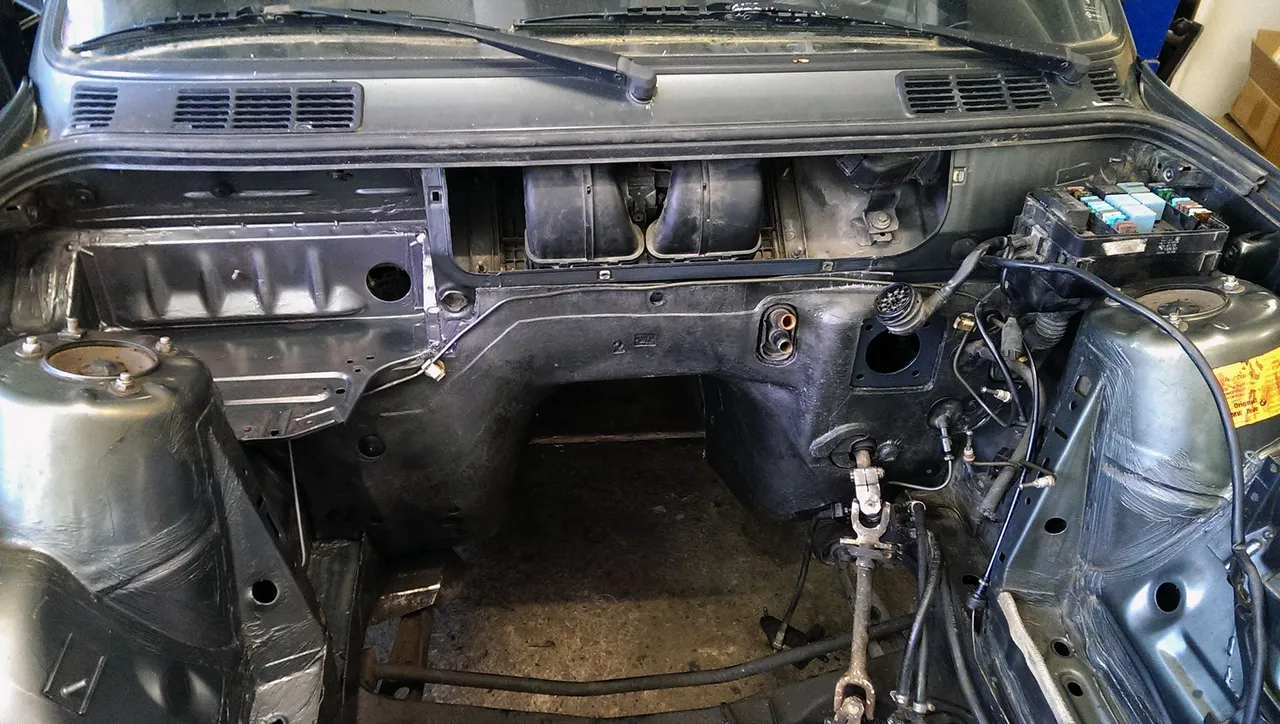
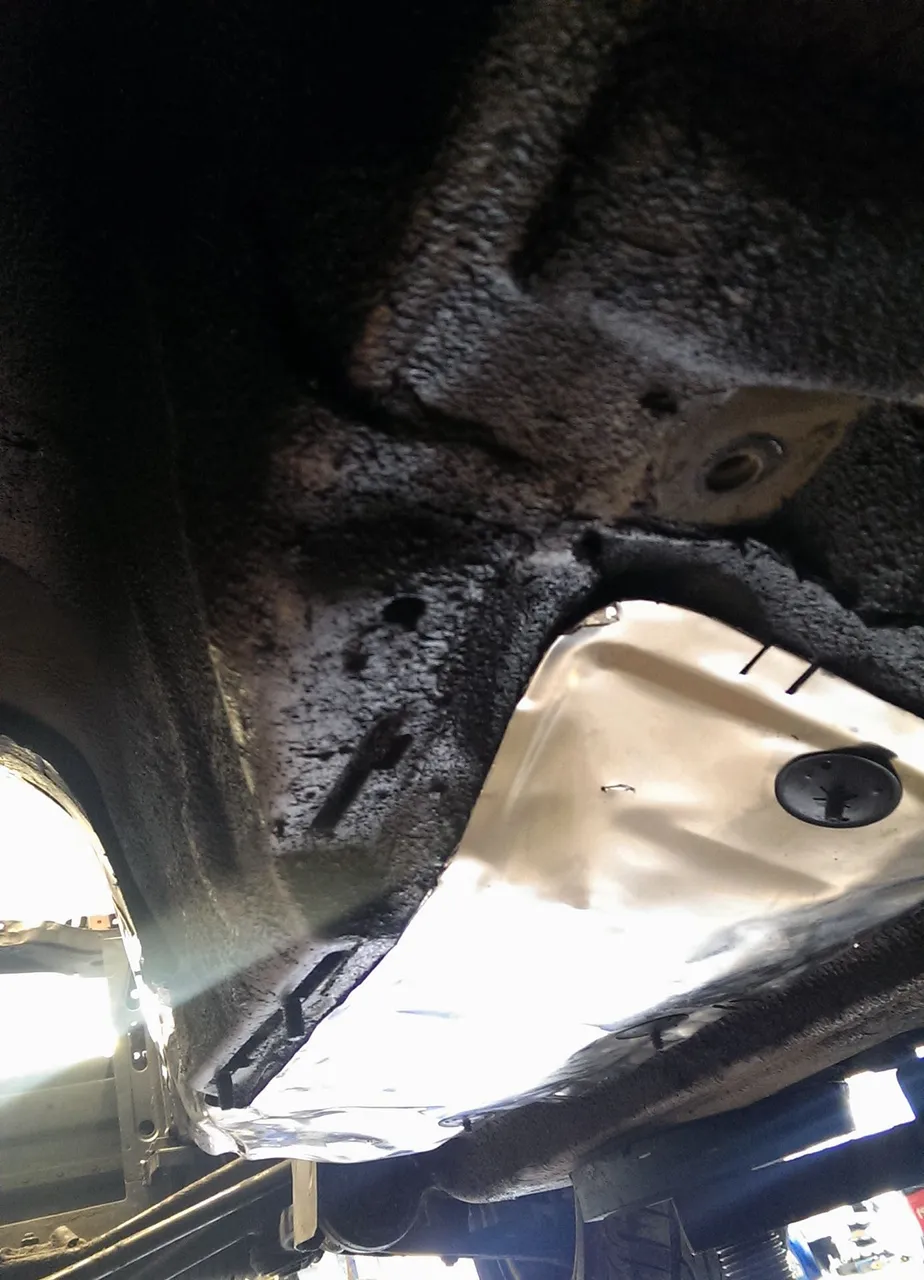
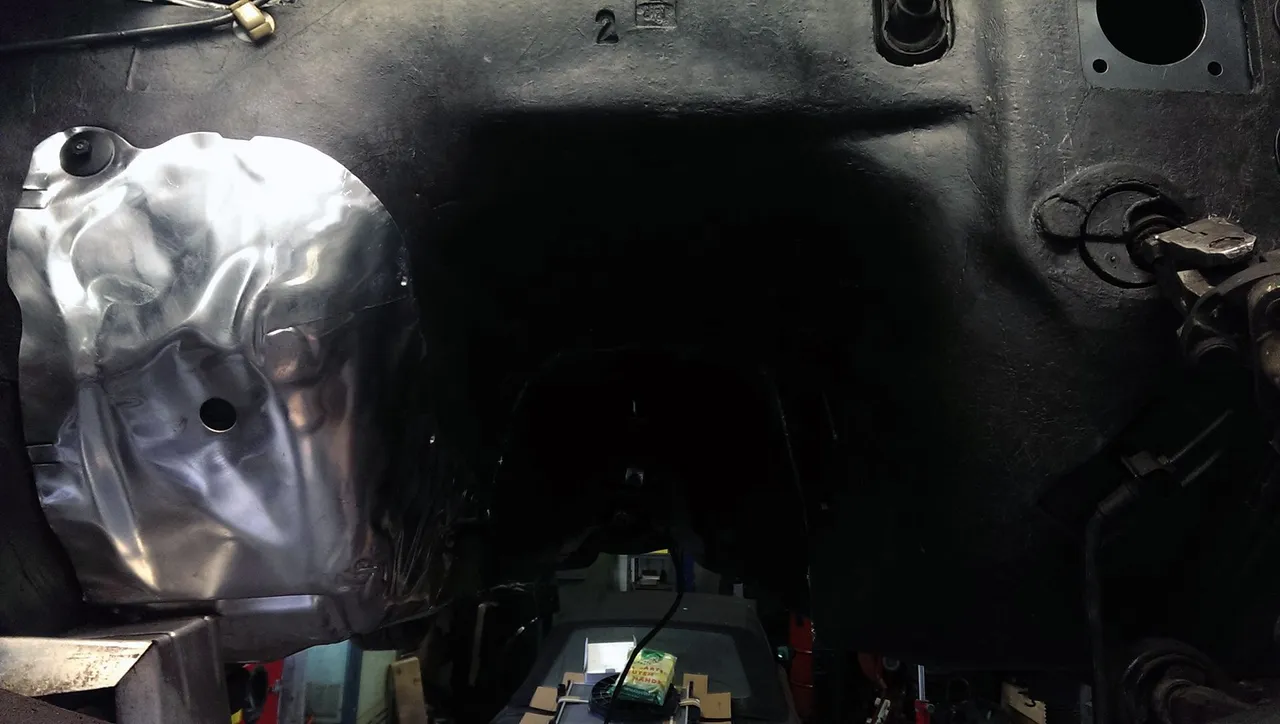
First order of business before putting anything back into that engine bay was the removal of any dirt or surface corrosion and seal and paint it good. We did that in January of 2016 including manually removing all rusty paint, sealing and priming it and in the end putting some fresh paint on. The main part to watch here is the horizontal plane next to the firewall which often gets hit by corrosion. I even took the trouble of photgraphing the bottom side :)...
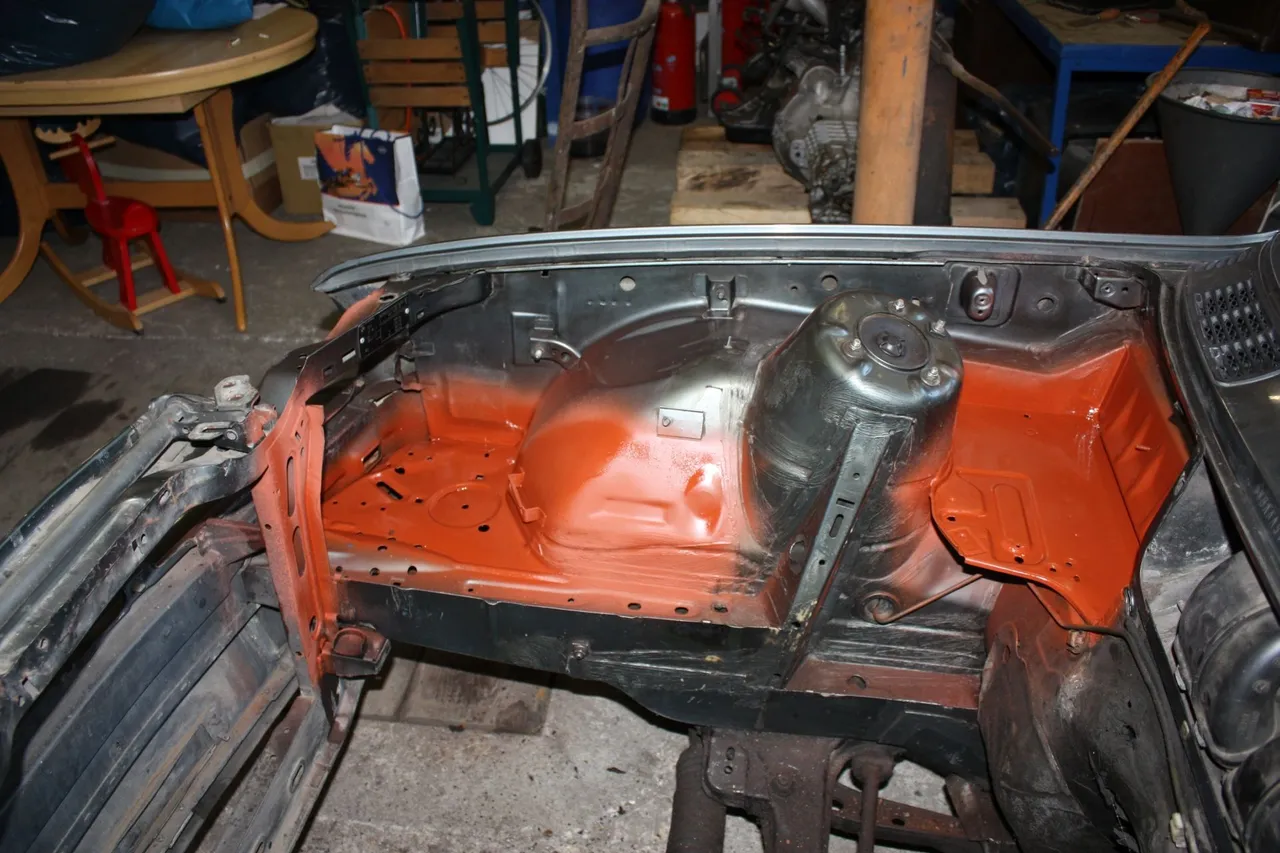
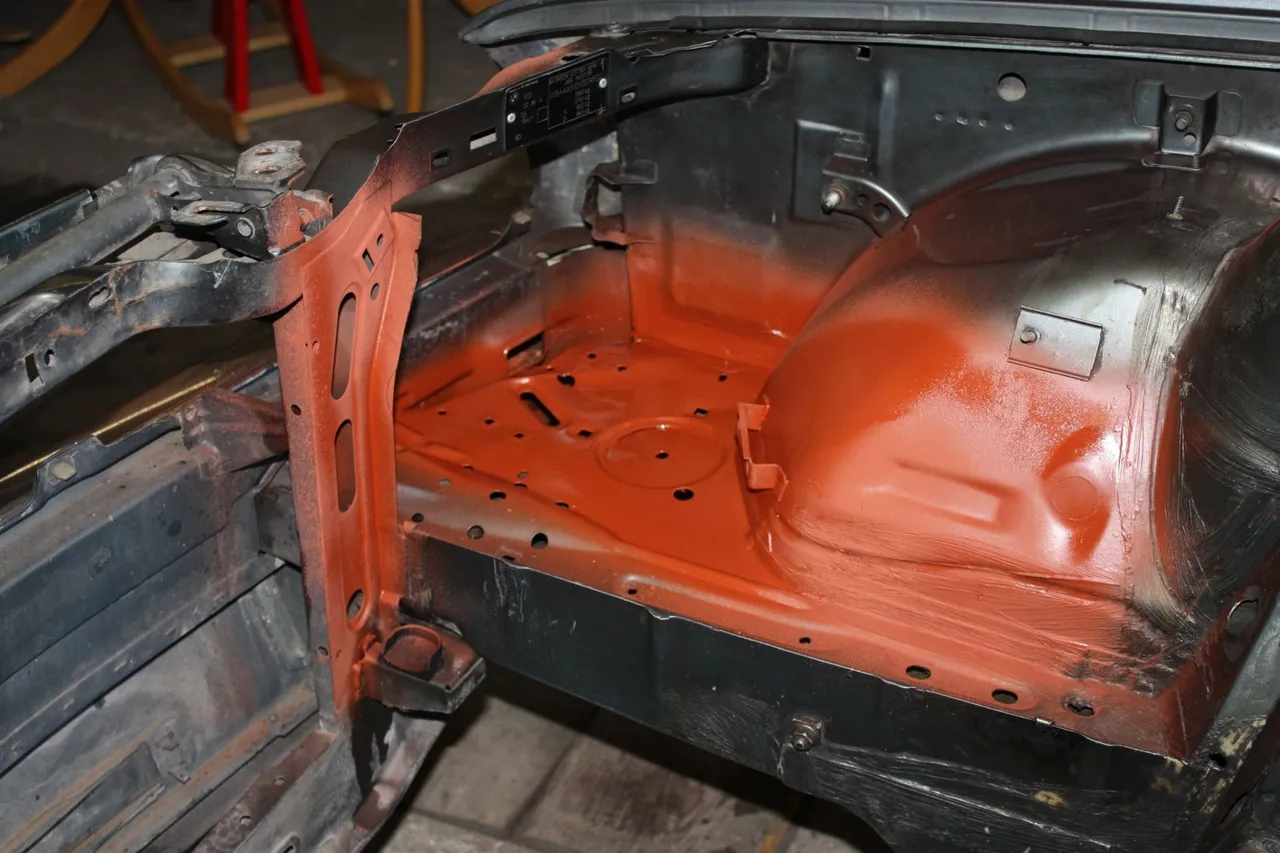
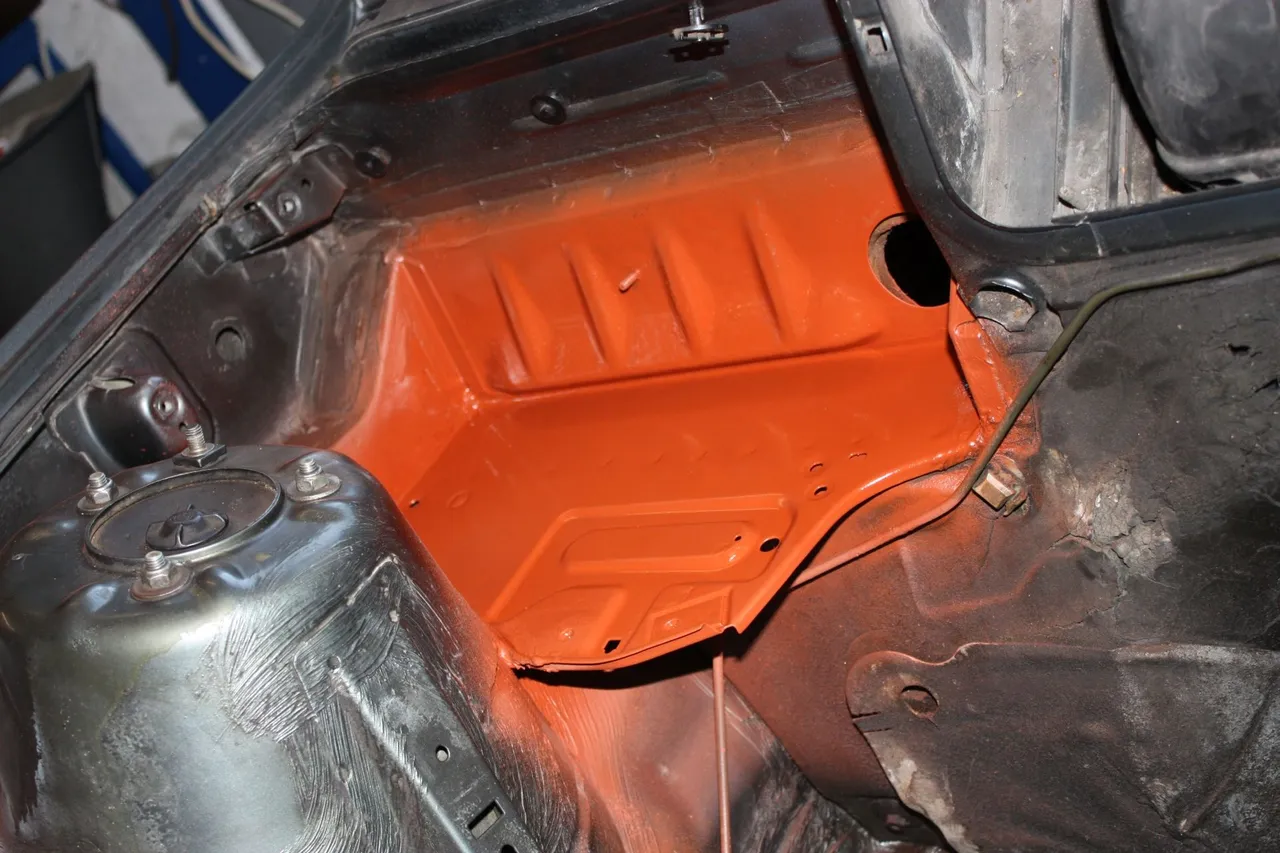
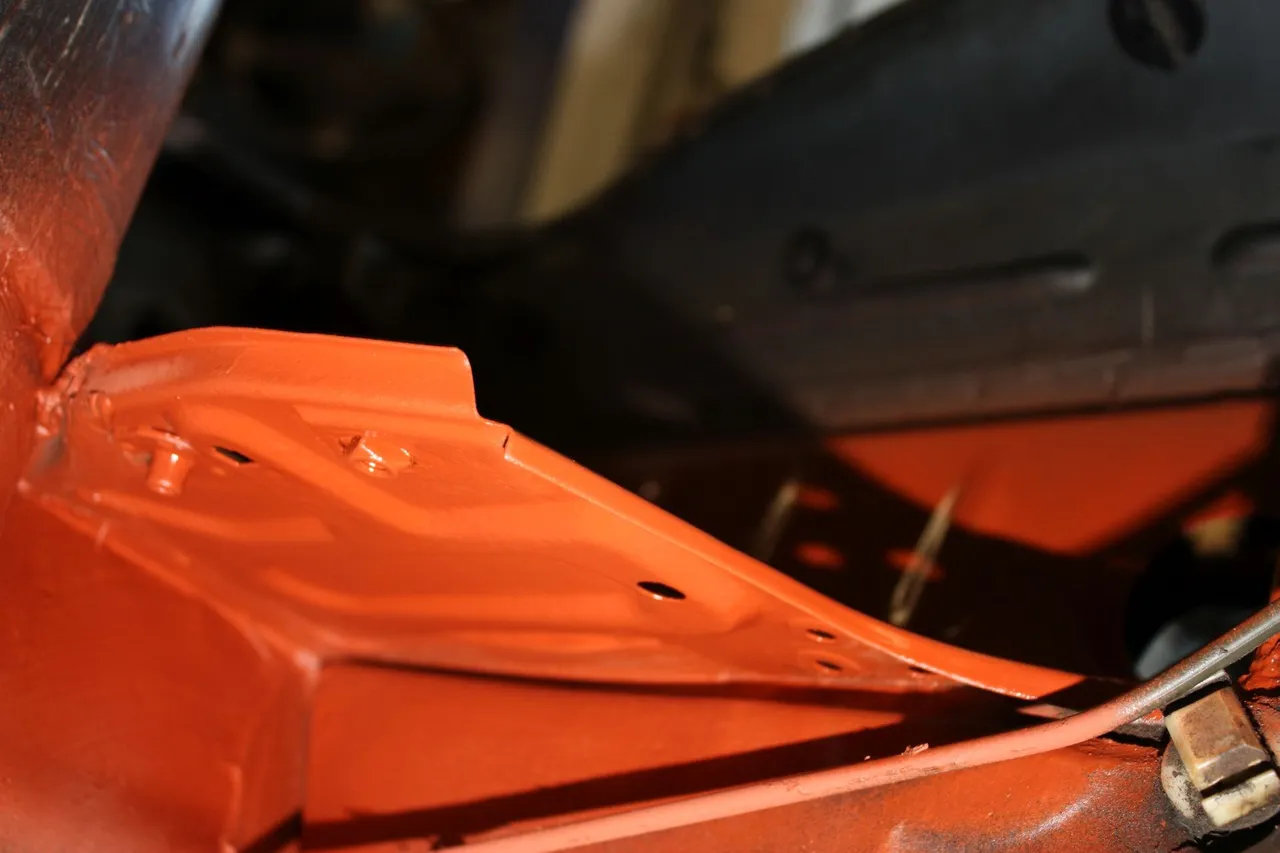
There we go then. We let it dry a bit and let RL issues take over for a while until continuing on March. Issue on that day in March was that it was unusually hot in the shop somewhere around 30deg C which meant the paint didn't stick at all. It works for now but will need to be taken care of by a professional at some point to give it a perfect finish.
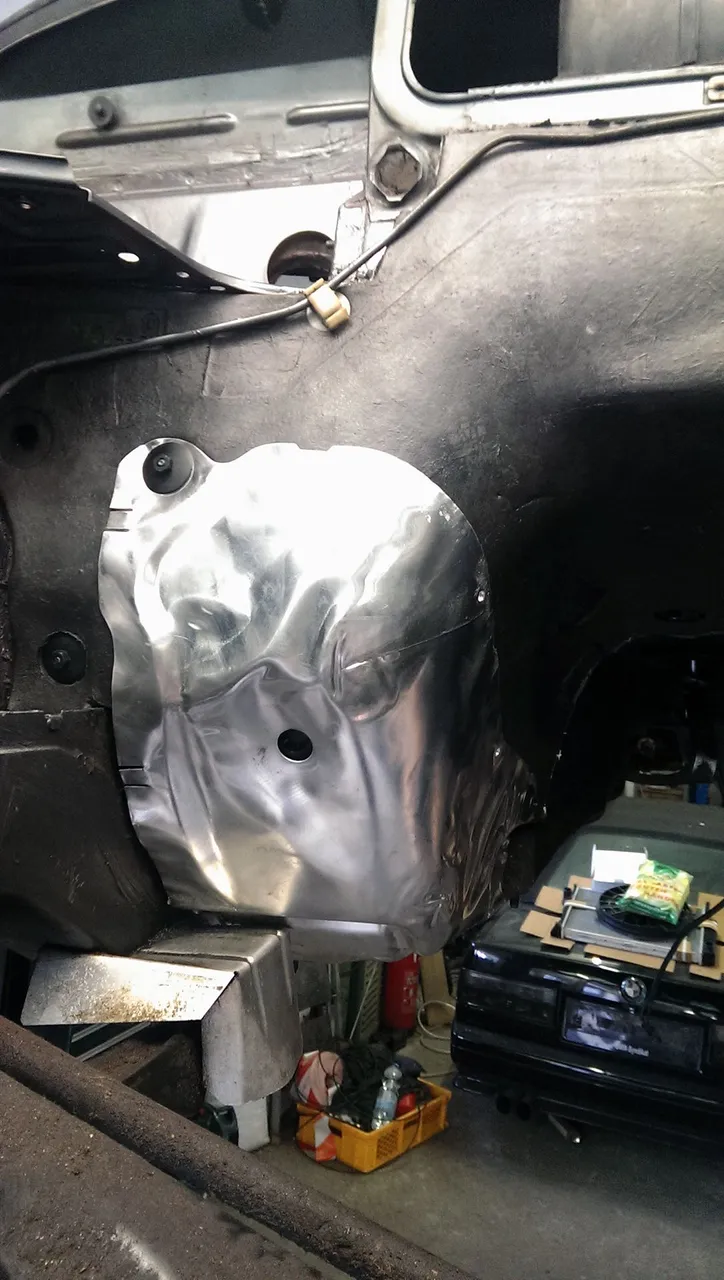
So after that paint had dried and some more parts had been sourced the often completely rotten heat and sound insulation in the transmission tunnel and along the firewall was replaced and fitted.
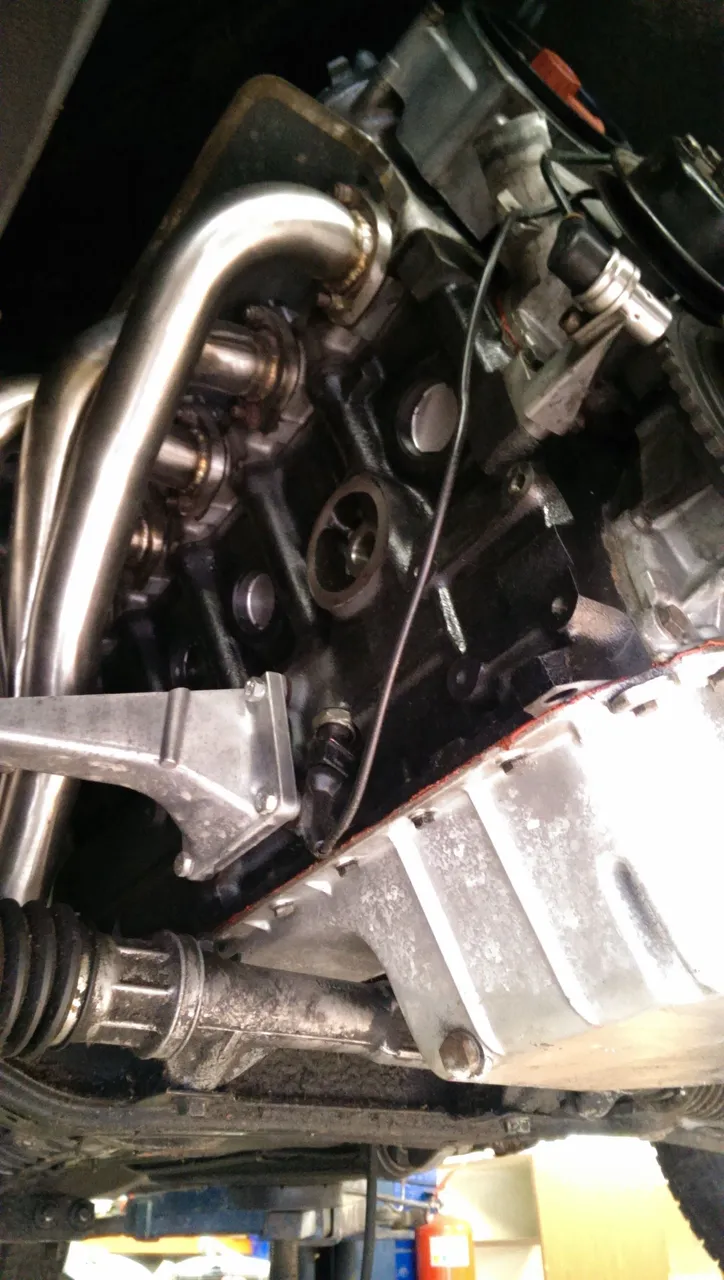
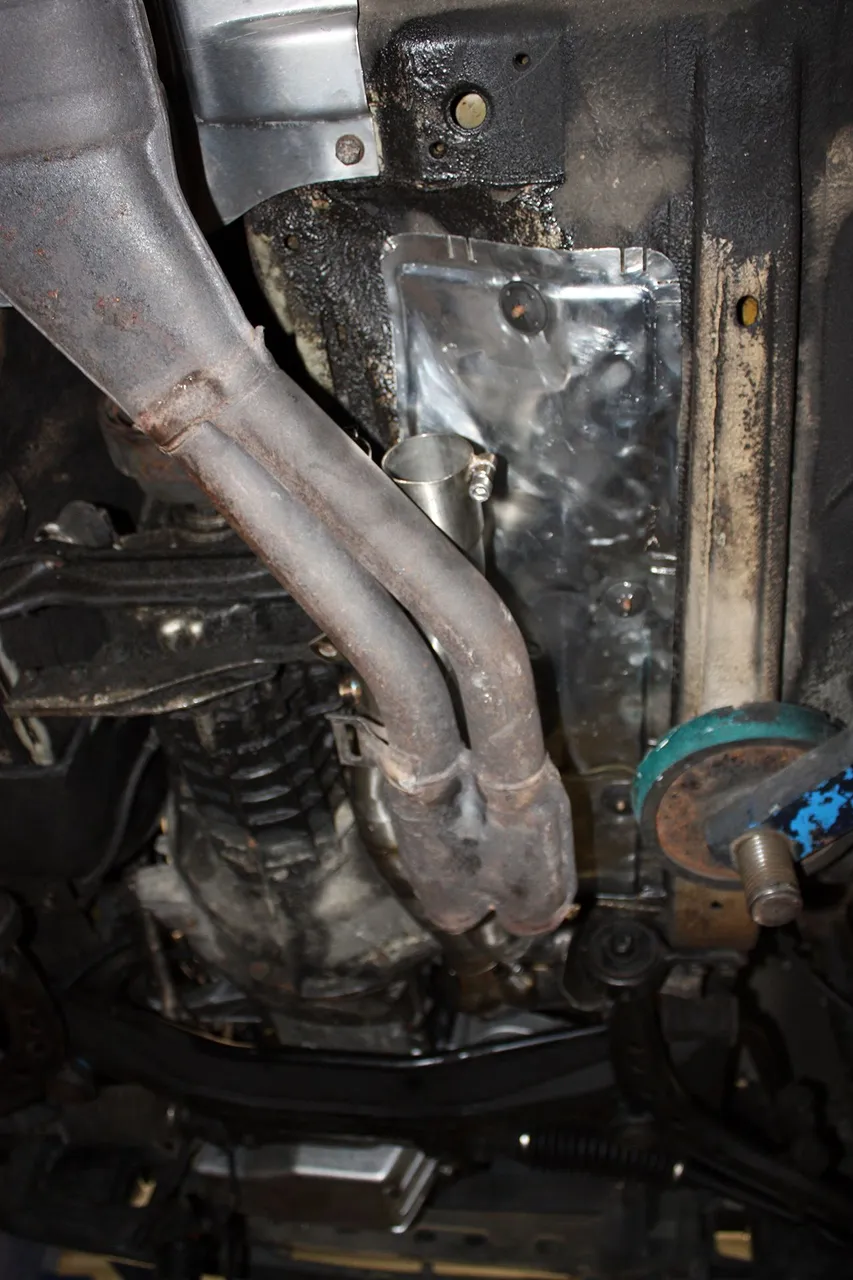
The engine then, it was broken in proper more than a year before, had clocked around 4.000km and was fresh as ever.

You might notice the headers are different ones. That is due to the fact that my original so called 'shorty headers' by IE in California didn't have equal pipe lengths thereby completely obliterating any potential performance gains. It did sound nicely but as I've always put a priority on mechanical perfection and sensible changes to the motor and car in terms of performance I went out and found a nice little shop who sell customized headers for BMW M20 engines with equal pipe lengths, stainless steel and a nice fit and finish. It fit nicely even though one exhaust header sealing had to be replaced because the old headers partially destroyed one sealing due to a tiny deviation in fit along the cylinder head.
Long story short we put it in the same day:
Whadda ya say shall we try to start it and check out the sound with open headers!? Yeah I thought so...put some good headphones on if you have some handy:
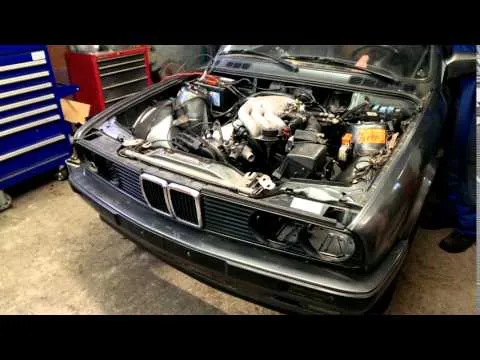
Ok so that's working. No worries as always in this epic story it will fail to start at some point but that won't be the engine's fault. Check parts 2 and 3 if you'd like to know how this motor came together.
Anyway unfortunately one can't leave the exhaust open like that in civilized driving conditions so I needed a cat. Preferably one that can facilitate good outflow, doesn't have too much resistance and most importantly fits inbetween the headers' X-pipe and the muffler which I chose to leave stock M20B25 - in this case it's a BOSAL one. I'll later find out that the near racing metal cat I aquired in combination with the headers are so loud and distinctive that a bassy and deep growling muffler is actually better suited to this than the stock one but more on that later.
The first choice however fell on a standard M20B25 BMW catalytic converter. Well it was worth a shot shall we say as it didn't fit AT ALL.
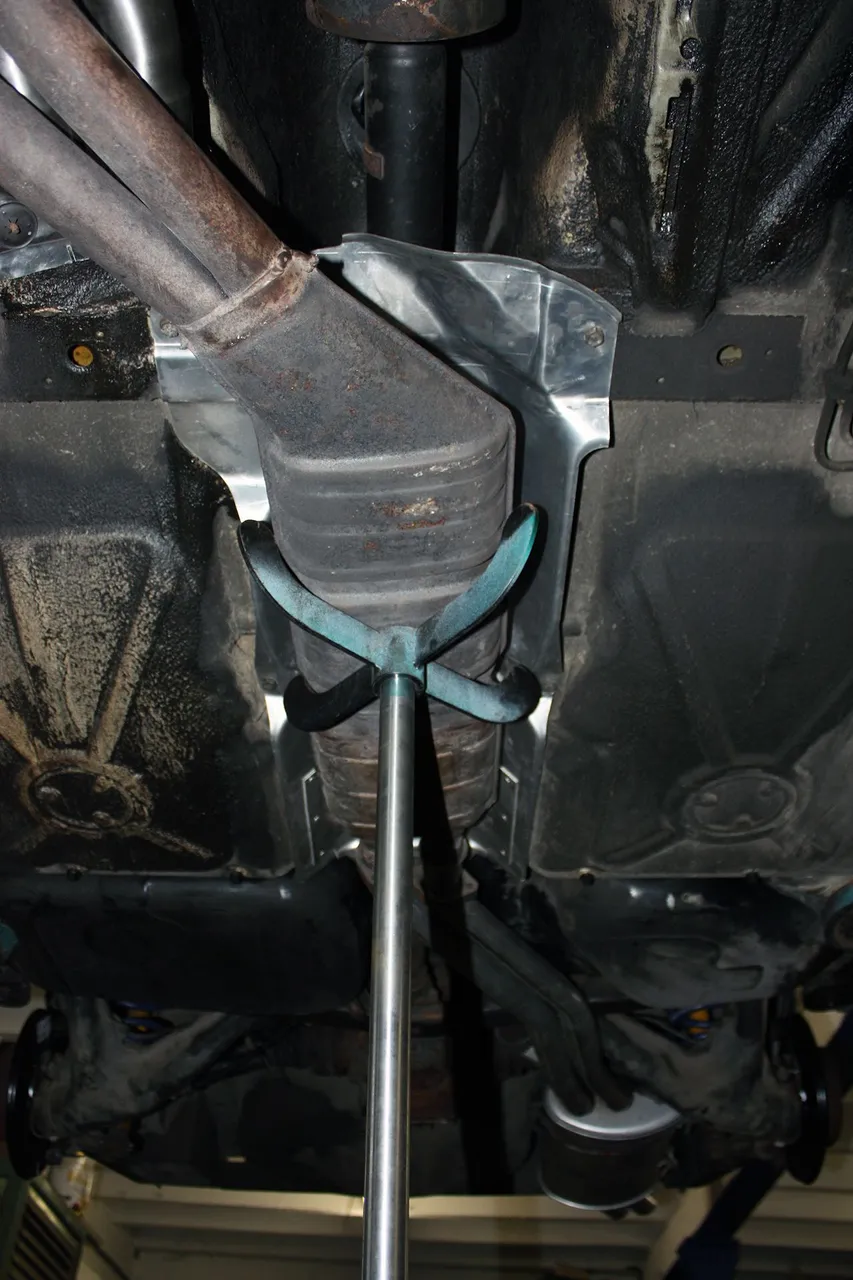
Looks alright you might say. Well, yeah only that the front was a complete misfit with the x-pipe:

See here:
No welding in the world is going to make that work. Thing why I opted for the stock cat in the first place was that it would facilitate a near stock exhaust system combined with headers. At this point I realized that won't happen. There is no way to alter the header/x-pipe location at all and so there had to be a compact cat solution that fits under the car and has roughly equal pipe diameters from front to back.
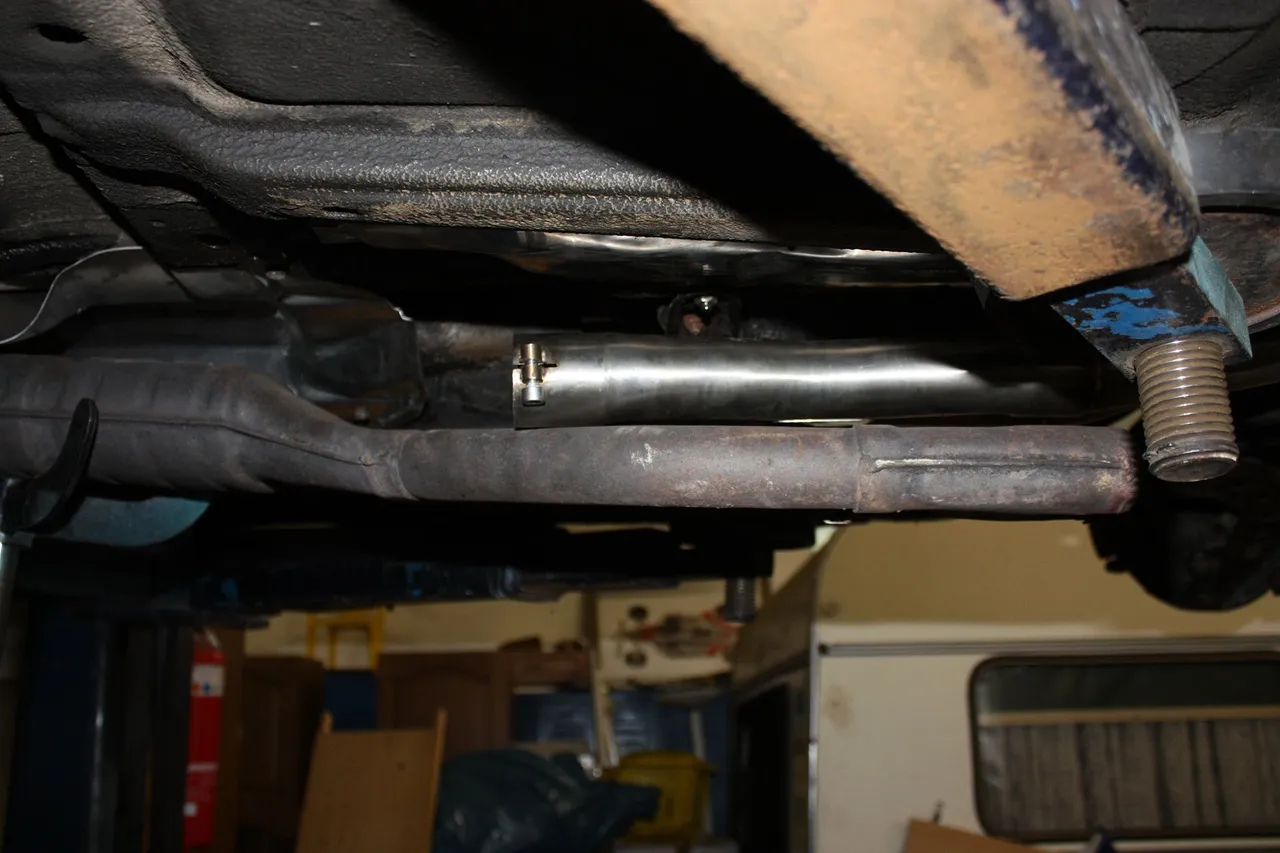
I went out to hunt for a good cat and bought some stainless steel exhaust pipes with a diameter of around 55mm.
For now this was my exhaust setup :)

I was going to go into detail on the exhaust and start on the interior but I'm out of time for now.
I'll leave you with the overview of this (always evolving as I always find stuff I had forgotten had happened in the beginning) overview of this epic project. We are now in March 2016. See you next time!

Part 1 deals with the history of the donor car until it dies the first time https://steemit.com/cars/@peterschroeter/7-years-in-the-making-1-rebuilding-and-restoring-a-30-year-old-bmw-twice
Part 2 deals with a short revival, planning and building the new engine (head) https://steemit.com/cars/@peterschroeter/7-years-in-the-making-2-rebuilding-and-restoring-a-30-year-old-bmw-twice
Part 3 deals with finishing the engine (block), installation and the final death of the donor https://steemit.com/cars/@peterschroeter/7-years-in-the-making-part-3-rebuilding-and-restoring-a-30-year-old-bmw-e30-twice
Part 4 goes into disassembly of the donor and the new base, planning the exhaust system and restoring components
Part 5 will go into the engine and drivetrain installation and interior assembly
Part 6 will be devoted to the pain this car gave us because it fought tooth and nail in order to not be put back on the road
Part 7 the final act will go into lessons learned, things left to do, impressions and how it actually drives