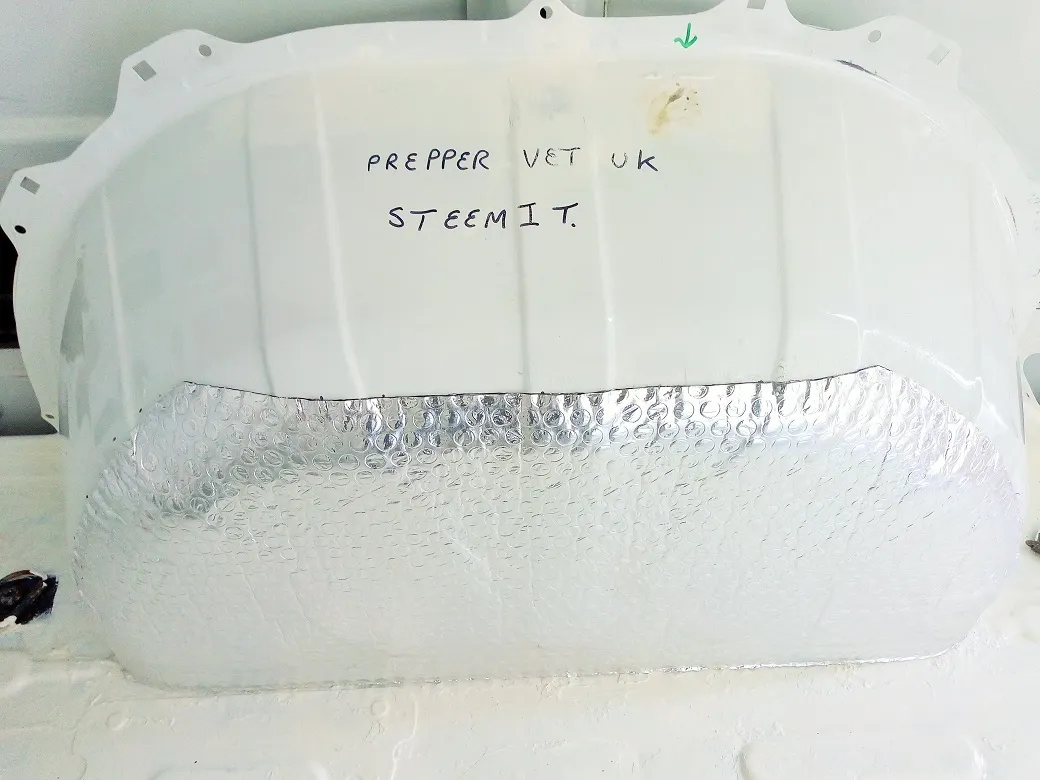
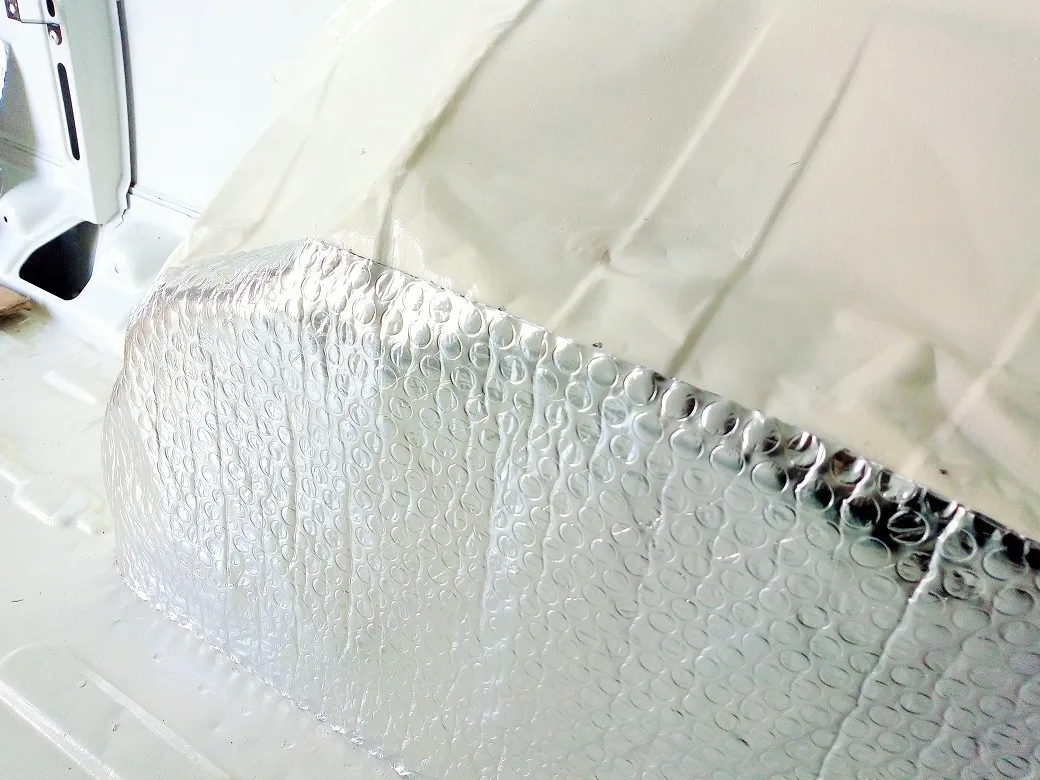
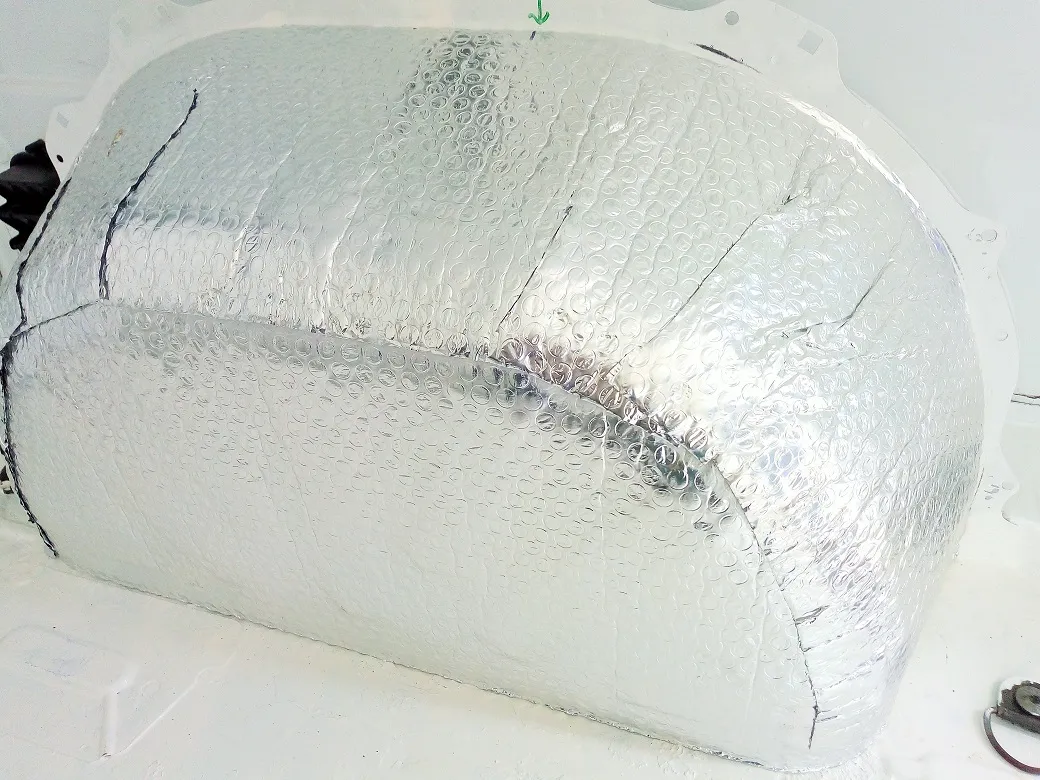
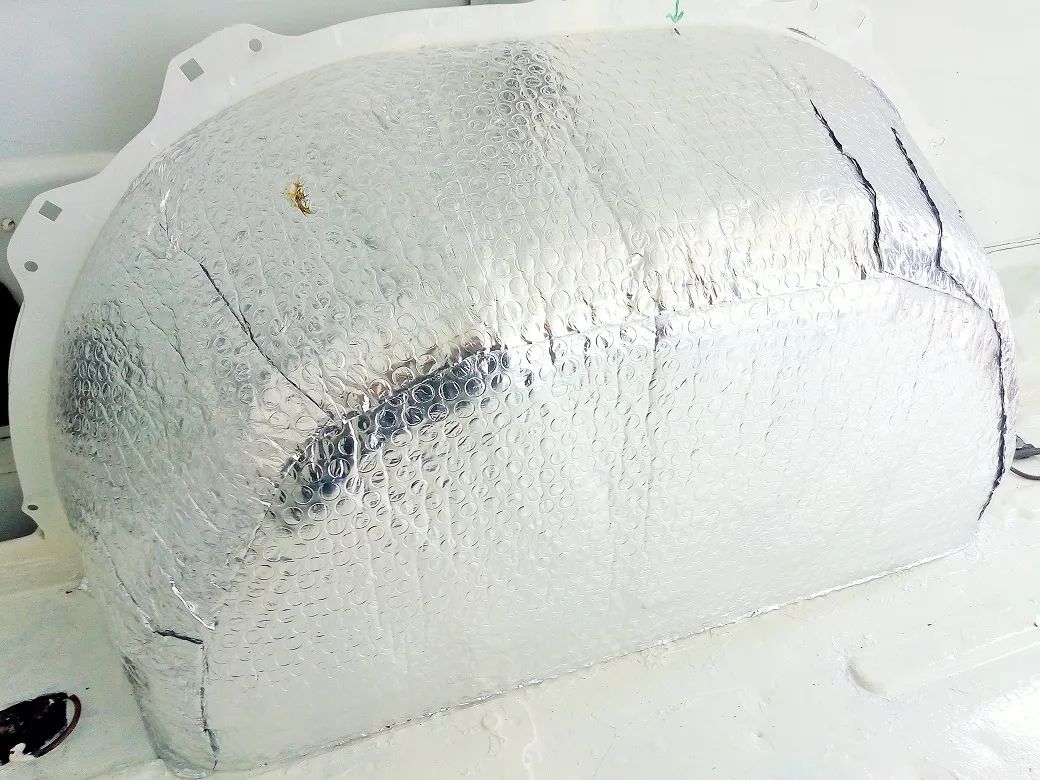
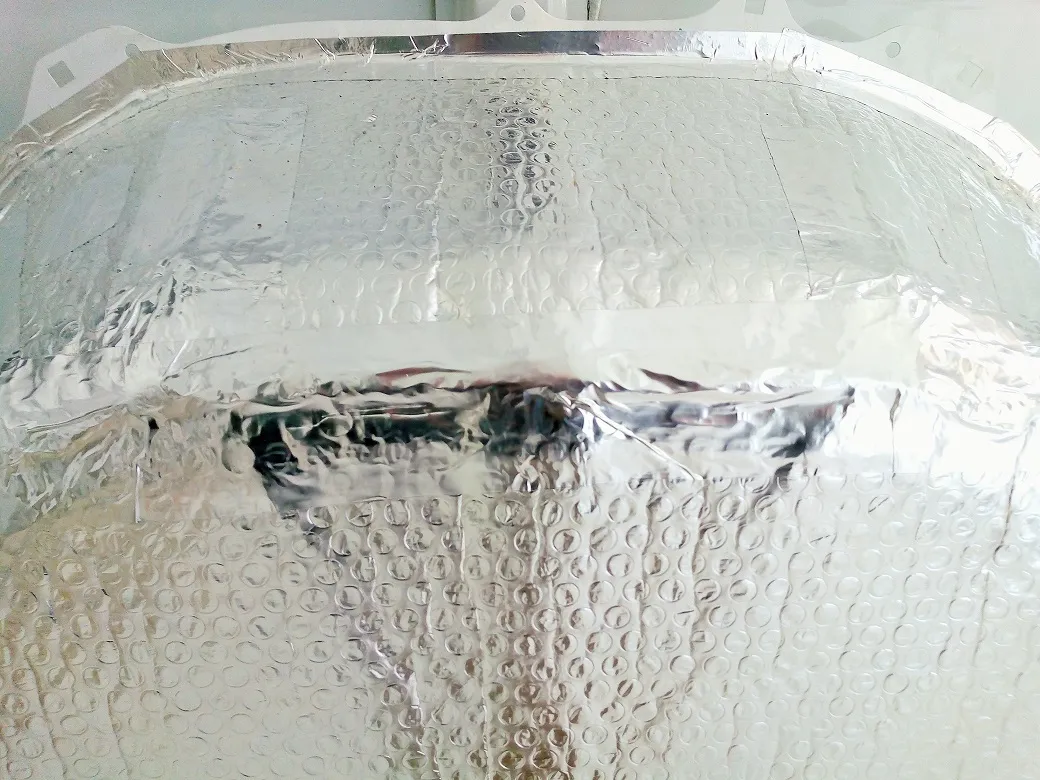
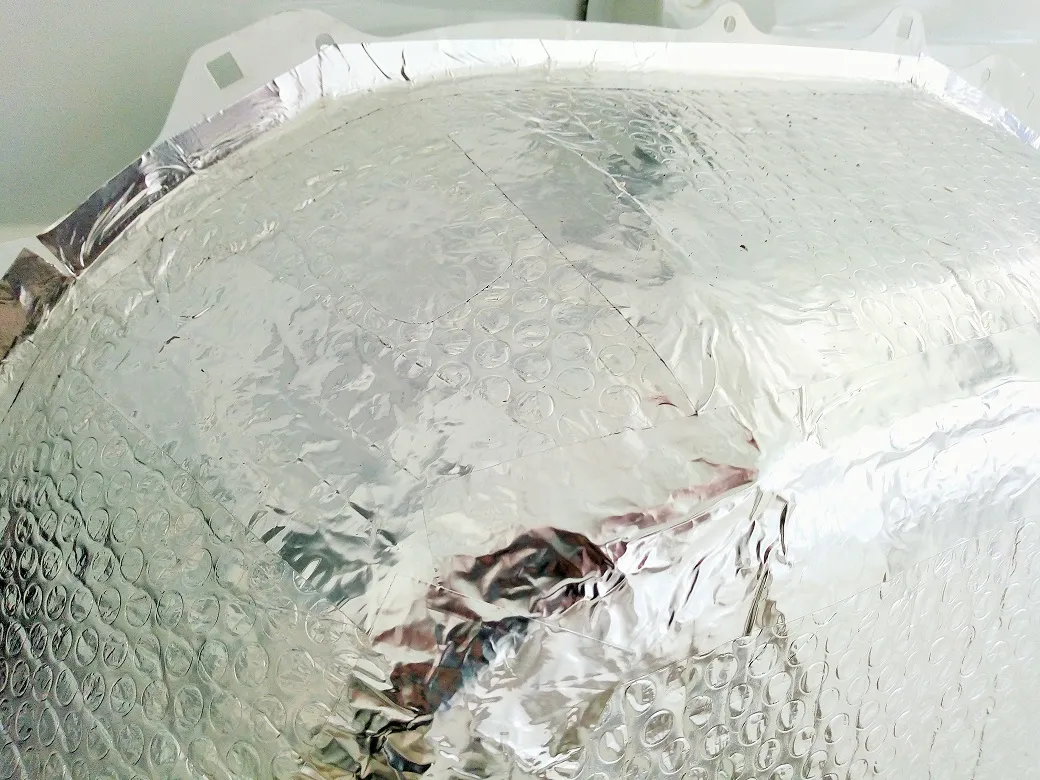
My Road Trip Campervan conversion / Bug Out Vehicle (BOV) continues.... Although the primary use will be pleasure, as a prepper, I will soon have a self contained BOV. After all the cleaning, sweeping and floor preparation I took a well earned break. The next step was to get the floor insulated. However, before that could be done, the wheel arches needed to be insulated. For this I used double sided foil bubble wrap, which is flexible enough to be moulded around the dents and curvature of each arch.
Getting High On Spray Glue - Was novel but disturbing at the same time!
Another small, essential slice to the project...
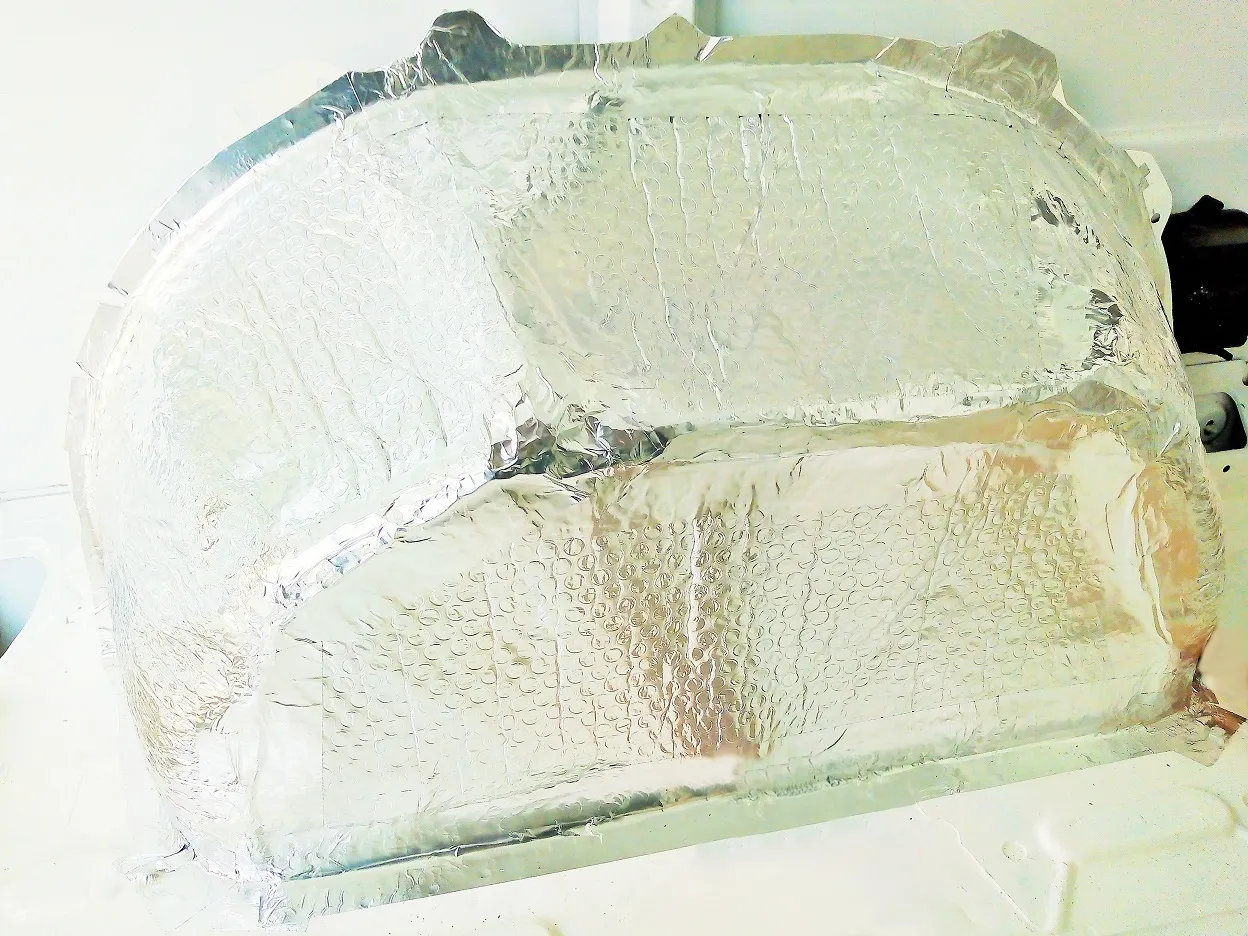
The project is moving along, slowly but surely (for now anyway). Things should appear to speed up a little I suspect, visually anyway. Time taken for this step was around 2 hours.
The Complete Project so far:
My Latest Brainwave & Project
Assessing The Task
The Strip Out
Floor Preparation & Rust Treatment
Hole Plugging & Lock mending
Finalising The Floor Foundations