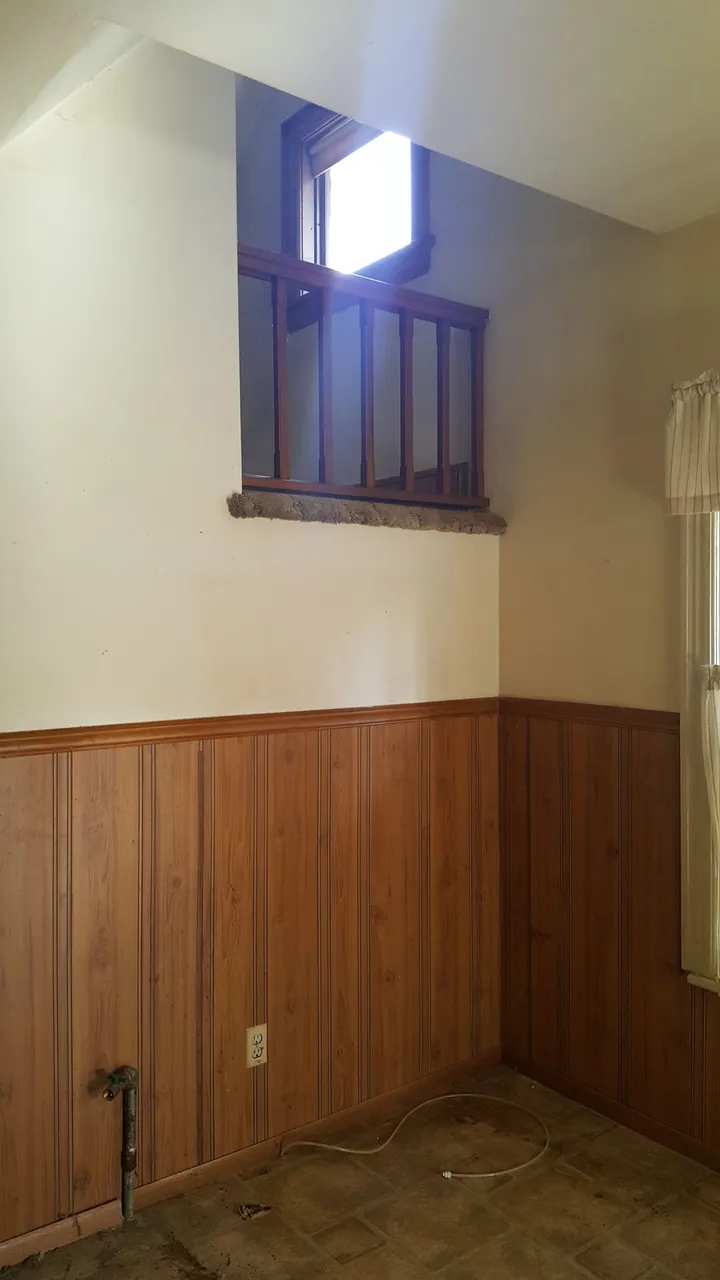
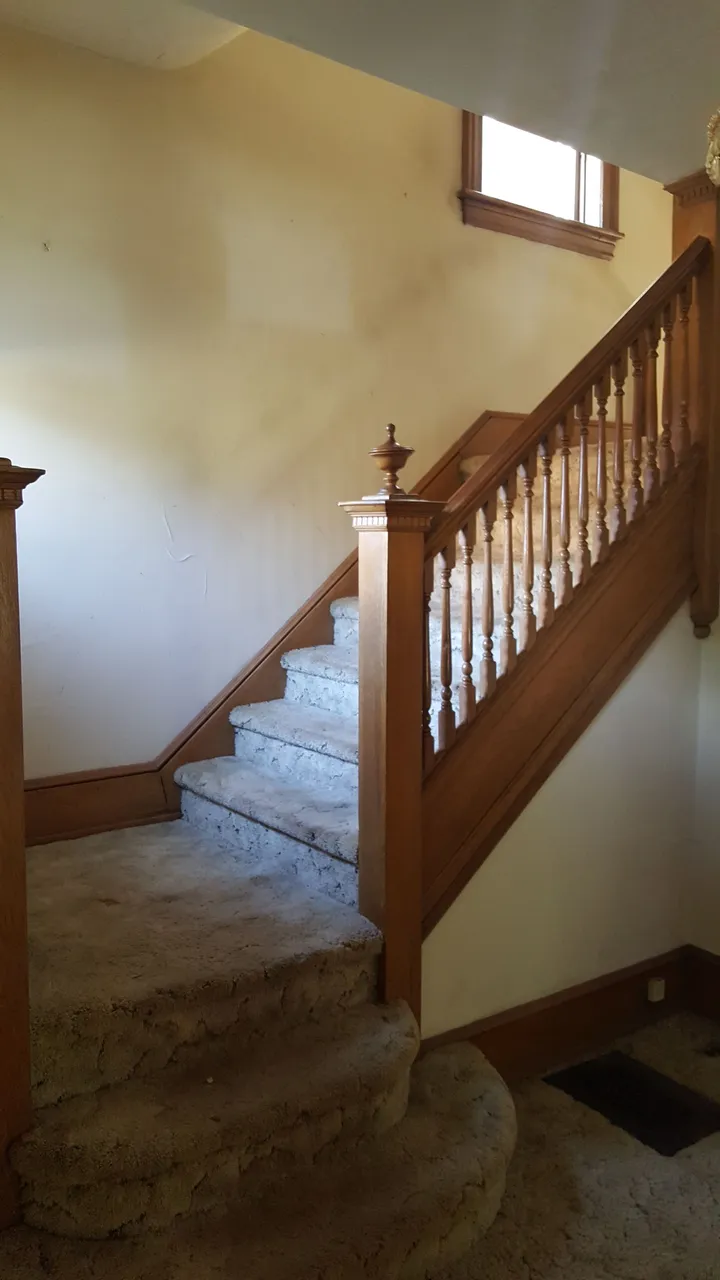
Im so hands on, its not funny. If im not physically making things happen i tend to go stir crazy. Real estate investing has always been a passion of mine, so, myself and @canditits95 bought this home in August and I wanted to do a daily blog but I got so caught up in doing the work that I neglected to take time to share the progress. Now what I've decided to do is do a daily blog to catch up on the progress from when we started to where we are now. It will leave plenty to showcase in real time because, if you werent aware, remodeling isn't something that realistically fits into a half hour television show, although they make it seem very convincing.
And so it begins:
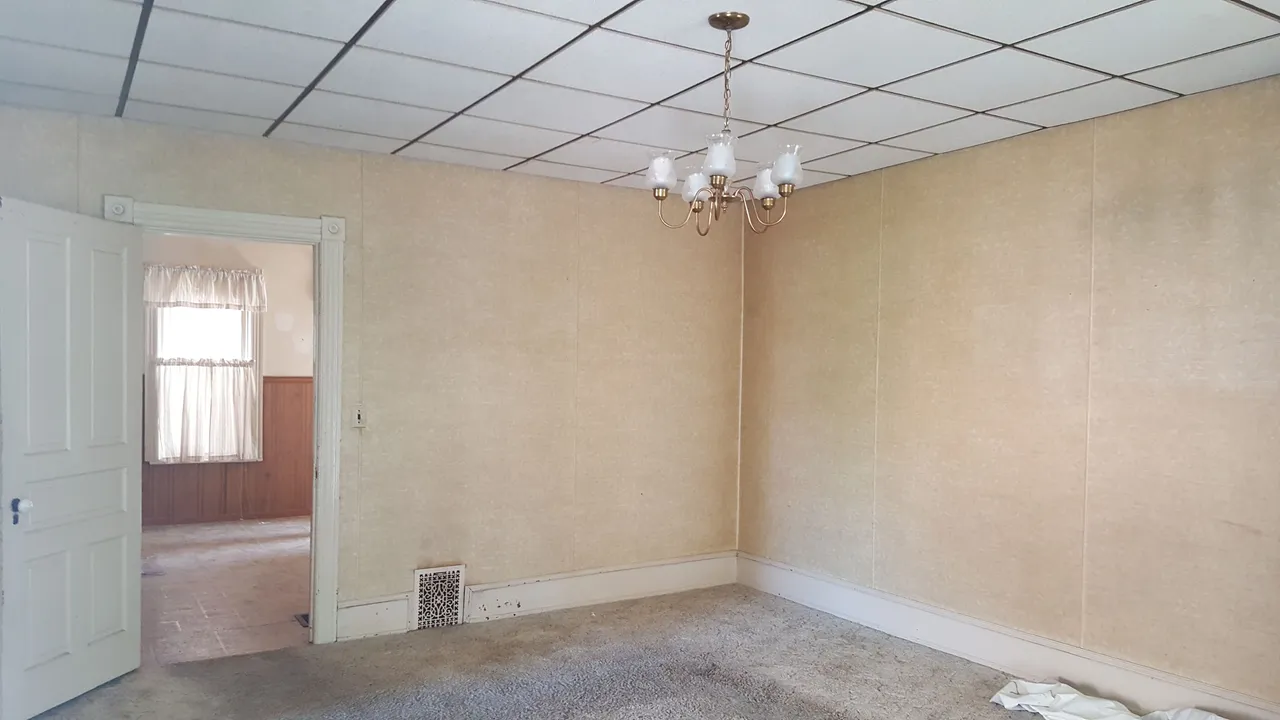
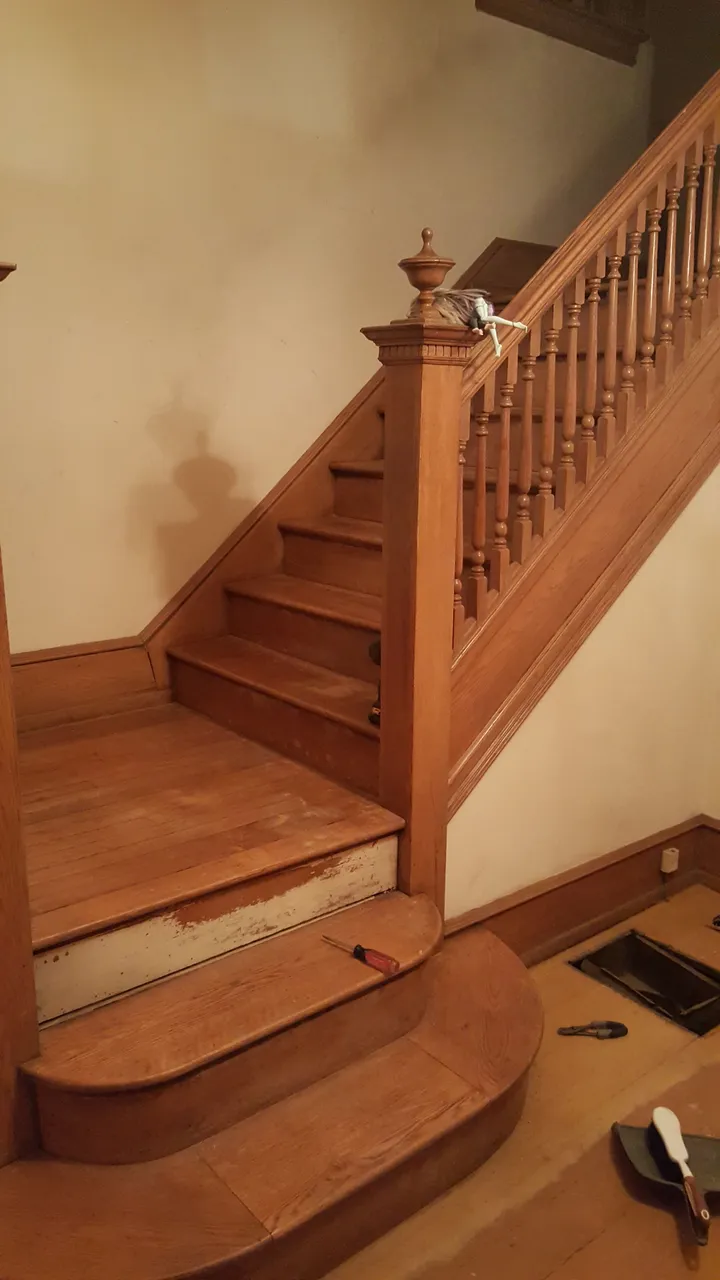
The house was left vacant for at least 2 years. Surprisingly enough, it could've been lived in without any work, if it needed to be.

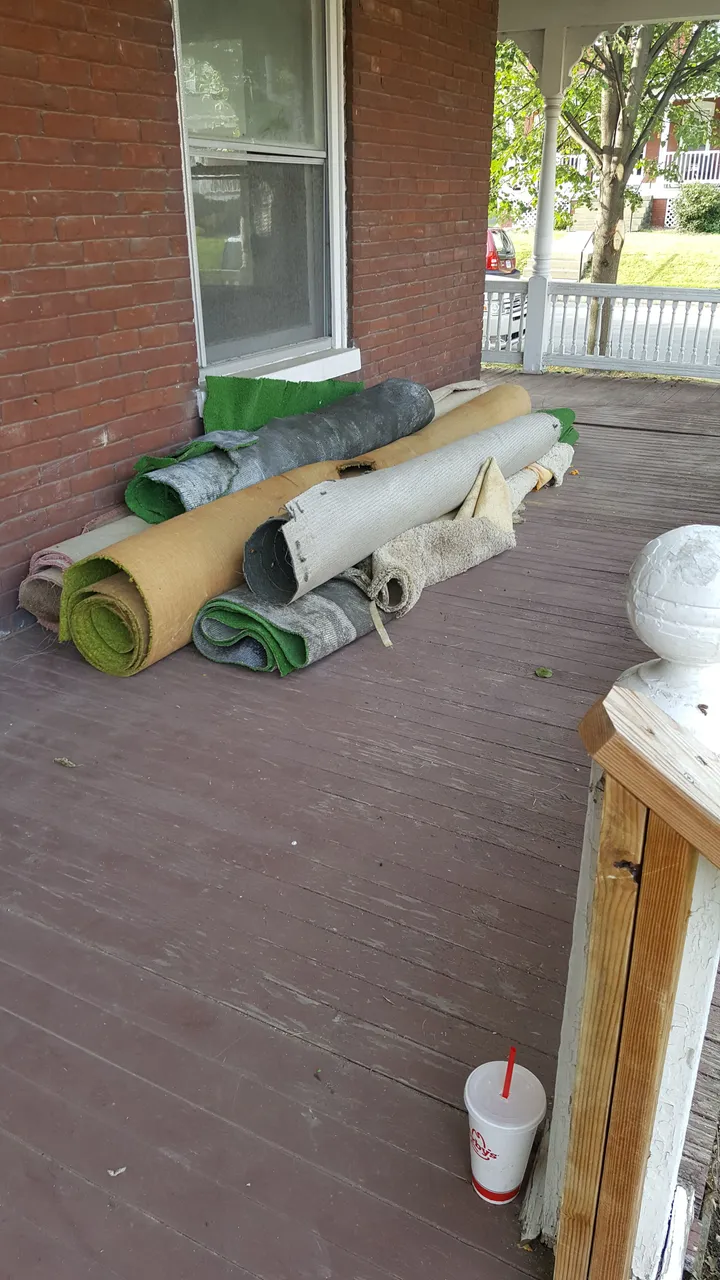
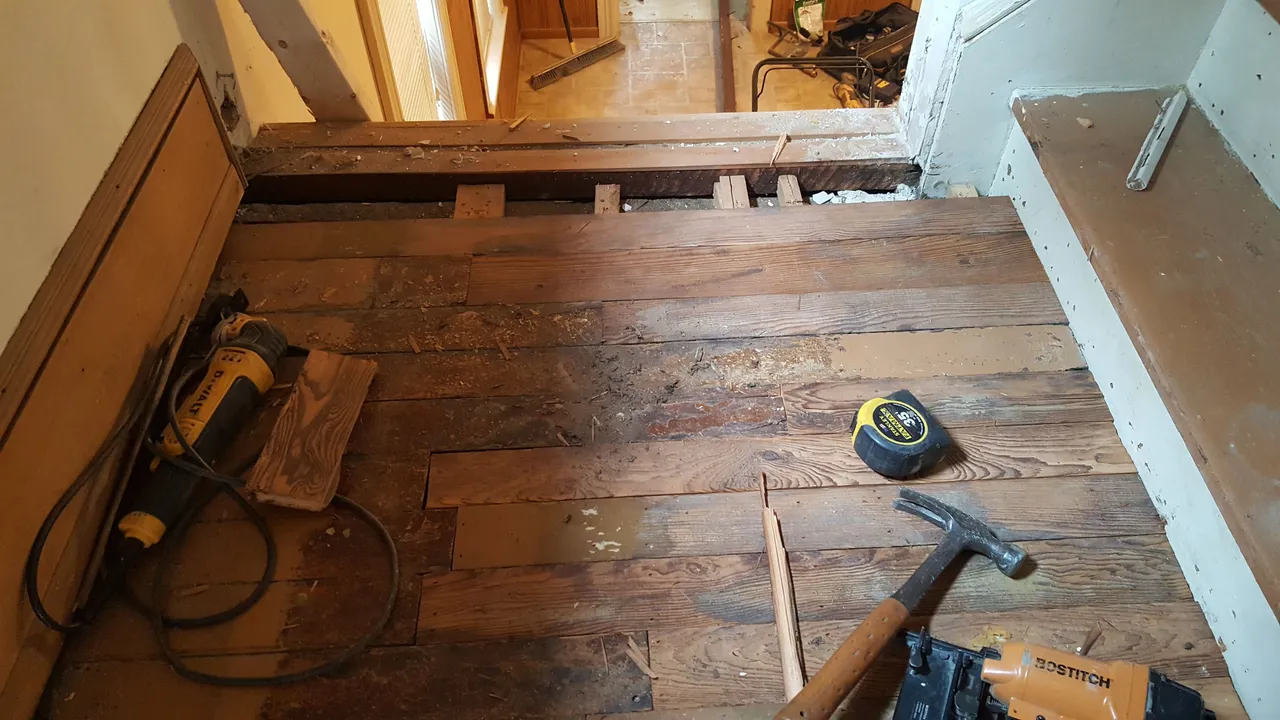
Now usually, the floors would be some of the last things you'd do, we had to have them completed first so we could occupy the home. We got right to it, removing all the carpet, carpet padding, tack strips and all those pesky staples. Many long days and sore nights were required to accomplish this.
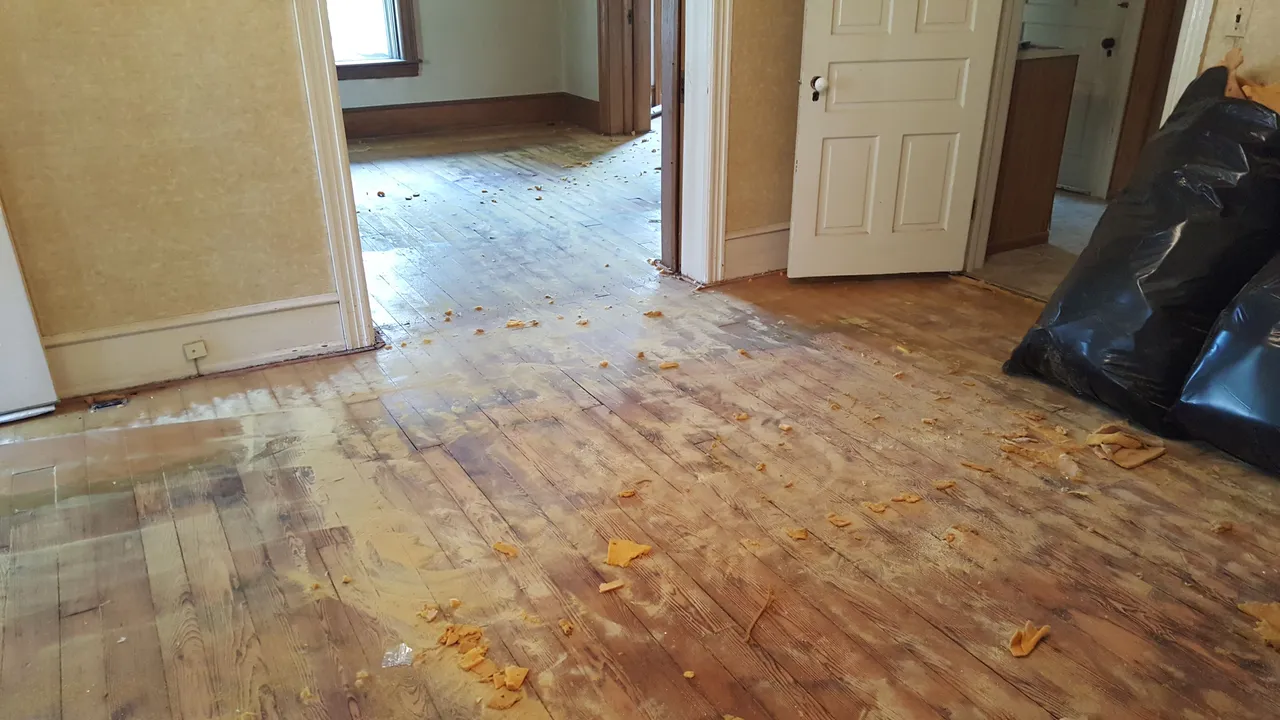
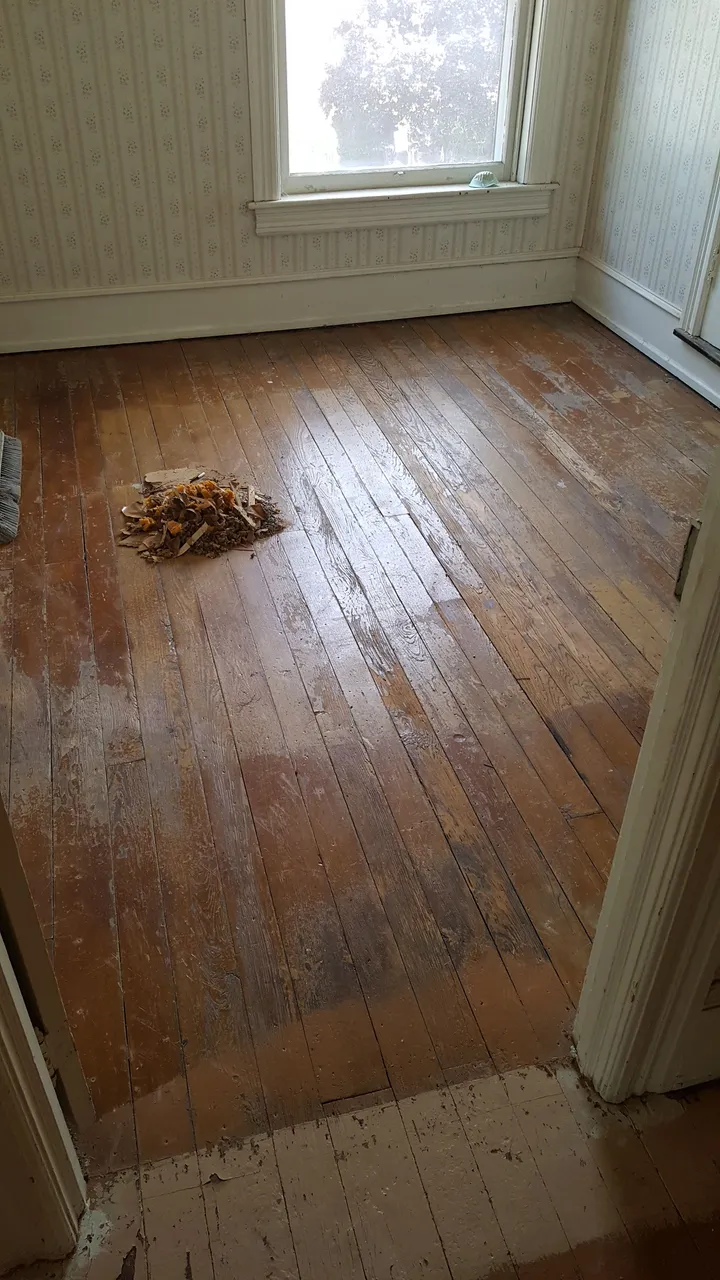
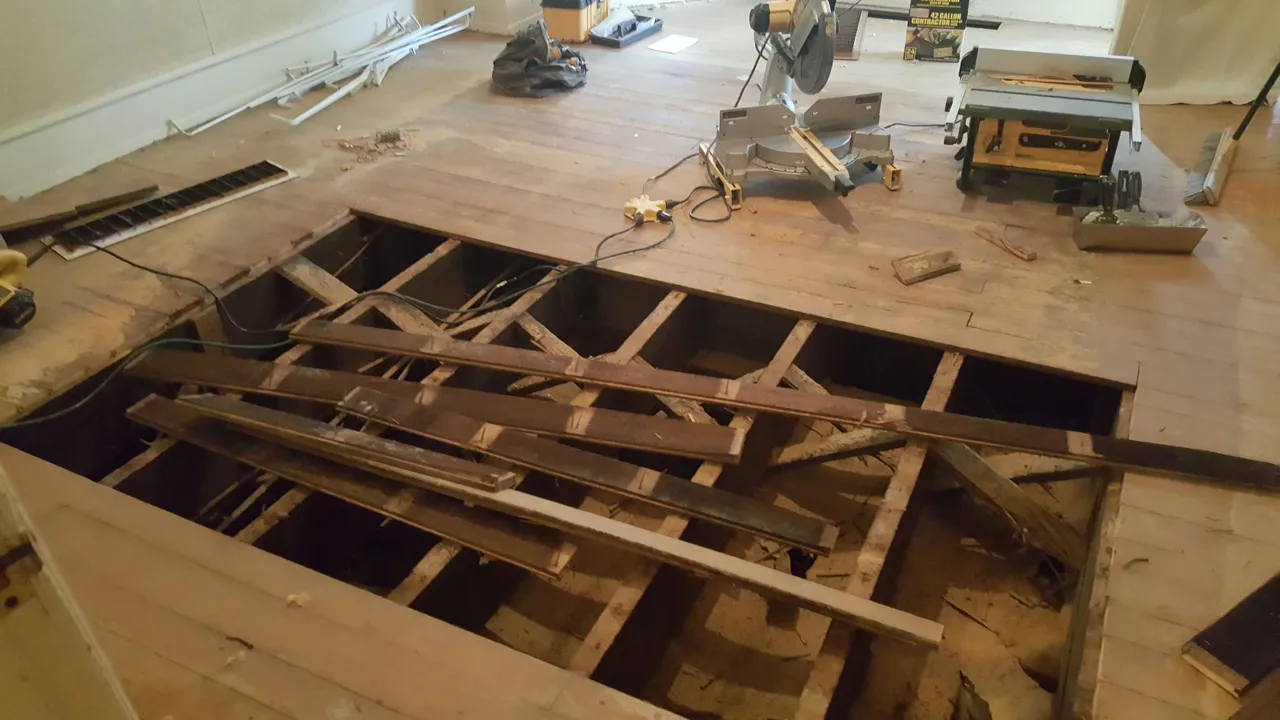
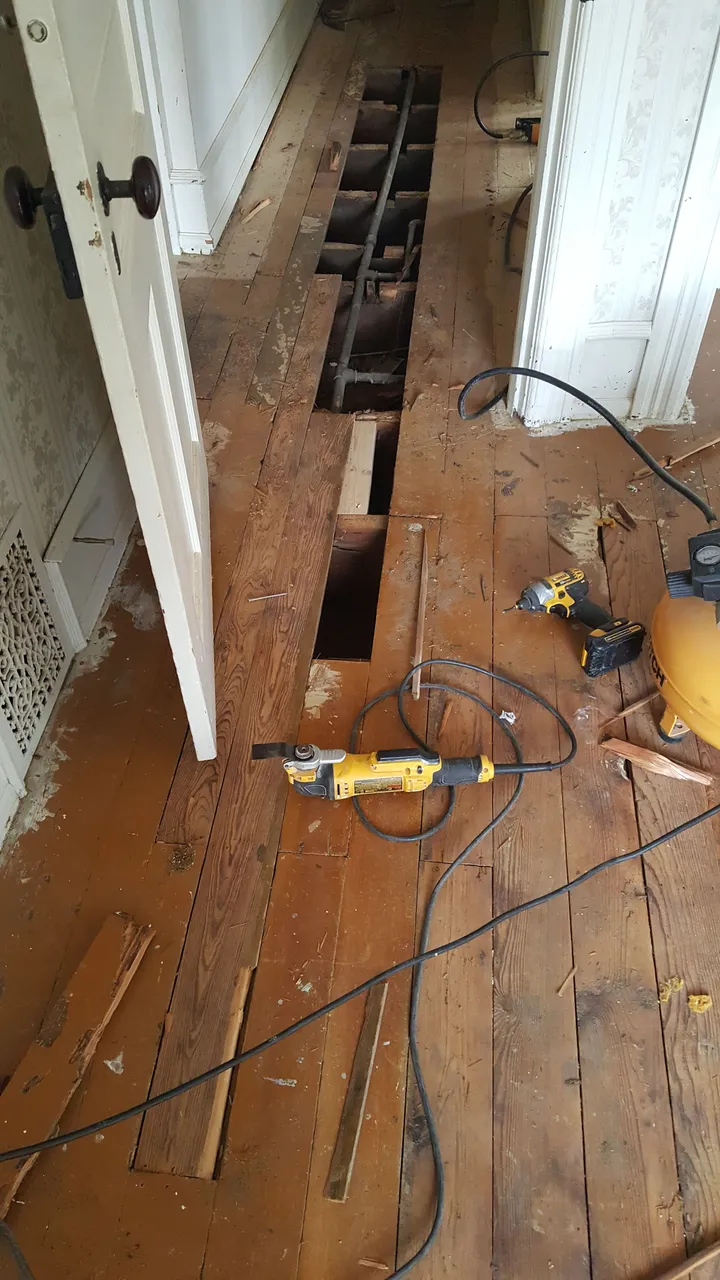
After this small victory, there were several areas that were in need of repair. Knowing that a certain room was going to eventually be tiled, I could pull the existing wood from those areas so when I removed the bad spots, I could patch in with missing wood that was equally aged.
👆This was the former dining room which will eventually part of the grand kitchen, which will be tiled. A perfect place to steal wood from to patch these areas.
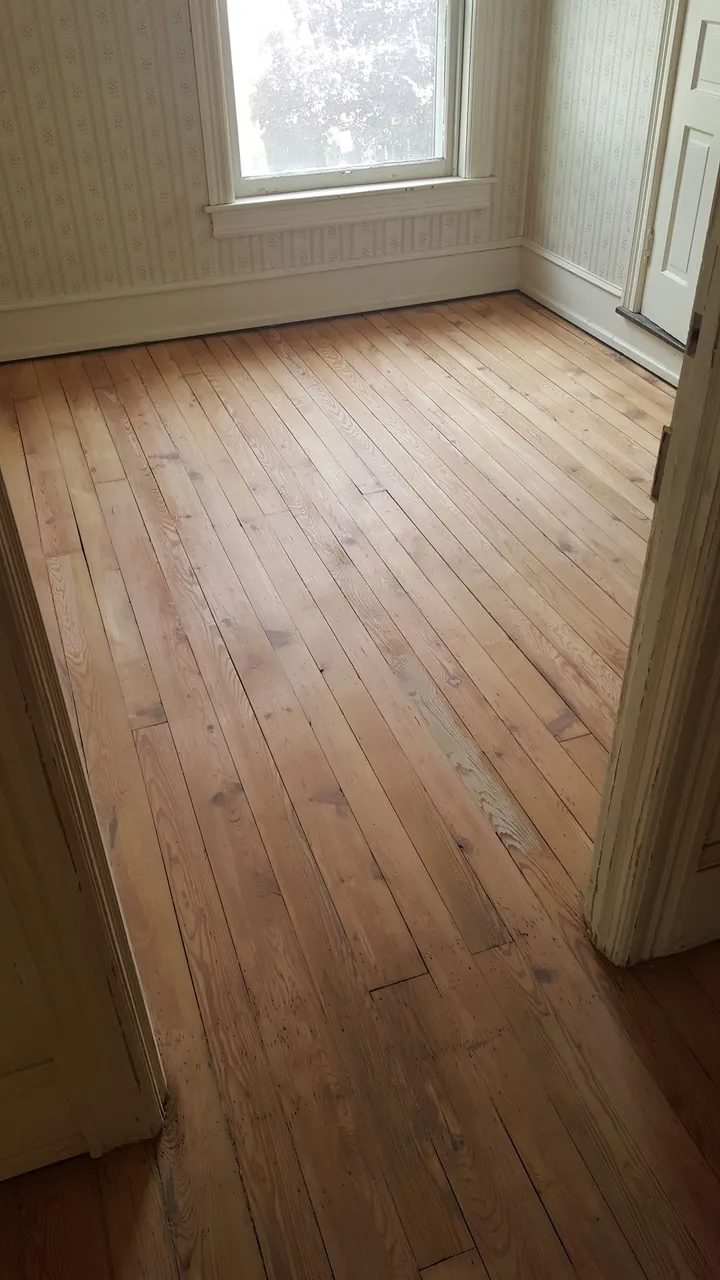
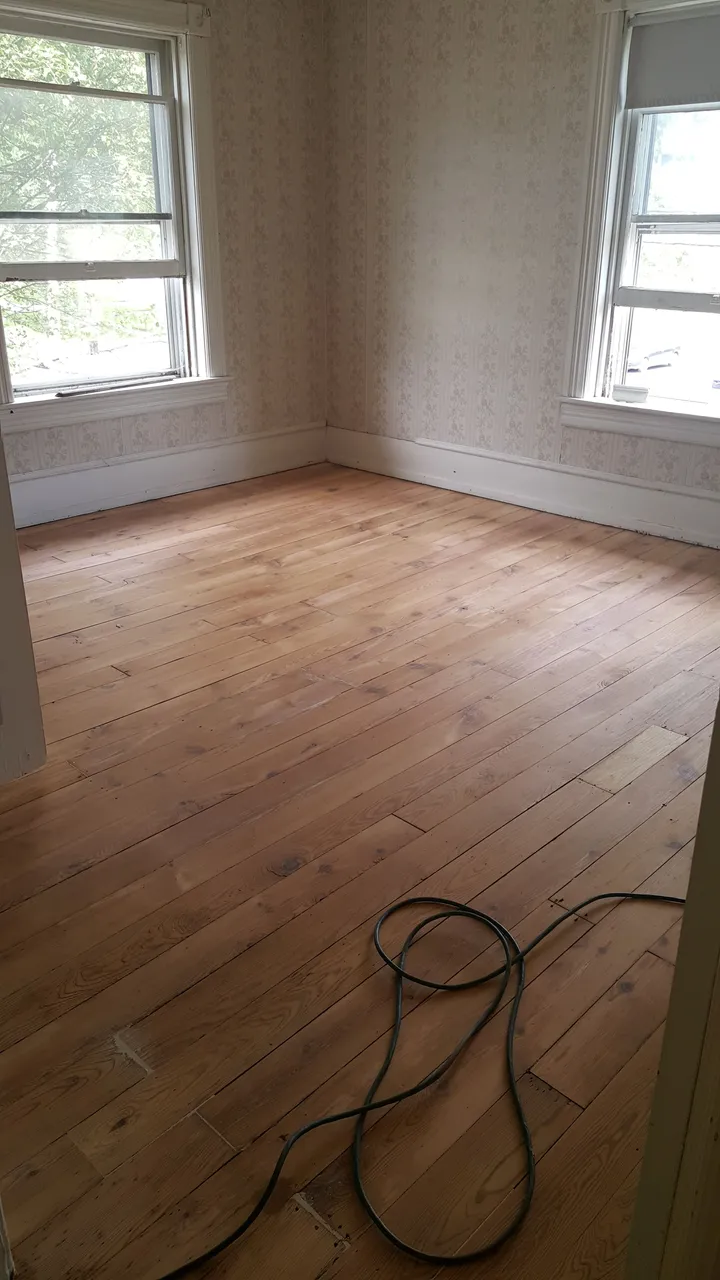
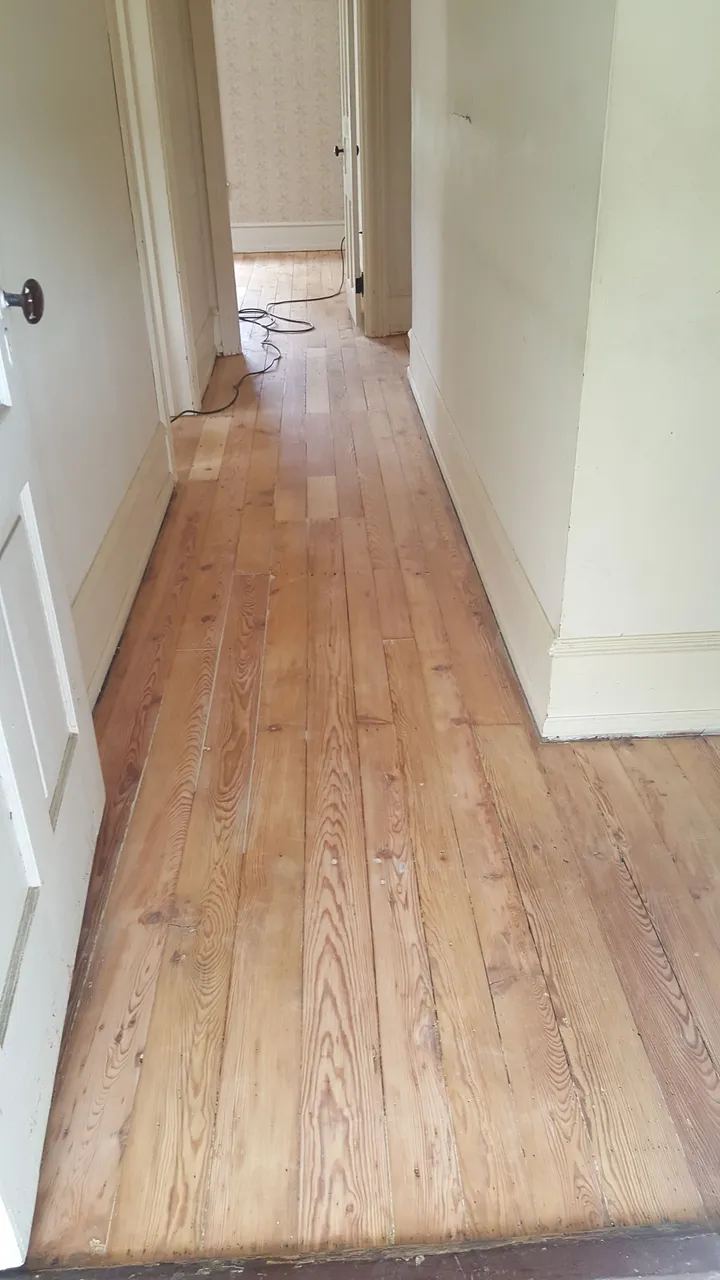
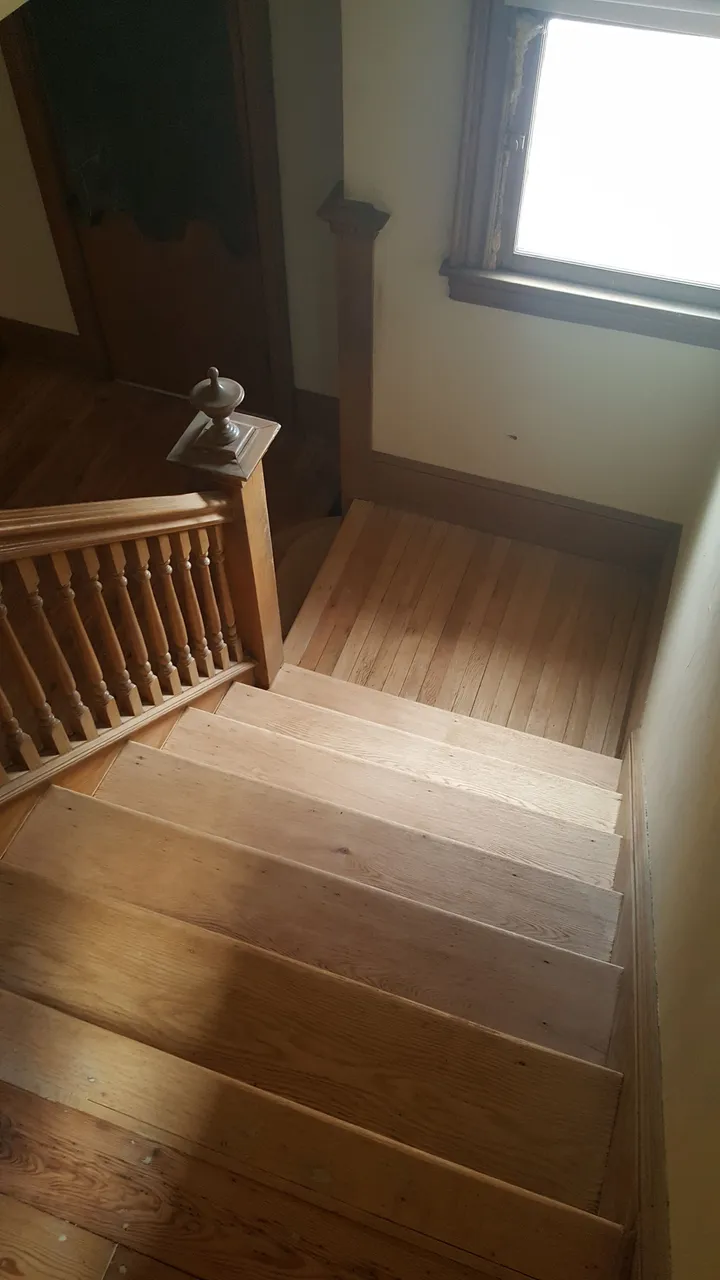
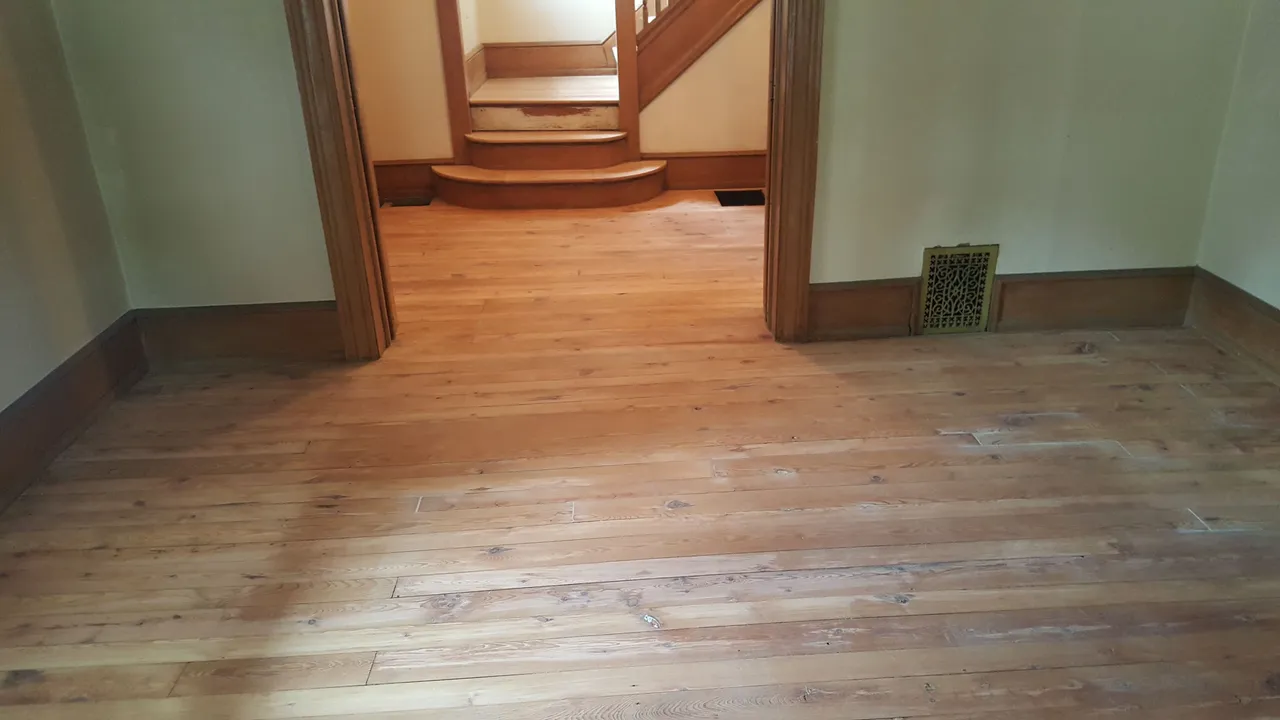
After the repairs were made and small holes were puttied it was time to sand the floors. This leaves them smooth to the touch and looking amazing. Not bad for wood that over 100 years old, eh?
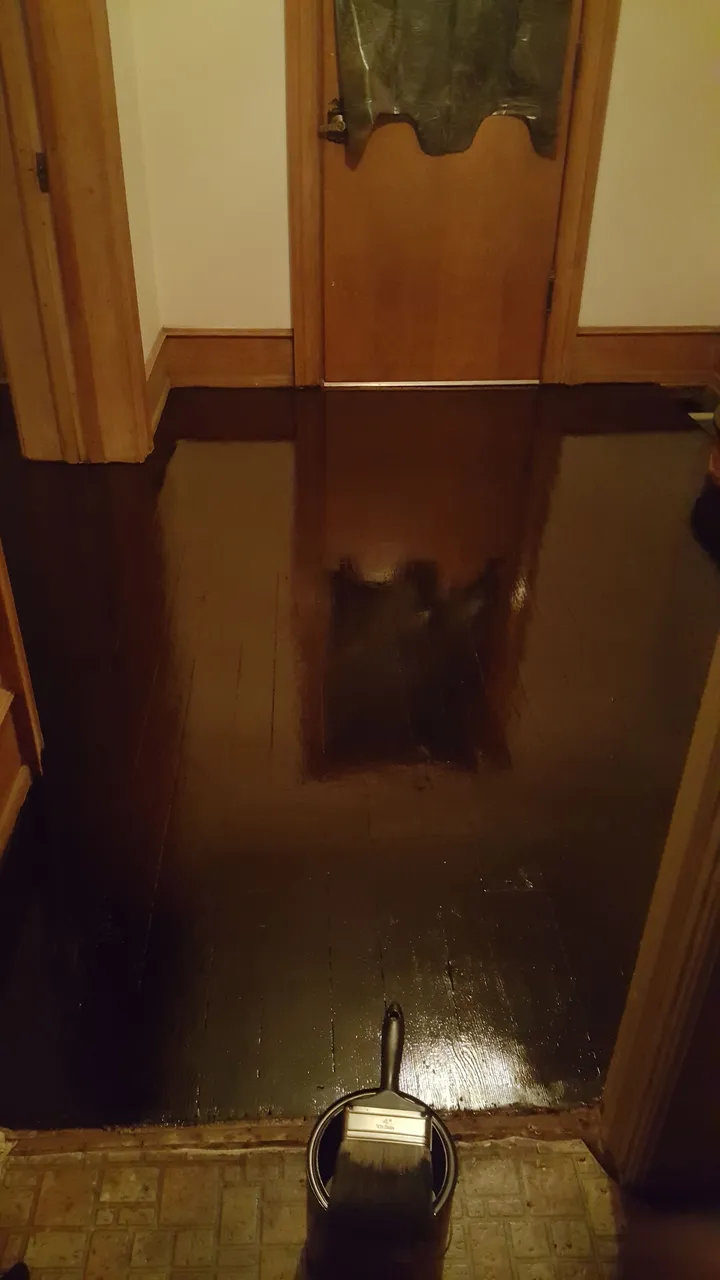
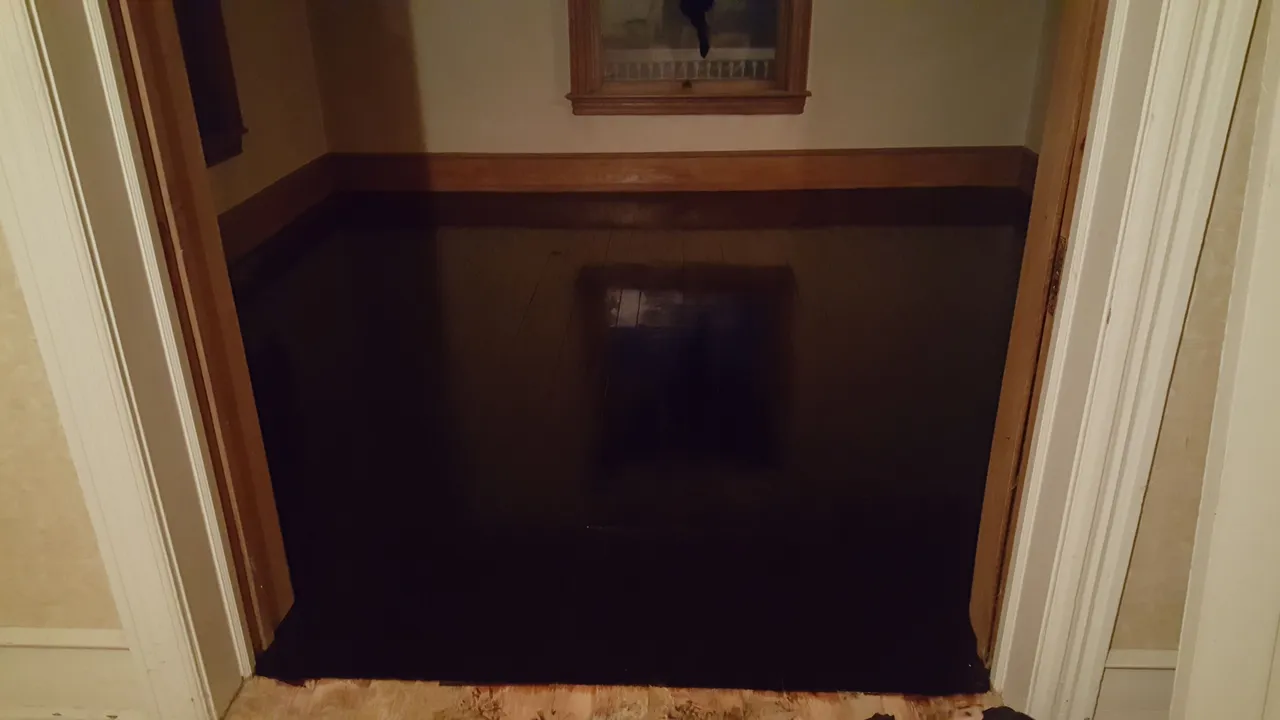
We decided to go with an ebony stain so the floors wouldn't clash with the original woodwork on the first floor. It was only fitting that this stage came on the most humid days of the summer. It seemed like the stain would never set up, so after a week of reapplying, buffing and panicking, we were finally ready for polyurethane.
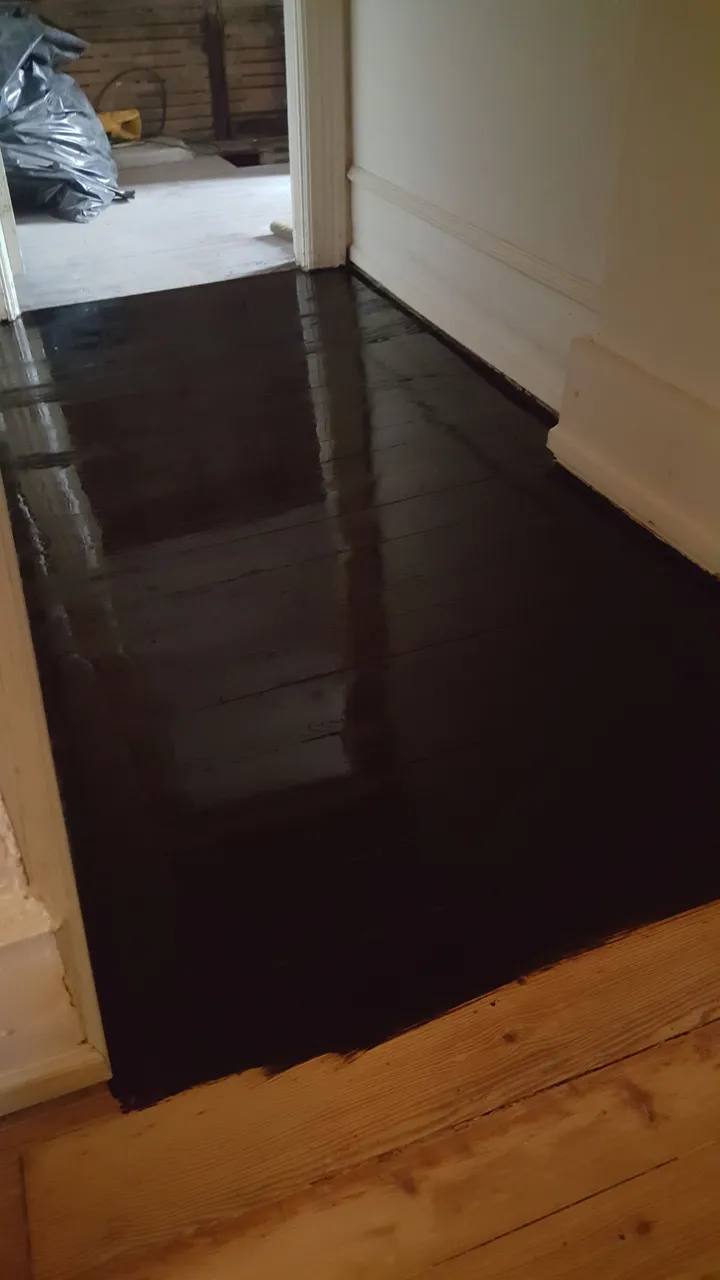
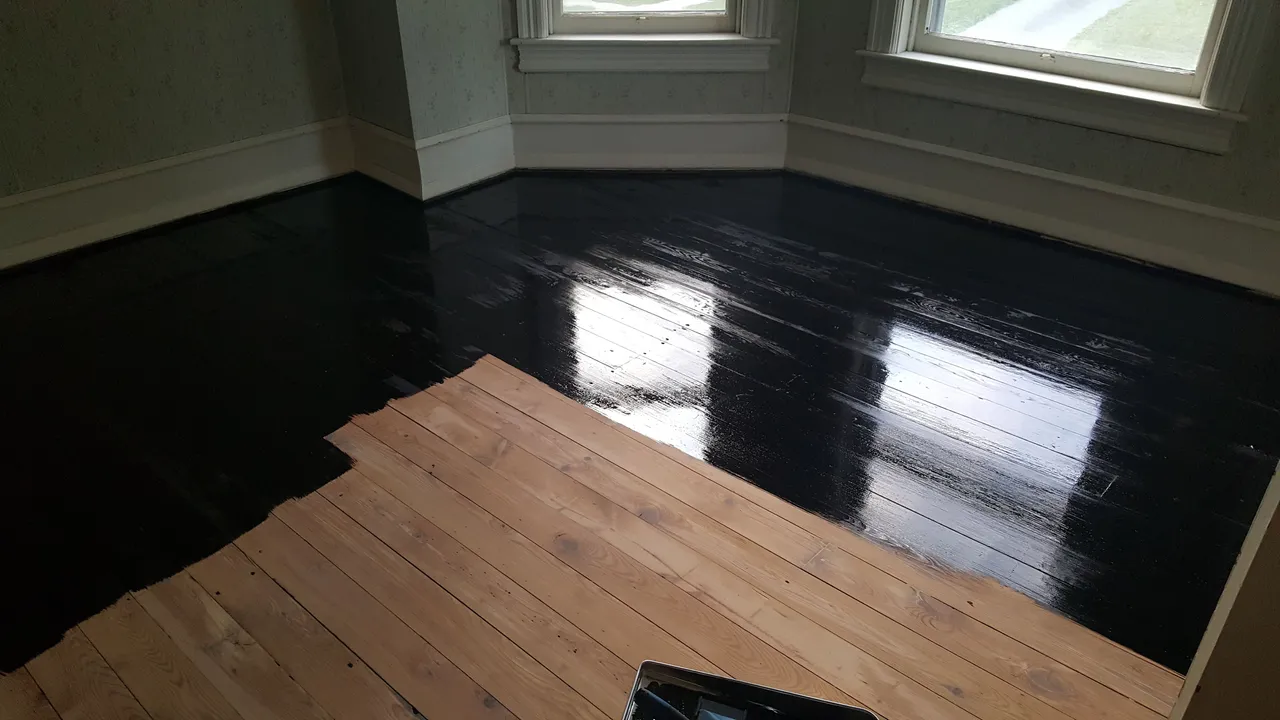
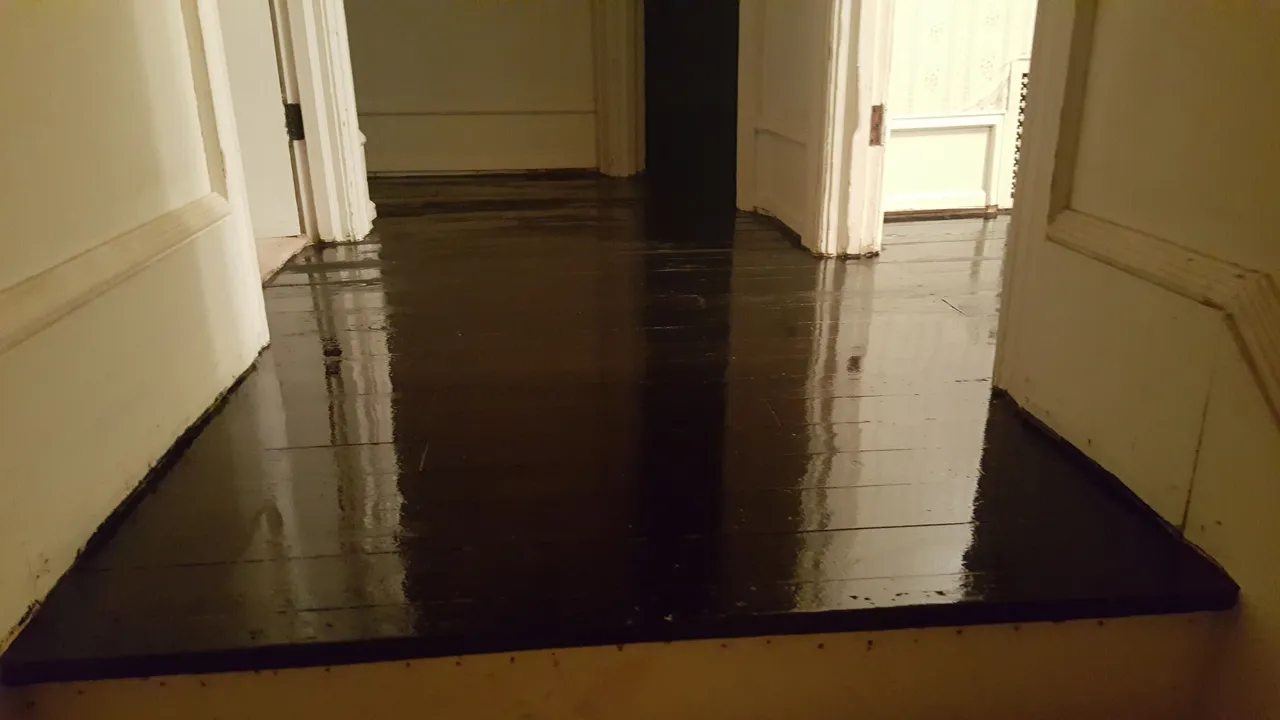
After 3 coats of poly and a buff in between each coat, these floors were finally done. I was so happy, floors are one of my least favorite things to do.
In part two of this blog, I will get into the behind the scenes work that needs to be done before tearing into a bathroom remodel, especially if you're intending to do the entire place and do it right.
Thanks for reading and I hope you're looking forward to see what's coming next. Turning the not so pretty, into amazing is what I enjoy the most. Being that it's Christmas eve, I probably won't revisit this until the day after Christmas, so stay tuned and thanks for your interest. Feel free to leave comments and/or ask questions. I love to educate. That's why we're here, right?