In this post I'll show you how easy it is to install Ark 2.0 node from scratch using the new Ark Commander. We'll use a newly created Ubuntu virtual server running on DigitalOcean hosting. Let's get started!
Cloud Server Setup
If you do not have account with DigitalOcean, signup for one at https://www.digitalocean.com/. For the record: I do not have any affiliation with DigitalOcean. It's just a reliable, intuitive and cheap cloud provider.
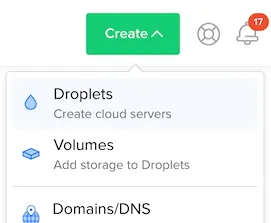
Once you are logged in, select:
"Create" / "Droplets":
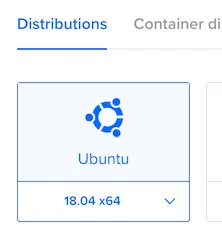
OS image:
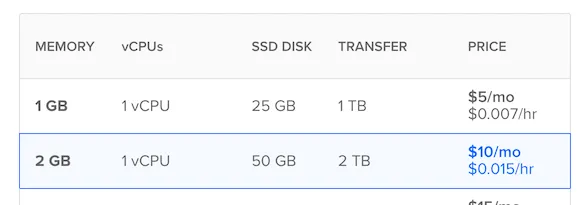
RAM:
data center closest to your location:

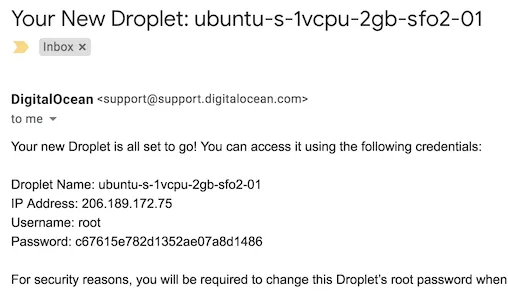
, then hit "Create" button. In a minute or two you will receive an email with login instructions similar to:
Login with the given credentials via your ssh client (I'm using bash Terminal on a Mac):
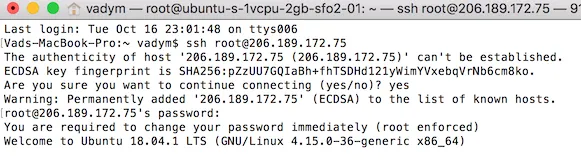
And change the password.
Installation of Ark Node
In the same terminal session, create a new sudo user:
adduser ark && usermod -a -G sudo ark
Login with the new user:
su - ark
Download Ark Commander script:
git clone https://github.com/arkecosystem/core-commander.git
and run it:
cd ~/core-commander && bash commander.sh
The script will take a few minutes to install all the necessary dependencies. Once completed, you will see Ark Commander's screen:
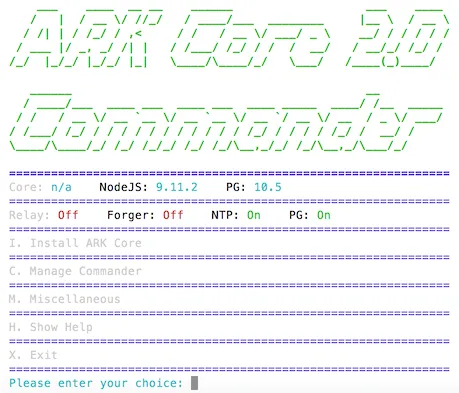
Type in "i" to select installation of Ark Core. Once the core is installed, you will be prompted to select network:
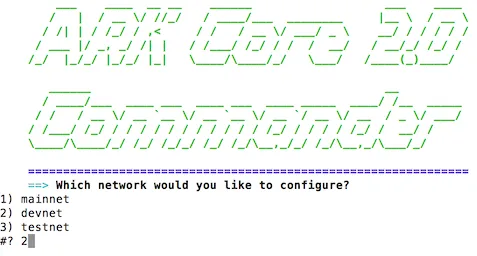
Type in "2" for devnet. Then, select all defaults and, when prompted, choose to start a Relay.
We are done!