Hey all!
We've reached the last step with this brew. It's been a while since I've done anything to it; actually I'm lying a bit, 4 days ago I've kinda racked the beer, I've simply moved it to a different container leaving the bulk of the sediment and hops flowers out but without worrying too much about what's left in.
So today we're at the bottling stage. This is how the beer looks now; I know it looks weird in the pic, there's still lots of hop flower fragments floating about and a thin oily layer on top from the dryhopping but it will clear after being bottled.
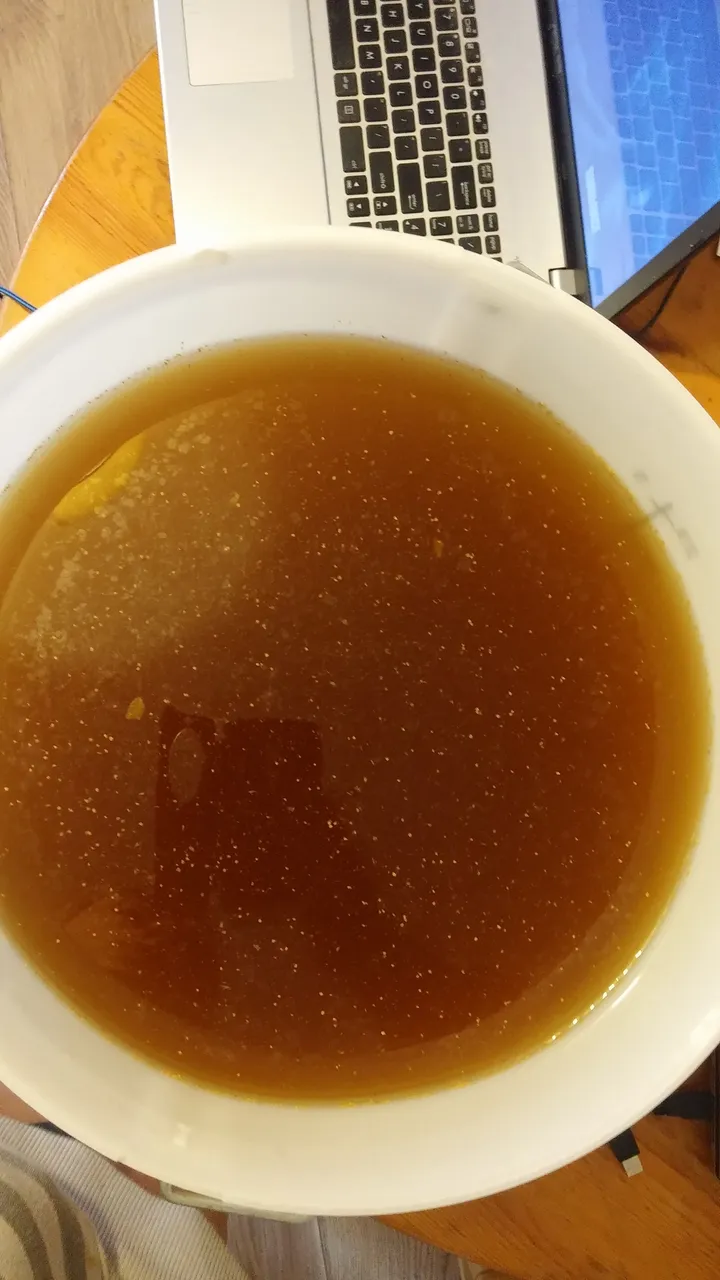
The beer itself is not looking too bad. Tastes ok, obviously really flat, but you can definitively say it is a beer when you try it.

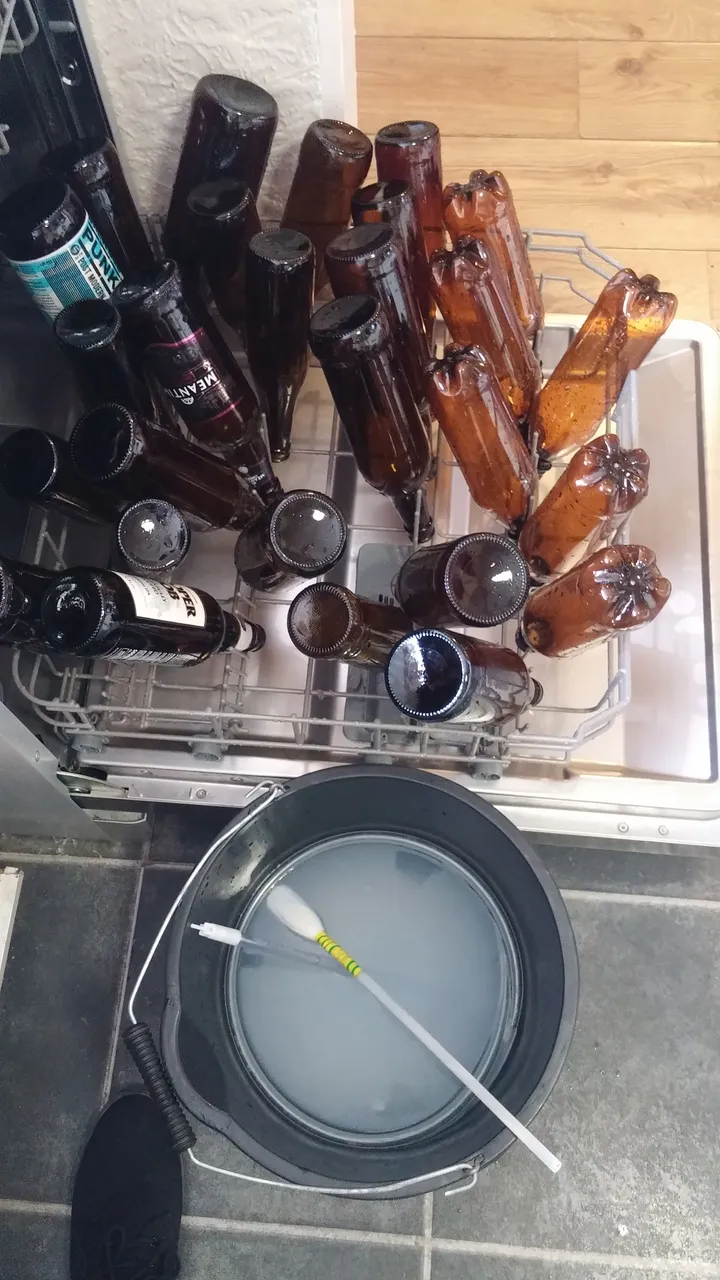
Got my bottles ready and sanitised the equipment I'm going to use. I simply put the bottles through the dishwasher, no detergent though; the heat on a glass washing program should get rid of most bad things, I haven't had issues so far doing this.
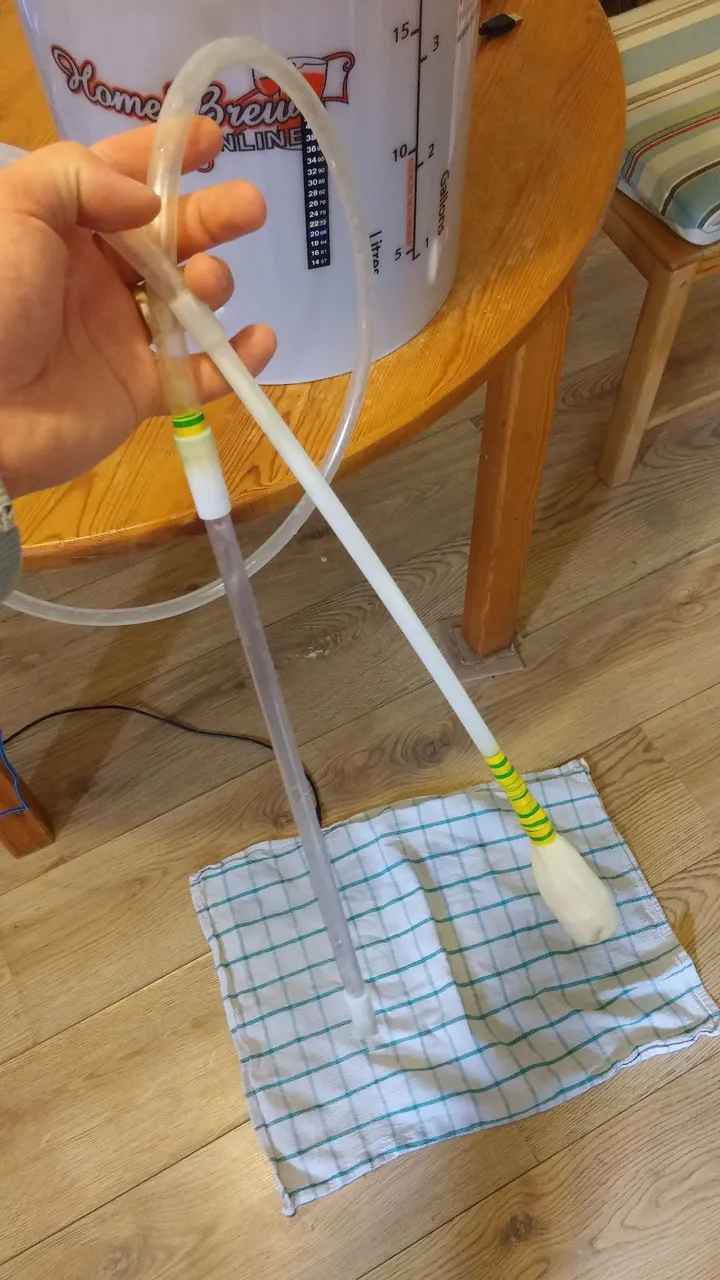
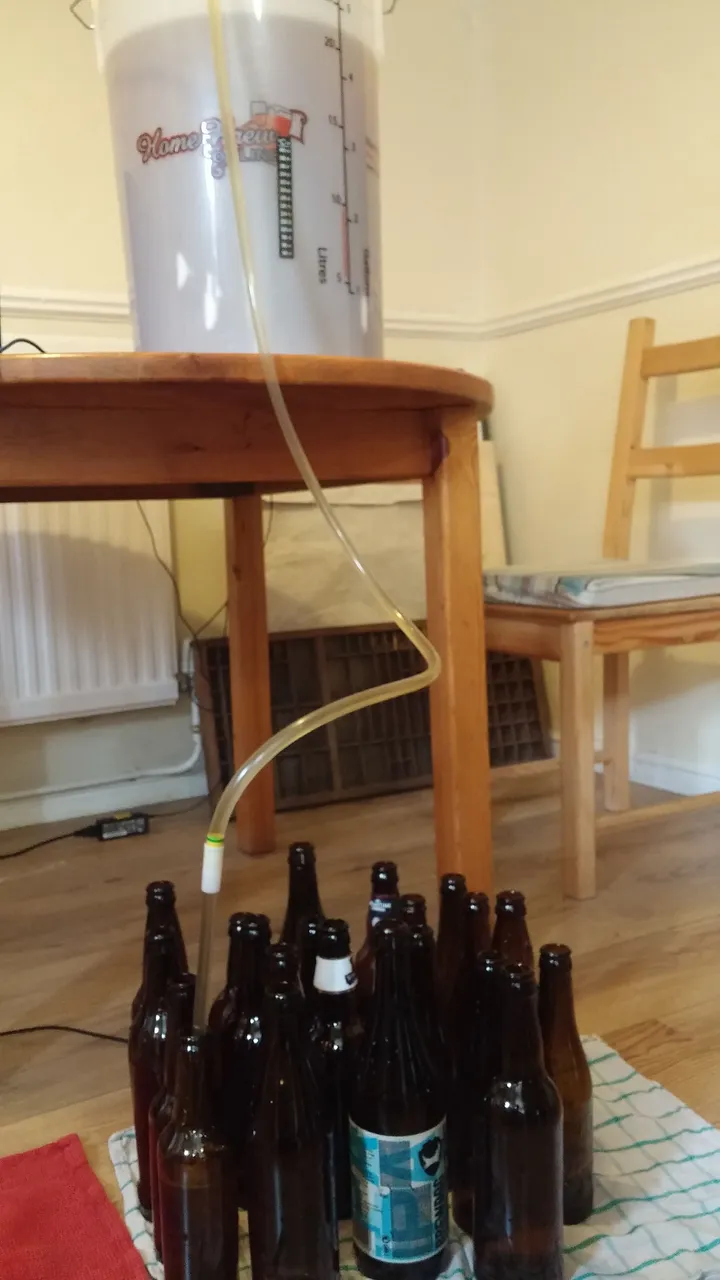
I'm using a bottling wand; it's not required but it does make things so much easier; and I made a simple filter out of some muslin cloth to stop the largest particles.
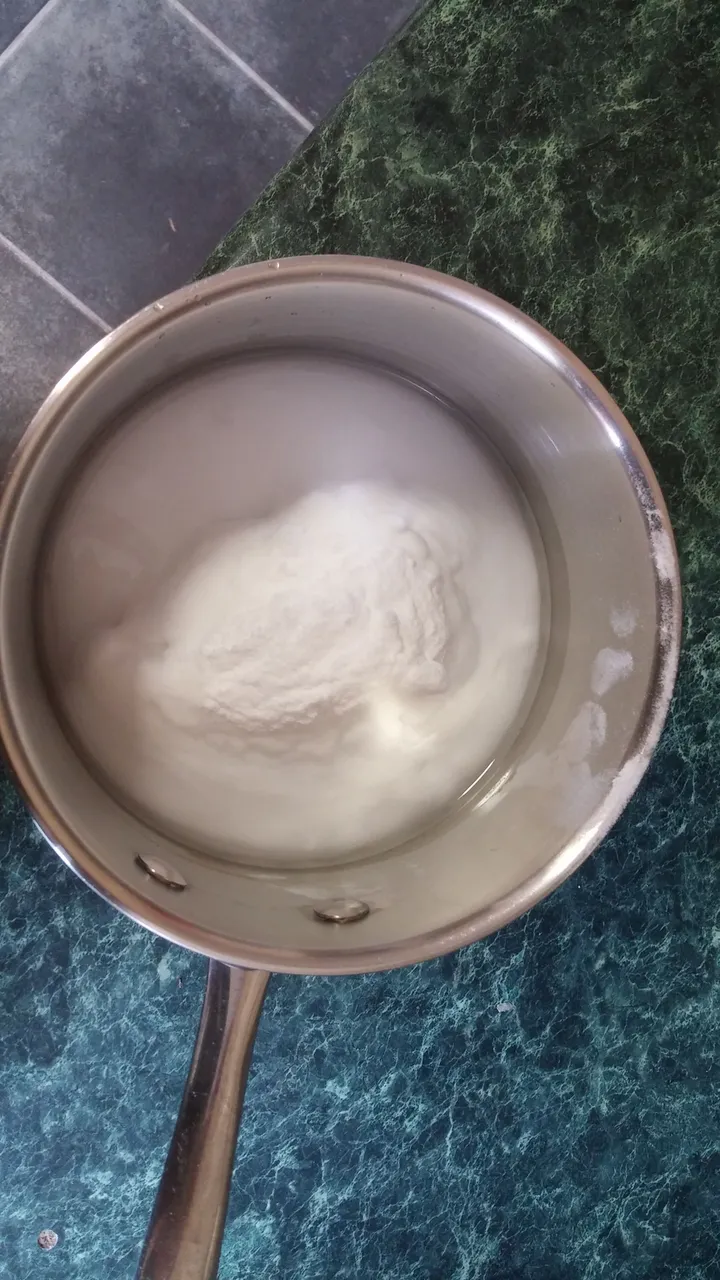
For the beer to get carbonated we need to prime it. That means adding some sugar before bottling so that the yeast that's still present and alive in the bottles can consume it and turn it to CO2. I've used a priming calculator and got it up to 2.8 volumes of CO2. You could add the sugar straight to the bottles before putting the beer in or add it straight to the beer. I prefer to dissolve the sugar in water beforehand and add the mix to my beer bucket.
Now, we're starting to bottle.
Then we put the caps on; if you've got some other brews it's always handy to colour code them so I bought blue caps for this brew and put some stickers on the plastic bottles I've used.

I've bottled the last beer in a clear bottle so I can keep track of how it's progressing. This beer is from the bottom of the bucket so it will be the cloudiest, it does have a nice colour though, it will only get better from now.

So that's it, well we've got to wait a few weeks for it to be ready, but making beer at home from a kit is really easy and you don't have to take as much time as I did. These kits will produce beer that's ready to be bottled in 7 days and ready to drink in 21 days, but I'm experimenting with different time periods.
My next brew will be my first all grain beer so I'm really excited about that.
Thanks for having a look guys!
Cheers
Cos