How to Paint with Oil Paint
You want to paint a beautiful and expressive painting with oil paint? Here are some basic things to guide you into the beautiful world of painting. Once you have mastered the basic technique, the world is your canvas! 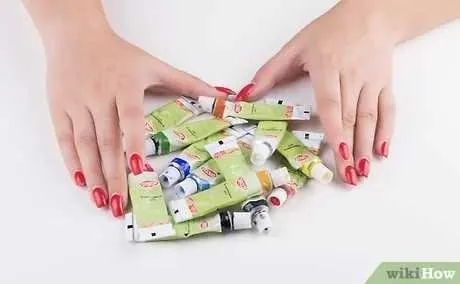
1
Choose paint. Before even considering painting, you should have oil paint first. Although there are dozens of brands of oil paint on the market, do not be influenced by the cheap price. Buying cheap paint, but with a low quality will make you difficult in painting, feeling bored, and desperate. Spending a little more money will make your painting only require one-time processing, not two or three times with better workmanship and power.
The most basic colors you should have are: yellow cadmium, yellow ocher, red cadmium, red alizarin, navy blue, white titanium, and black mars. You can use a mixture of this color to create another color that is in the color wheel.
You'll notice that white is the fastest-out color, so buy a larger white paint tube, while other colors with smaller tube sizes.
Avoid buying paint for "learners", although it looks very good, but actually offers the lowest quality. Also avoid buying painted paint with brush, because the brush is a brush that has a low quality too.
2
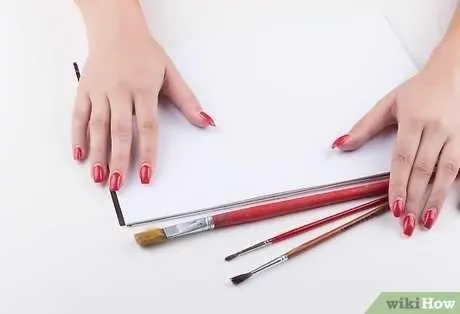
Complete other equipment. Beginning painters often get stuck in a situation avoiding buying some materials and equipment to save. When this is a serious exercise, there are some basic things you must have in order to enjoy painting easily.
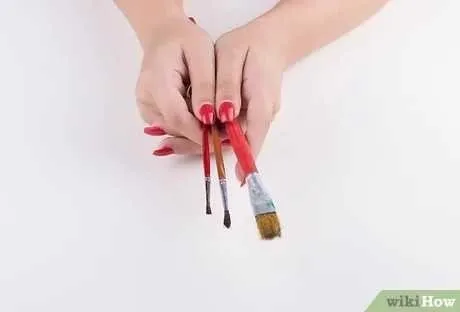
Choose some basic brushes with high quality. You need to have lots of brushes to start, but buy some. It starts with round, flat, and featherweight.
Synthetic brushes are made of very soft and fine feathers, while brushes with natural bristles are slightly rougher. Use these two different painting techniques.
You also need a pallet blade to mix colors, painting palettes, canvas boards or canvas, and used fabrics to clean the brushes.
Oil paint is very thick when freshly removed from the tube, and must be melted for the first layer using white or turpentine spirits, and mix linseed oil and poppy oil for the next layer. Use the "Thickness on thin" principle, and this will prevent the separation of layers.
Other auxiliary equipments such as horse boards for canvas or table for drawing, an apron, a cloth for dripping, and a special box for storing all your equipment. [1]
3
Prepare the painting. Painting using oil paint requires a lot of equipment, so you also need a large space as well. Prepare a pole of horses or tables in an area that is free of the path many people pass and exposed to direct sunlight, if possible. If you have one, place the cloth underneath to protect your floor from oil droplets.
Oil paint can cause a sharp aroma, so make sure your room has a good air duct with windows and doors open.
If you use a horse's pile, put it the right way. Set the sitting position and the angle of the slope. Make sure you can sit comfortably while you're painting, no trouble.
Use your old clothes that have been painted to protect your clean clothes and your skin. Oil paint is notorious for being difficult to clean, so make sure you take steps to prevent it until you get stained with oil paint.
If you have long hair, tie it into a ponytail, or gelunglah to ensure your hair does not fall in the paint. Remove the ring or bracelet you are wearing. 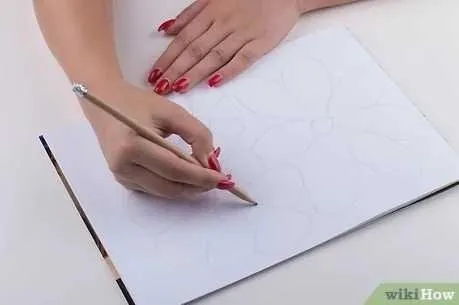
1
Make a rough sketch. Use a pencil to create a thin line. You can also do it directly on canvas or on paper first, then transferred using carbon paper. When you draw your subject, think about the composition and use of negative space.
Composition is the compilation of the image on the canvas. Choose the best layers so your eyes are on the canvas thoroughly, rather than lingering in the same place.
The negative space is the space that surrounds the object. If you use objects from the real world and describe them on canvas, draw a difficult space with more attention to the spaces around the object than the object itself. Consider what you want to fill the negative space to make the object more visible.
Add overlapping layers, as this will deepen your composition. If your subject does not have an overlapping shape, consider rearranging it. This will make your painting seem more real. 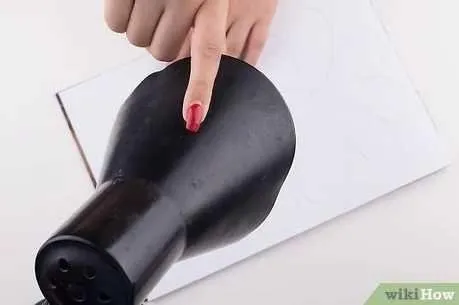
2
Determine the light source. To create a painting that looks real, you must have a clear light and dark part. Observe your subject and discover from what angle light comes. And where the shadow falls and the exposed part of the light is.
All light will create a shadow, but if it falls past the subject it will be very difficult to see it. Try moving your light source so that the shadows and irradiated areas are more clearly visible.
You may not find a very dark shadow or a very brightly illuminated part. In fact, you have color levels that are very close to each other. Do not get too stuck when your light source does not create shadows and bright areas with great light. 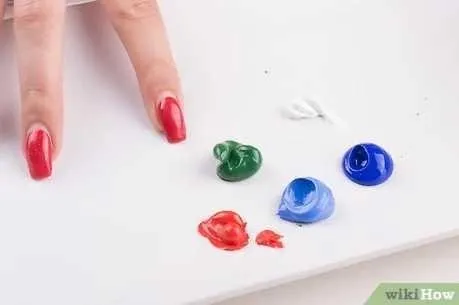
3
Consider your color. For some painters, it's hard to match the color of their subject with the colors they mix. This is because the brain provides its own understanding of color; if you see the sky is blue, then you mix the blue paint, only to realize that the paint is brighter and more colorful than the real sky. The trick is to pass the understanding of the colors that exist in our brain, and observe the true color. This will brighten your painting.
Paintings at night will look darker than paintings during the day, which is brighter.
Check the color of the light; in the heat of the day, your subject will be glowing golden. On cloudy days, light shines through clouds that give a grayish color-as well as fluorescent lights and lights with colored light-also affect the color of your subject.
4
Observe the movement of your subject. Does your painting still look alive if there is no movement? Or is the pasture on a windy day, creating a lot of movement? Paying attention to the movement of the subject is very important to plan the brush smear. Real painting uses a brush smear that creates movement, or vice versa. [2]
1
Combine your paint. Oil paint takes several days to start drying out. However, it is almost impossible to mix your paint twice but produce the exact same color, so mix your paint into a big place and keep it during the painting process so you have enough oil paint that has the right color.
Use the color wheel to determine the color you want to mix. The color wheel shows the primary, secondary, and tertiary colors and how to create them.
Pure color is a color that has not been mixed either with white or black. You can mix the primary colors to get a secondary color.
to create a color, add a white color. This will brighten the color and make it a pastel shade.
To create a shadow, add a black color to any paint color.
To create a color gradient, add white to the shadow (all colors added in black). Color gradations are most commonly used, as they represent the colors we most often encounter on a daily basis.
2
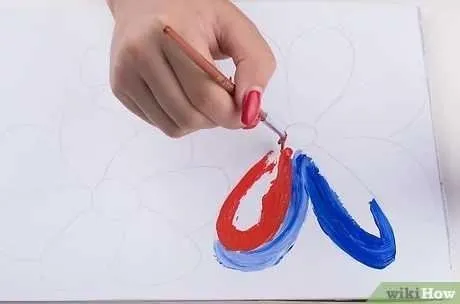
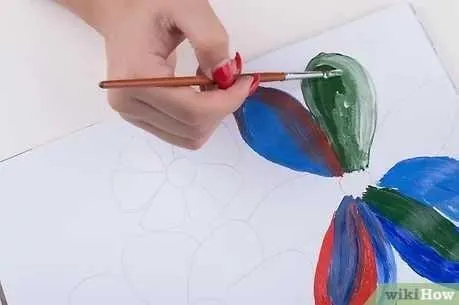
Start painting. You are free to choose whatever painting technique you like, whether by painting all canvas surfaces or making layers on canvas. When painting using oil paints, use a viscous technique above liquid using liquid paint before overwriting it with thick paint.
Try to draw a basic subject. All objects are formed from the basic forms: boxes, cones, tubes, and circles. Painting these basic forms into real subjects, such as squares or oranges, or drawing a flat formation of each form.
To melt your paint, use a medium level mix (linseed or turpentine oil) on your paint. Do not use too much when starting, but use it gradually until you get the level of viscosity you want.
It takes three days for the layers of the painting to dry enough to add the next layer above it, so be patient in waiting for your painting to dry. 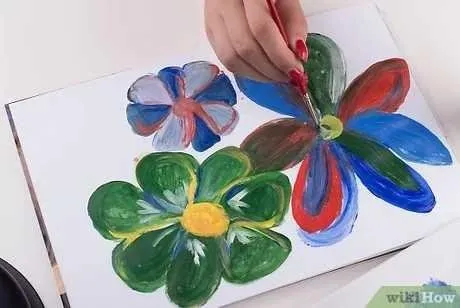
3
Try different techniques. There are dozens of ways to perfect your painting, but learning everything as a beginner will sound amazing. Instead, focus on choosing several techniques to use together.
Try mixing your paint. This is a process in which you slowly combine two or more different colors (imagine the sunset). To do this, add a layer of paint adjacent to each other on the canvas. Then, use a flat brush to smooth the paint together, producing the appropriate color.
Try creating a clear layer. This is when you use 1/3 linseed oil, and 1/3 turpentine oil, and 1/3 varnish to create a clear color. You can use a variety of color mixtures to create visually invisible colors over paint that has dried up. [3]
Use small dots. Use a natural bristle brush (dry brush is much nicer), and press vertically on your canvas. You can create a more opaque figure by using a dot pattern.
Try using a palette knife to paint. This technique is perfect for creating surface and movement on your canvas. Take a little paint using the tip of the pallet blade, and scratch on the canvas to create a thin layer on 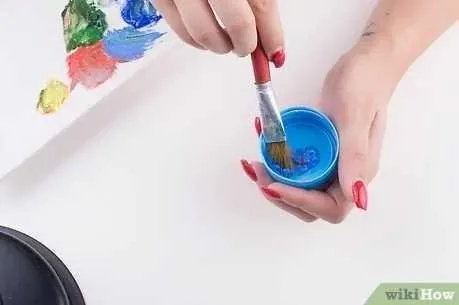
1
Fix all errors. You have about three days (when oil paint is still wet on your canvas) when you alter the errors or remove them thoroughly using a cloth. Before you decide that your painting has been completely finished, make sure if changes are necessary. 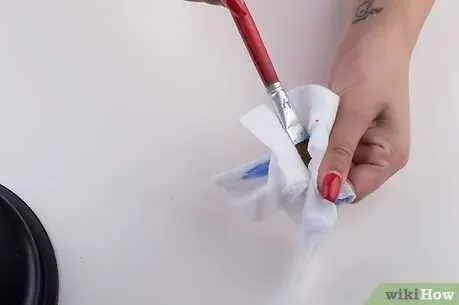
2
Store unused paint. If you have a lot of paint left over your unused palette, save it for your next painting. Move to a small or fixed place in the palette and wrap it with the wrapper.