Last time. I showed you how I made my character Kolt.
Today, (still working with DAZ 3D Studio) I will start to show you how I created my character Gemina. With a hiccup. I had to start over with her!
But, I can show you a little about how I get around the fact that pieces are often not quite right, and how I changed the color of this hair piece...
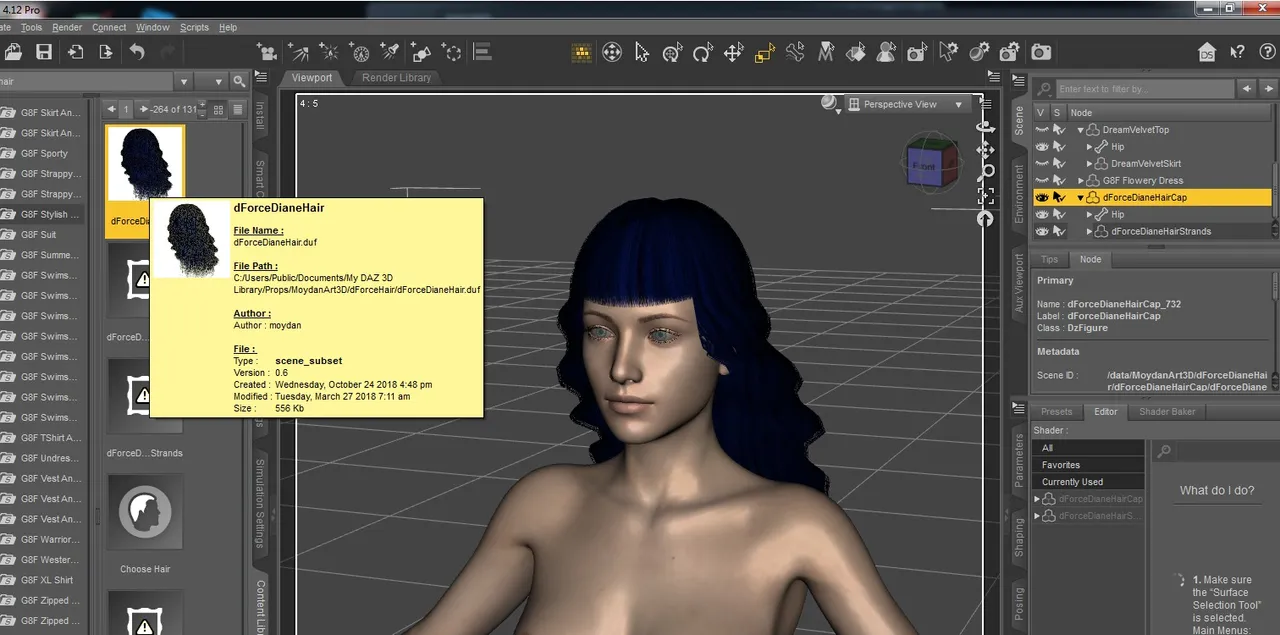
First, I started off with a Genesis 8 character - which I've been using a lot recently. I even found this really cool dForce hair (meaning it should be able to work with gravity.)
Here, you can see all the details of the hairpiece including its creator, moydan. Sometimes, you have a number of hair colors to choose from, but this time, I did not. Gemina is supposed to be blonde, so this hair is going to have to change.
With the hair selected (top right panel), I go to the bottom right panel and click on the "surfaces" tab. You can just see the box highlighted below where I'm looking at the "Base color." When I hover over the little square to the left, I get the location of the material files for this hair piece.
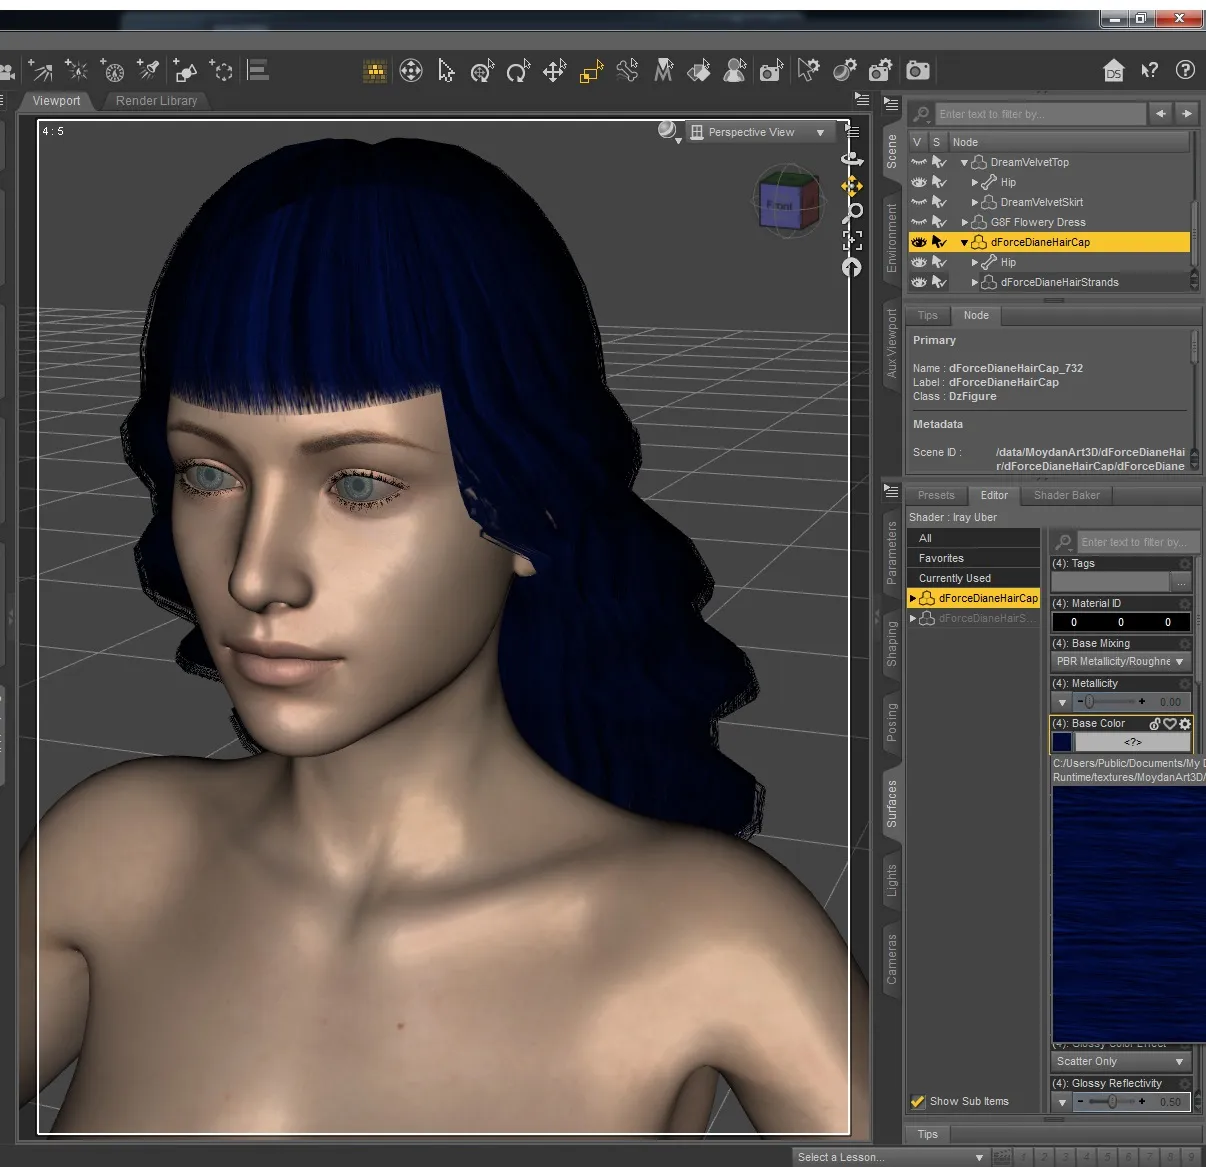
I write down that location and open the file in Gimp. PLEASE NOTE: This is where you can really screw up a product, so tread carefully!!!
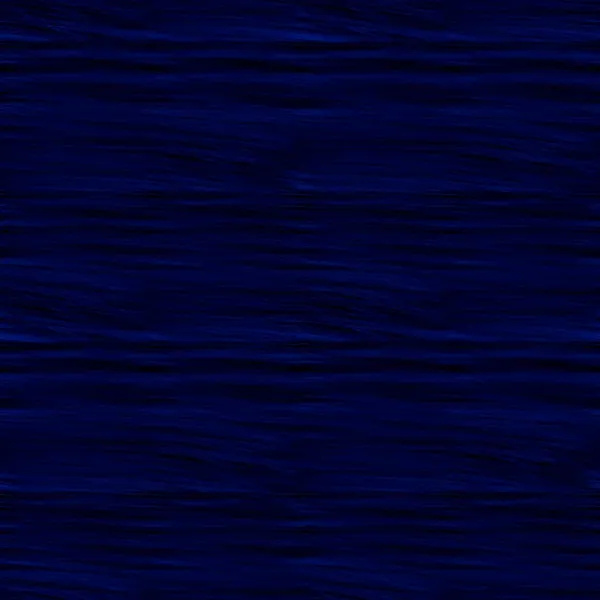
Here is what the texture image looks like for this hair. Fairly simple, really. There's no way I can replicate something like that on my own (I know where my artistic limits lie!)
The first main step I took this time was to use the color picker to select the main blue.
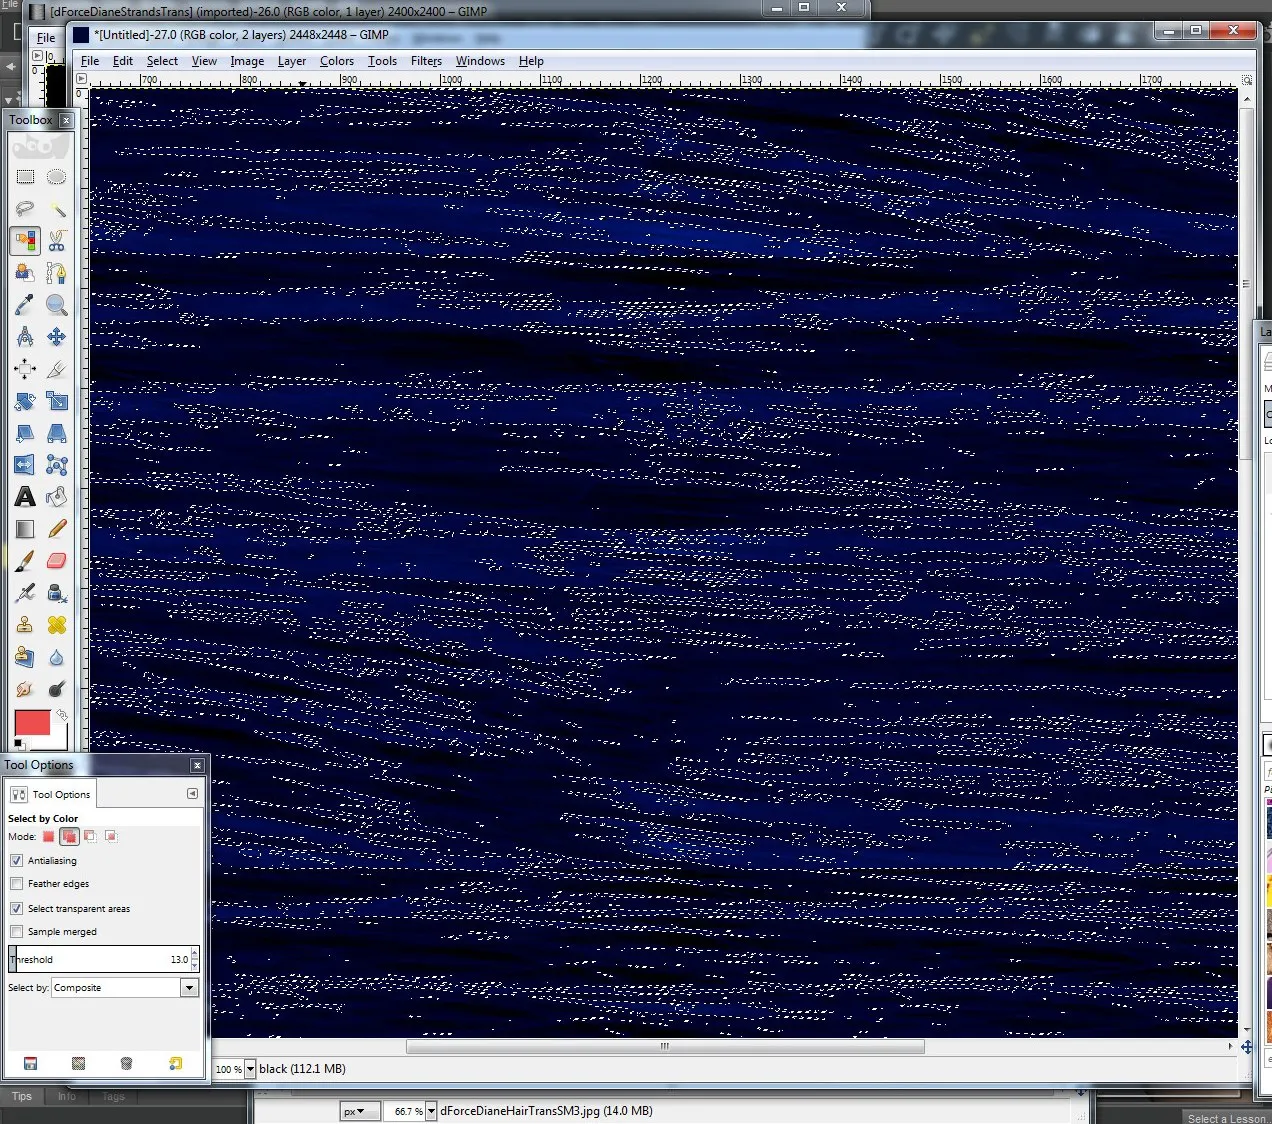
I chose a golden yellow color to replace these blues with. Then I grabbed my pain bucket, made sure that "fill whole selection" was indicated (tool options) and used the paint bucket to make some blonde hair.
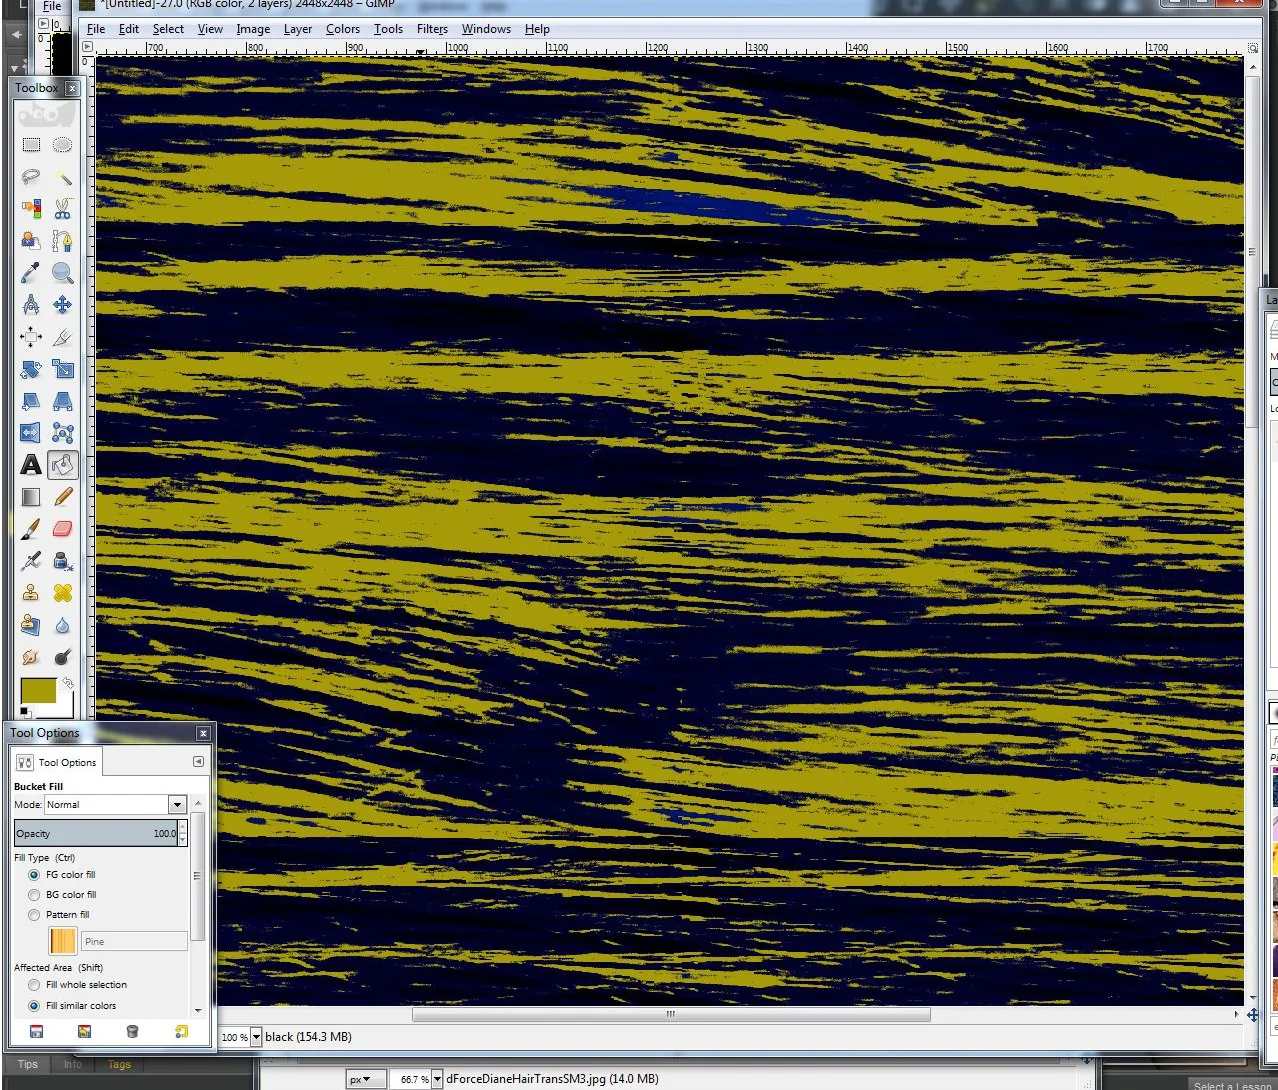
Repeat the above set with another shade of blue if you like and choose a similarly lighter/darker shade of blonde next... I didn't though. I took the easy way out...
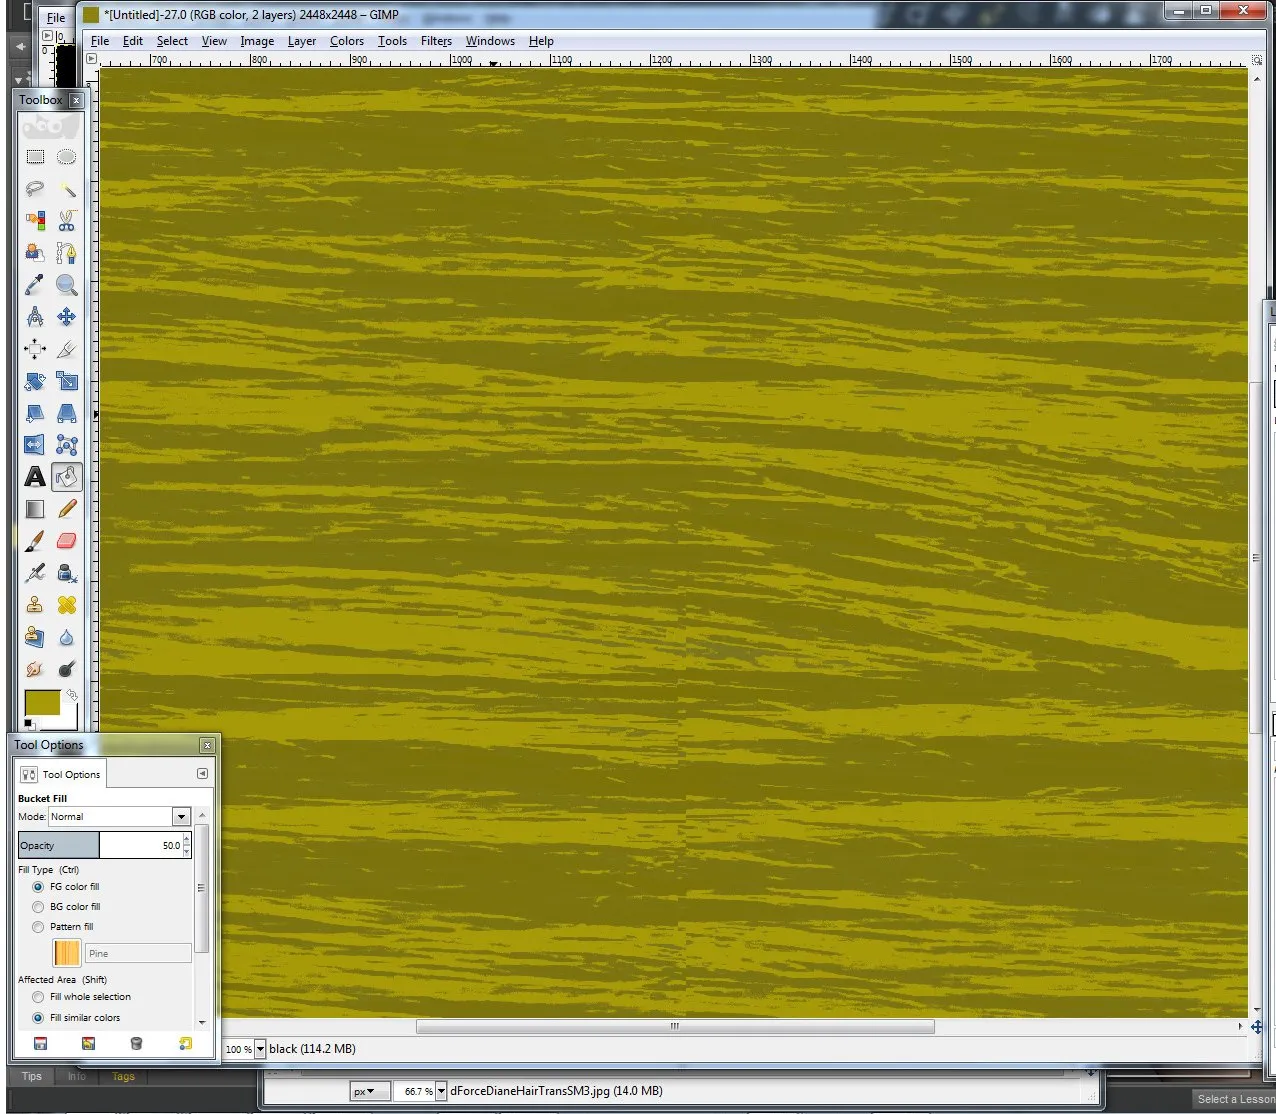
I deselected everything, then set my opacity down to 50%. I then bucket-filled the whole thing once or twice until I was happy with my textured blonde hair.
Then was saving it. Since this is Gimp, I choose "export as" and I changed the file name slightly... I try to keep most of the name the same and just throw the color change at the end so that it's obvious which file it came from and also obvious as to how it was different.
(Sometimes, if it's something I really like and plan to use often, I make other colors of the same thing while I'm there - just to have it ready.)
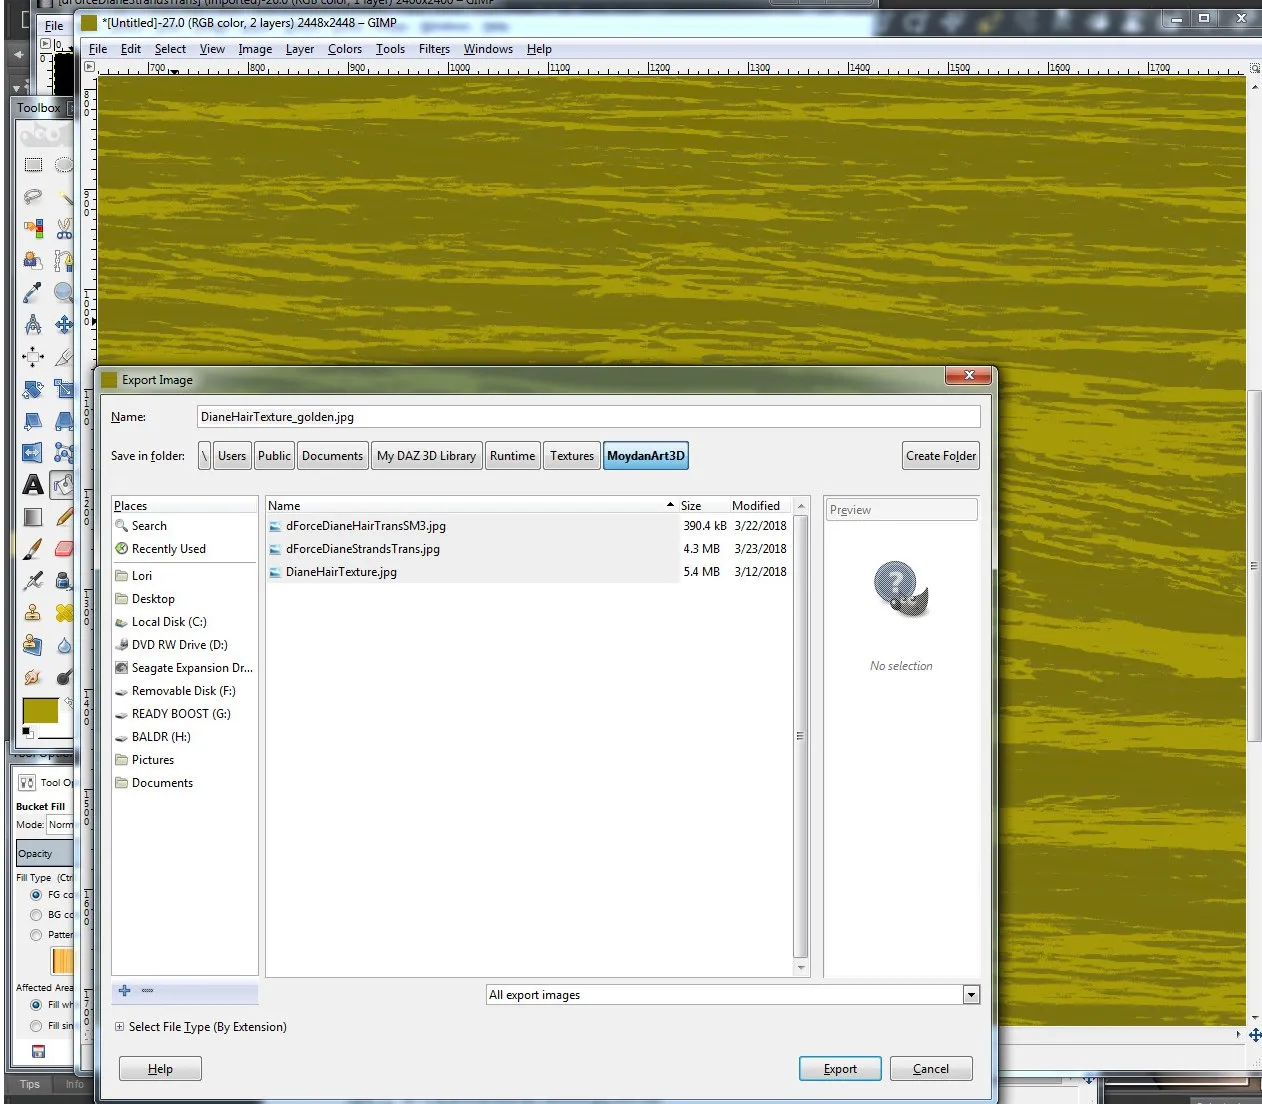
Here is my new texture file, in the same folder as the original. Ready for my character.
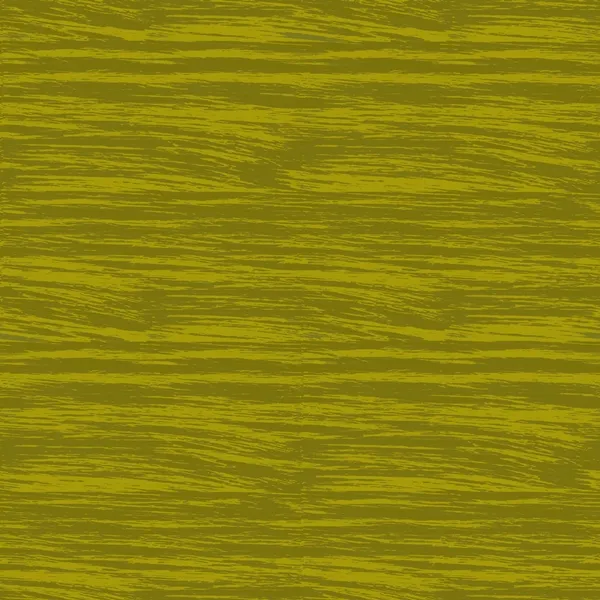
I go back to DAZ - and in the same place where I found the file name originally and click on that sqare. I'm then given this drop-down menu (to put it nicely)... I click on "browse" - (faster than reading through everything on that screen!)
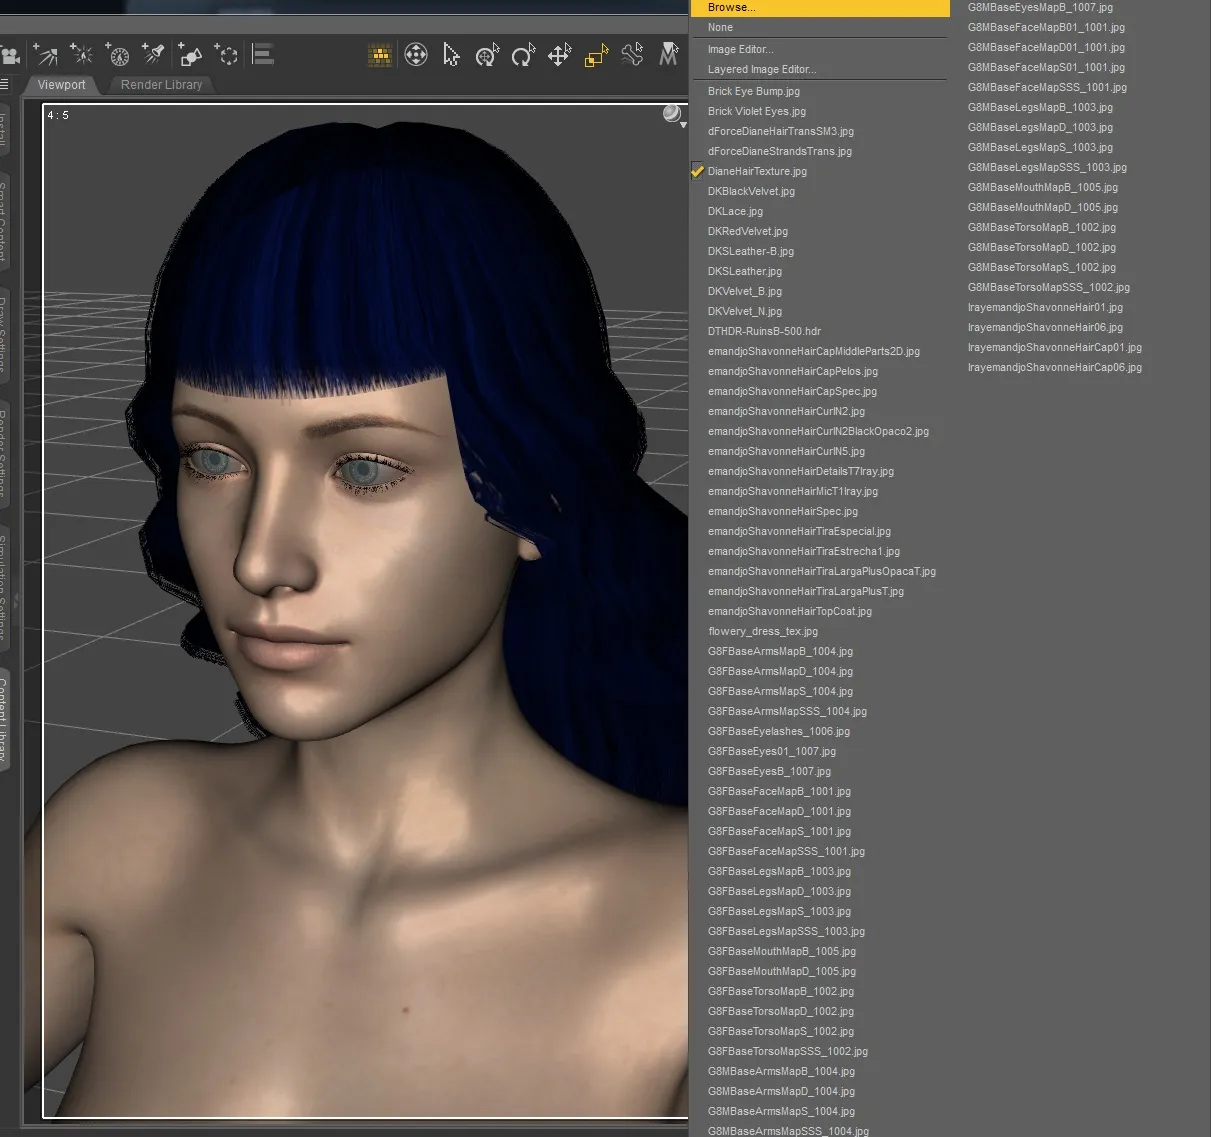
It takes me right to where the original file is - and now my edited one.
Now, my character has the same hair, but a totally new color.
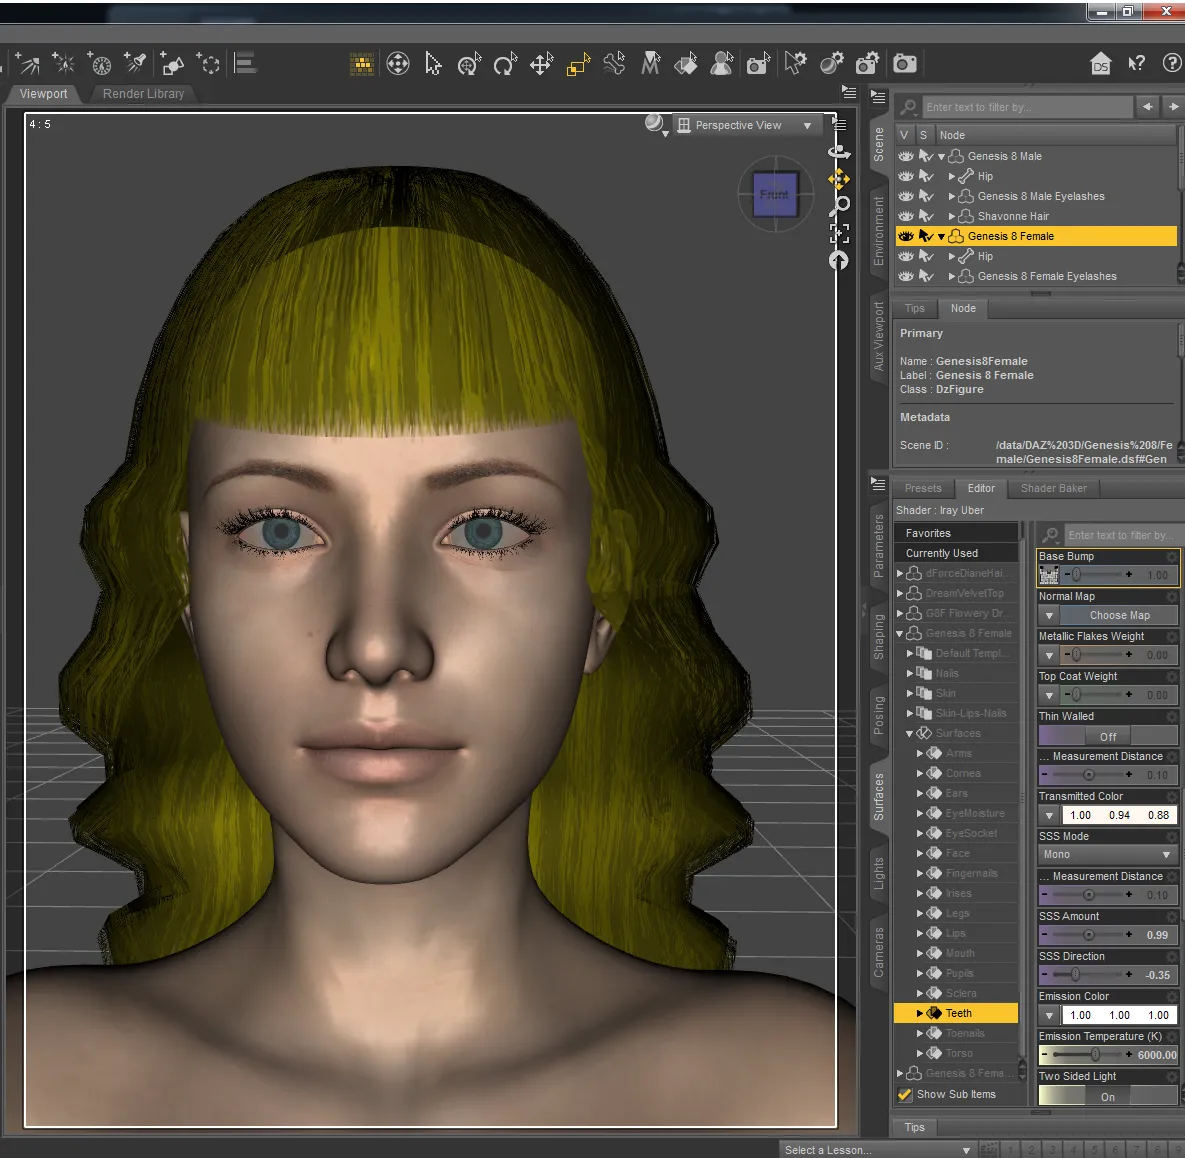
Now for her clothing... and that's where things went really wrong and forced me to change character bases altogether, but that's for next time!
All work done by myself on: Photoscape, Gimp, Krita, and/or Daz 3D Studio
Cross-posted on: Steem, Whaleshares, WeKu
Past tutorials:
- Map Development for Alacantis (on GIMP), part 1, part 2, part 3, part 4
- Cover image for Acting the Part
- Cover image for Brighid's Blood (part of the update).
- Cover image for Birth of the Neví, part 1, part 2
- Map Development for Velantia, part 1, part 2, part 3, part 4
- Map Development for Kranisis, part 1, part 2, part 3, part 4
- Cover Image for Name of the Neví, part 1, part 2, part 3, part 4, part 5, part 6
- Beginning with Daz 3D Studio - my cover image for Mind of the Neví: part 1, part 2, part 3, part 4, changes
- Cover image for Game of the Neví, part 1, part 2, part 3
- Cover image for Pawn of the Neví, part 1, part 2, part 3, part 4, part 5
- Cover image for Freyja's Fire, part 1 ,
Photo salvages:
Droplet, Bellis Daisy, Baby Blue Flowers, version 1, version 2, 2-Spot Ladybug, version 1, version 2, Bridge Over River Kennet
Coloring Tutorials & Mini-tutorials:
Zen colouring #43, Zen colouring #39, Zen colouring #38, Zen colouring #37, Zen colouring #36, Zen colouring #35, Zen colouring #34, Zen colouring #33,
Butterfly Colouring #11, Butterfly Colouring #10
Halloween Artwork:
2018 - Pumpkin Patch Harvest
2019 - Haunted Pumpkin House, Jack-o-Lantern Forest Cemetery, Shadow in a Misty Forest
Miscellaneous Artwork:
Lori Svensen
author/designer at A'mara Books
photographer/graphic artist for Viking Visual
verified author on Goodreads
find me on Twitter
blogging on: Steem, Whaleshares, WeKu


