I really like winter, when there is a lot of snow outside the window, which crunches under your feet and shimmers in the sun with all the colors of the rainbow ...
But this year the weather does not spoil us with snow weather, so I wanted to fill the house with paper snowflakes, which are made very simply and quickly.
Today I want to show you how do snowflakes.
To produce it you will need two A4 sheets, glue, scissors.
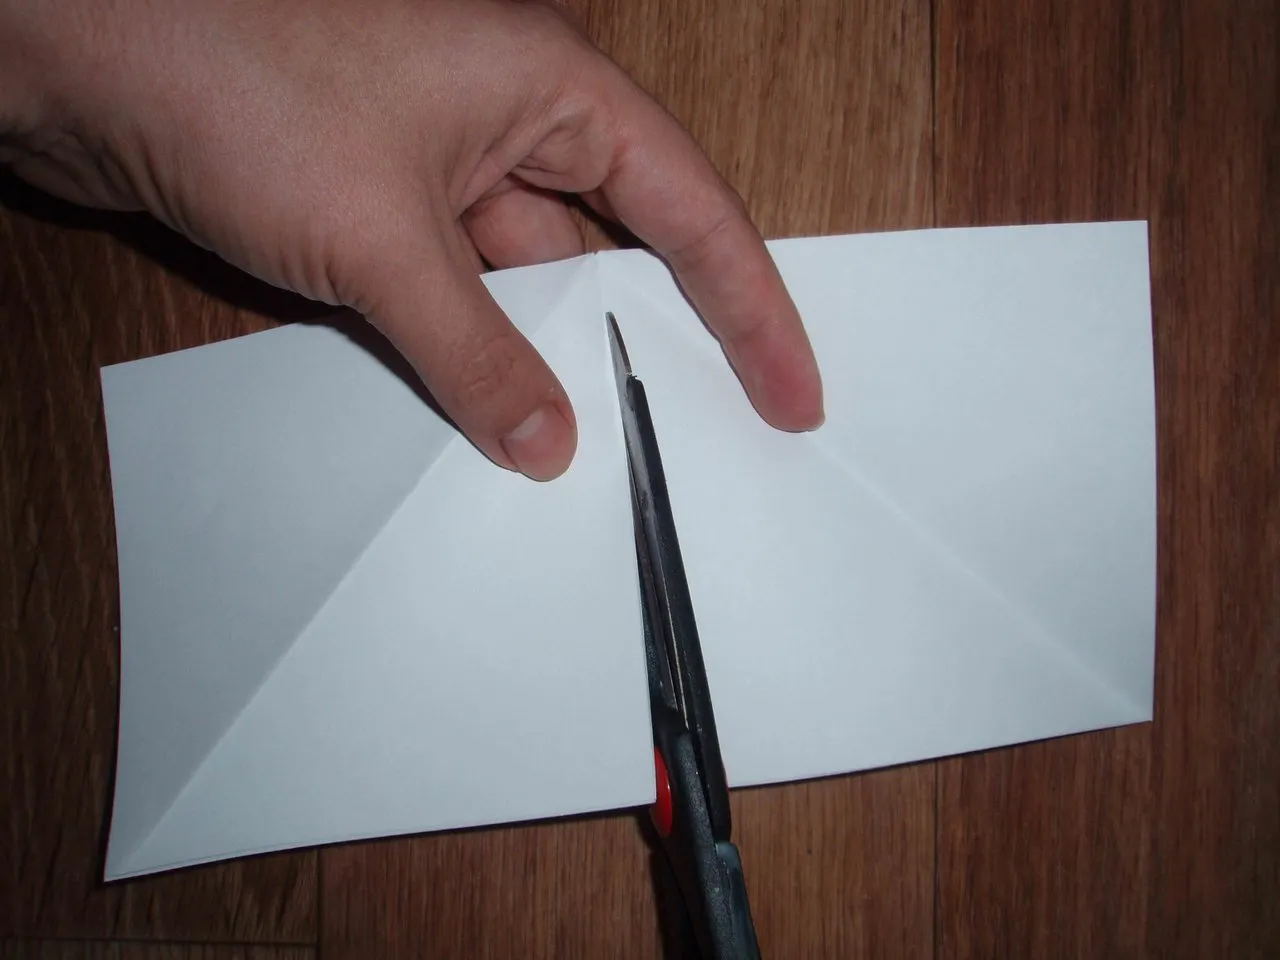
From sheets A4 we need to cut out 6 squares measuring 15x15 cm.
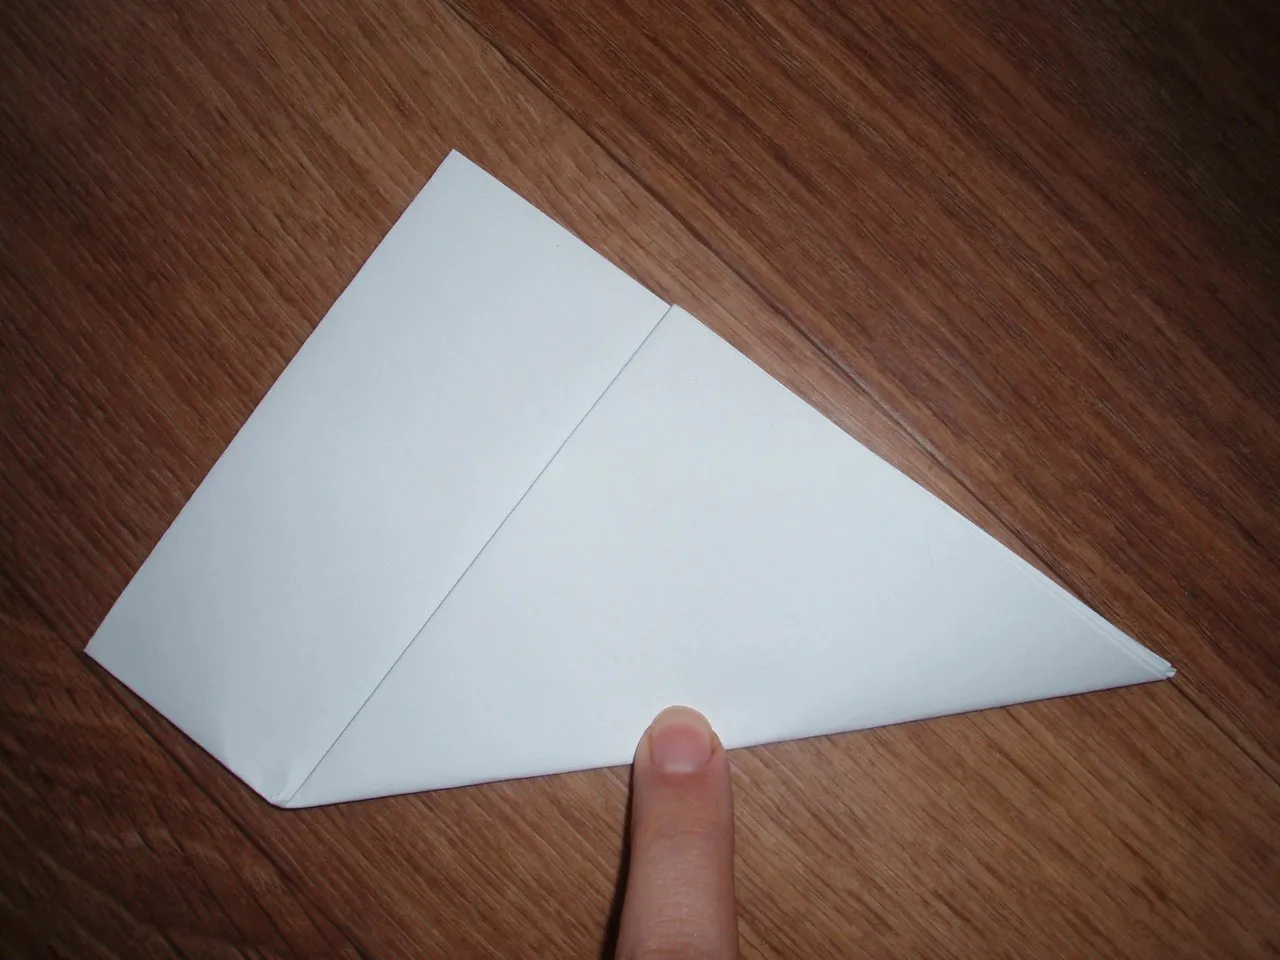
To do this quickly, we take one sheet of paper. Fold it in half and then diagonally
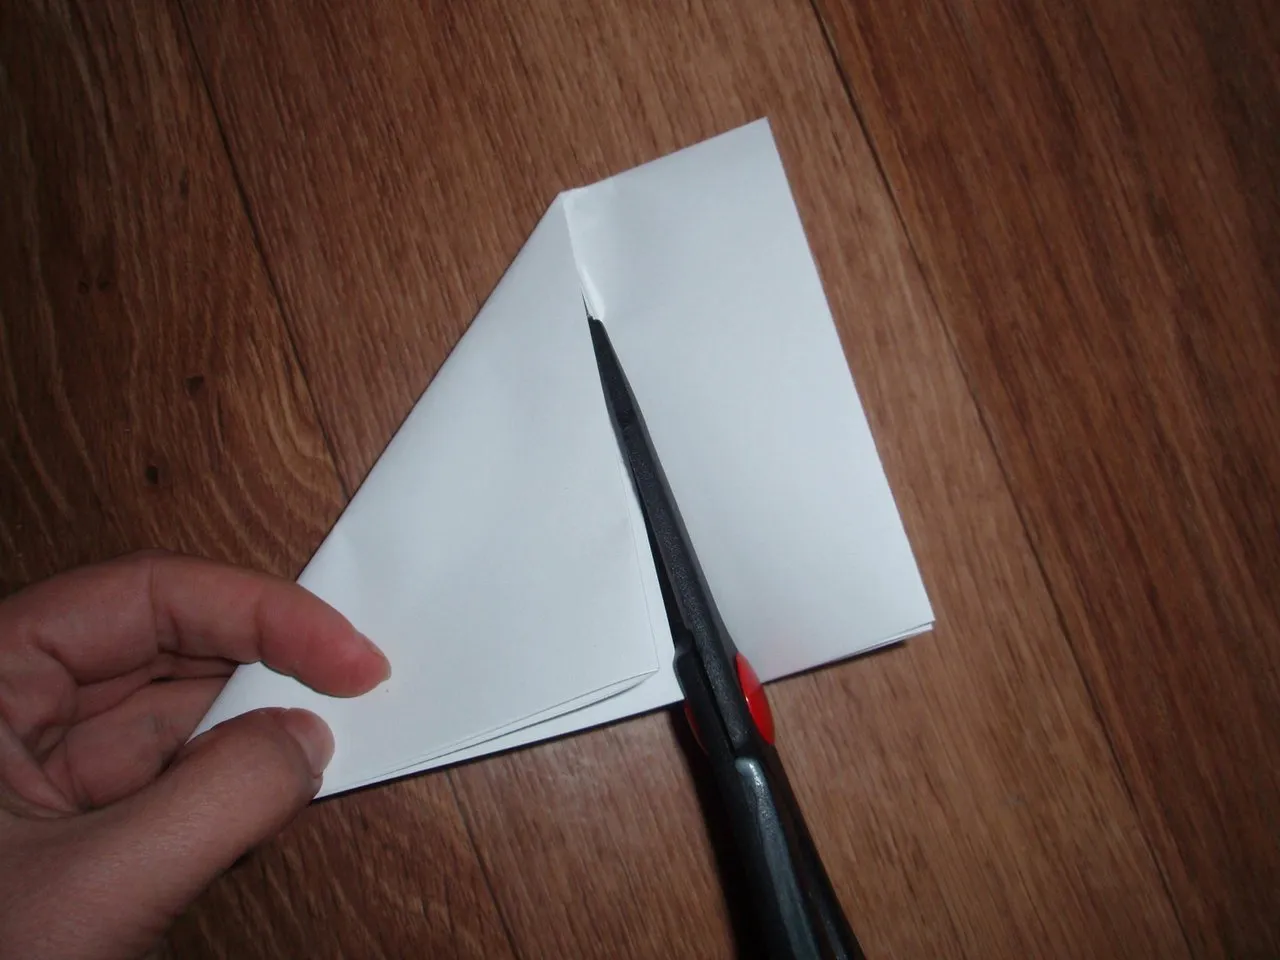
Cut off the extra strip.
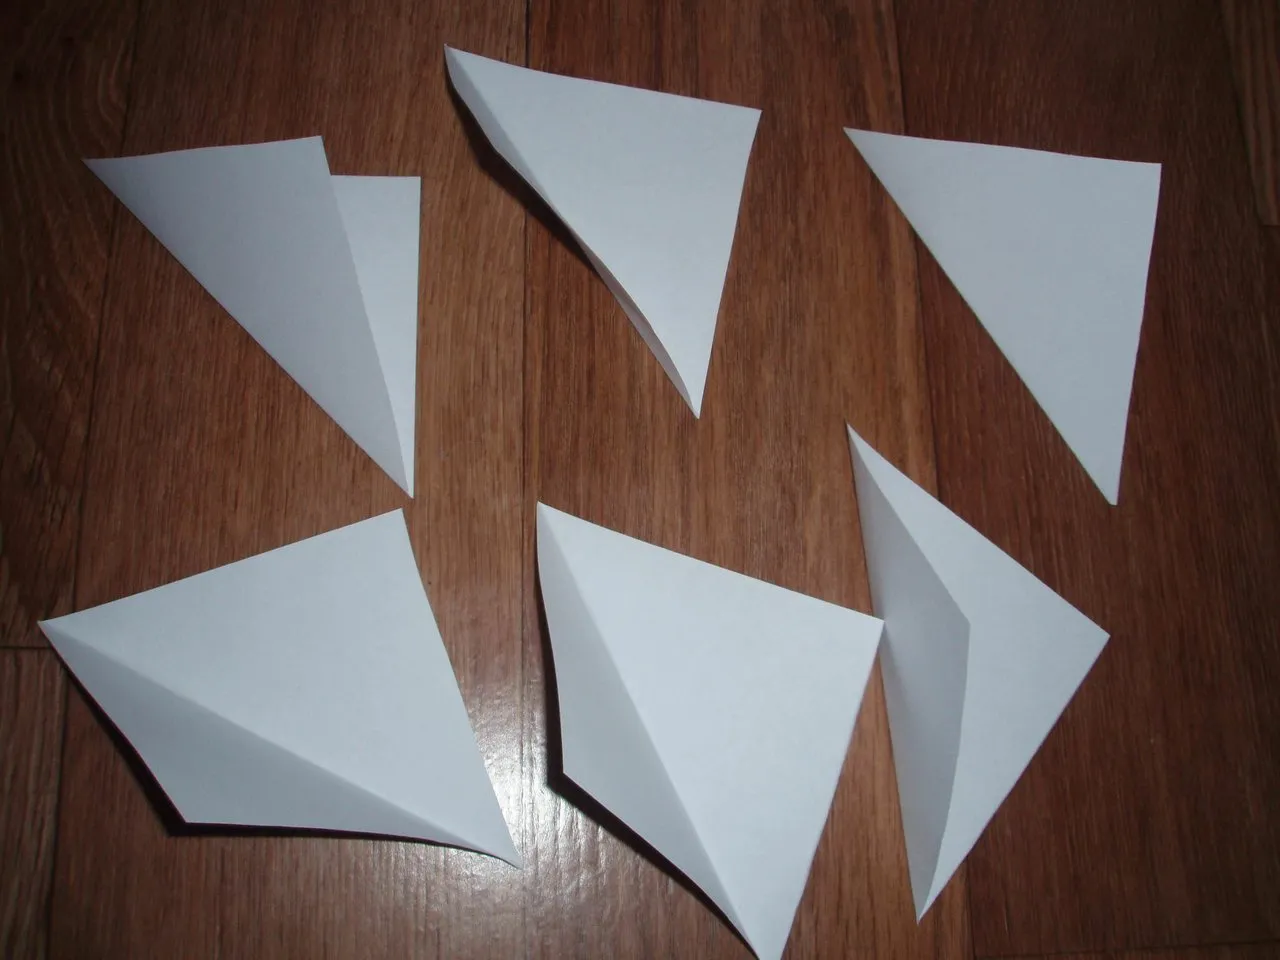
Expanding
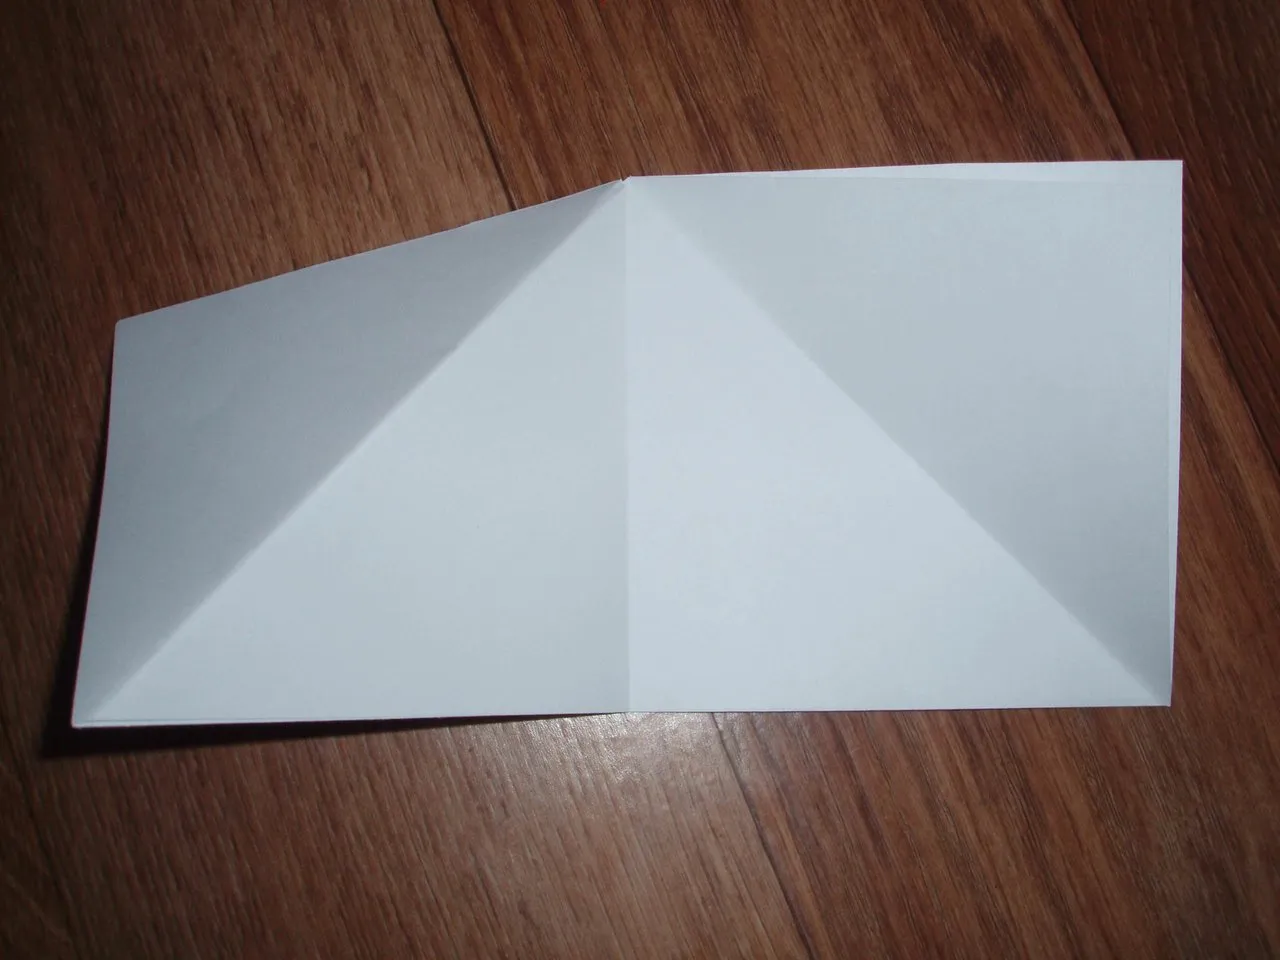
Cut in half
We immediately got 4 squares of the right size.
So, we have 6 boxes.
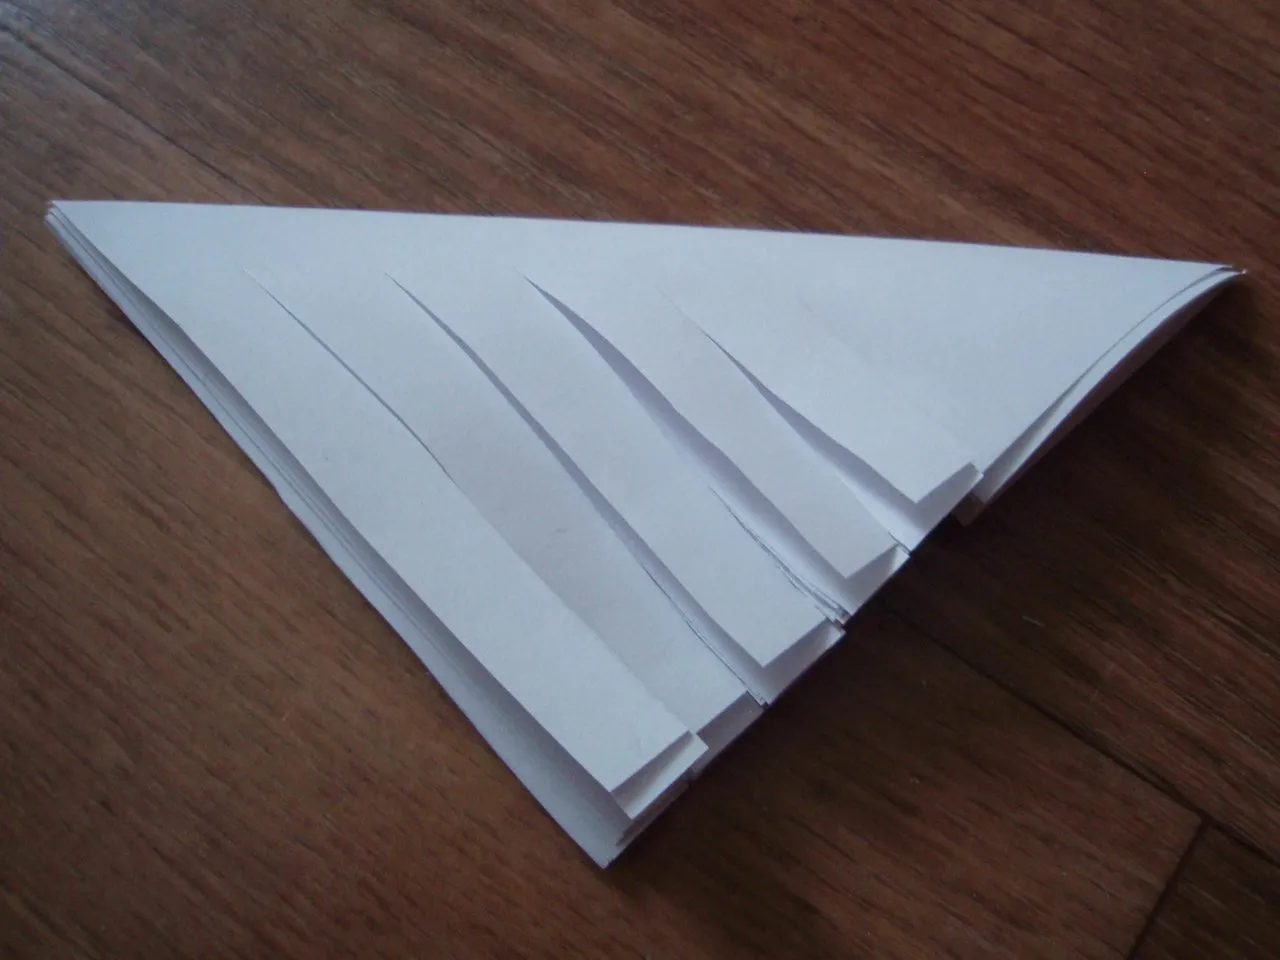
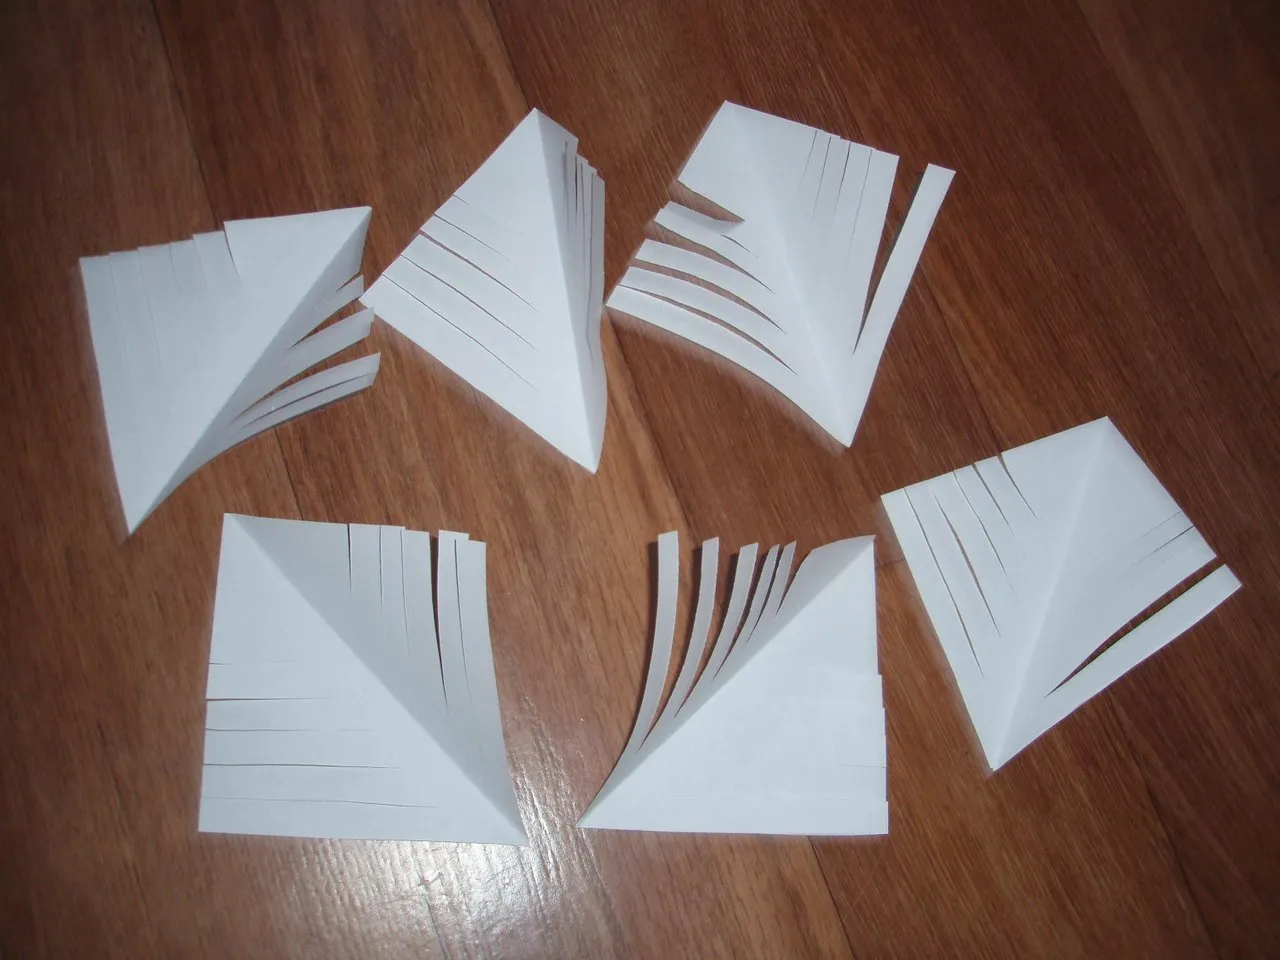
Now, in order to be faster and more symmetrically, we add all six squares together
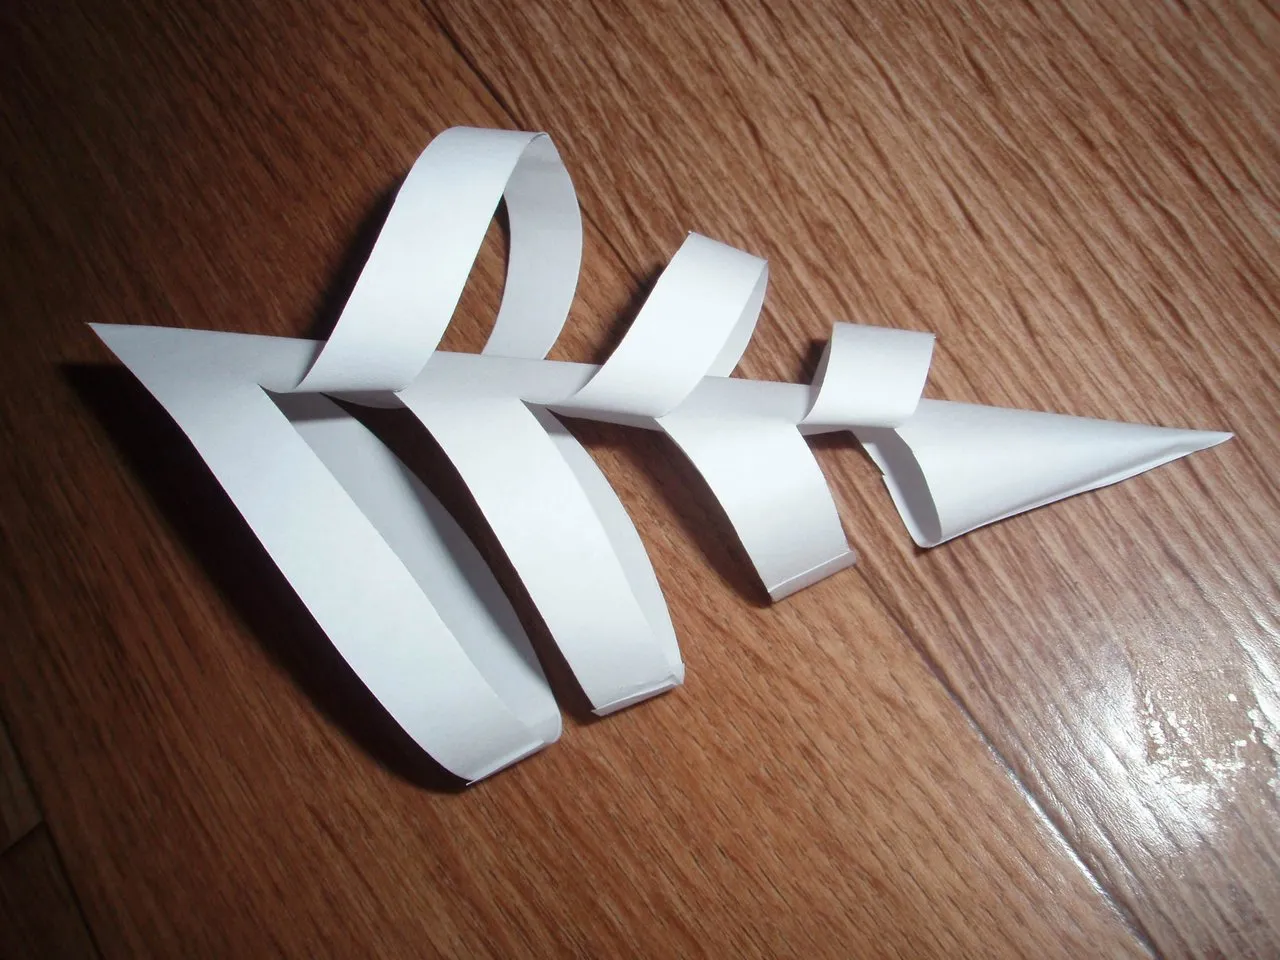
And we start making incisions with an interval of 1 cm without cutting through to the end of 1 cm. I got 6 incisions.
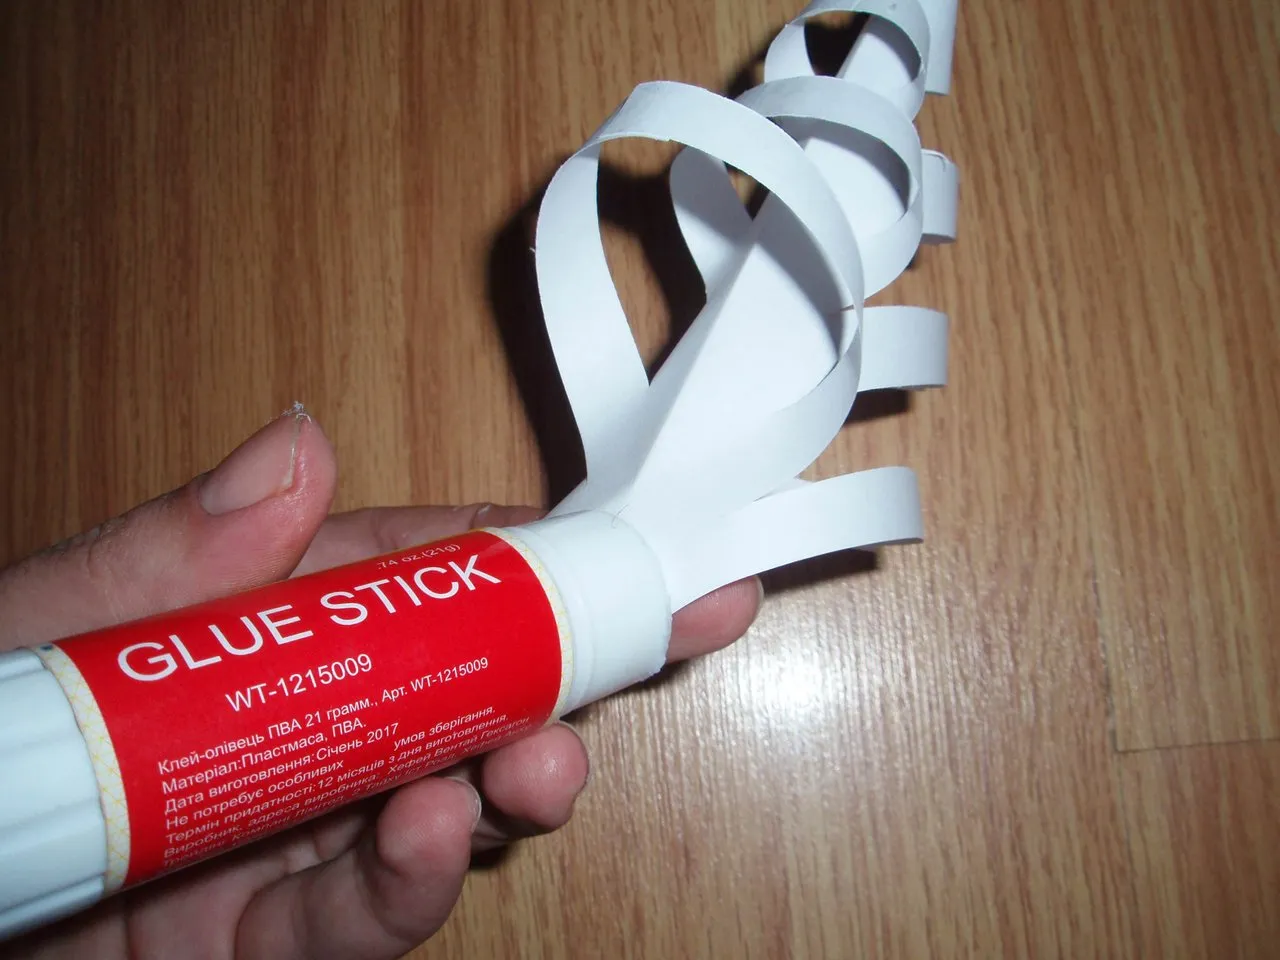
Now we begin to glue our piece of snowflake. First glue the corner.
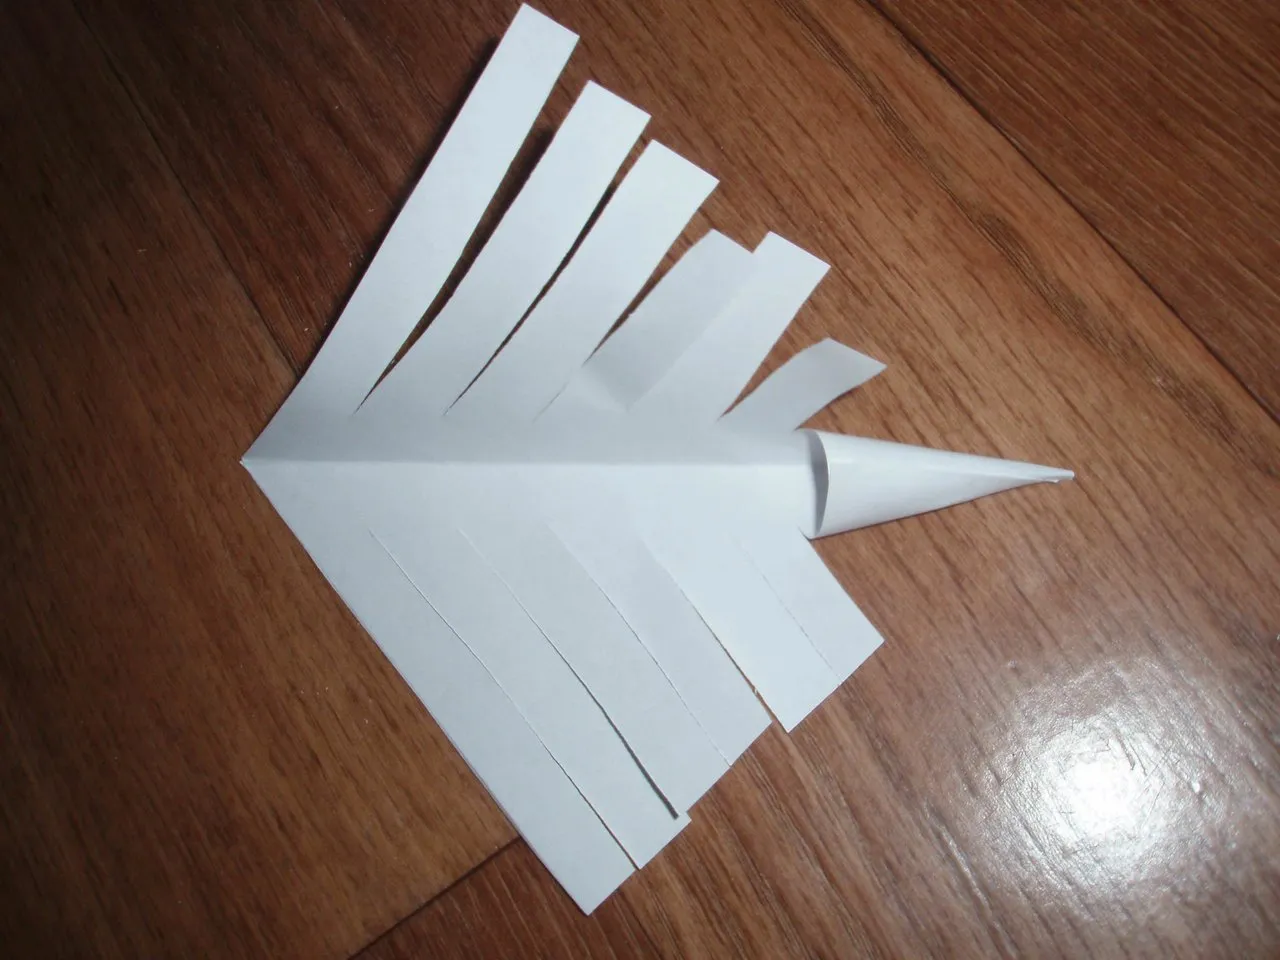
Then skip one strip and glue the next.
Again, glue together in one strip.
Now glue the missing stripes in the opposite direction

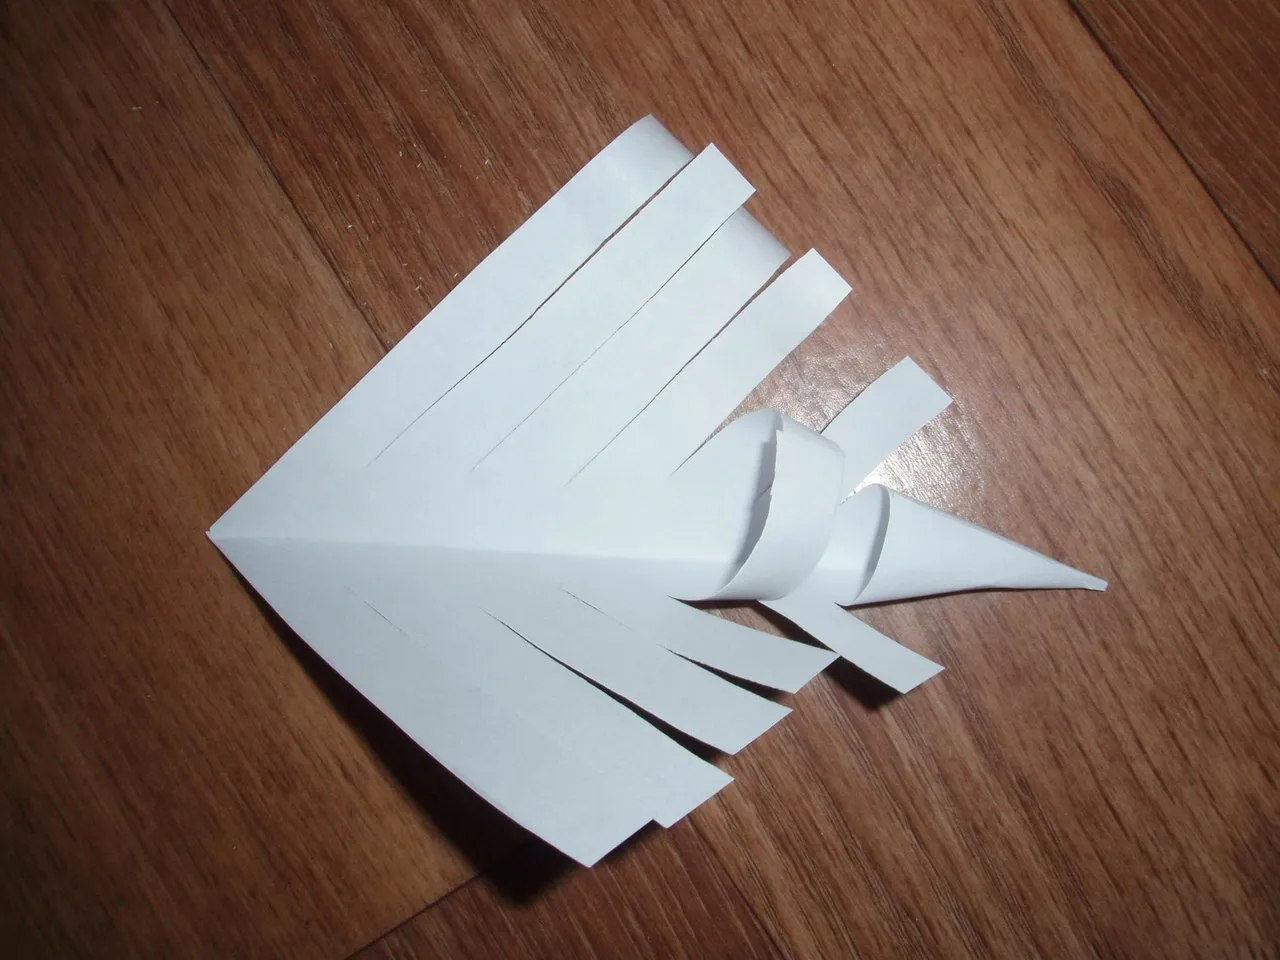
Here is a fragment we get
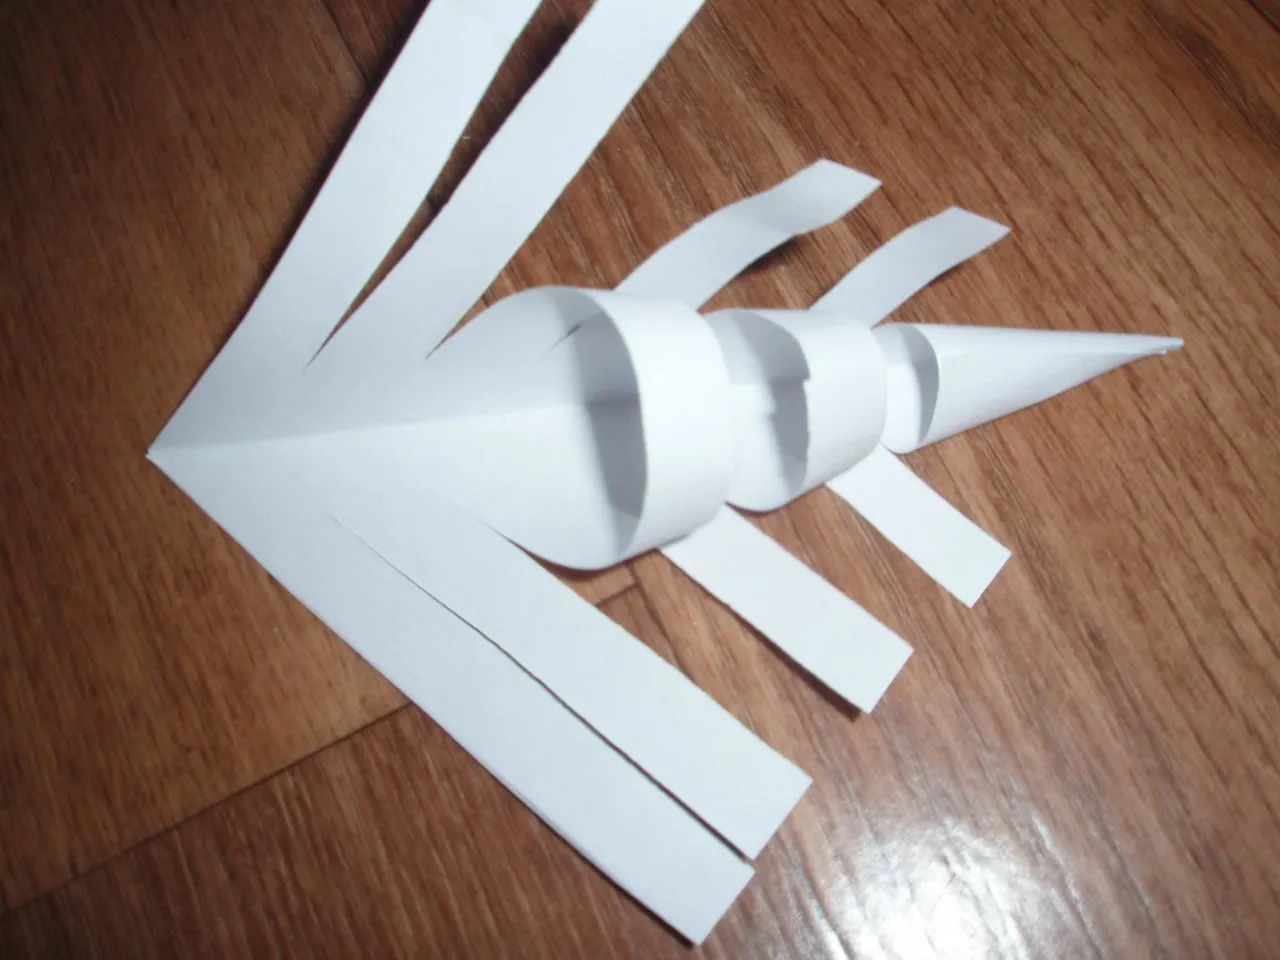
Similarly we glue together other squares
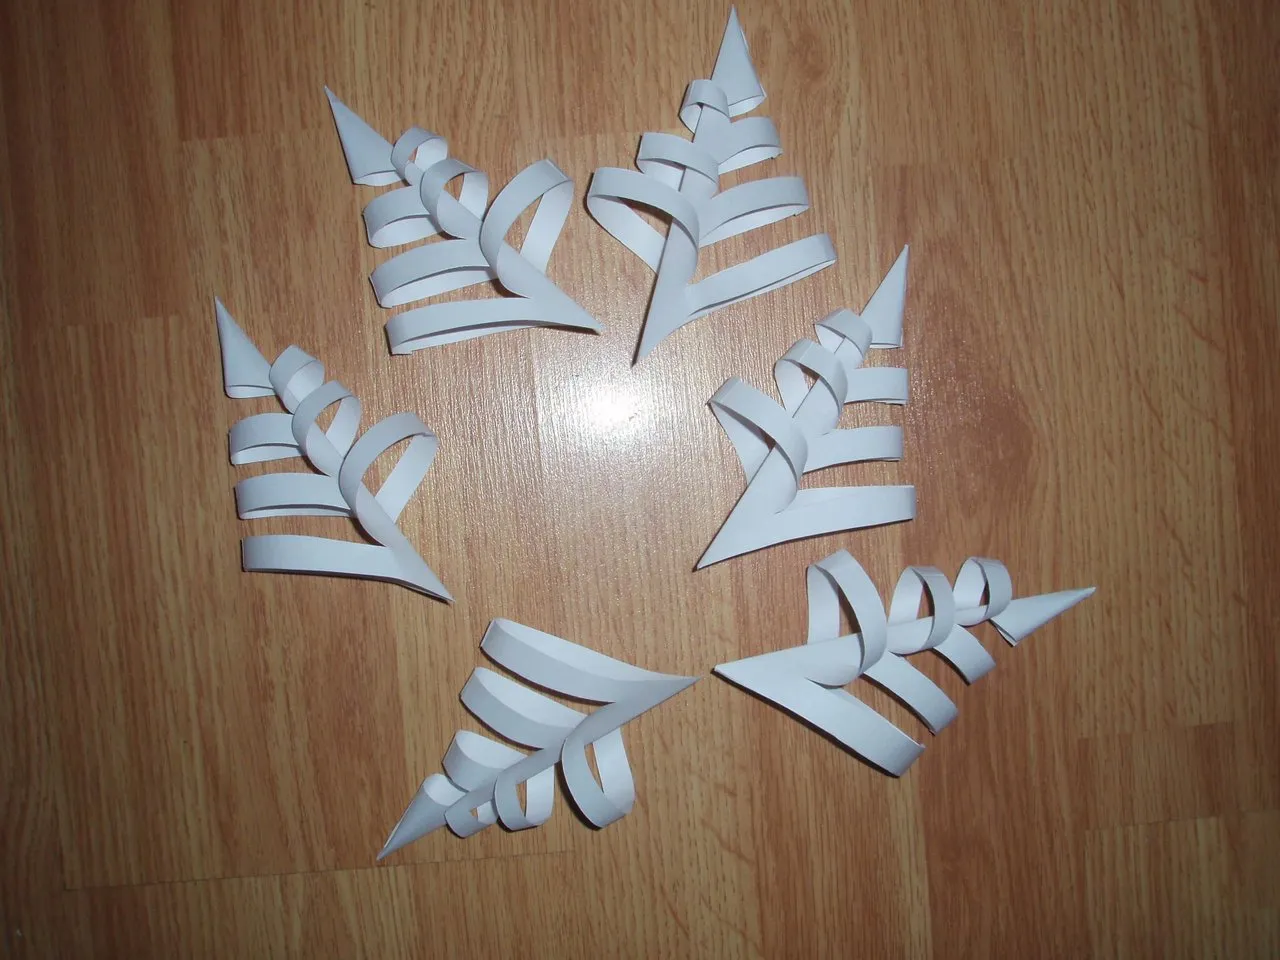
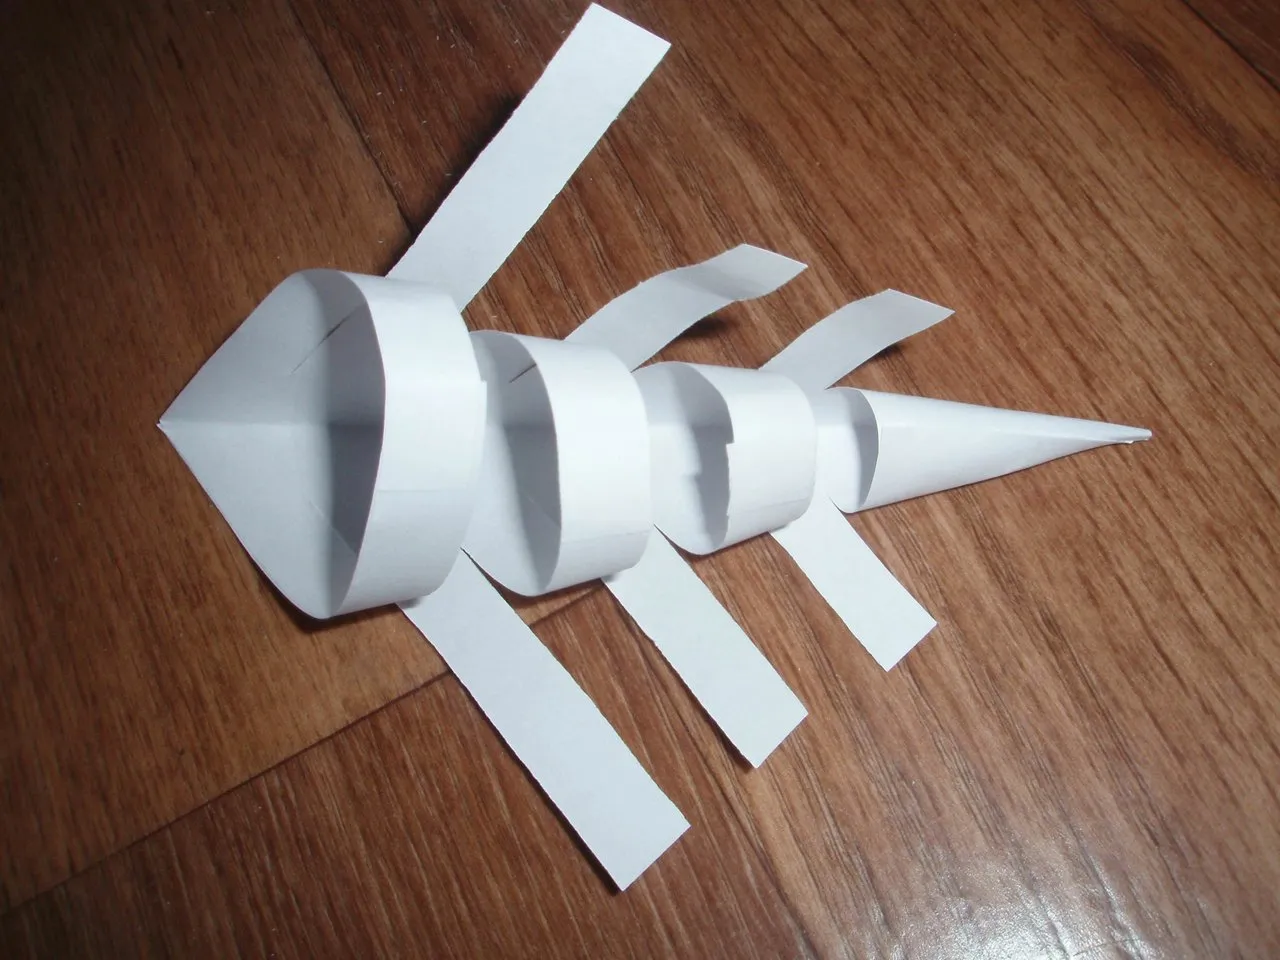
We start to collect a snowflake, leaving fragments between each other.


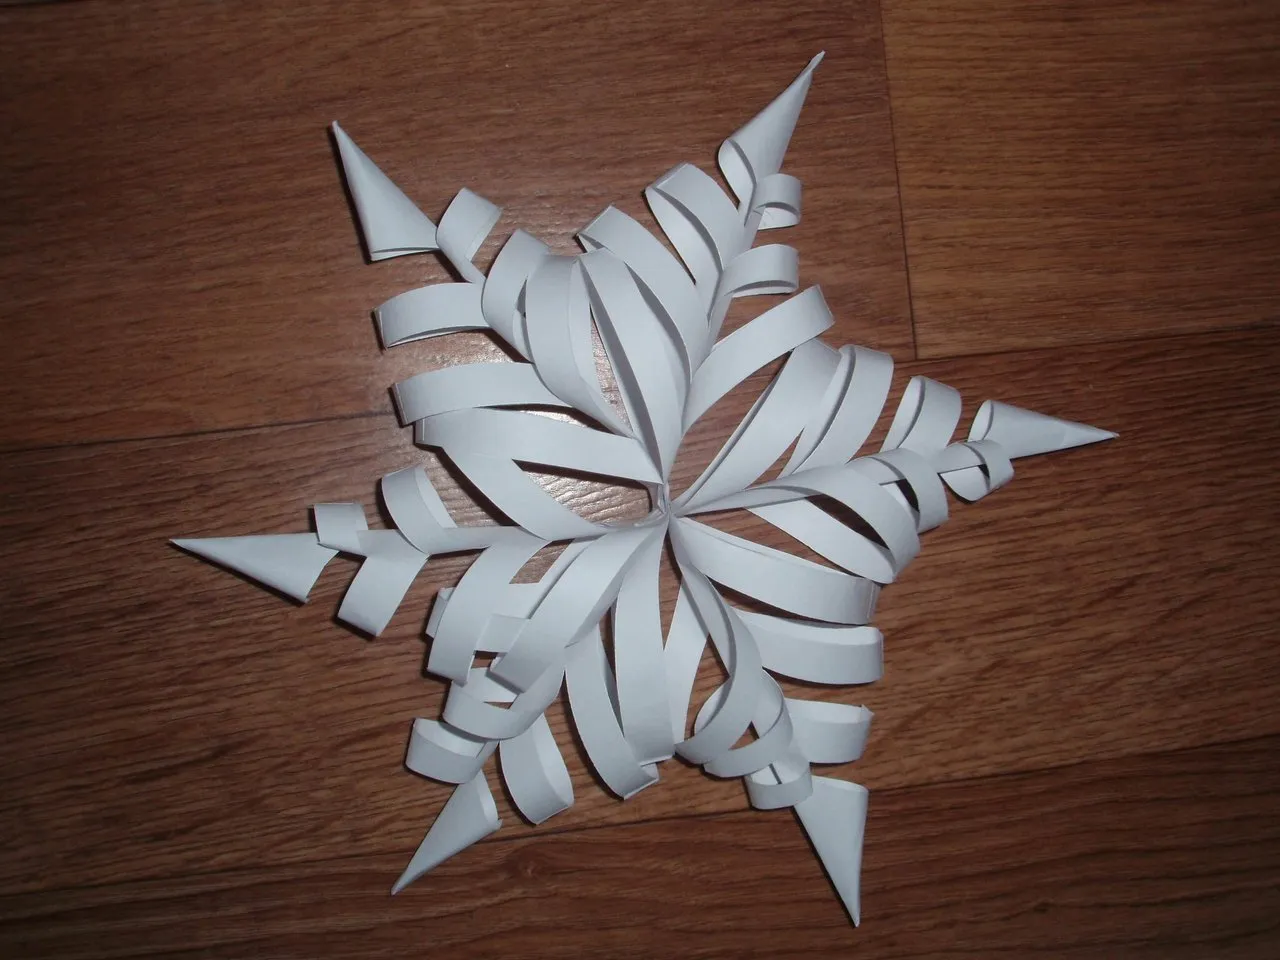
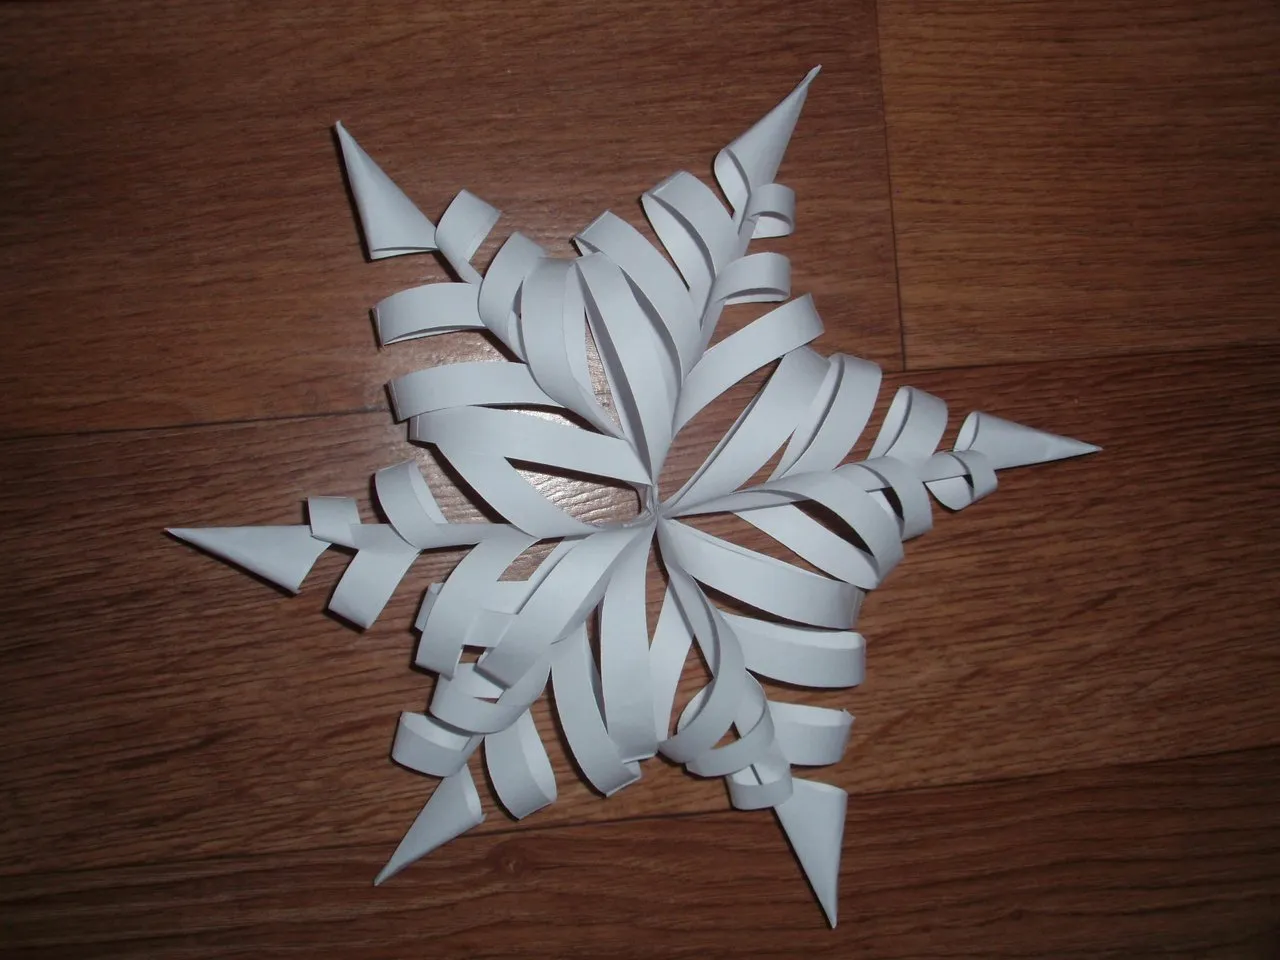
Here is a snowflake in the end turned out. It remains to hang it on a thread and decorate your house.
If you like my work, please follow me!
With best wishes, @valentinka-cat