Hello everyone welcomes to my blog. Today I have for you what is probably one of the most requested tutorials which are how to draw hair and I've been meaning to do this for a while. I just haven't got around to it, I've managed to throw something together that you should hopefully found useful. For short hair and long hair, the techniques are pretty much the same. I hope you found this useful.
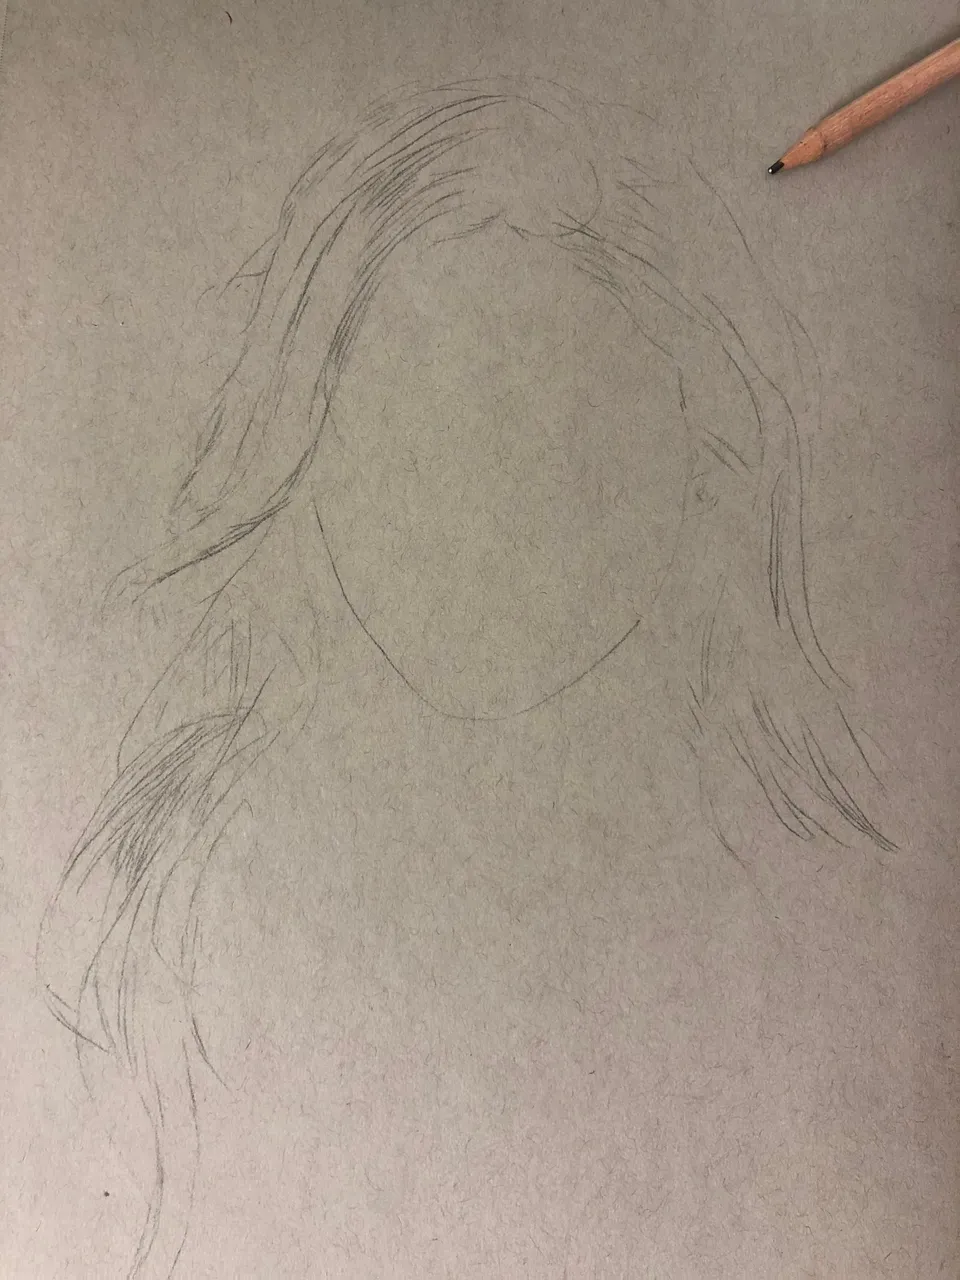
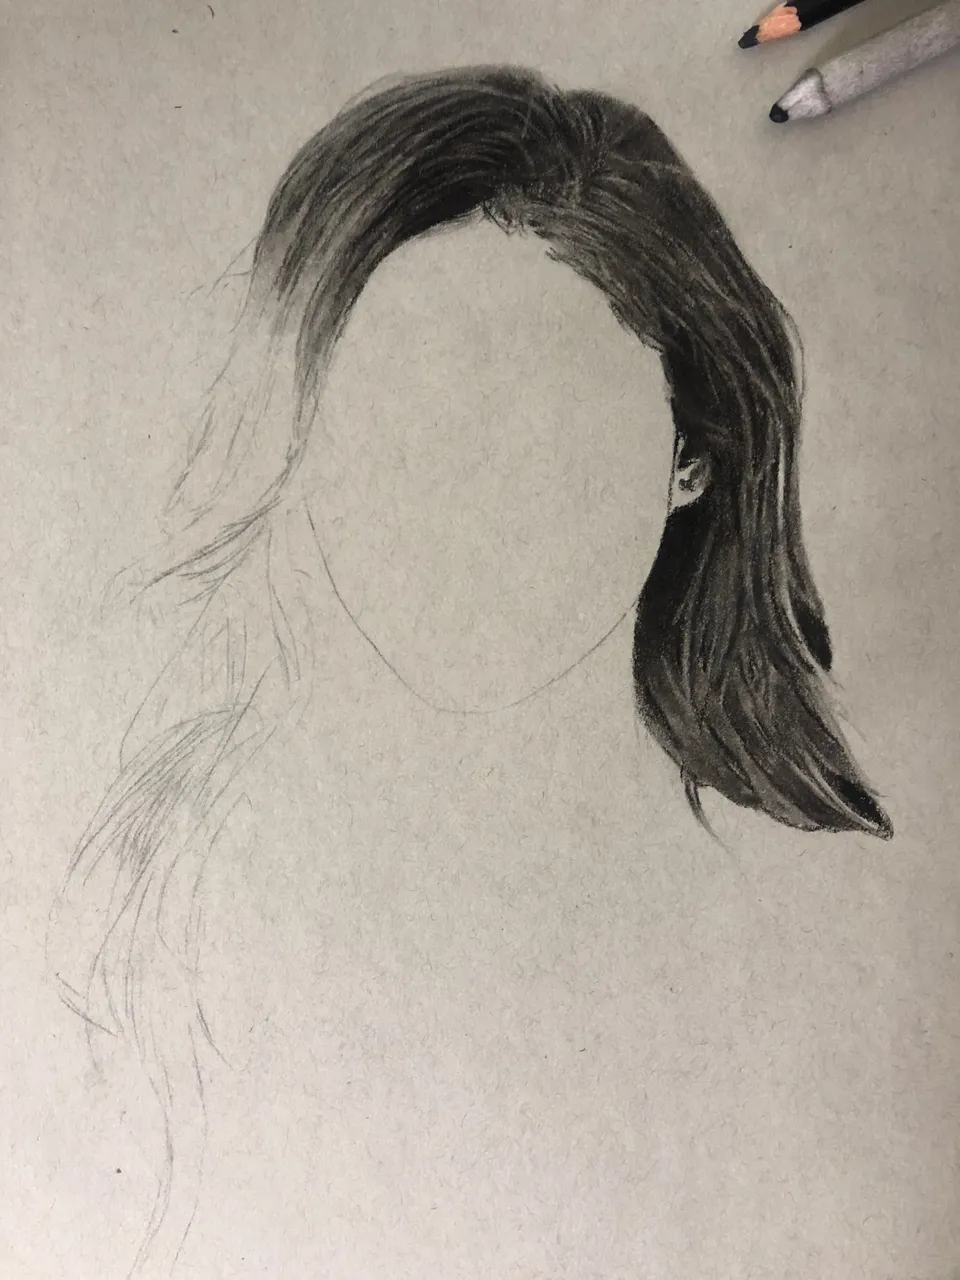
First of all, I'm going to roughly sketch out some outlines to give myself an idea of scale but probably end up adjusting it as I go. What I want to do today is focus on the technique of drawing realistic hair. What we need to pay attention to is the method of creating the details textures shadows and highlights and eventually, that will all come together and give us a realistic looking hair appearance.
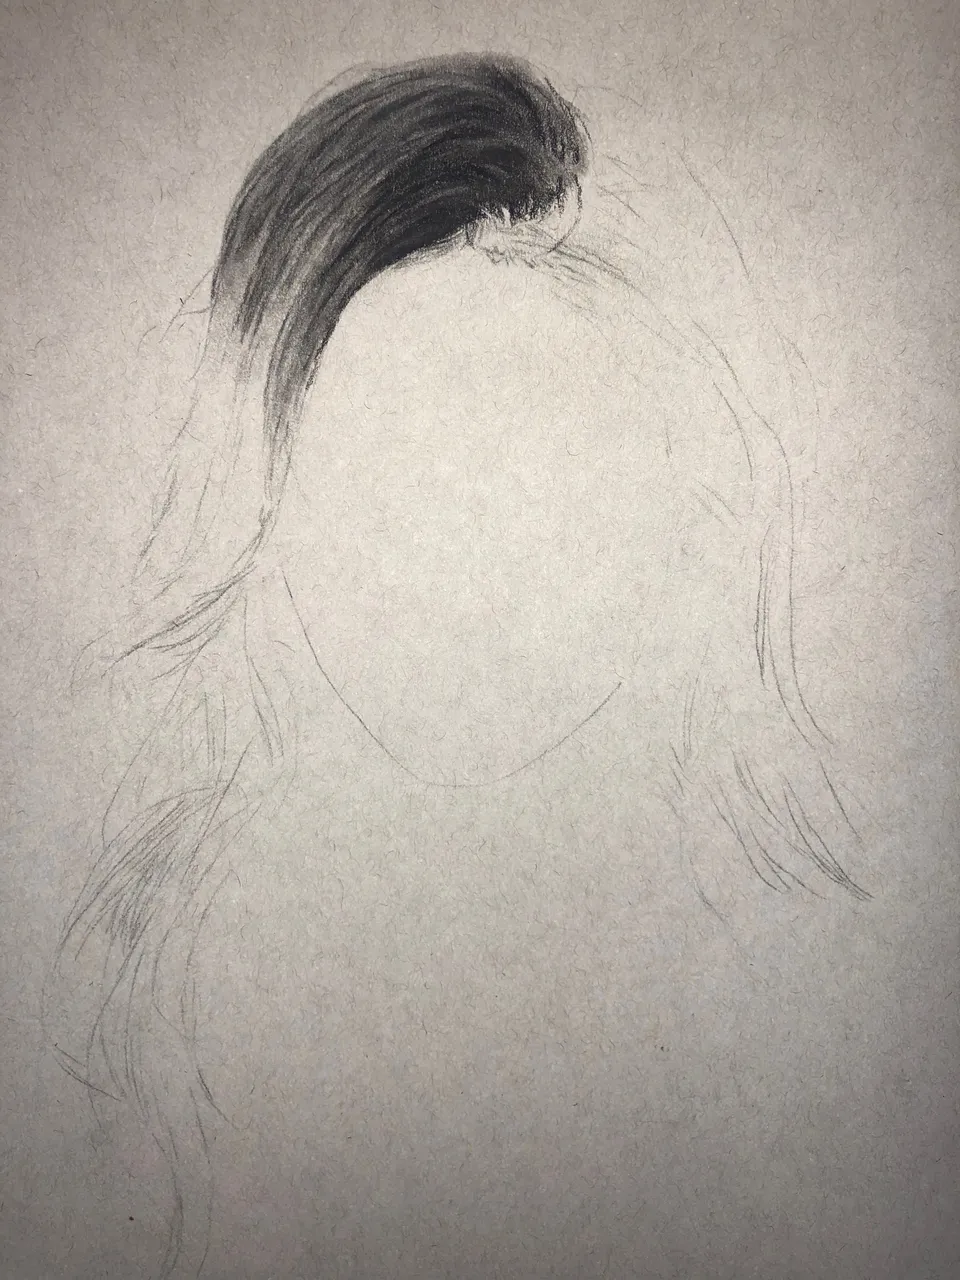
Here I'm just starting from one point of this drawing and usually, I just render it fully as I go. I'm using a Primo charcoal 59-3B pencil. Always sharpen it and making sure I'm creating very fine lines. I think hair can sometimes be confusing because people see it as being these separate strands of hair. Realistically the hair will bend and flow in different directions individual hairs will come together and form larger areas which include shadows and highlights.
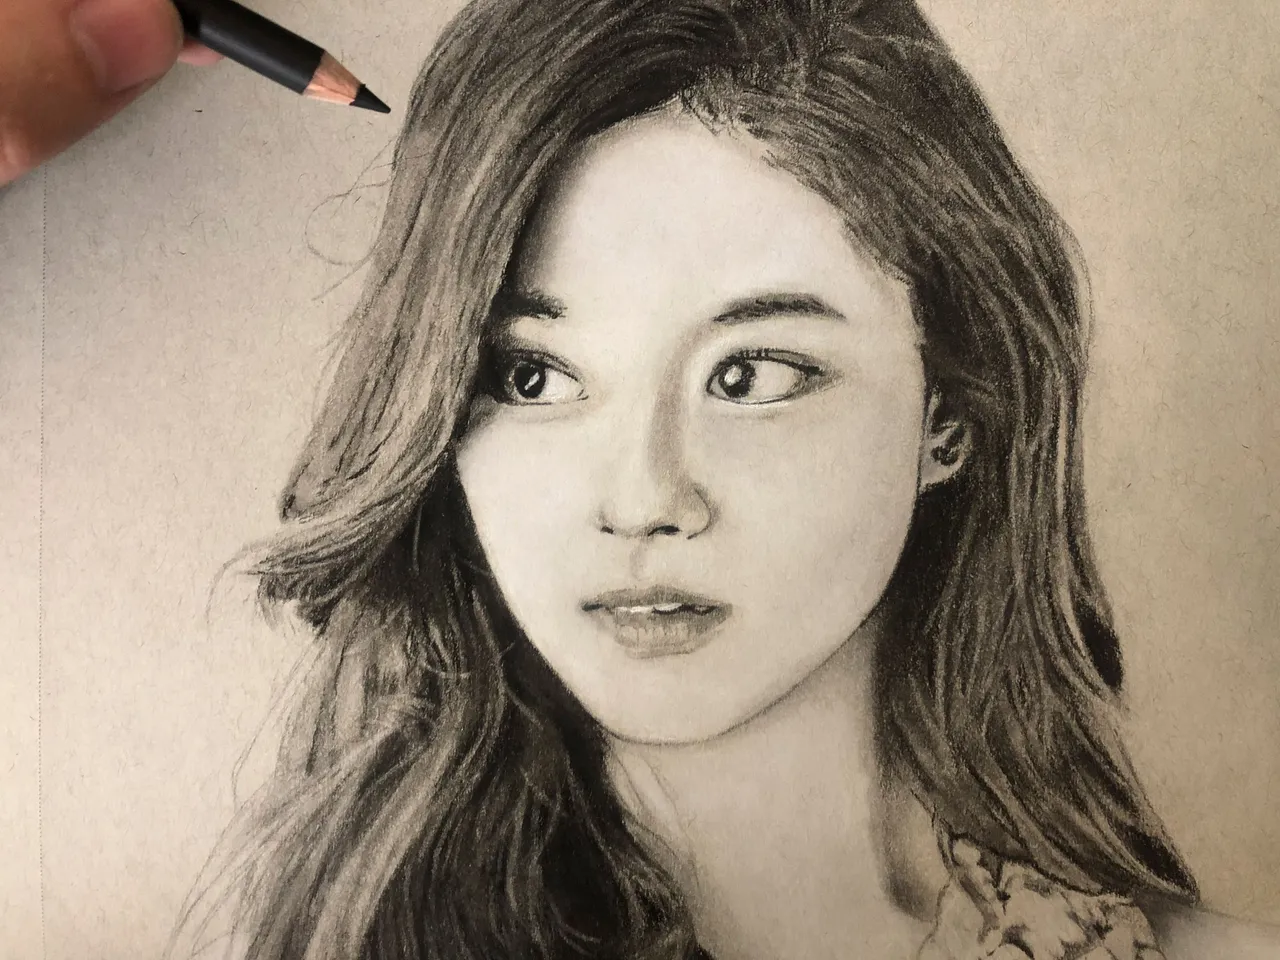
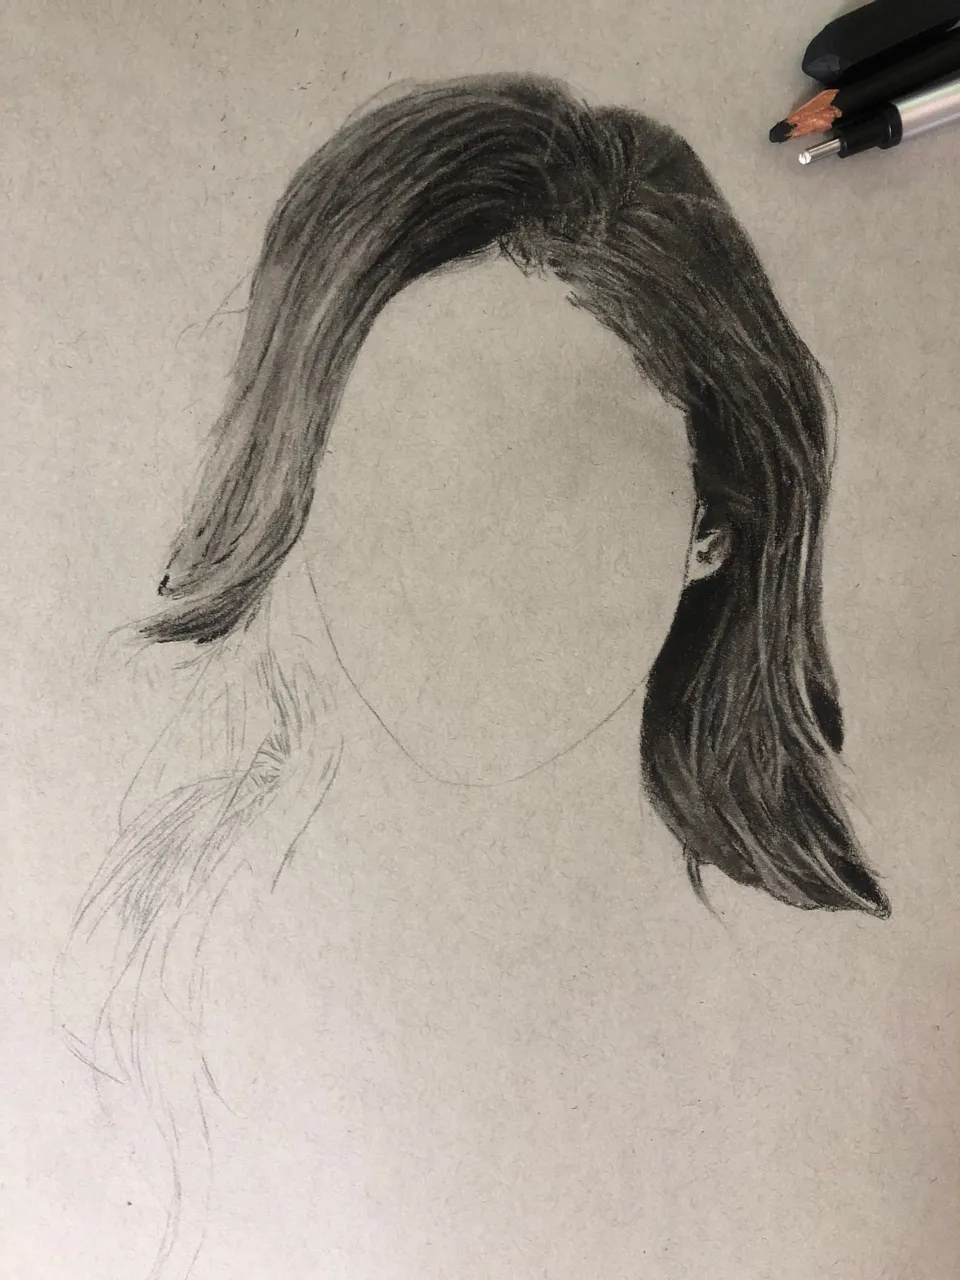
I think the highlights are one of the most important things naturally hair reflects light and so having that contrast between the light and dark areas will give a better impression. Let me try and break down what it is I'm doing here, instead of drawing individual hairs. I draw around the highlights, filling in the shadows. I'm creating small marks with the pencil and making different pencil shades. I'm also using the eraser to pull some of that highlights. It takes a long time so you have to be patient.
Sometimes I make a dark line between two parts and this gives a sense of that separation, as long as this is present then it should always be able to be recognized as hair. One thing that's quite challenging when drawing hair like this is the way that each of the hairs overlaps and when this happens the hairs that come together can appear as one shade. I look at how the hairs travel down and interact with others. It needs to look natural. The parts behind the hair hanging in the foreground are a lot darker and this helps to bring these parts of the hair further forward. This is mainly due to that contrast between the lighter and the darker shades.
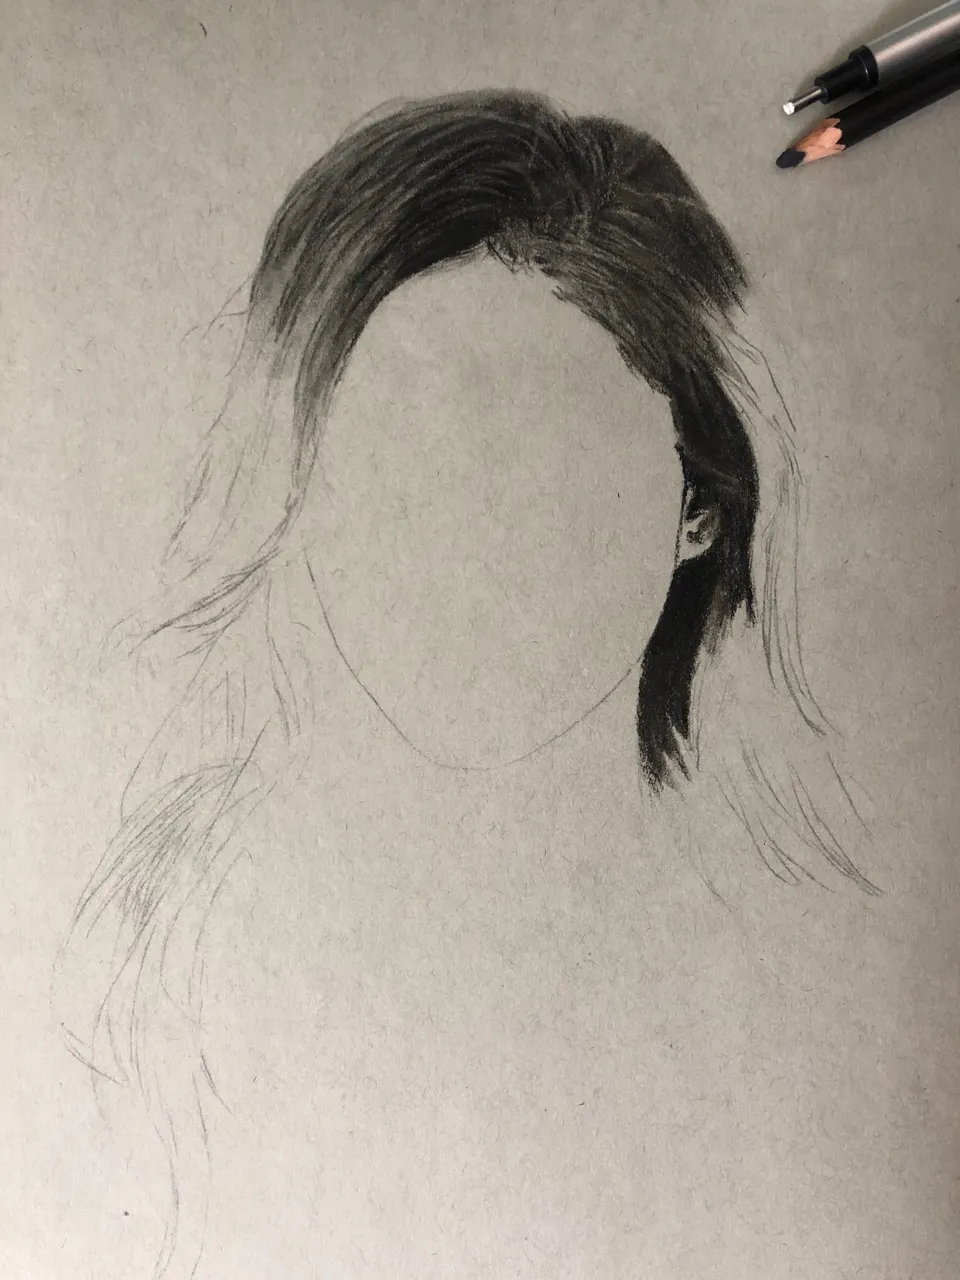
Sometimes it might help to draw the outlines of the highlights and then you can just fill in the shadows around it. You can then lightly shade in and add more pencil turns to the highlights. I'm making these dark shadows in between parts of the hair, I normally create some rough outlines indicating some lighter parts that I want to leave out. When I start to shade in these areas under shadow I'll make these outlines parts a bit lighter and it will look a lot more realistic.
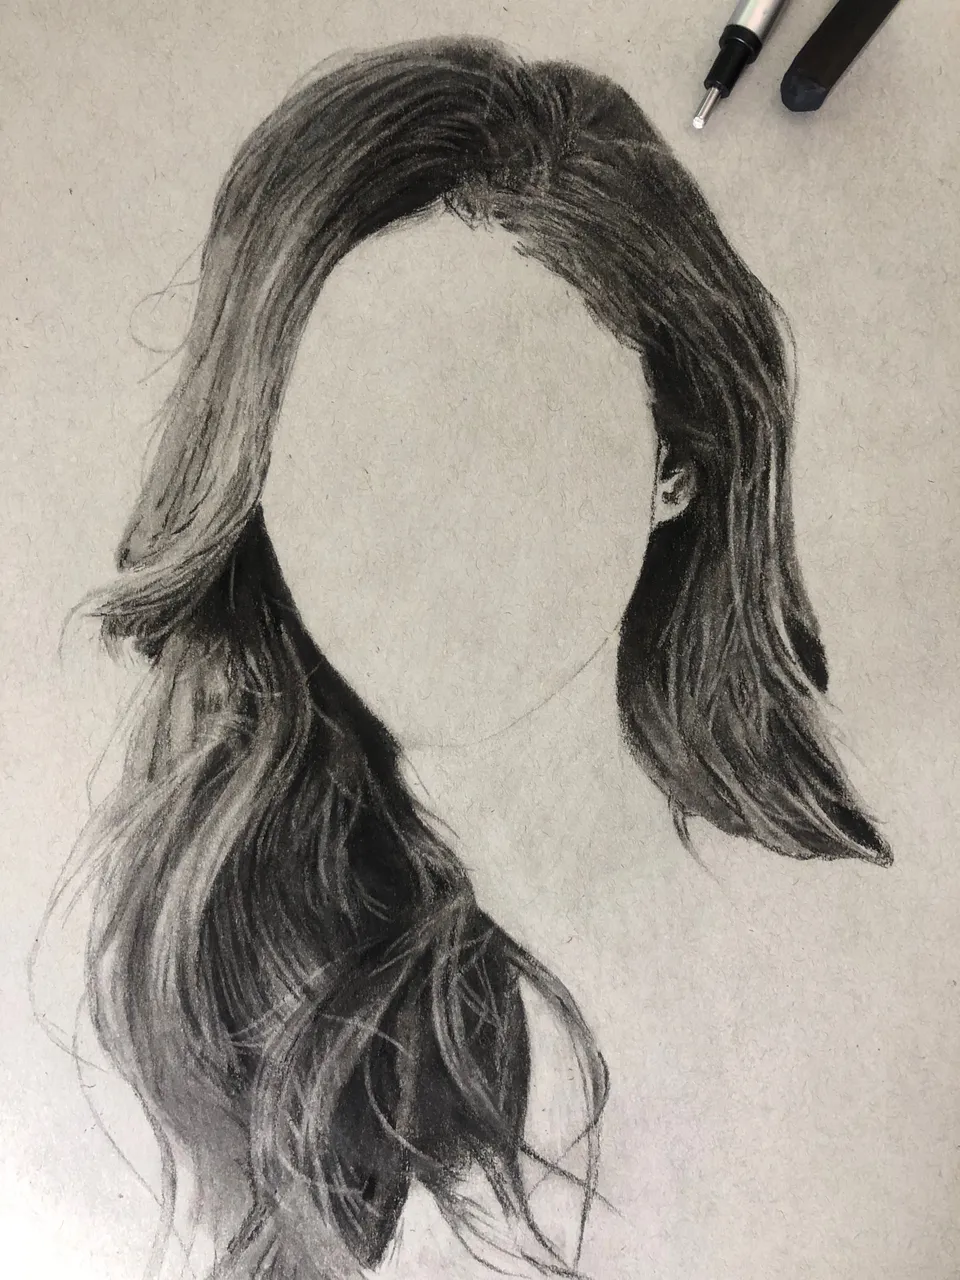
If I'm going to give some general advice when it comes to drawing hair, I'd say focus on the direction you a drawing in relation to the others, this includes looking at how you create a separation between, usually in the shadows alongside the highlights and producing contrasting shades. A lot of these highlights will need some shading so that it naturally flows into the darker areas. Always try to keep the pencil sharp and work with the point of the pencil. Another thing that is how you can make use of an eraser I have an ultra-fine 2.3mm eraser which is useful for accurately creating highlights.
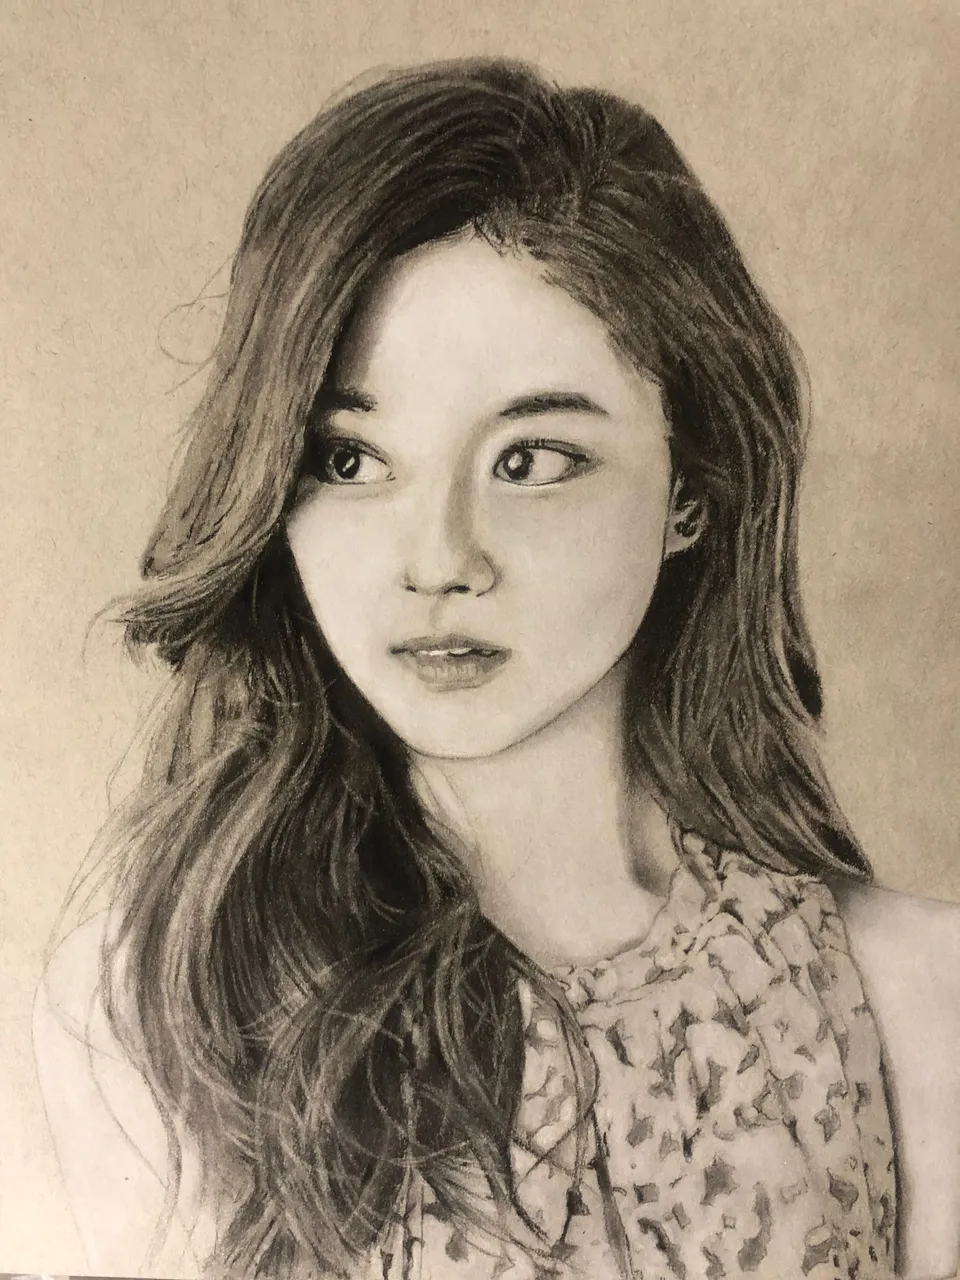
This tutorial is all about drawing the hair so I didn't include other parts, like the eyes, nose or mouth. I think I've pretty much covered this process. There we go that's an example of how to draw hair. This isn't the only way. There are artists out there that have many other techniques and alternative methods to draw hair but this is the way that I'd go about drawing it. I hope this is useful for you.