Hello everyone Vaan here. In today's tutorial, I'm going to be showing you how I drew this girl using charcoal and I'm going to be giving you some tips and advice on the techniques that I use to draw realistically when I draw portraits.
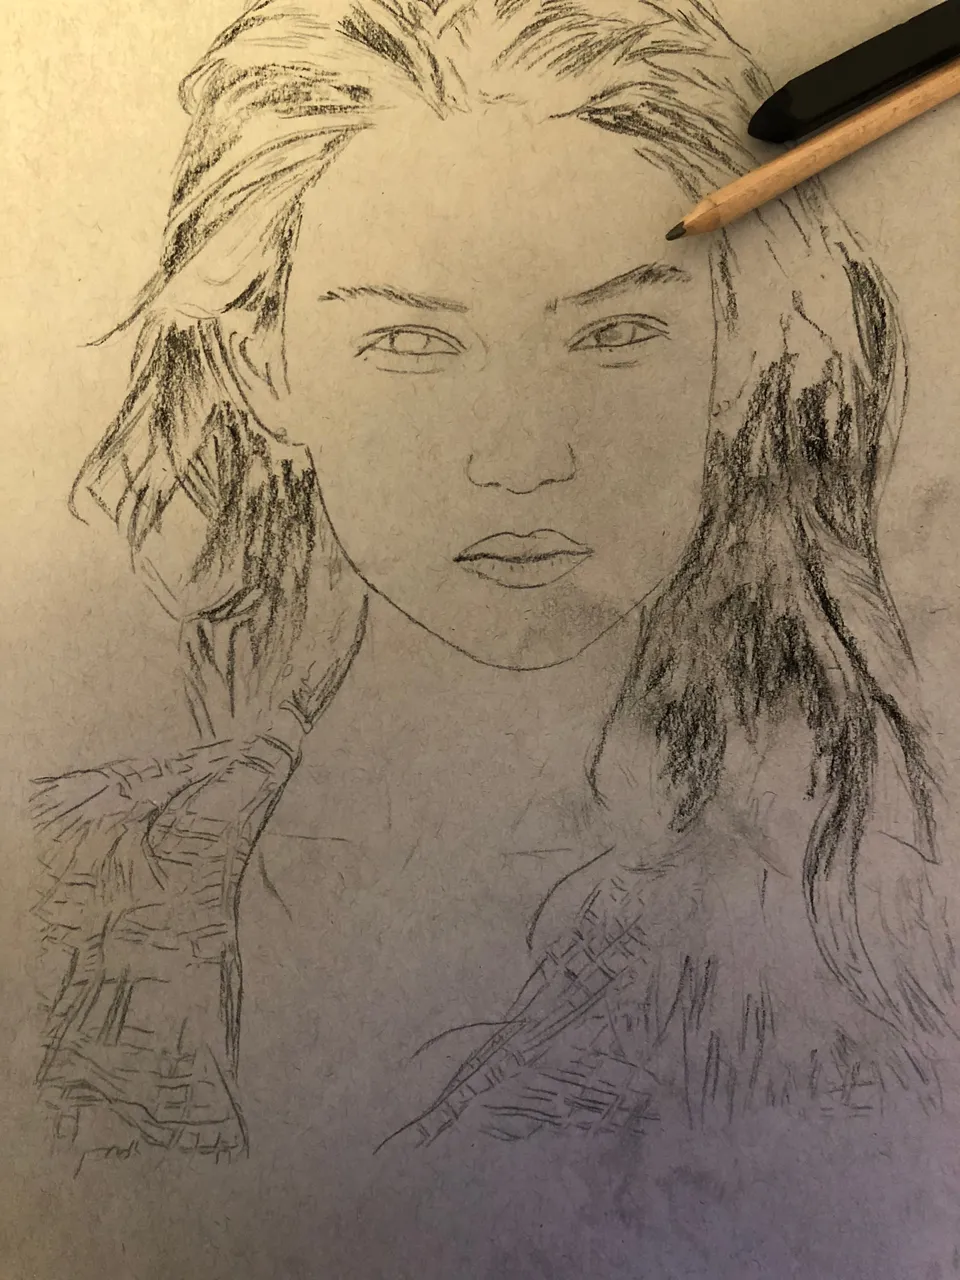
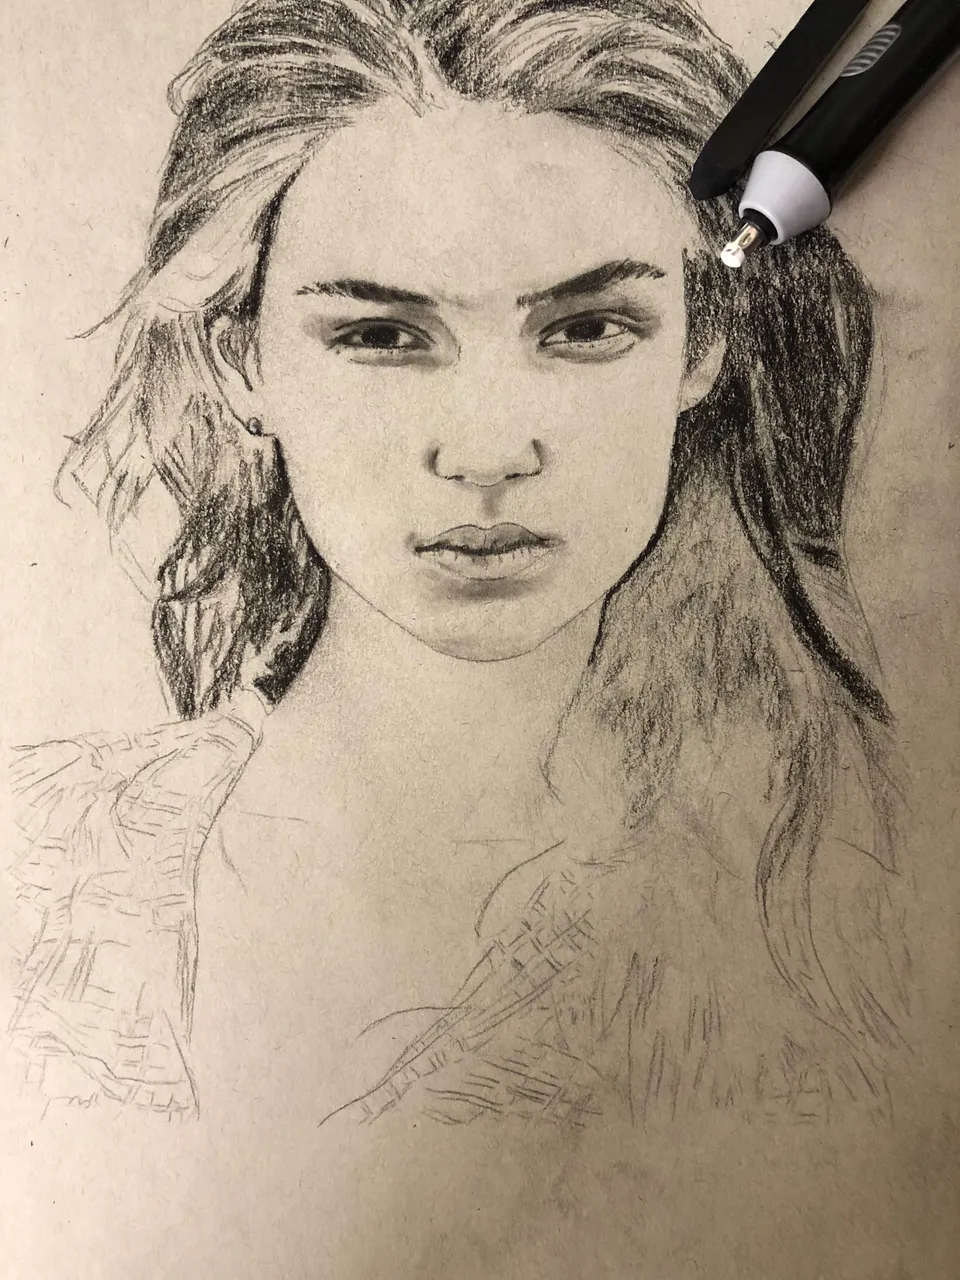
I really recommend that before you start doing your shade in, you really do need to have an accurate sketch down first. You can use a grid method, in my case I used a free-hand method but you do need to have a really accurate initial outline first. So that all of your proportions.
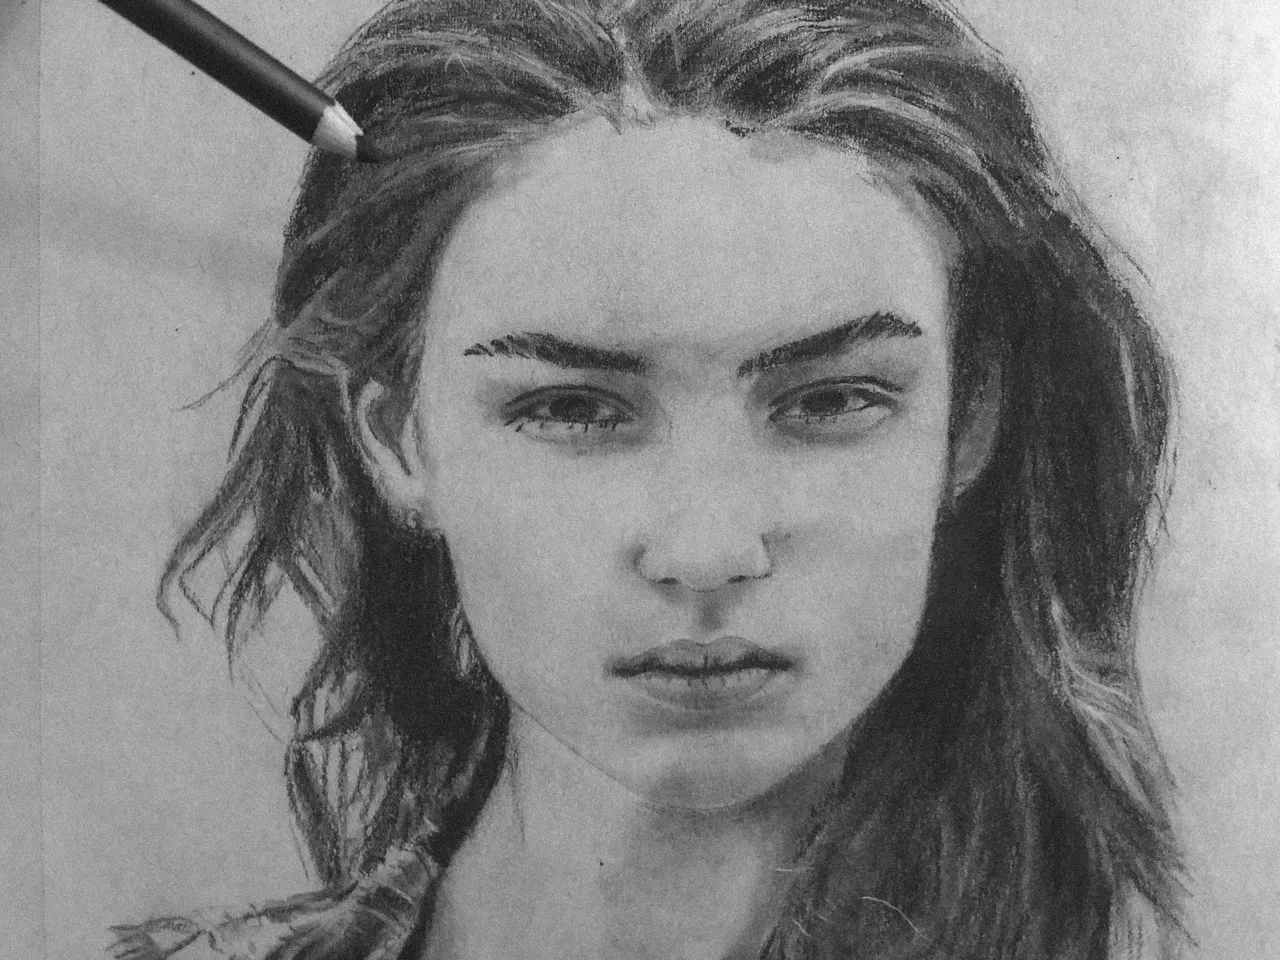
My top tips were when drawing eyes in charcoal are that you need to focus on the values you need to look at the areas that are the darkest which is usually the pupils and the upper eyelids. And anywhere that's in shadow and you also need to look for the lightest areas so there might be some highlights in the eyes. In the tear ducts and stuff like that and you need to create these darkest shadows and the brightest highlights in order to make the eyes pop and look realistic. Here are some tips for blending out so once you've added your first layer of charcoal I like to blend out using a blending stick to get to a precise area.
With the nose, the nostrils tend to be the darkest area and the underneath of the nose because normally if you're looking straight on that's where the shadow is cast so I add with my pencil a layer of the shading to the nose and when I'm blending out larger areas of skin, I like to use tissue instead. I like to use a tissue that doesn't have a pattern on it. It's just really soft and really smooth skin. When I wanted to pull out the highlights and get those lighter areas to add that contrast which makes it pop more. I used the kneaded eraser and I went over it very lightly I didn't really put much pressure on the eraser. I just lightly erased the parts that I wanted to be lighter and then I went and soften it out it in with the rest of the area. On the mouth, the first thing that I'm doing is that in the darkest areas add in all the shading I used a charcoal pencil for the middle of mouth line. Then I went in and blended it. For the hair, I always like getting the darkest areas in first. So I'm just going through and I sketched out the main part of the hair and the direction of the hair. I like to do lines that go in the direction that the hairs going to make it look realistic.
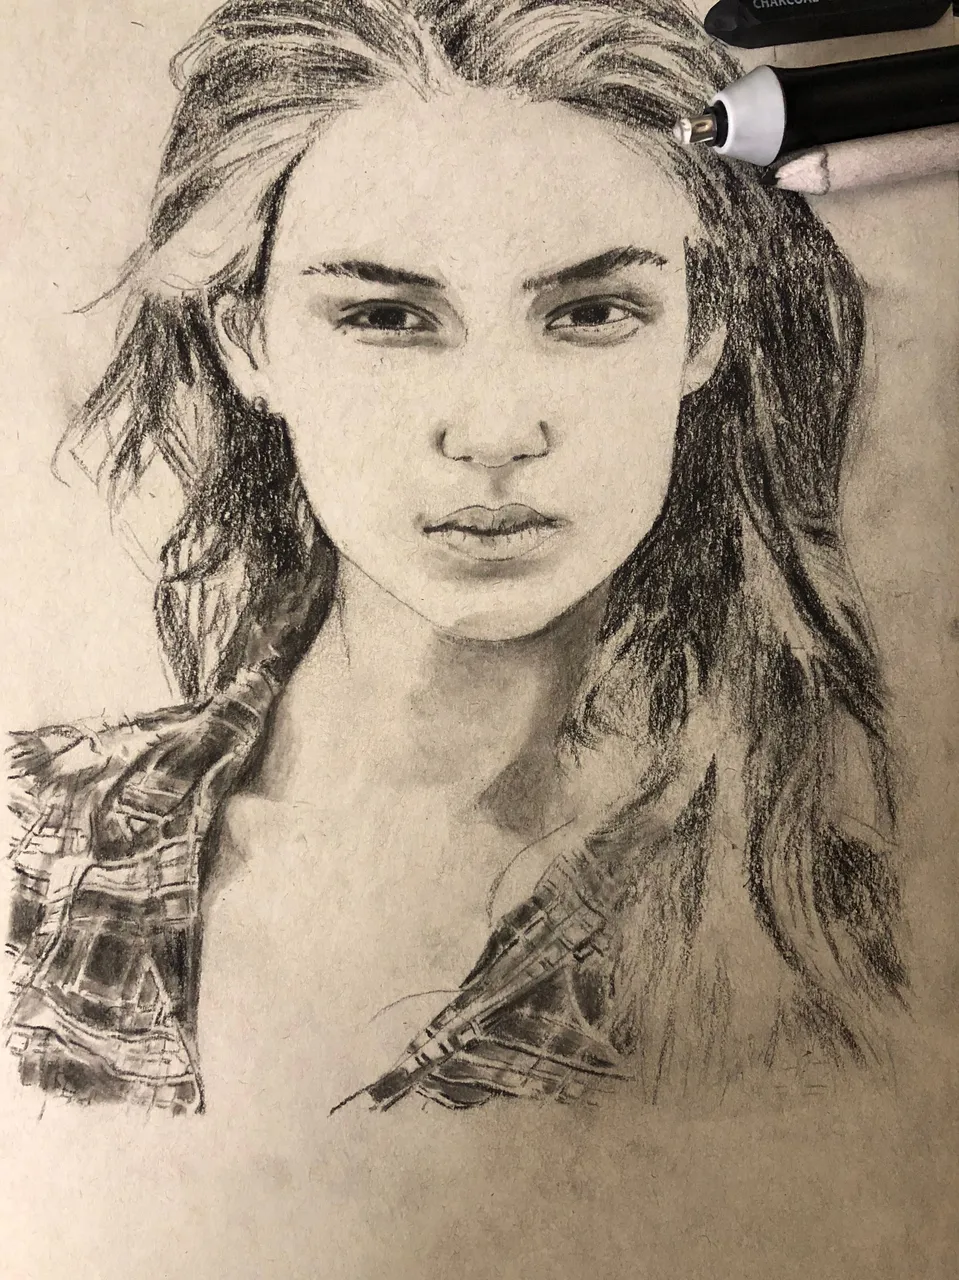
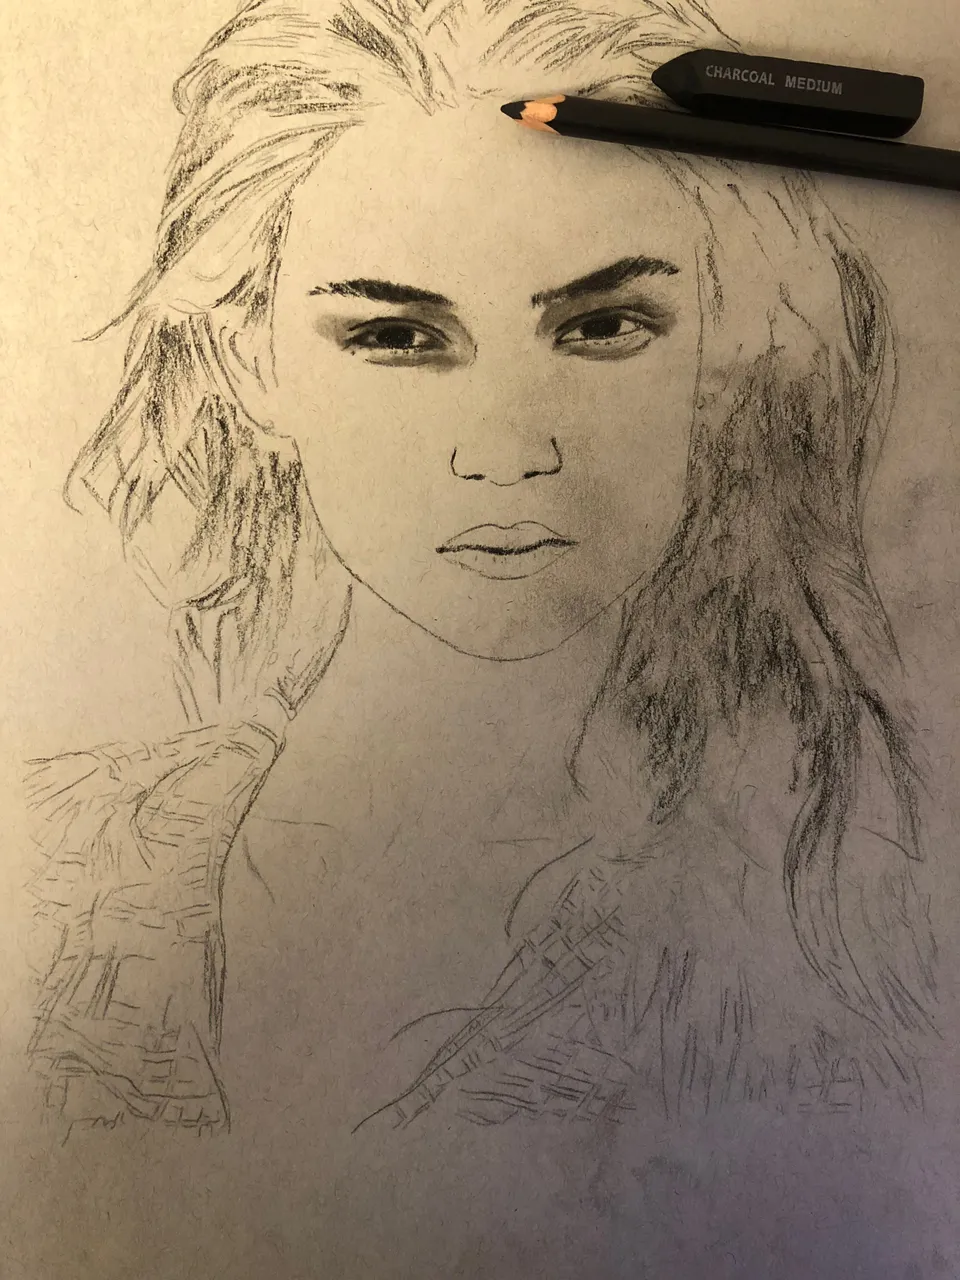
Now I am drawing her clothes. In all of the darkest areas, it should be quite easy to do considering the fact that you've got all of your initial sketches already. You should know where all of these parts are so it's just the case of filling them in with the different values and details. I've added all of the details and I go in add more dark shadows and then I used the erase to pull up the highlights.
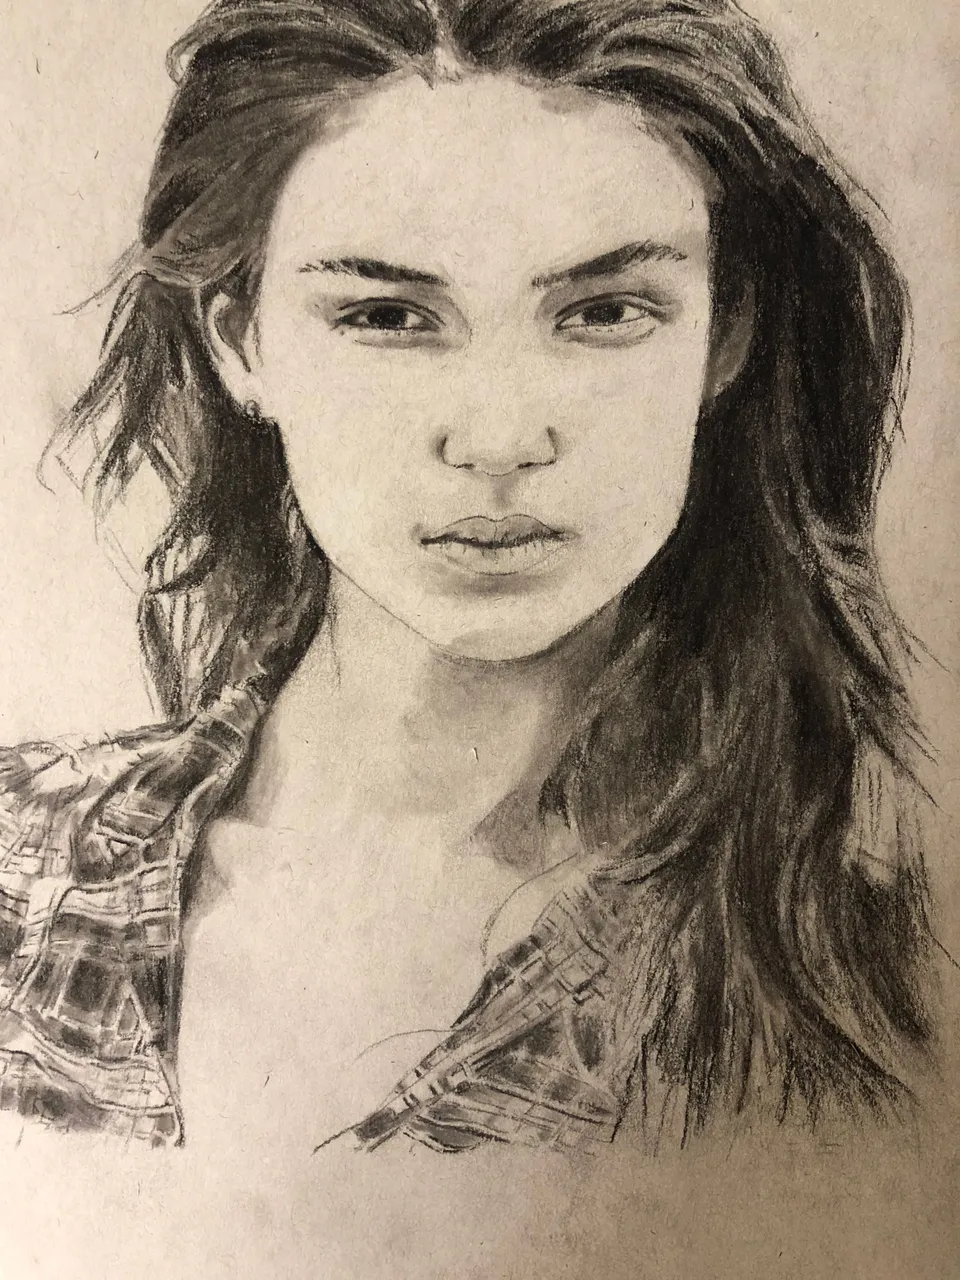
Once I've done that I'm going back in with the pencil to darken up some areas between these highlights and going in with the stump just to add some shading on top of the areas that I need to darken up so that it's more of a variety of shades. When you're doing a face as you do one feature you might notice that you need to change or tweak and have a feature you might need to darken certain areas to be flexible in going back and kind of changing certain areas and darkening things up.
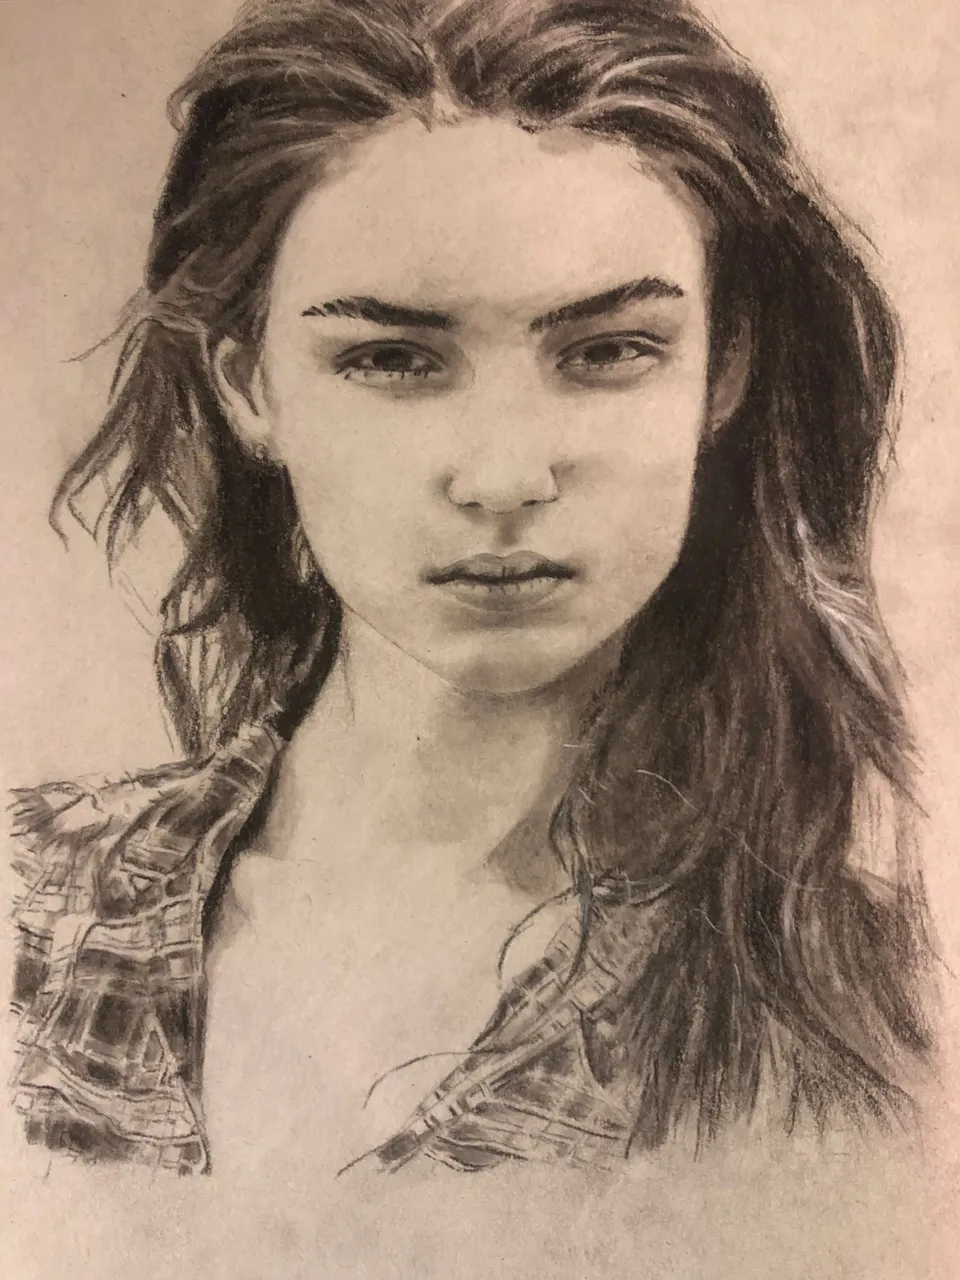
The very last thing that I like to do is I just like to look at the overall piece and make some final adjustments. Which areas need to be brightened up and which areas need to be darkened up so that this whole piece kind of looks really great together. I just want to make sure all of the shadows are accurate I need to see whether any of the skin needs to be brightened up. I hope you guys enjoyed it. Thank you, everyone!

Upvote and Comment below for your chance to win some SBD. The winner will be announced in my next post Thank you and good luck!

The winner of my last post is @alfred1