

Hello friends, Hello World!
The Rhinocerotidae, is the scientific name used to designate the rhinoceros.
The rhinoceros is a species conformed by 5, its habitat is found in Asia and Africa, is considered a herbivorous animal mostly, interesting to note that they are very territorial, despite its large size and dominance of space there is only one predator that can be Daring to devour a calf of rhino, the crocodile of the Nile.
Among its features can be found that weigh about 1 ton, live approximately 60 years, can attack at a speed about 30 miles, its horns are made of keratin,! Wow it is the same protein that in humans makes them grow hair and nails, the skin is quite thick can get to measure thickness about 45mm, its period of pregnancy is long, between 14 to 18 months. This animal is very interesting, today is considered in danger of extinction, unfortunately.
The illustration is based on this animal, is supported by various techniques of expression, pointillism, geometries, lines, short strokes and shading, in turn, supported to make note that they are a complement in the creation of the composition.
Step by step
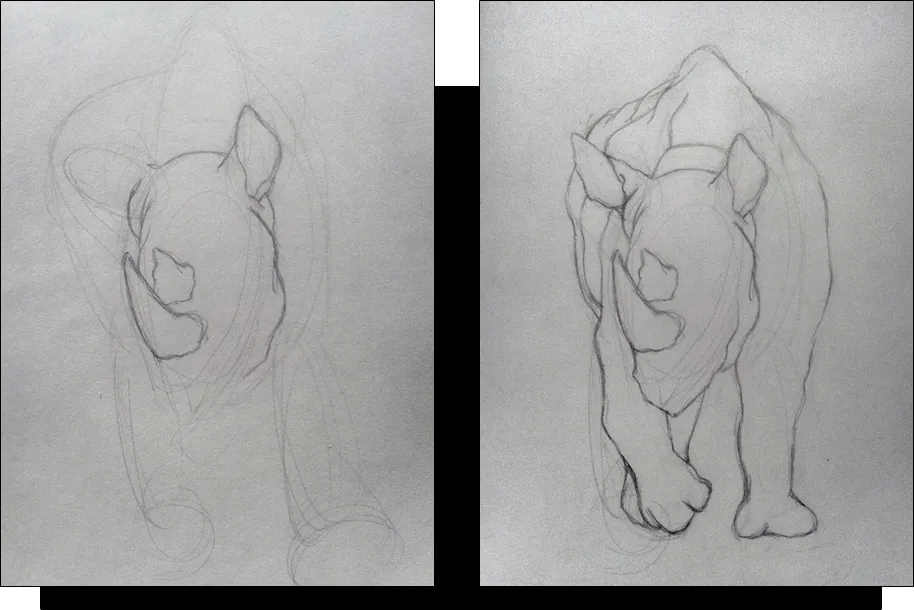
1. Always when making a drawing you have to organize your ideas, then you have to look for a pencil and a paper and start to make the contour of the shape.
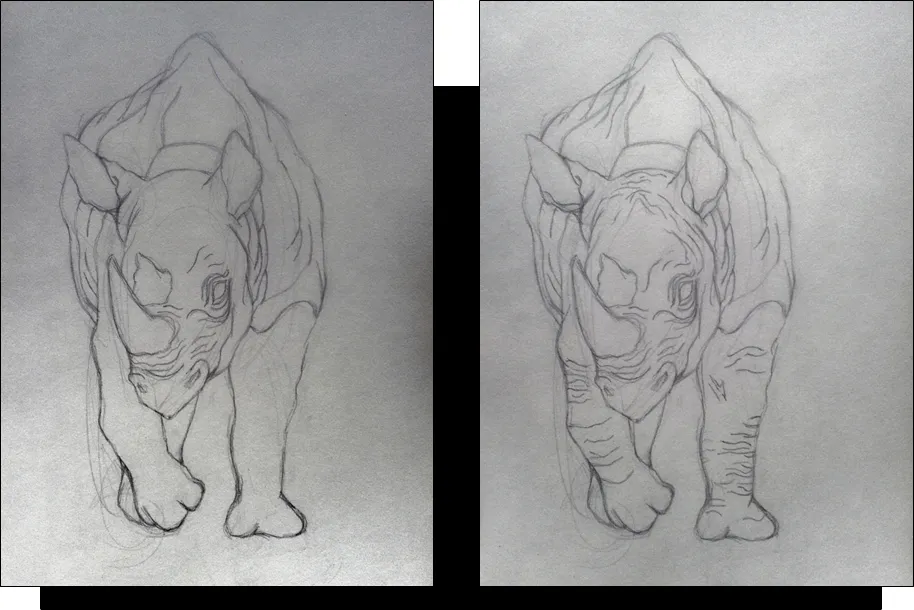
2. Already obtained the shape you want and you like, we will do one other detail, usually I make lines of skin folds, some features, mouth, eyes, etc..
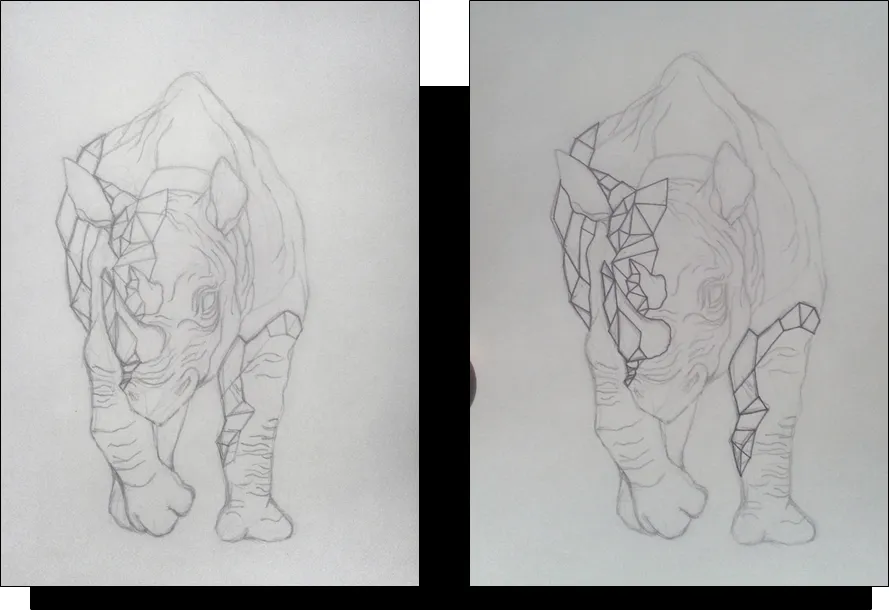
3. The previous step was easy, don't you think?... Now comes the artistic technique you want to use, in this case is geometries, once finished and you can use the marker to begin to delimit all lines in pencil.
4. At the end of delimiting the shape, we are going to make lines within the geometry, creating a visual effects game of depth and movement.

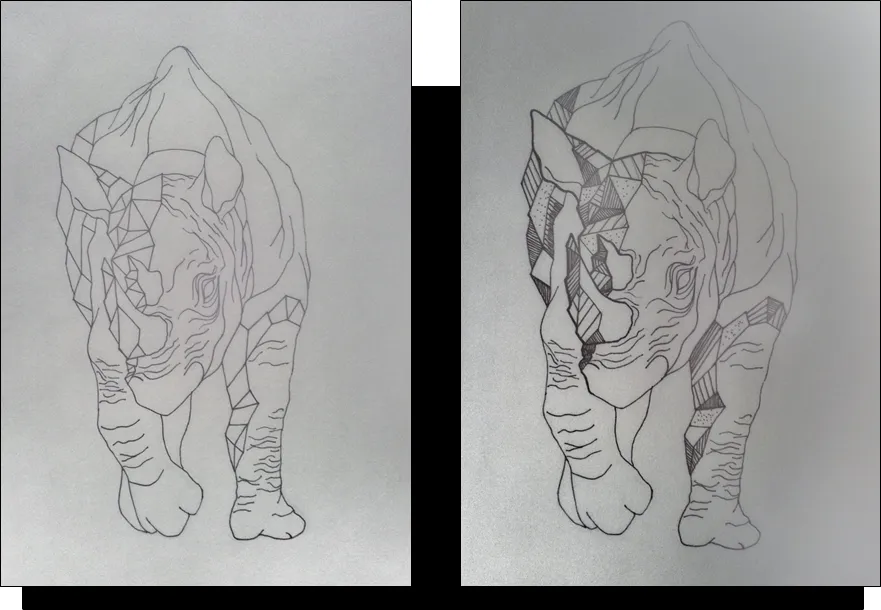
5. If you're following me, we're good, now is when it gets good (if you like to be a long time making points), with the same marker black fine point we make points where the shadow of the animal will be.
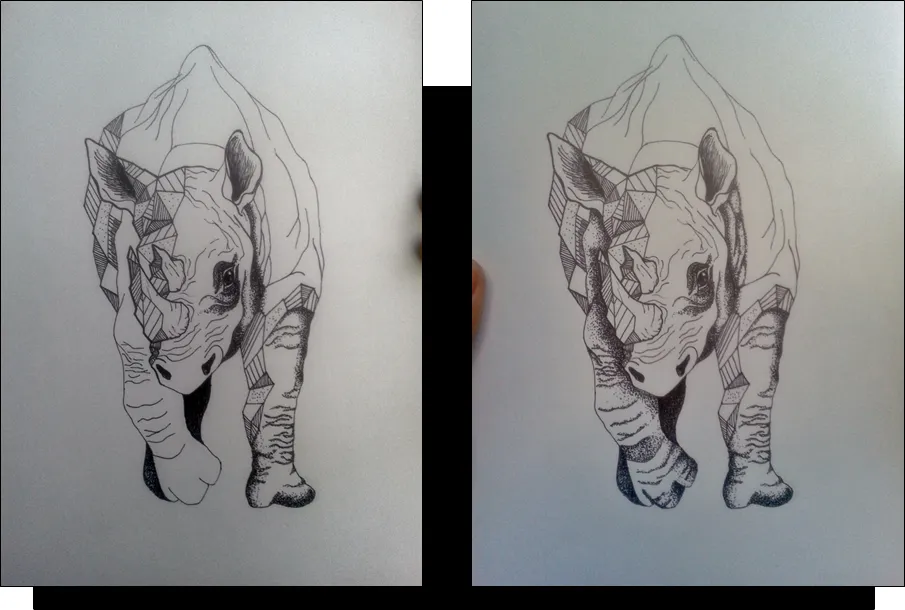
6. Once the previous step is ready... Keep making points!!!.

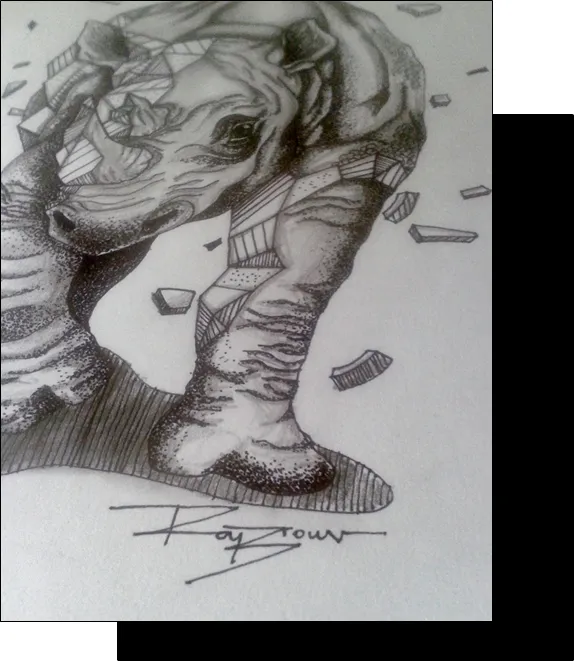
7. Keep making the points that we're almost done. At the end of making the nice points, we will give some play to the paper surfaces that were white, we'll make fragments of broken crystals (do it with pencil in case you have to erase).

8. When you're sure you like to review them with bookmark, and almost finished, missing the magic touch with the pencil, you have to achieve a better depth to the drawing, with touches of graphite improve the effects of shadows made in Pointillism.
I'm pretty sure your result will be just as it is.
A big greeting and a hug!.
