
Hi friends☺️!!!
So I got this commissioned job last week to make a portrait of this beautiful woman from her son. A few things to know about her are; firstly, she's a Ghanaian and that's the reason for her attire, She clocked 55 years yesterday which is the reason why the portrait was being made for her and then she's so pretty which makes her features quite easy to draw☺️. This portrait took me a total of 18hours to complete and I can say is one of my best works so far.
As usual, I'm enlisting the materials used for the drawing, their uses and the technique I used in creating this portrait for your enlightenment and for other artists who would love to try out.🤗
The materials used here are;
- An A2 catridge cardboard paper
- A black and white charcoal pencil
for shades and highlights respectively. - A smudger and cotton bud for blending and shading.
- A Natarag eraser for erasing and highlights.
Now here are the steps involved.
STEP 1

As usual, I started with the eyes after making a rough sketch to determine the amount of space the portrait was going to cover on the paper. Drawing from the eyes makes the process of making the portrait so easy for me and the chances of getting required resemblance to the model are pretty high. The black charcoal pencil was used here to create the darkness and make the piece look real.
STEP 2
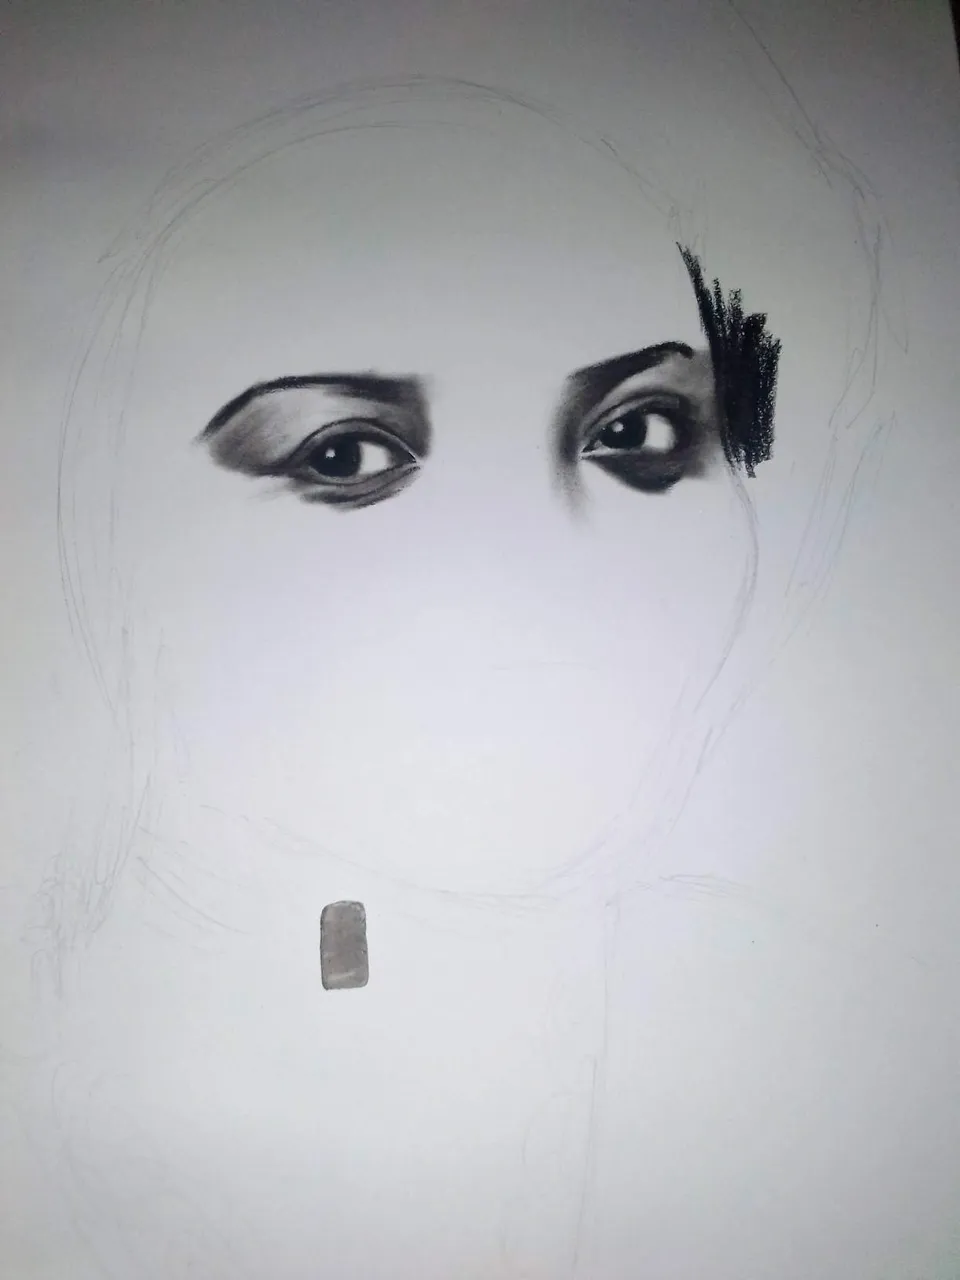
After drawing the right eye and got a satisfactory result, I proceeded to the left. Using my smudger and cotton bud I blended to get the required shade.
STEP 3
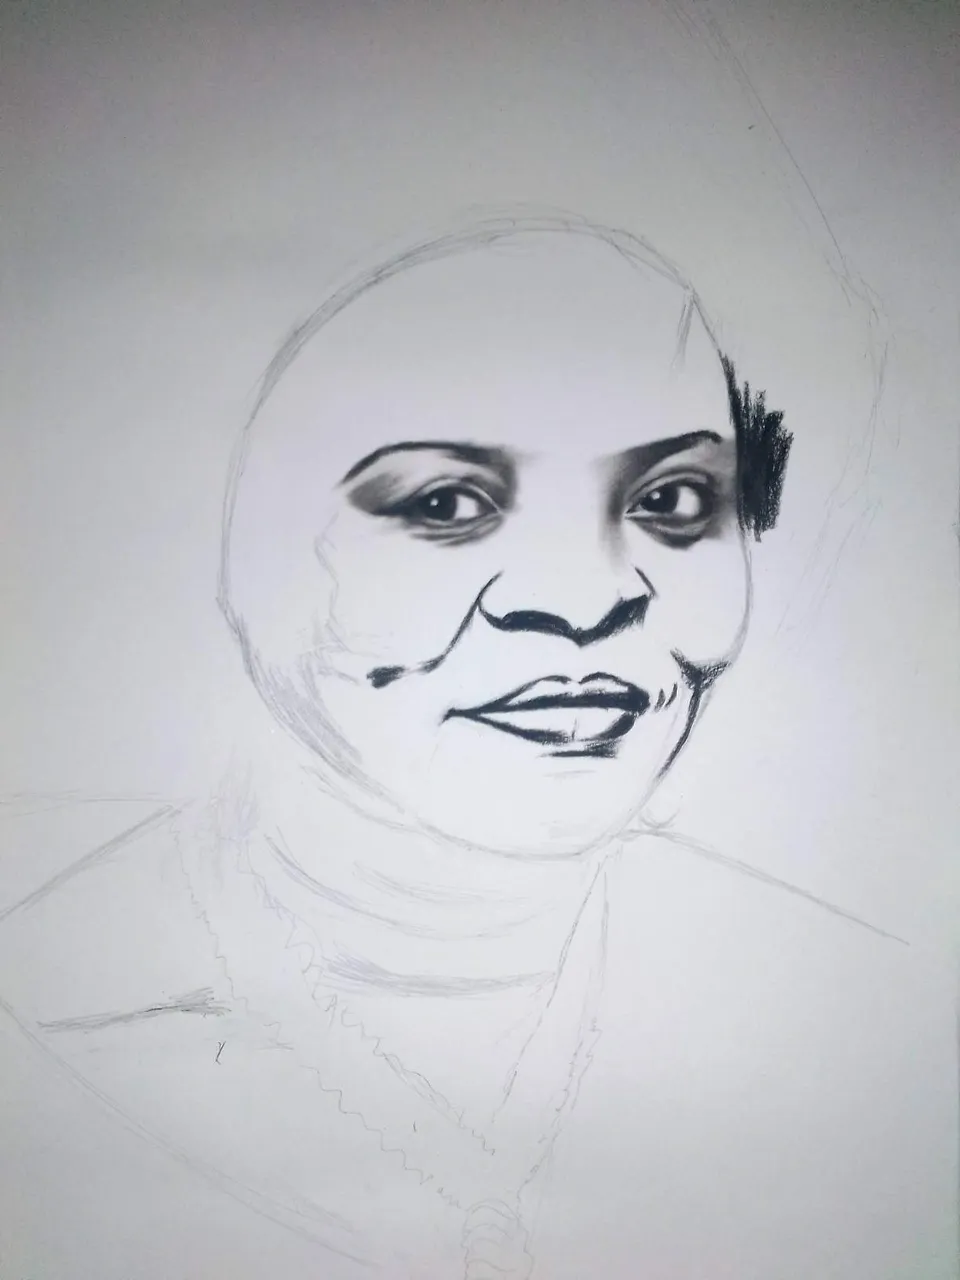
Here, I sketched out the nose, cheeks and lips first then used my black charcoal pencil to create the darkness in these features.
STEP 4
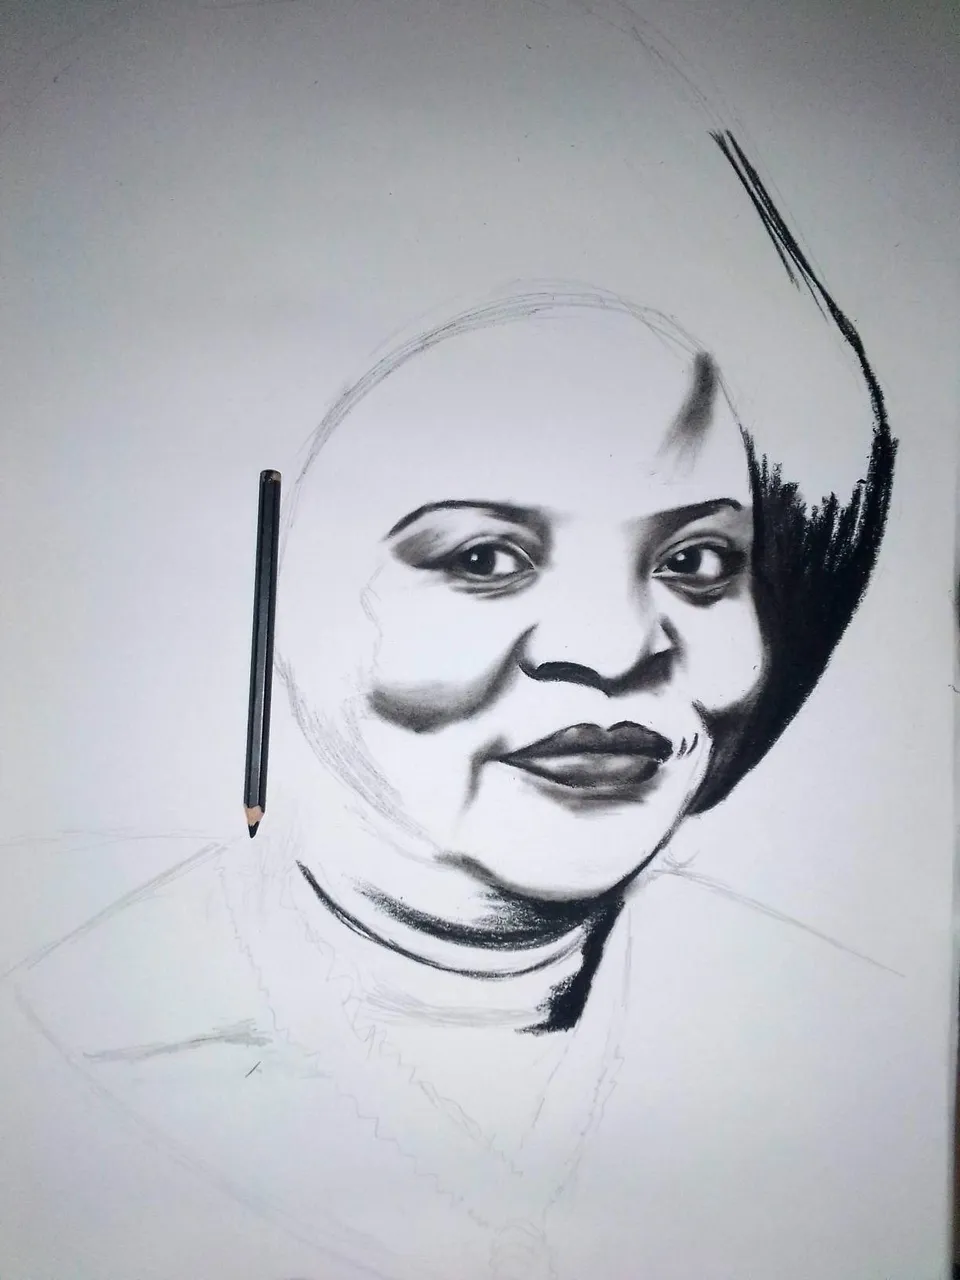
I started adding areas of shades on the features by blending with my smudger. I went all down to the neck. At this stage, I could see a whole lotta resemblance to my reference photo already.
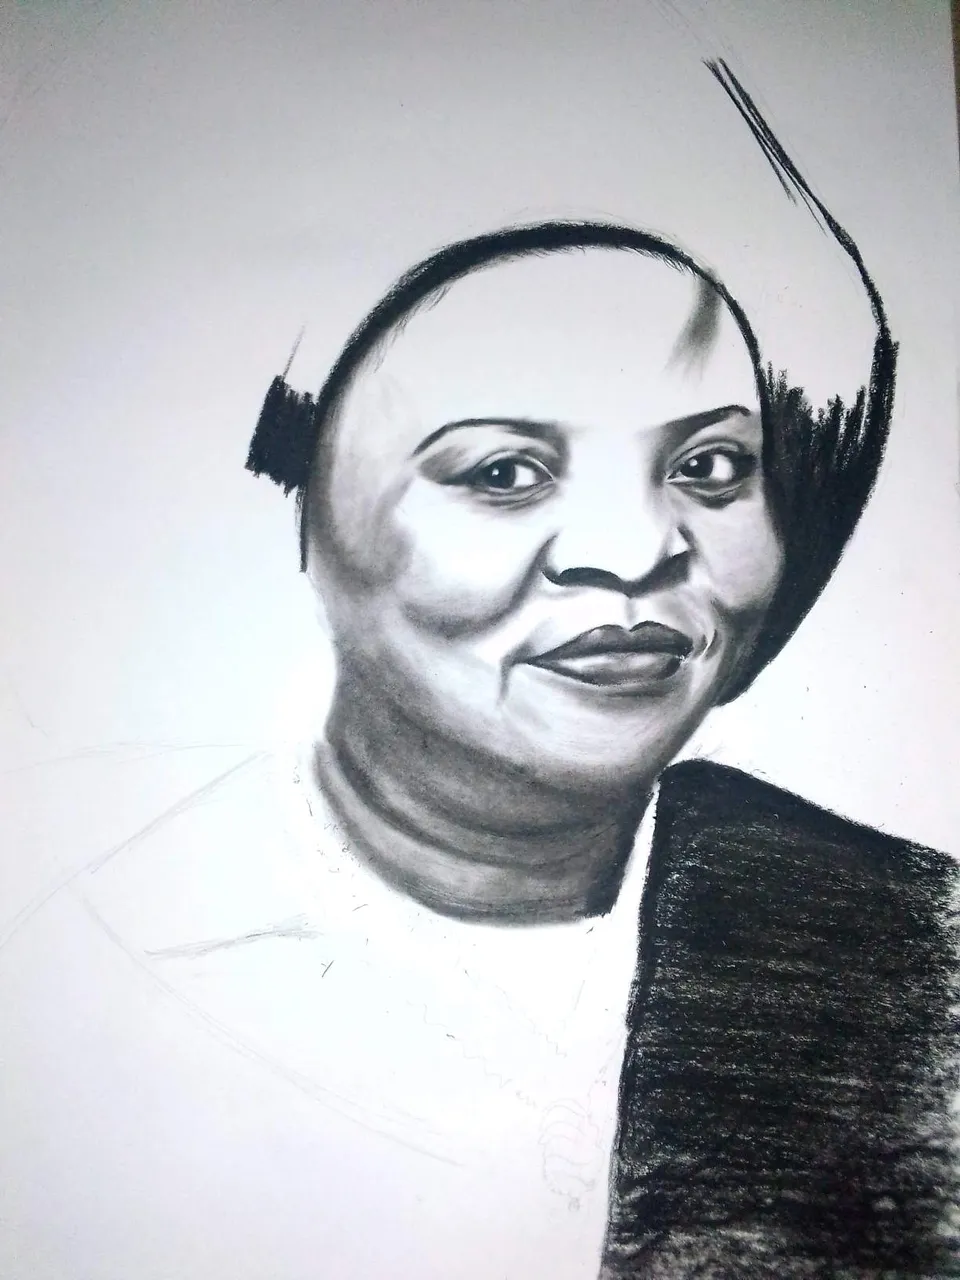
The blending continued till I completed the areas with shades on the face and neck.
STEP 5

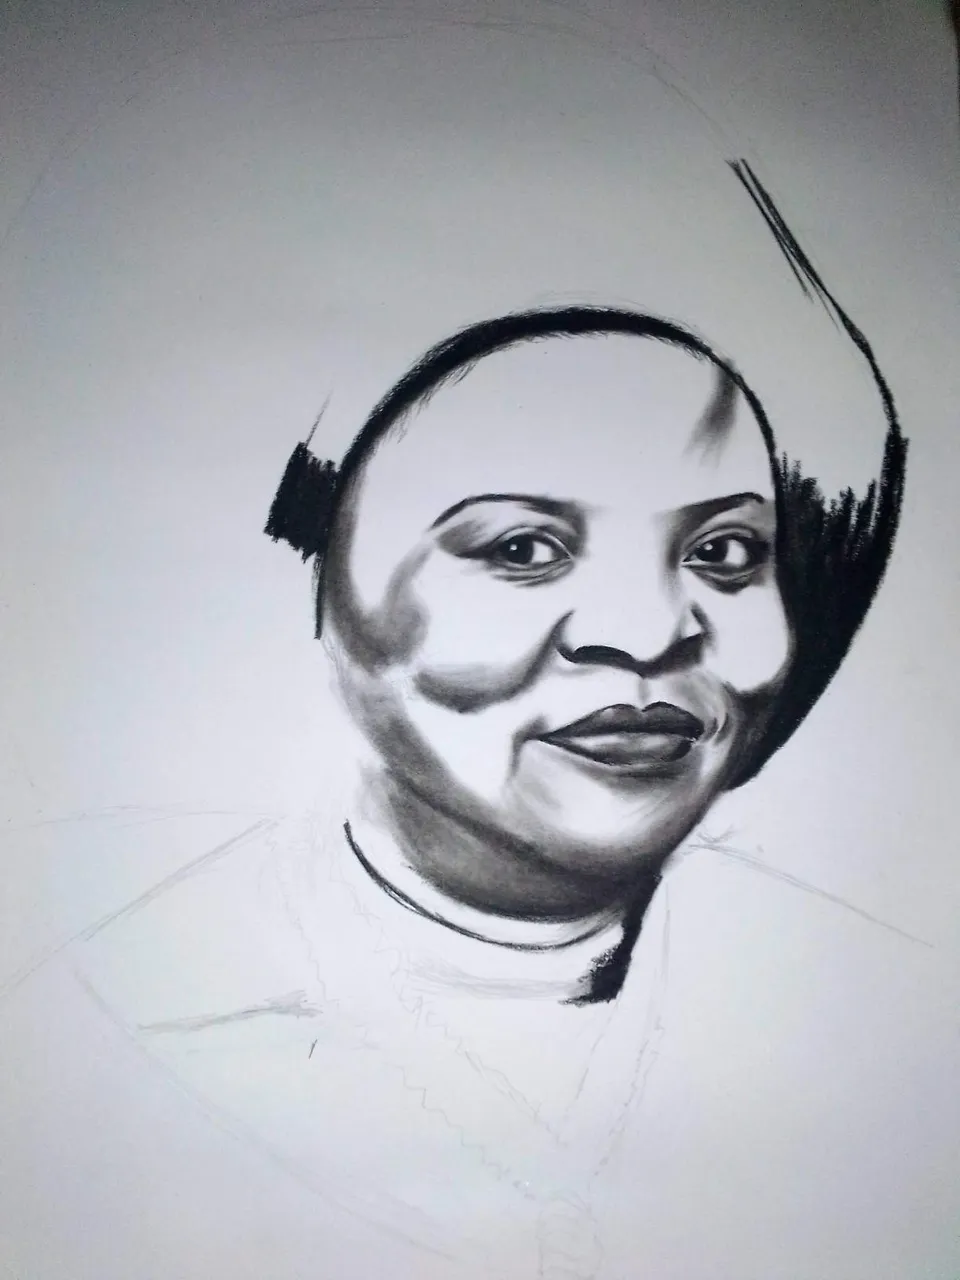
This stage is pretty tough because I had to work on the background, head gear, necklace and the cloth. To be sincere, this part is the real deal😬.
• For the head gear, I made the underlay with charcoal then used my erasers to create highlights.
• To create the background, I took some charcoal dust from the head gear and used in blending the background
• For the necklace, I made an underlayer with black charcoal and then used my erasers for the highlights (same technique as for the head gear).
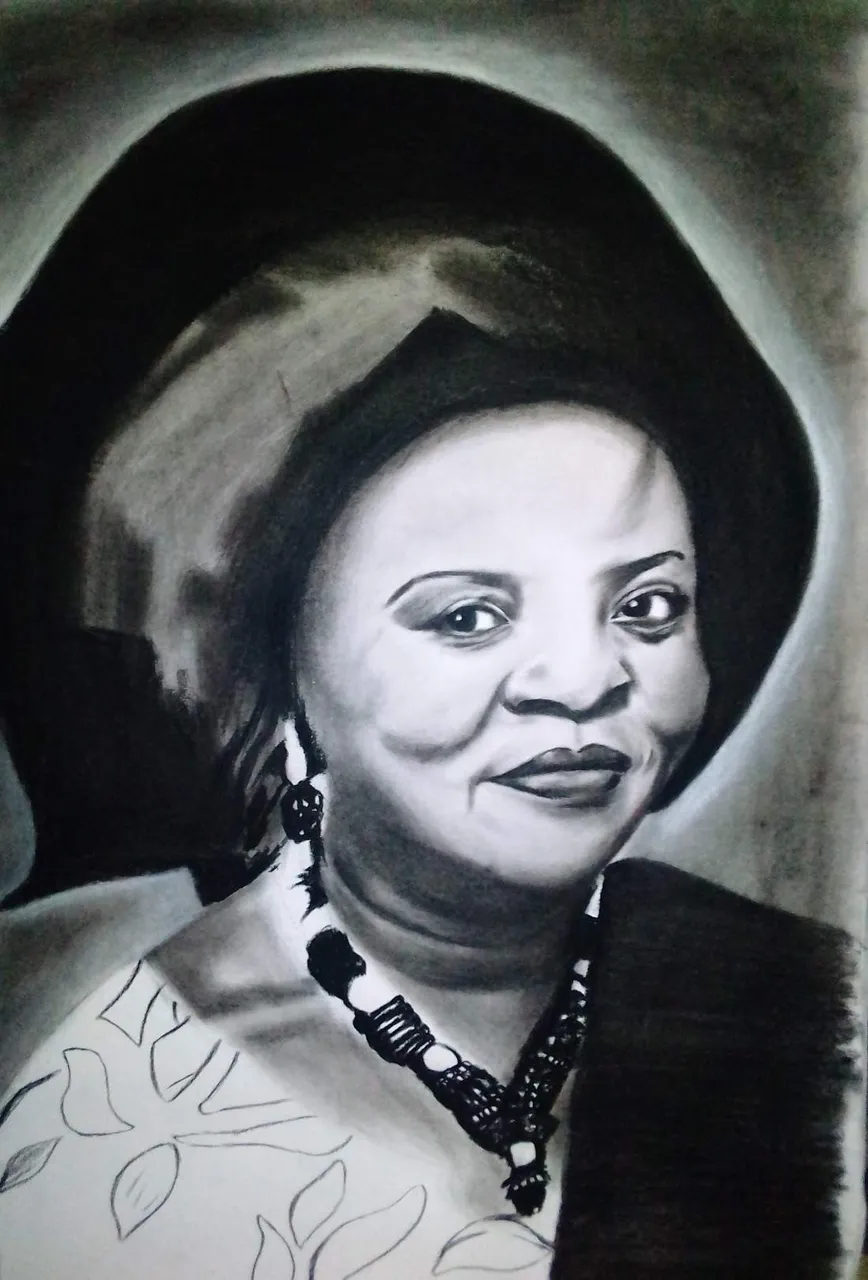
Afterwards, I used a white charcoal pencil to create a vignette effect for the background (light to dark)
STEP 6
In this stage, I added highlights on the head gear, necklace, earrings. I also added a few details on her cloth and on the necklace. I also did some final touches to her face. I was asked to write her tribal name "Abeni" at the bottom which means "The Creator's gift". I'm a nosy artist, I had no choice but to ask what it meant.🤗🤗
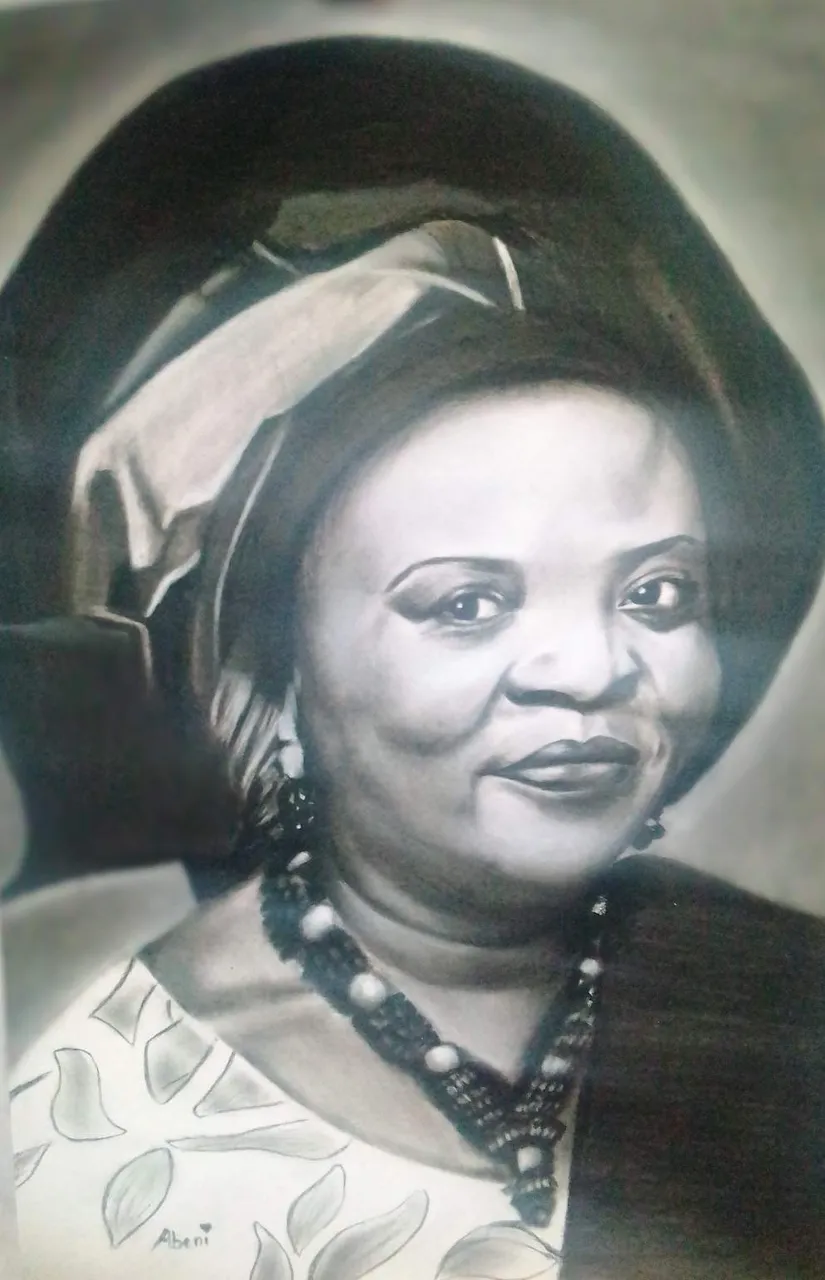
STEP 7
This is the final stage of the portrait😃.
Here, the portrait was framed and was presented. From what I learnt and the video I saw for the presentation, when this was presented to her, she started crying and was so overwhelmed. I was so glad to see the joy and happiness in her eyes and was proud of what I did.
Thank you guys for reading. I appreciate your love support for my art. Stay tuned for my biggest portrait unveiling tomorrow. Love you all😘
Comments and suggestions are highly welcomed.