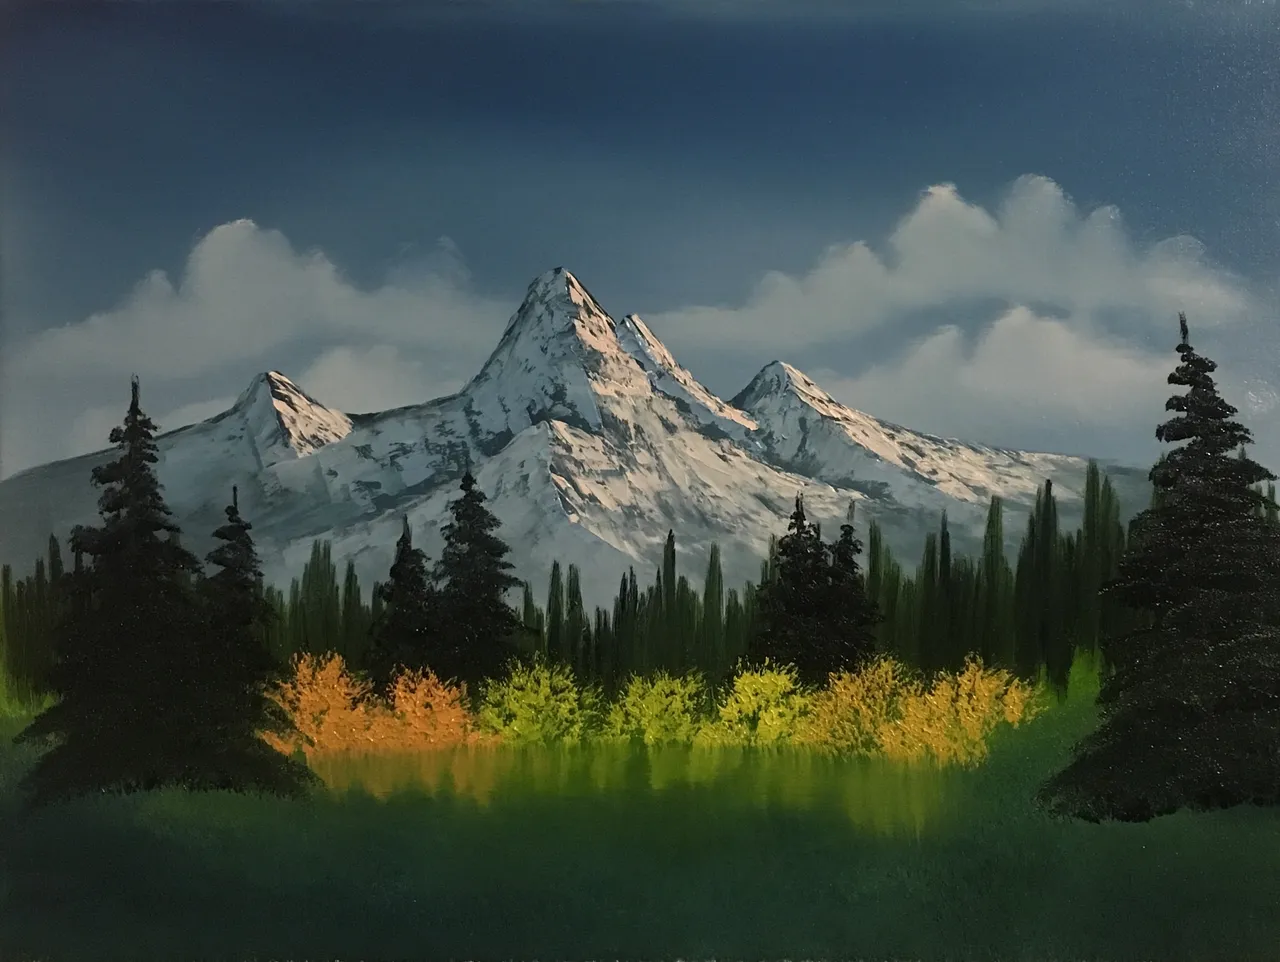
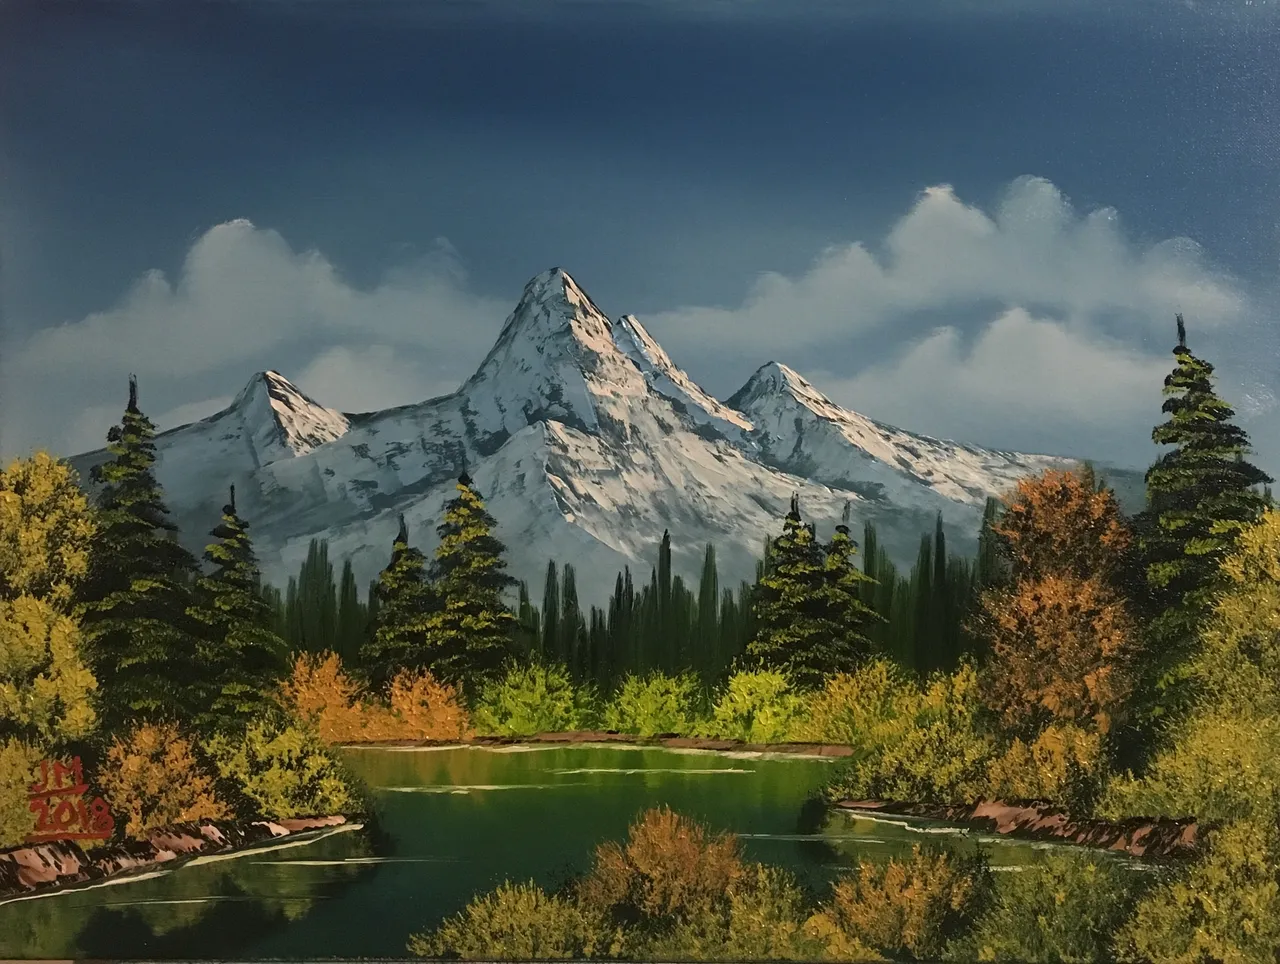
Hey everyone! Here's a painting I did earlier. I've been thinking about Bob Ross's Joy of Painting show Season 2, and this was his first painting/episode he did and it was my favorite out of all of his episodes from his second season, so I decided to take a crack at it and paint.

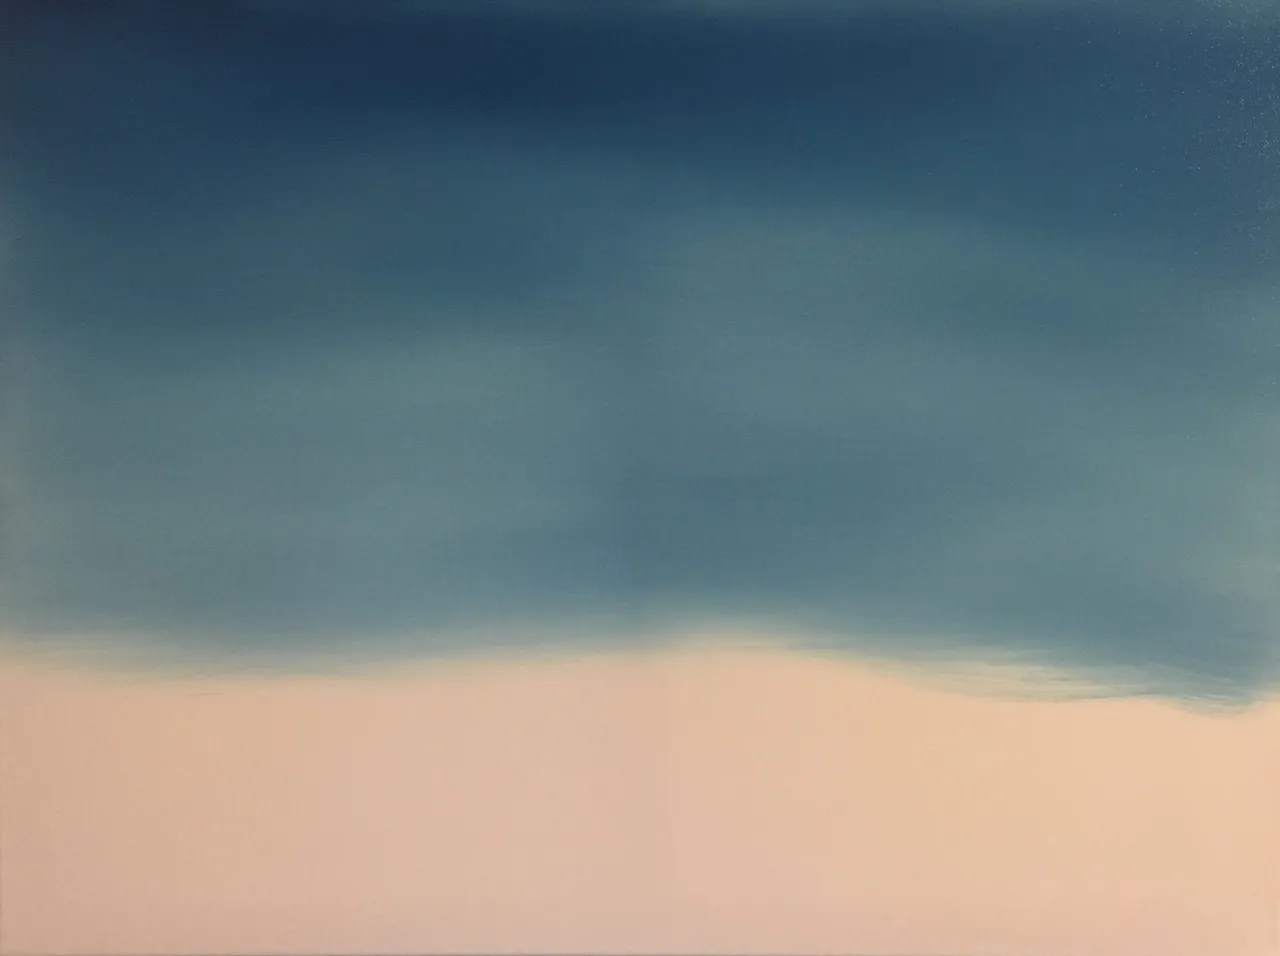
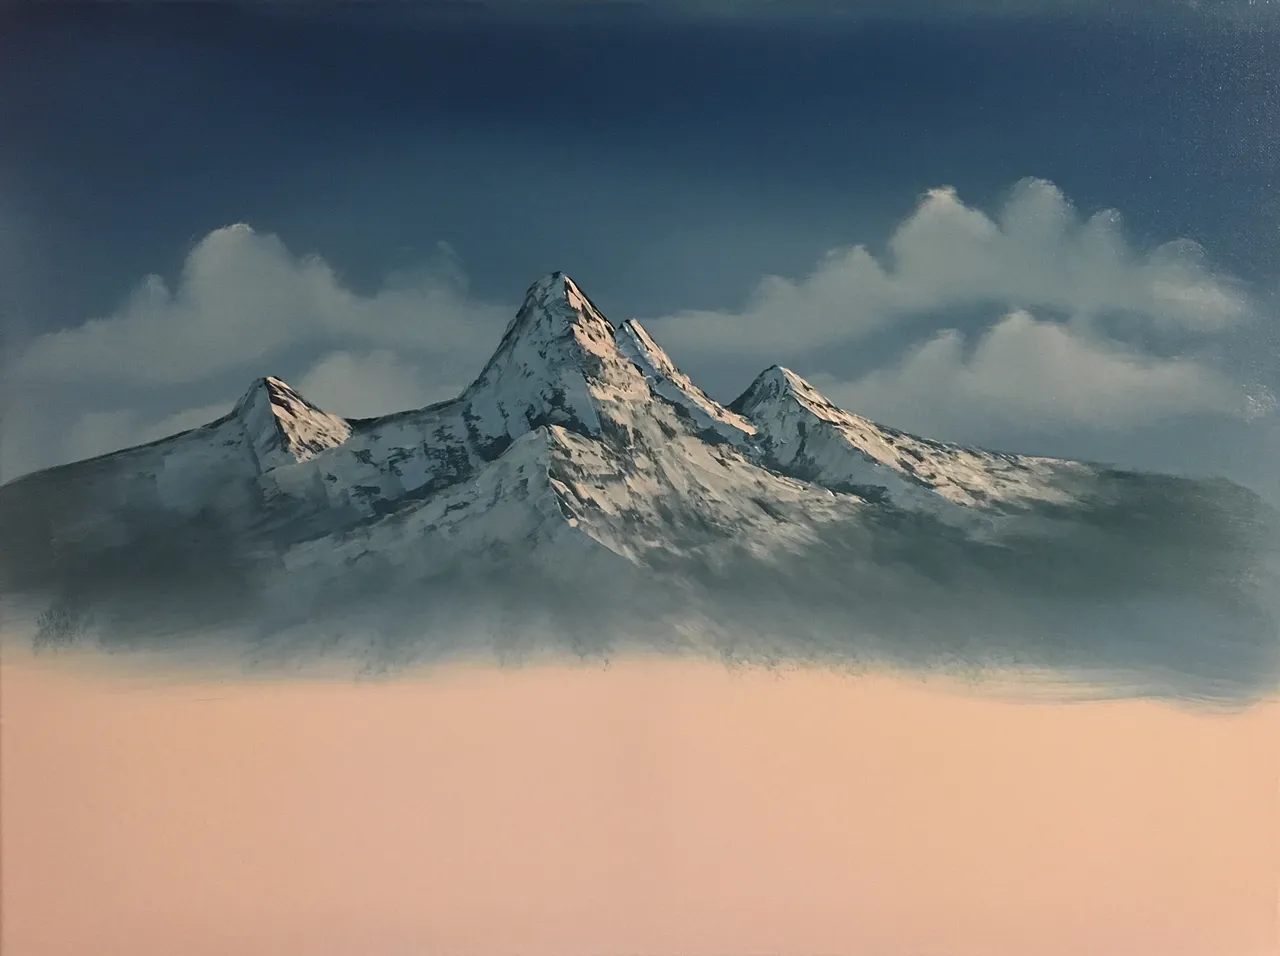
The first thing I did was coated the entire canvas a thin coat of the Liquid White since it helps blend colors easily. Then for the sky I grabbed my 2-inched brush and loaded it with Prussian Blue, and went onto the canvas and used criss- cross strokes from the top and worked downward since the color gets lighter in the horizon. Then with a dry brush, I softened the sky.
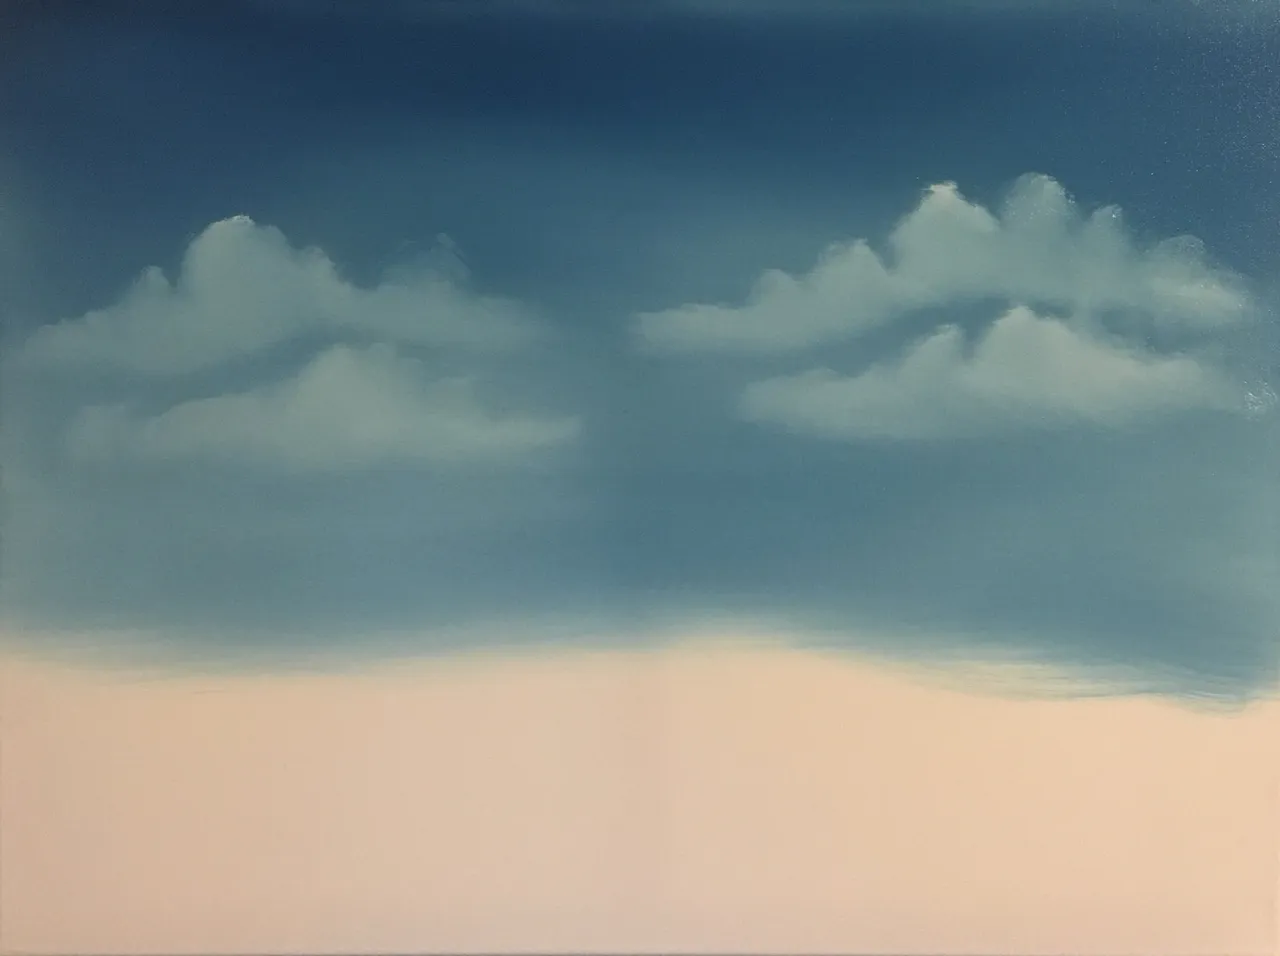
Second, I took my 1-inched brush and coated it with Titanium White, with a tiny touch of Bright Red and painted in some clouds using the corner of the brush. Then with a dry brush I blended and fluffed the clouds, and then we have a beautiful sky.
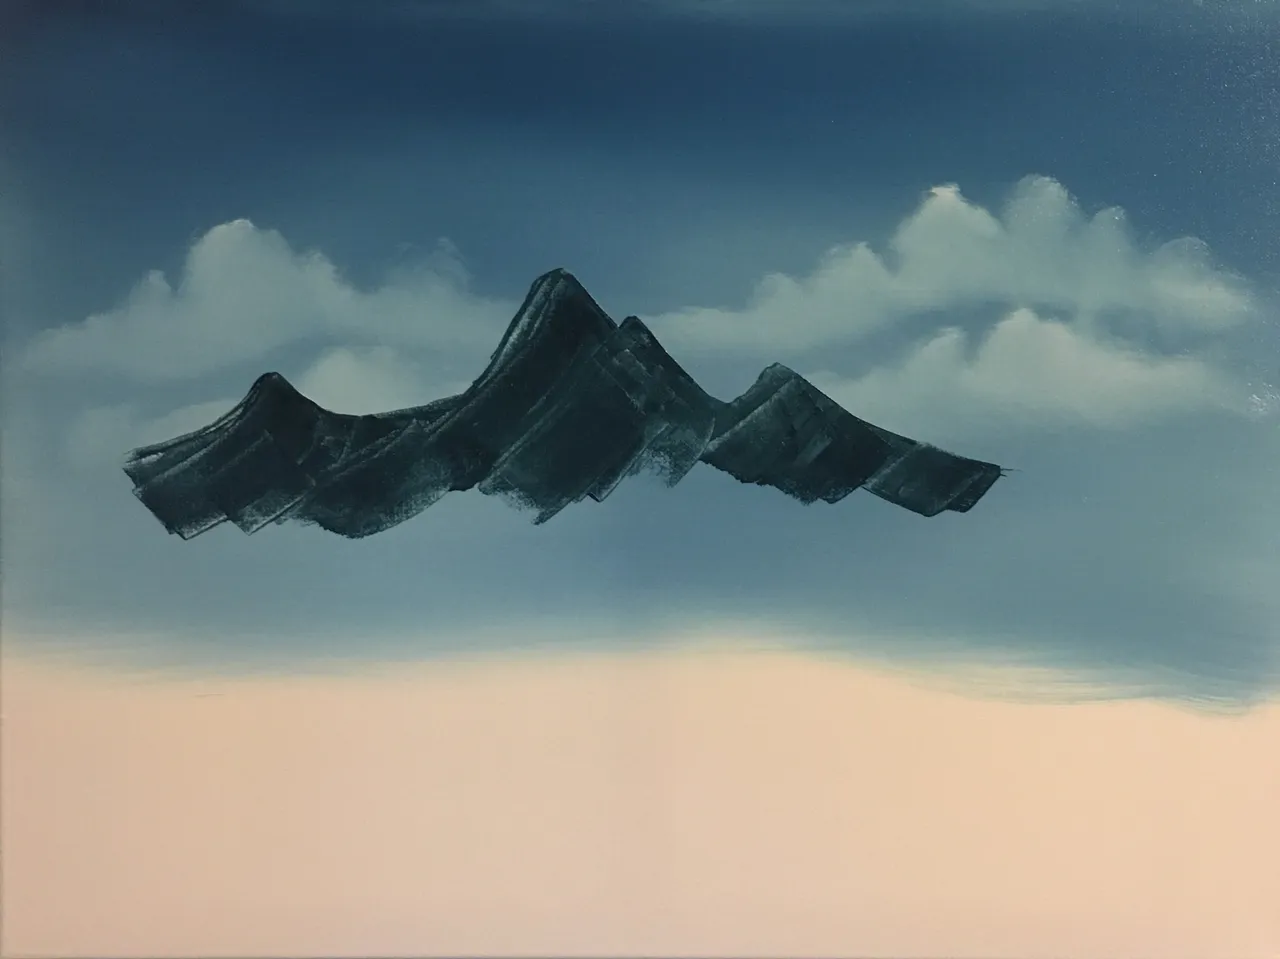
With my palette knife, I mixed Prussian Blue, Van Dyke Brown, and a small amount of the Alizarin Crimson and used the knife to make the mountain shape. Then with a dry brush, I pulled the paint of the mountain and let it move since the canvas is wet.
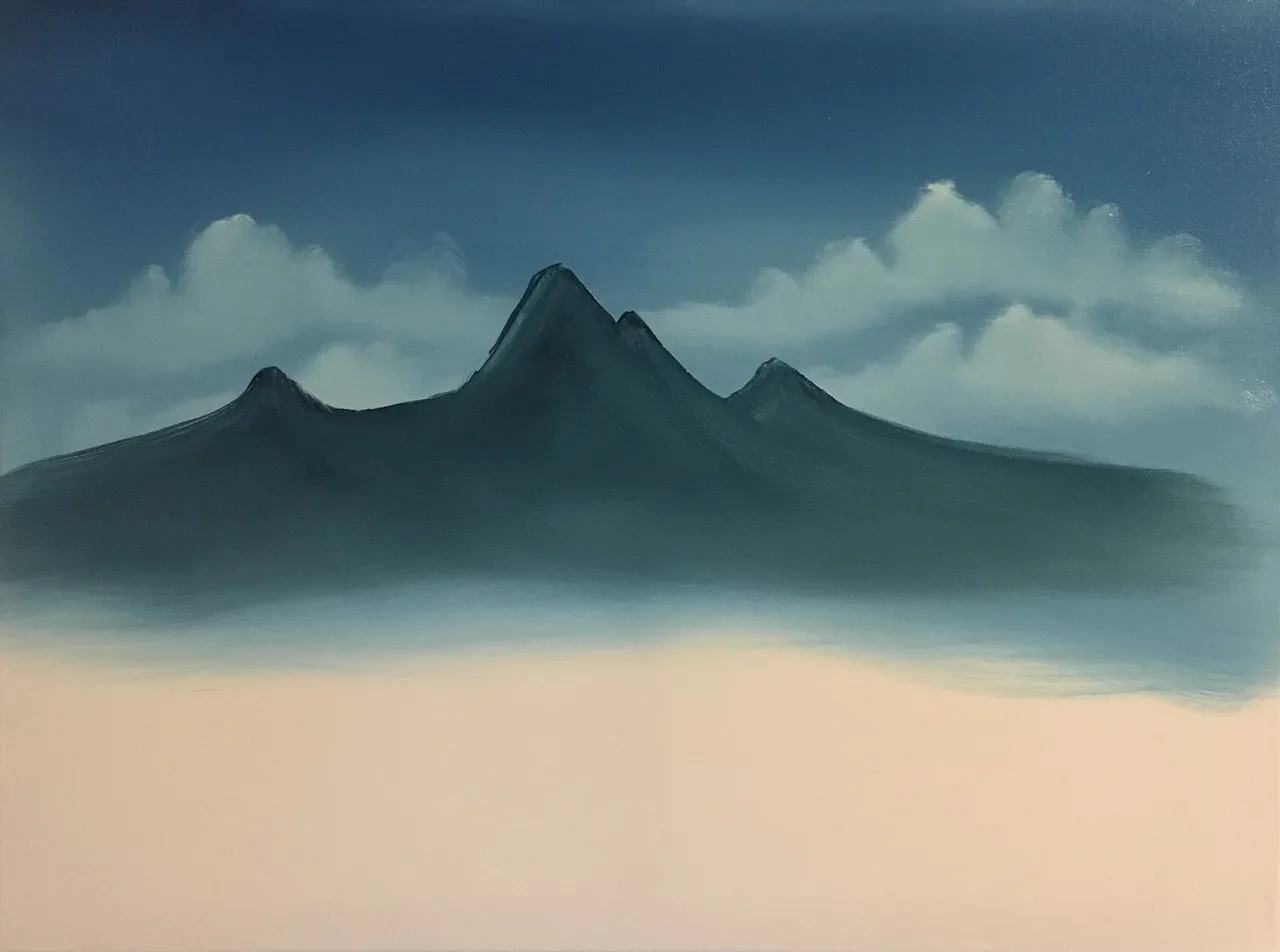
Then I got the knife again and some Titanium White and a little blue to put snow and the shadows on the mountain, and afterward I took my 2 inch brush and made the allusion of mist by just tapping down.
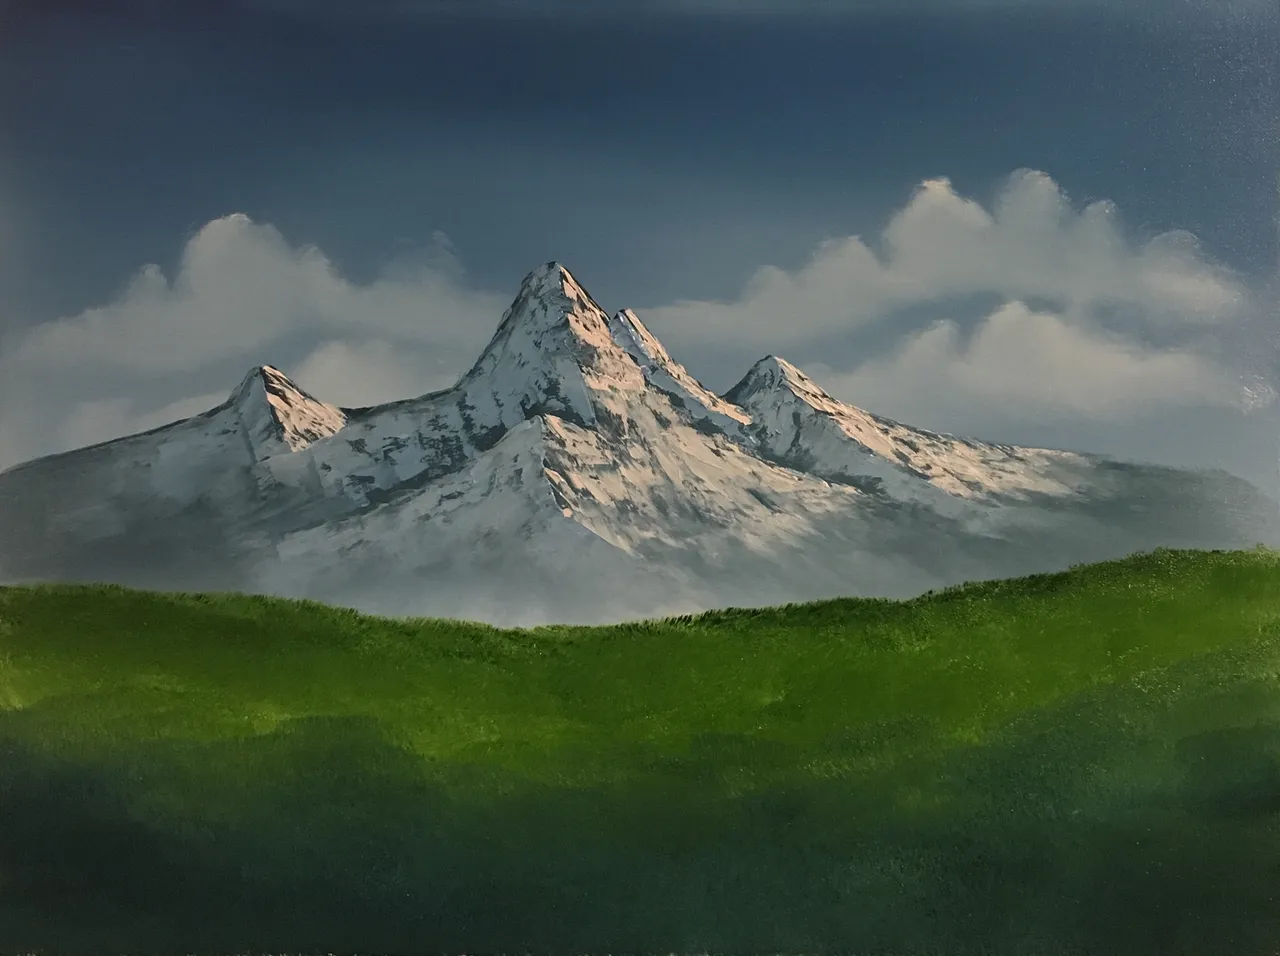
Then, with a dry 2-inched brush loaded with Sap Green, I painted the meadow by pushing upward, pushing it right into the fabric. With a little Prussian Blue, without cleaning the brush I darkened the bottom of the canvas.
Time to make evergreens in the distance. I first mixed Prussian Blue, Van Dyke Brown and Sap Green and then took my Fan Brush and loaded it with the dark color and tapped down over the brush, and then used the corner of the brush to paint a few big evergreens.
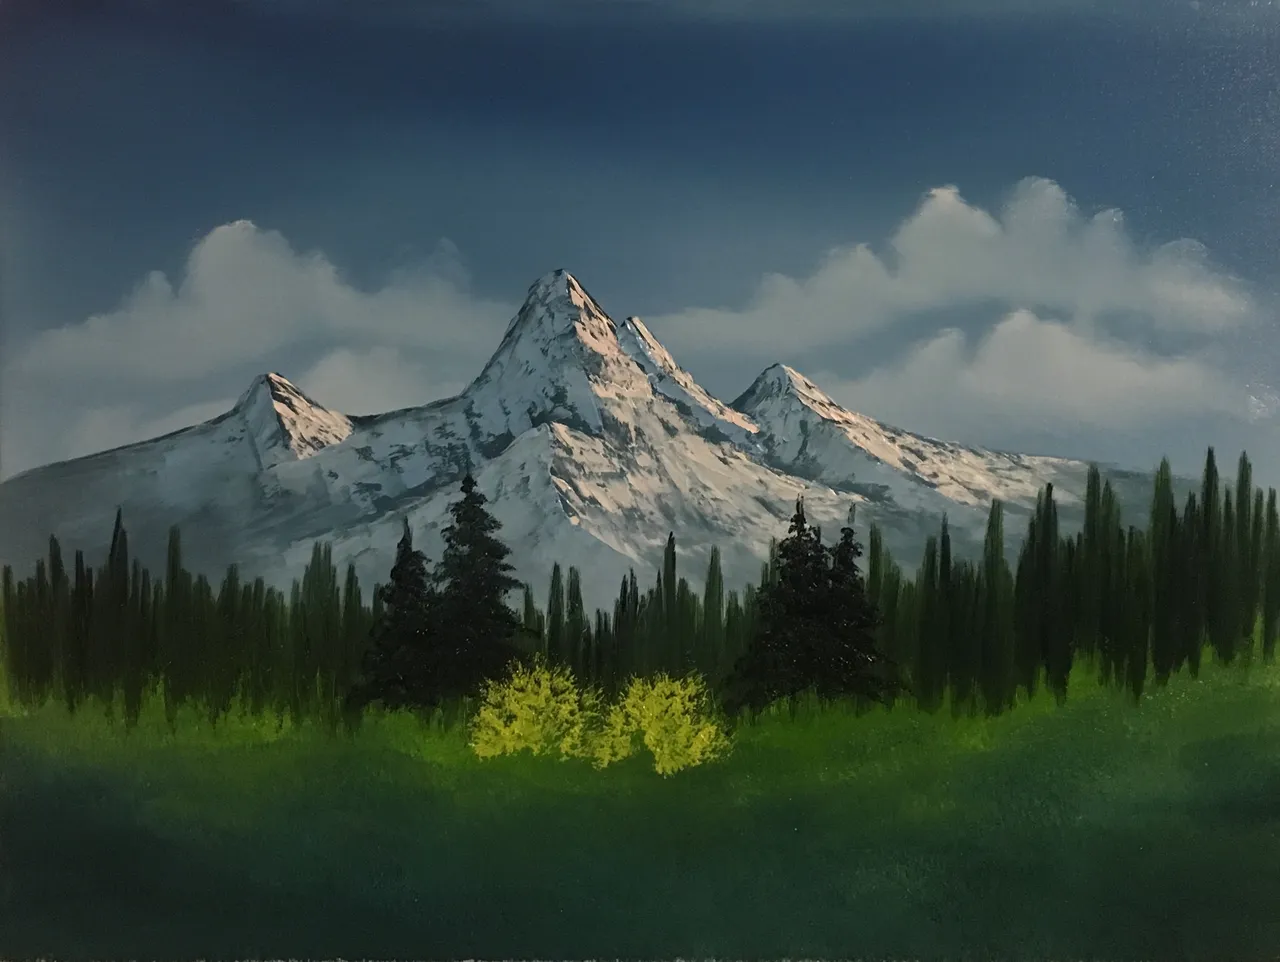
Then with my 1-inched brush, I took some Liquid White and a mix of Sap Green, Cadmium Yellow, Yellow Ochre and a little bit of Bright Red and painted some bushes. Since the paint is thick, I first dipped the brush into Liquid White to help thin the paint. To paint bushes, you load the brush with paint and pull in one direction. Soon one side of the brush will be round and you tap very gently onto the canvas.
I took a dry brush, and gently pulled downward, making reflections since there will be water. I then took the Fan Brush again and loaded it with the tree color and added in some bigger evergreen trees and some more bushes with some more reflections.
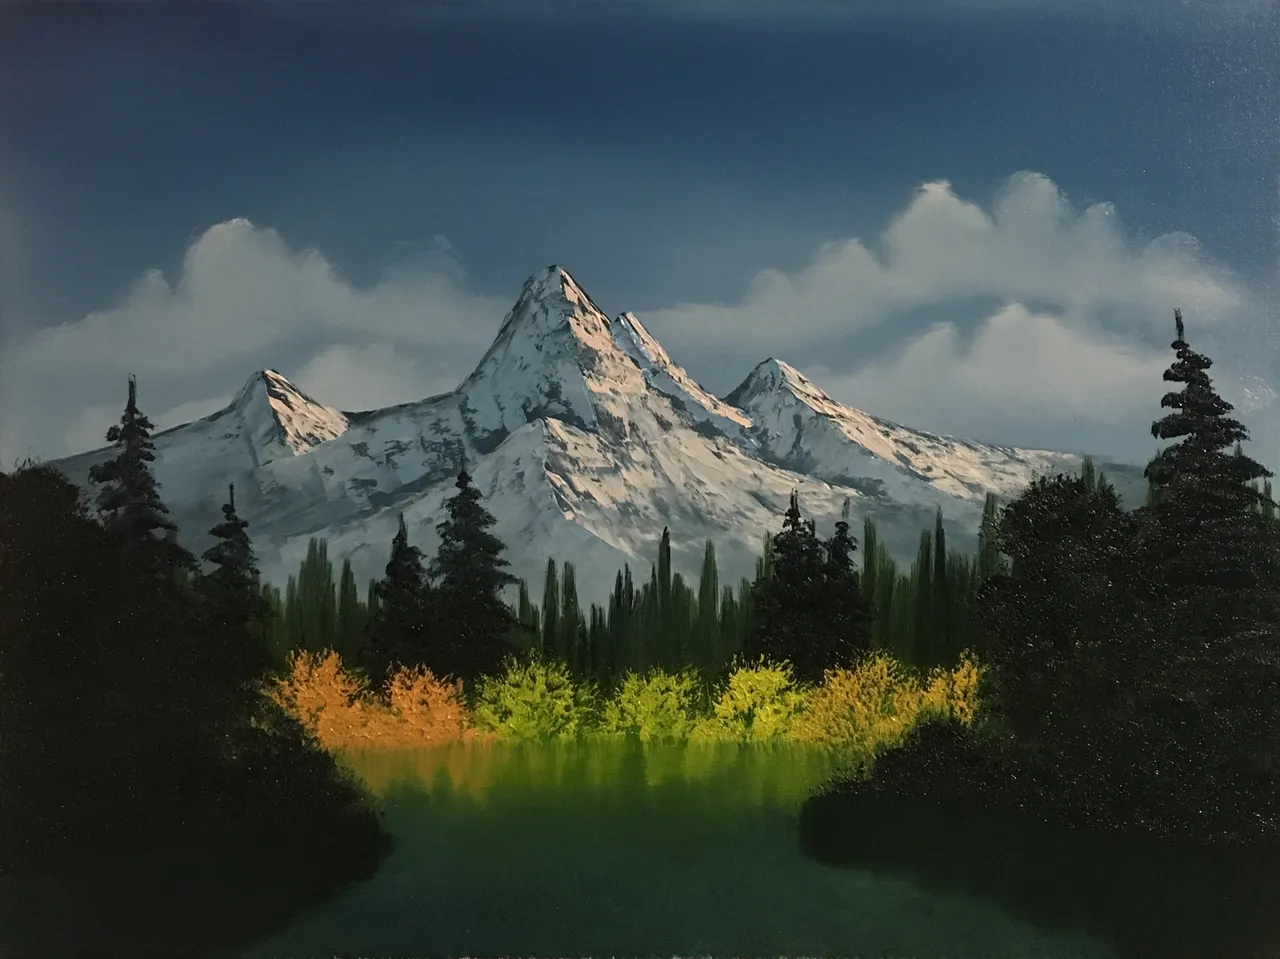
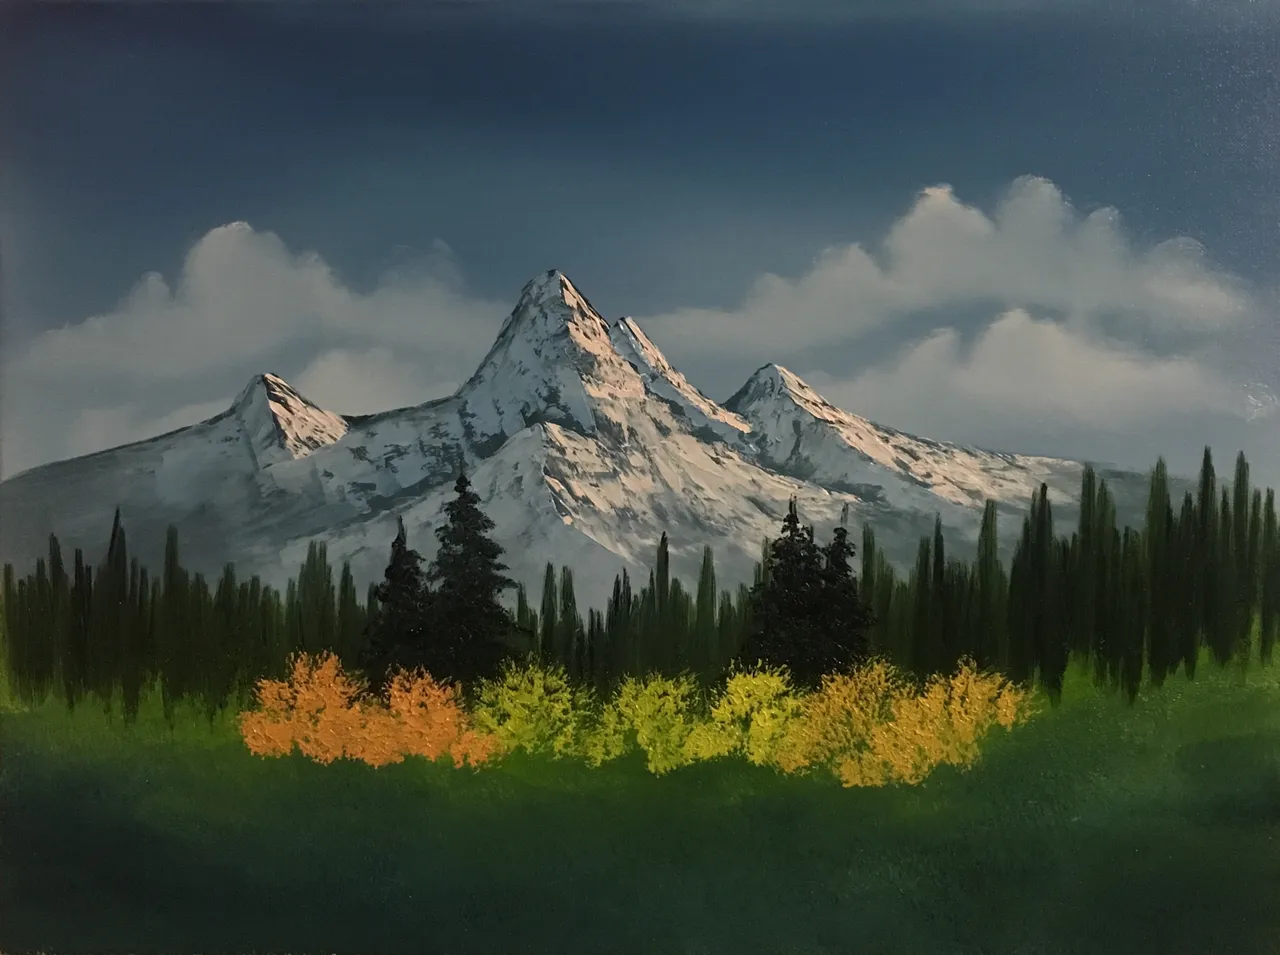
It was then time to add highlights and water reflections on the remaining trees and bushes. I took another 1-inched brush, with some Liquid White(to thin the thick paint) and more green, yellow and red and added the highlights by gently tapping on the canvas. For the highlights of the evergreens I used my Fan Brush and some yellow and green and gently used the corner of the brush and tapped on the trees.
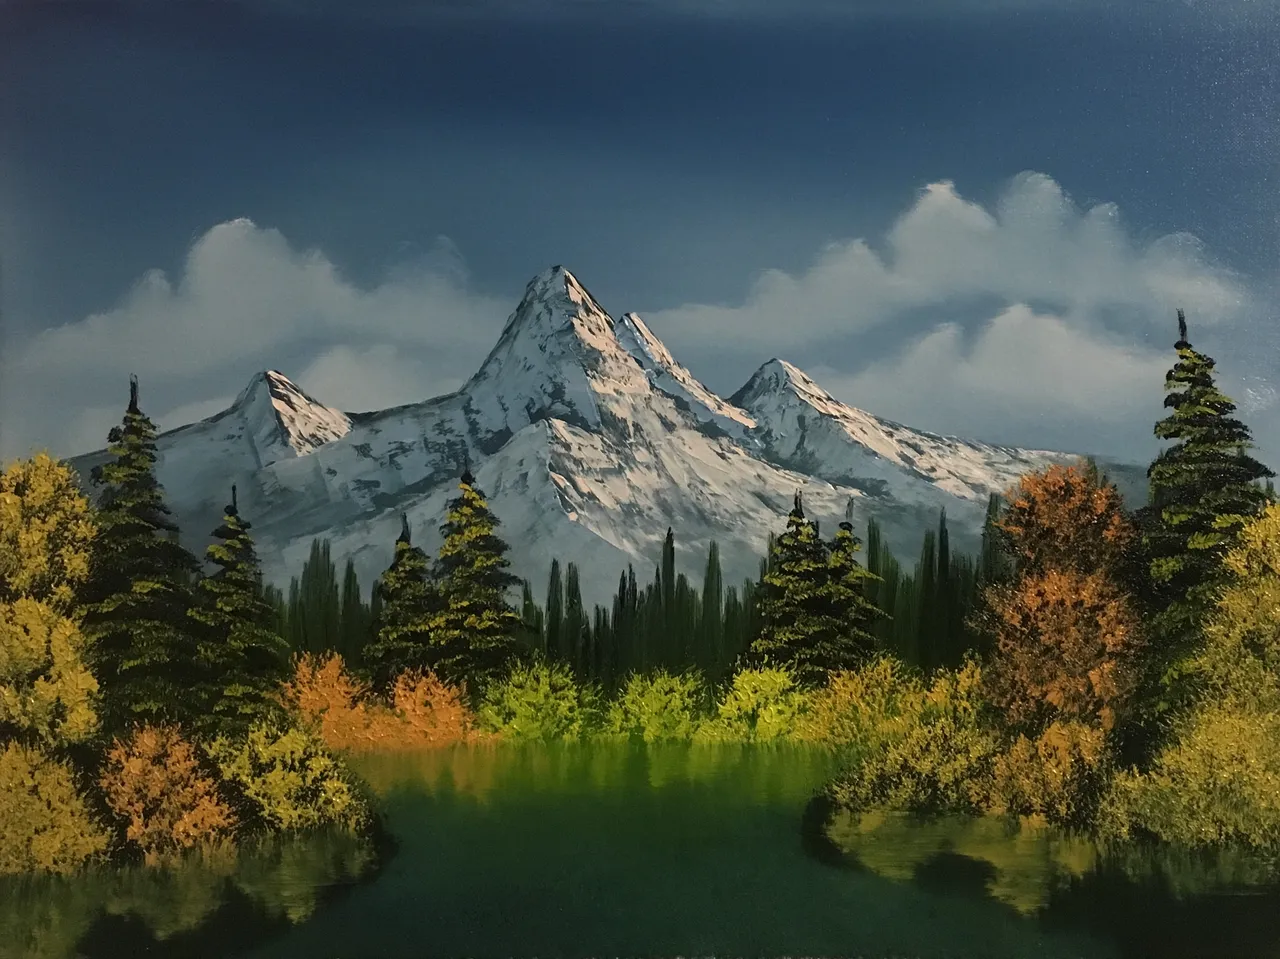
Then, I got my Palette Knife again, and some Van Dyke Brown and made some land/rocks by the edge of the water. For some highlights I mixed some Titanium White and Dark Sienna, took just a little on the knife and gently let it slide on the canvas. "AGAIN", I just let it slide gently so the colors doing get mixed up fully or darkened. Then with a little bit of Liquid White and Titanium White, I created waterlines with the knife.

With my 1-inched brush, and some of the dark tree/bush color, I then added some more bushes on the bottom right of the canvas
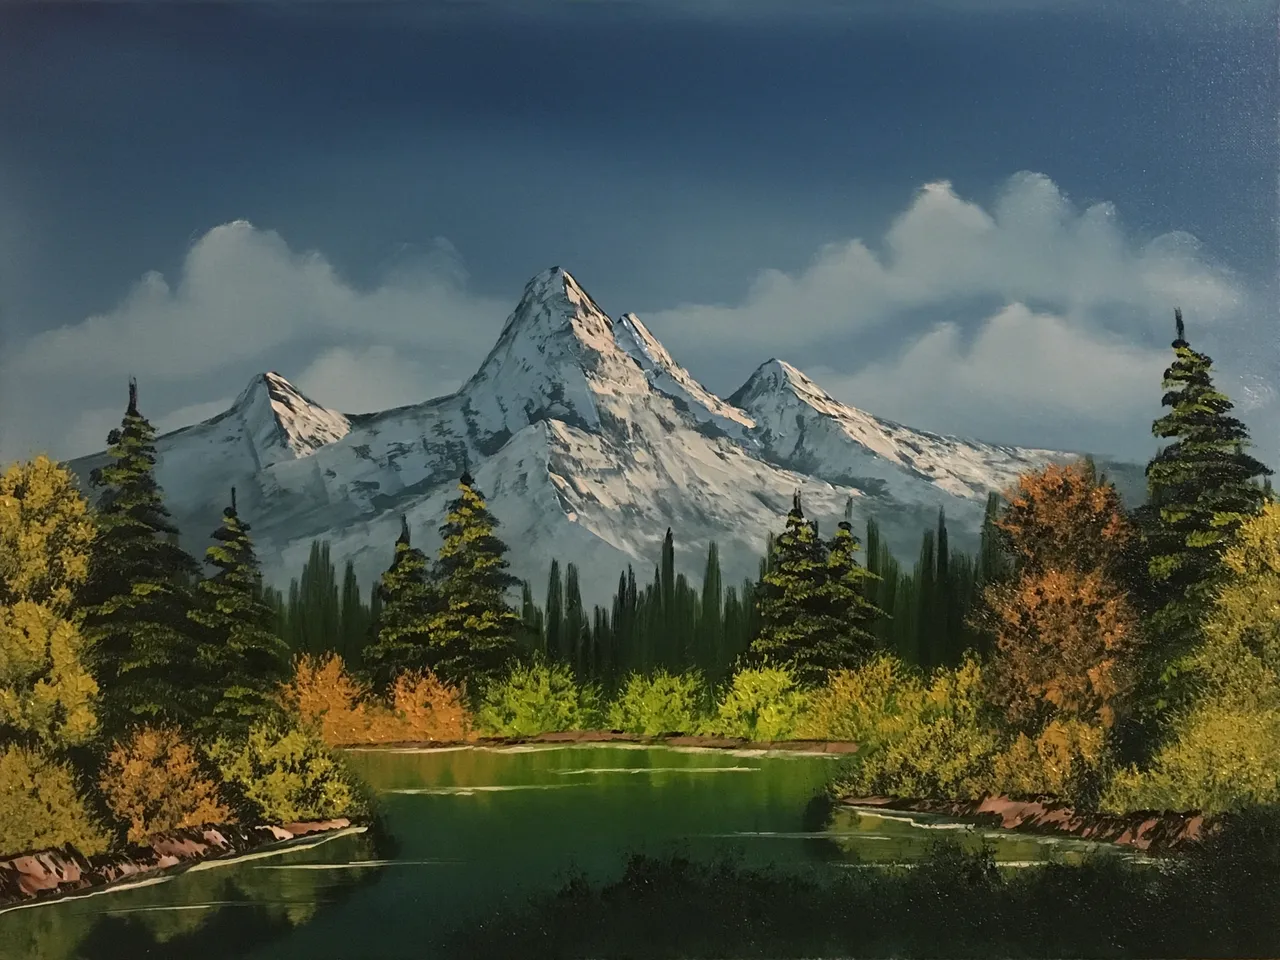
To finish off the painting, I used the 1-inched brush after cleaning and drying it, took the highlight color and high lightened the bushes, and then we have a finished painting. When Bob signs his work, he takes his Script-Liner, some Paint Thinner and Bright Red. He first dips it in Paint Thinner to thin the paint to make it look like the consistency of ink.
I hope you guys enjoyed seeing this step by step process. This was a lot of fun to paint, and it does take practice. Practice does make perfect. Give this a try; I really think you'll enjoy it! If you have any questions, don't hesitate to ask. If you'd like to see more of my work or would love to see future updates on upcoming work, you can find me on Facebook and Instagram as "Meyerpaintings". As Bob Ross would say, Happy Painting and God Bless my Steemit Friends.