Hello this is another day with my very new digital painting. Last time i also shared another digital painting. I will be going back to pencil drawing very soon. For now i tried a digital painting.
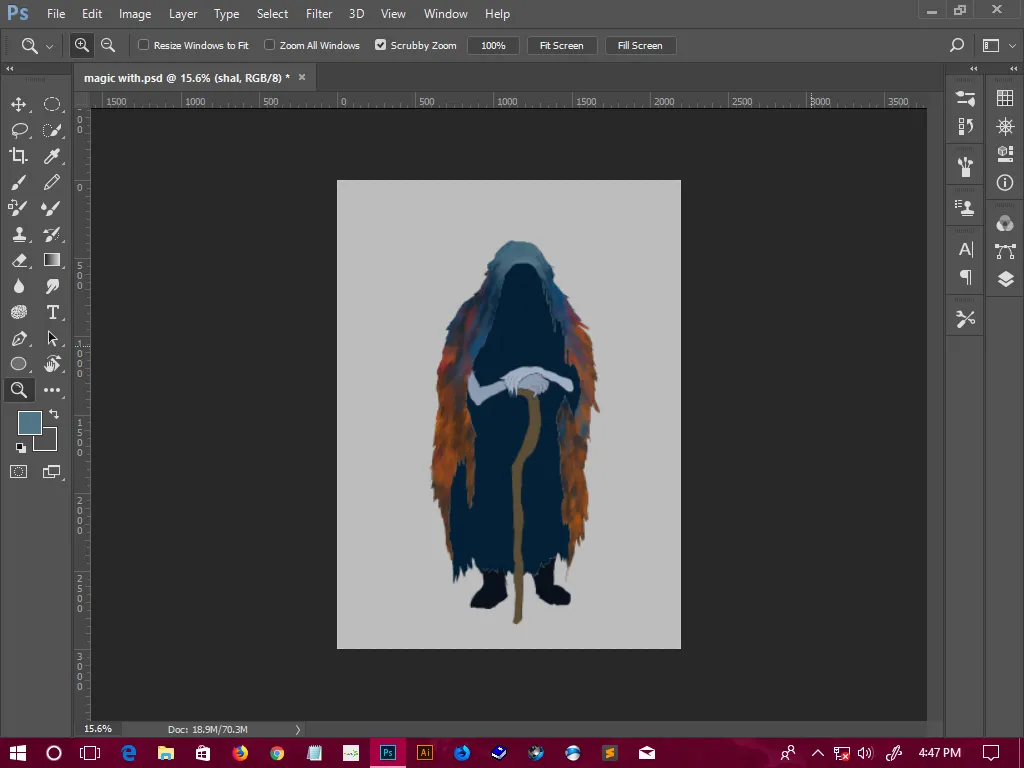
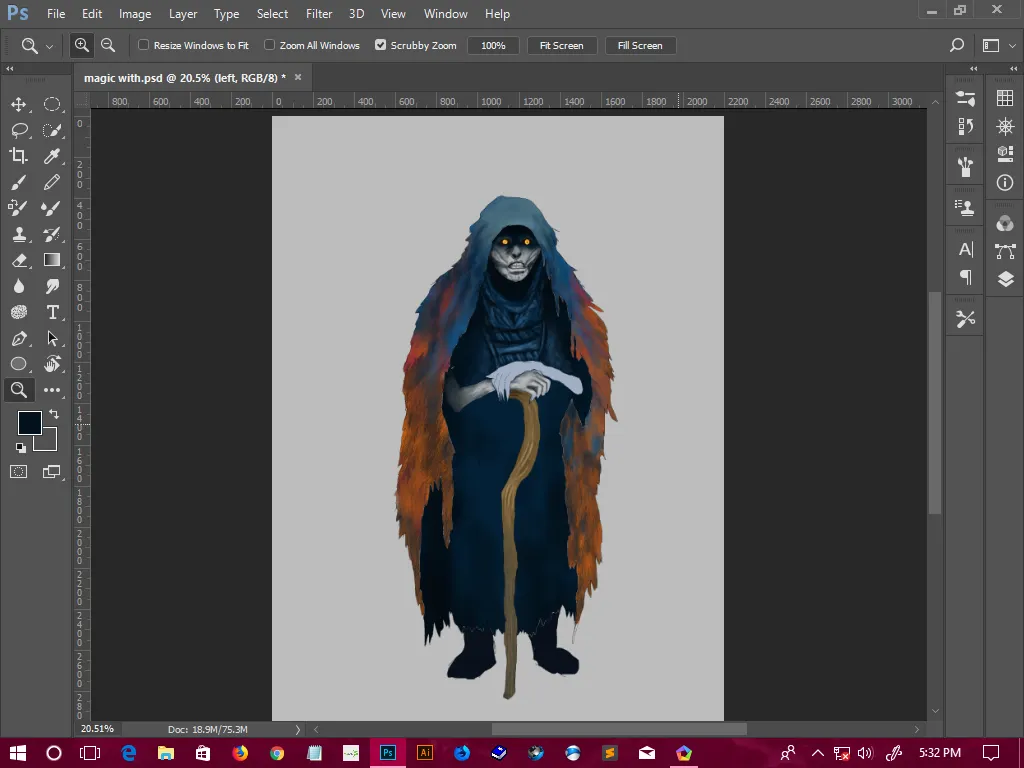
Lets see the painting first
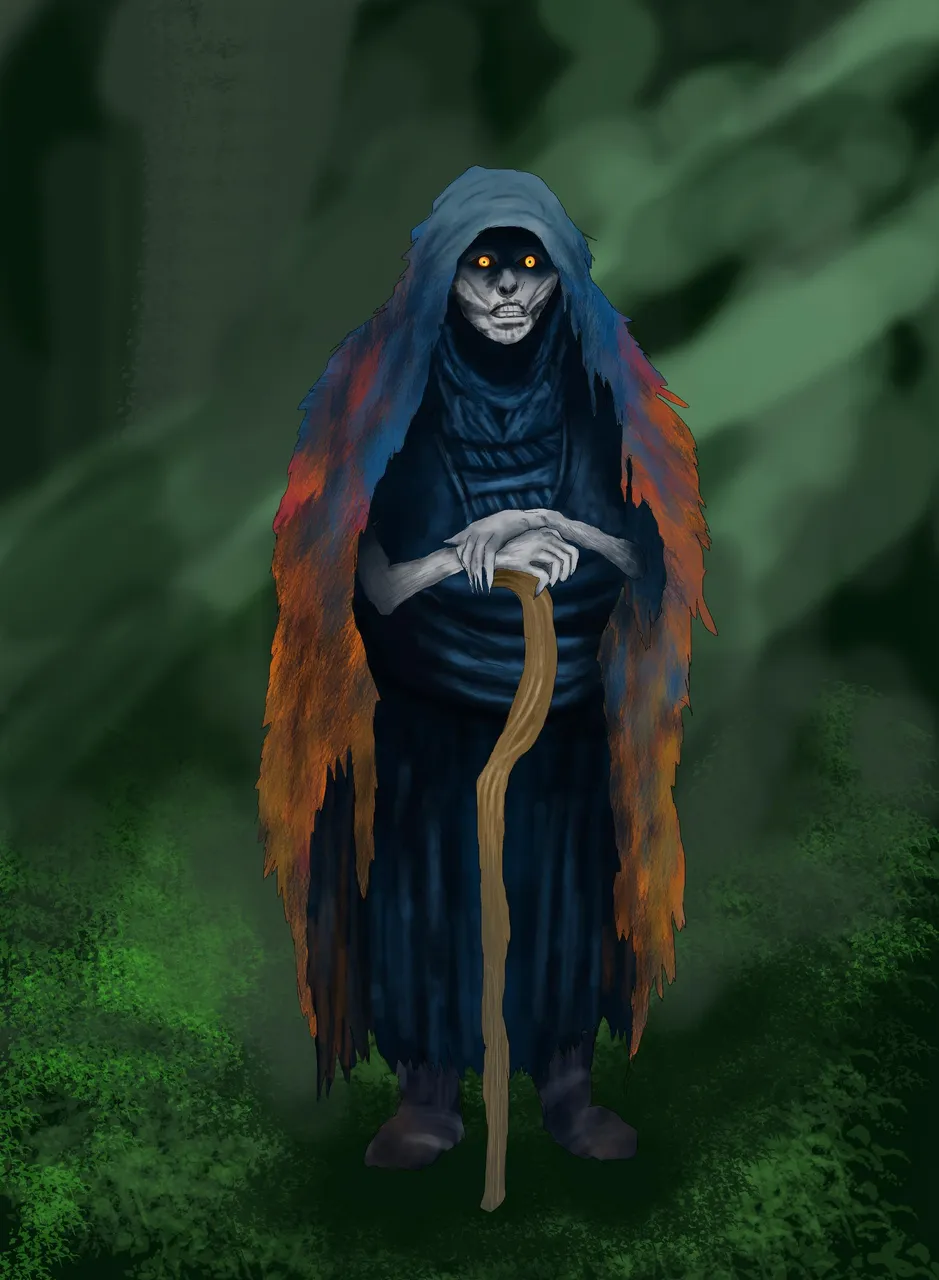
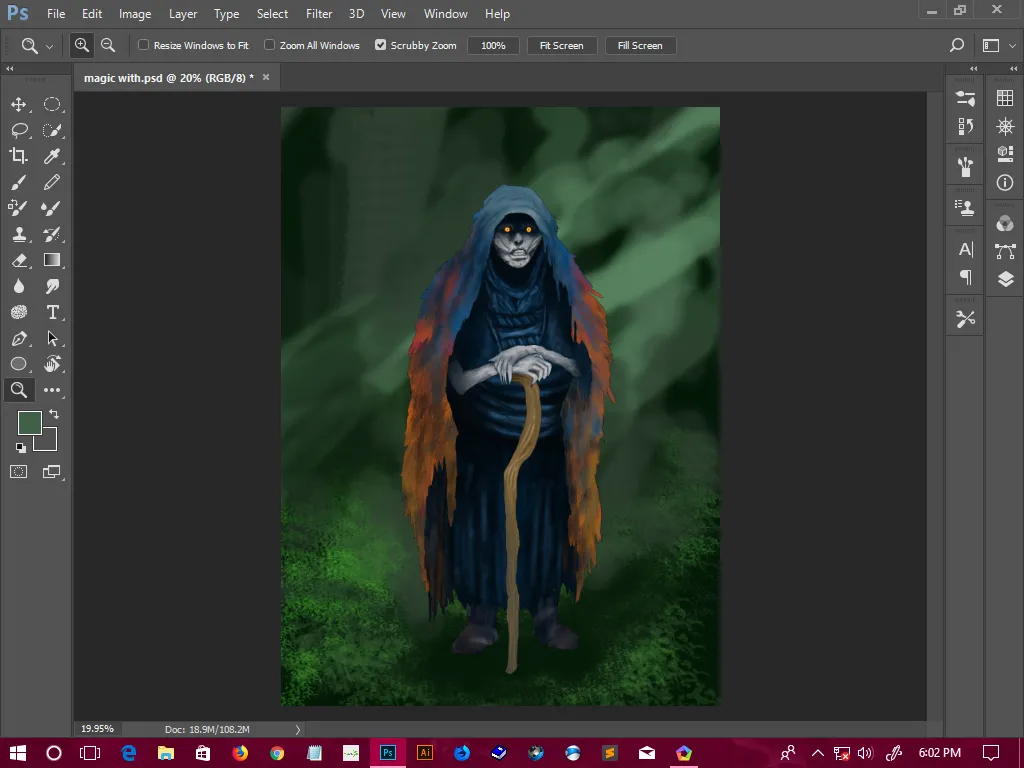
I don't really know what to call this freaky character. A witch? a wizard? doesn't sound so good with the picture.
Anyway, i used adobe photoshop cc 2017 and an wacom graphic tablet(intous small art version) to make this art.
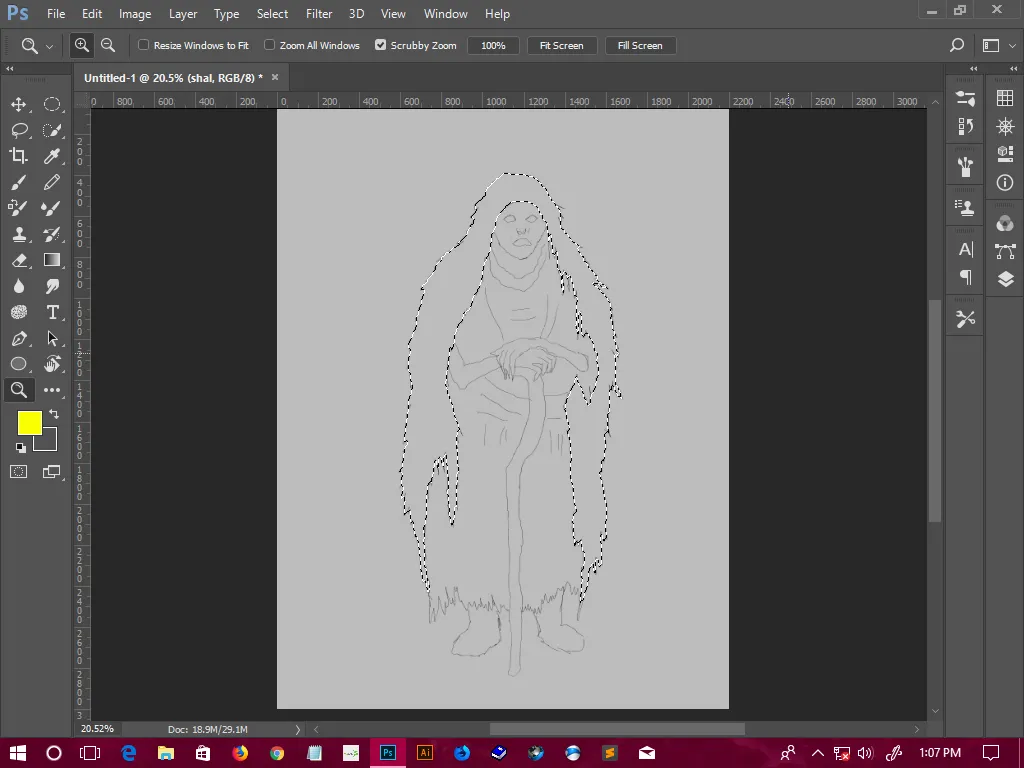
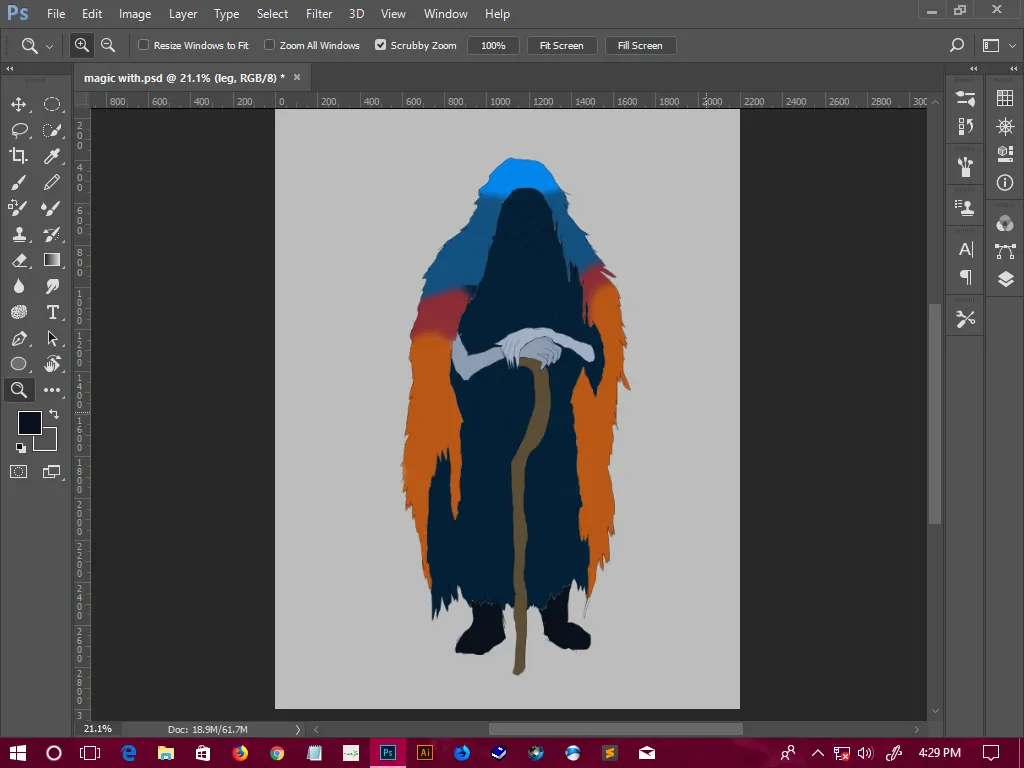
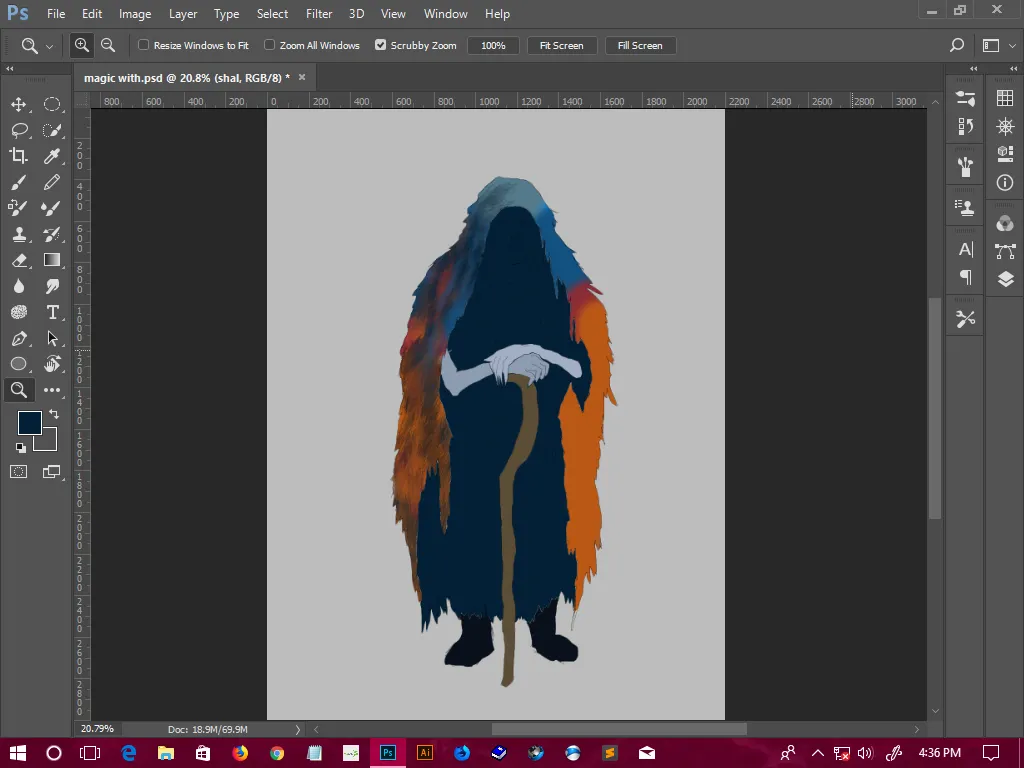
I made this using a few layers. To learn digital painting i watch youtube tutorials and in one of those tutorials i saw that the painter is using a lots of layers to separate the different shapes of a painting based on there position.
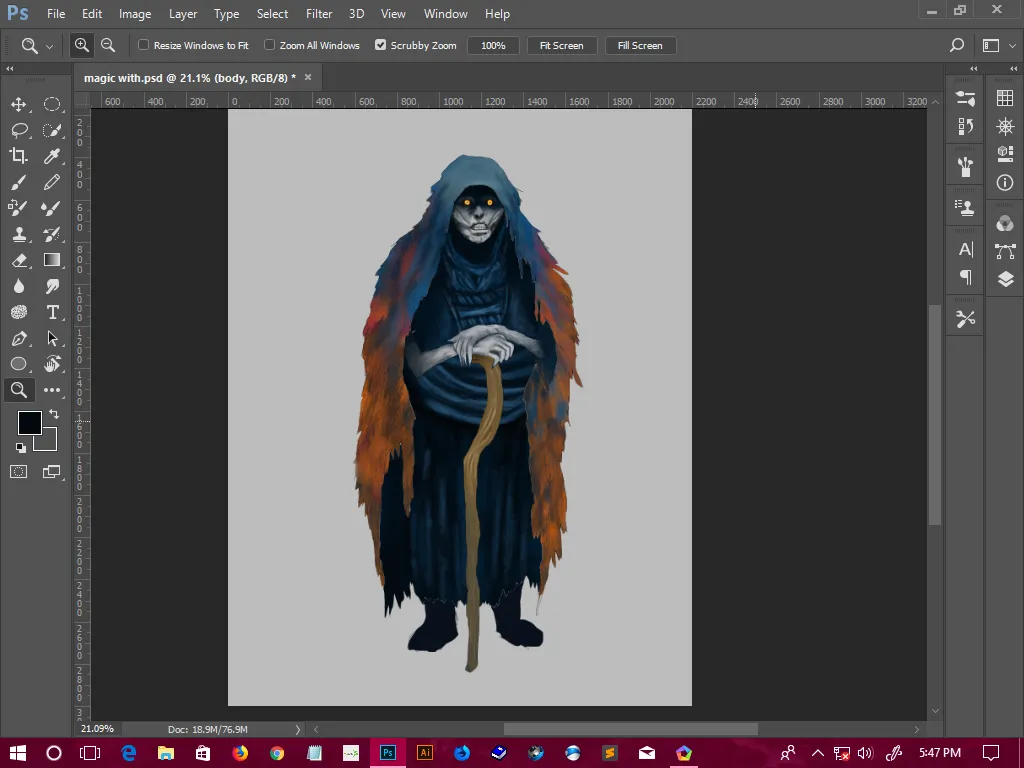
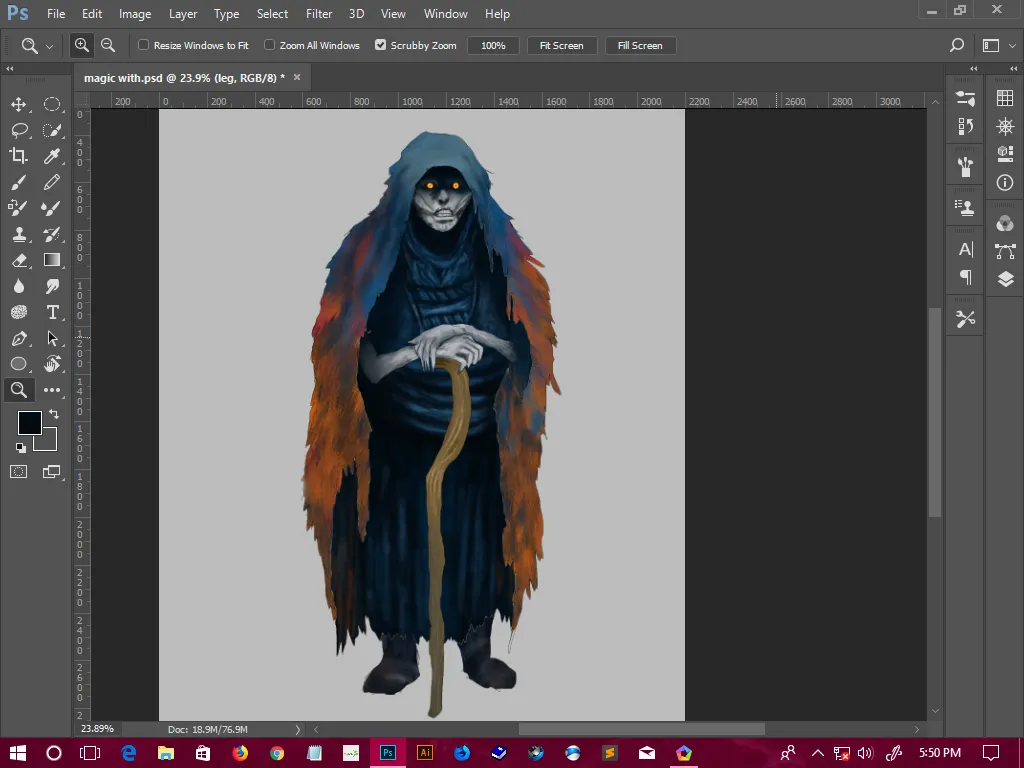
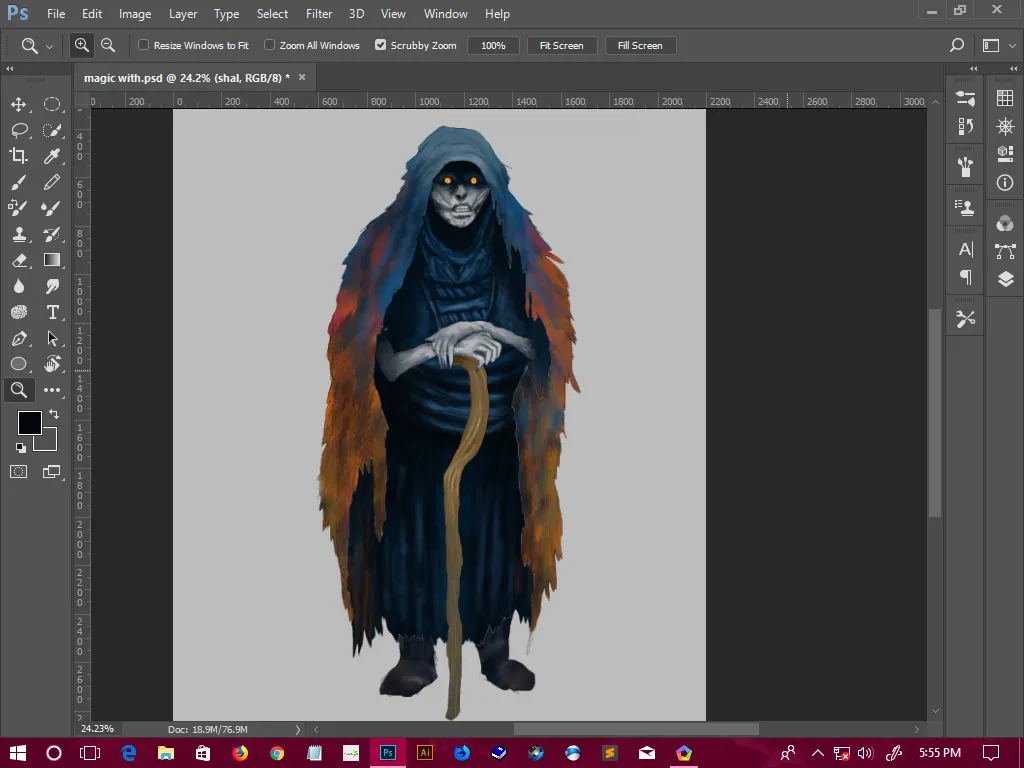
For my painting the background is the layer beneath all the layers. then the leg then the body then the cloth thing.
I find this way of painting very easy and helpful because i don't have to worry about whether my color of one shape is gonna mess with another shape.
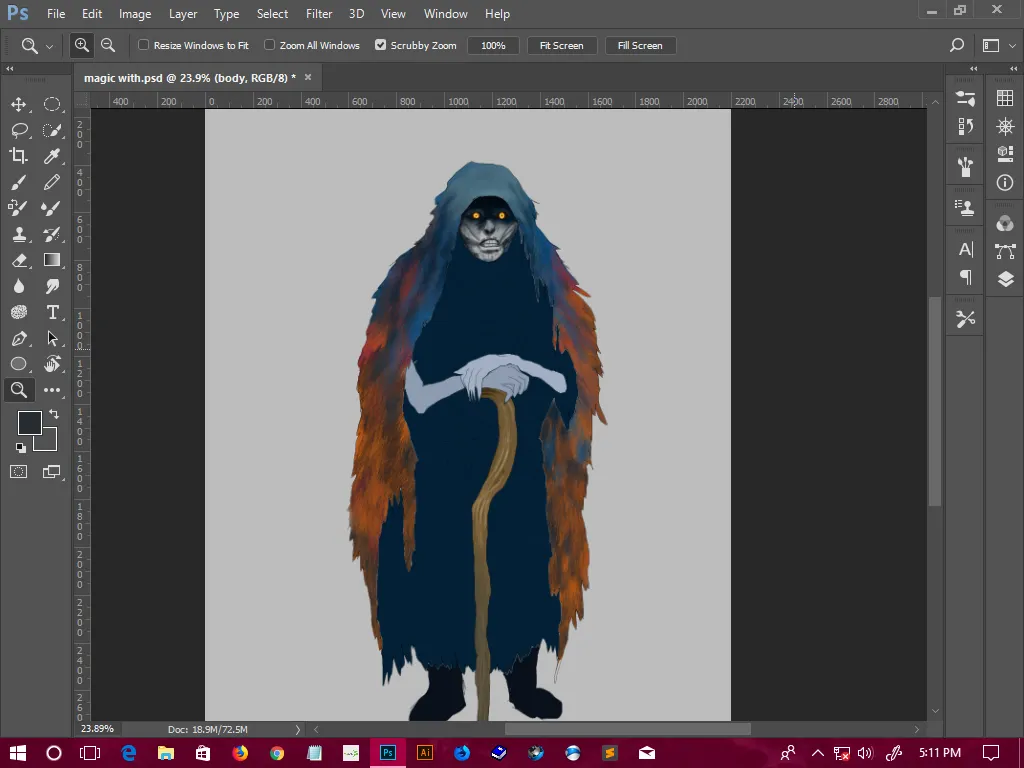
I learned a useful tip which that for the glowing thing i can use blending options. to make the eyes glow i first put some dark color on the whole eyes then changed the brush blending mode to ''color dodge(add)" that did the trick, it made the eyes way more glowing and colorful.
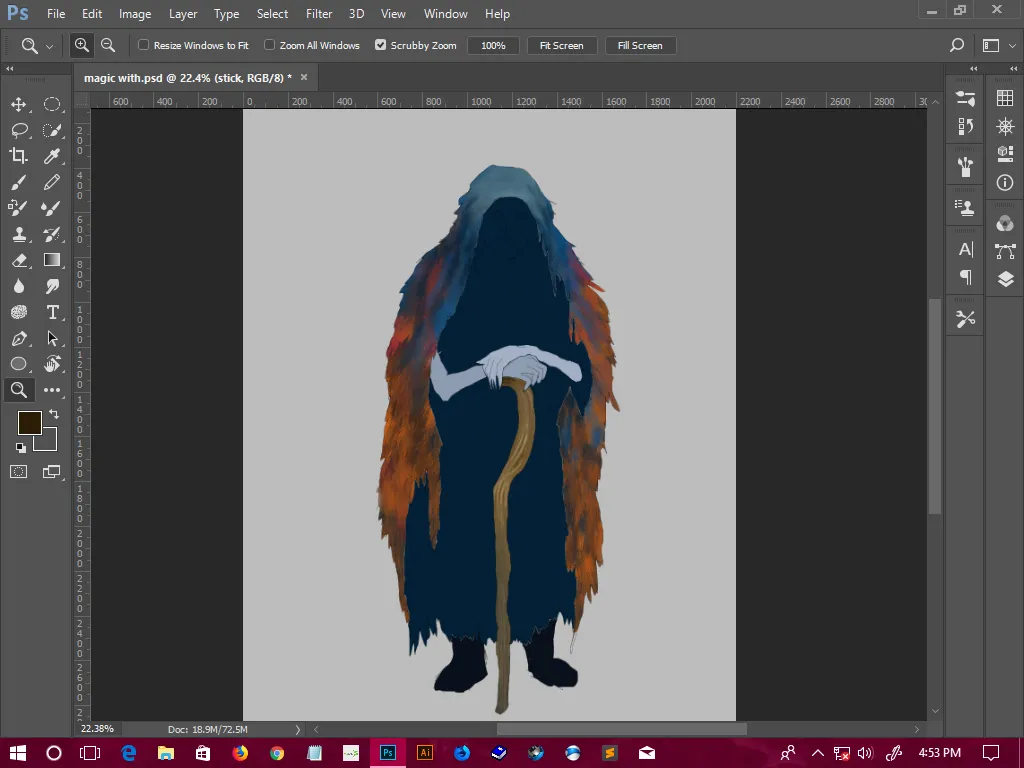
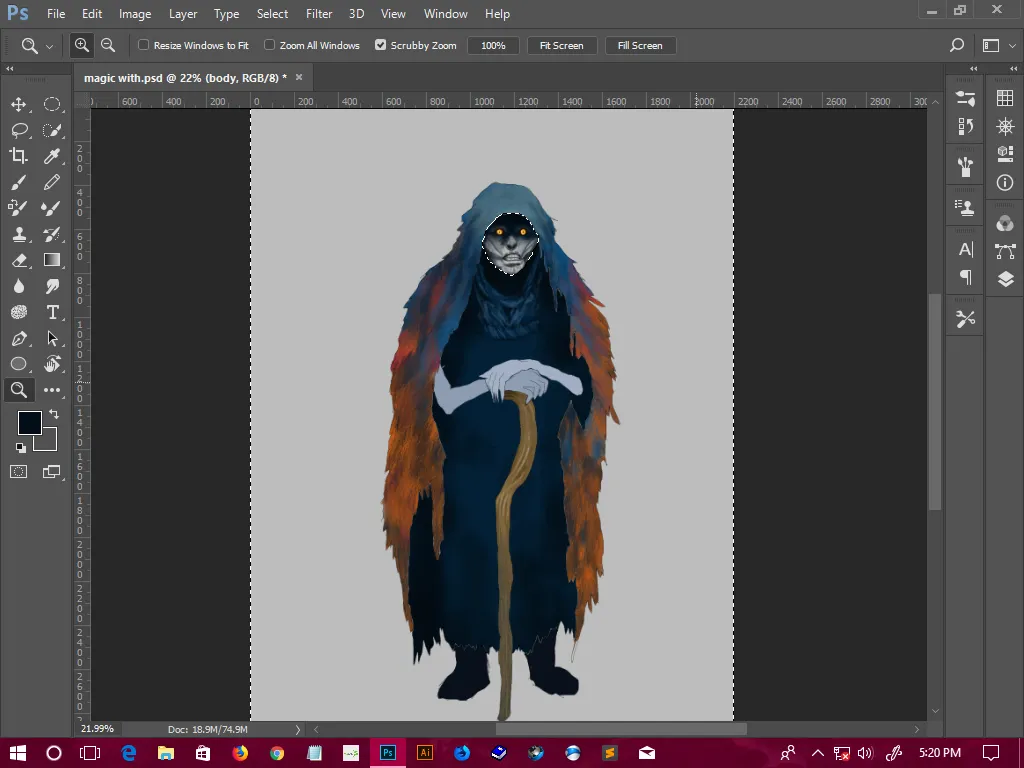
Now lets see those screenshots:
so that was today's art.
THANK YOU FOR VISITING MY BLOG
FOLLOW ME TO SEE MORE OF MY CREEPY ART IN YOUR FEED