Hello guys!
Today I'd like to show you how I'm usually making my artworks and I'll tell you something important about each step. The thing I do not include here now is INSPIRATION - just technical process:
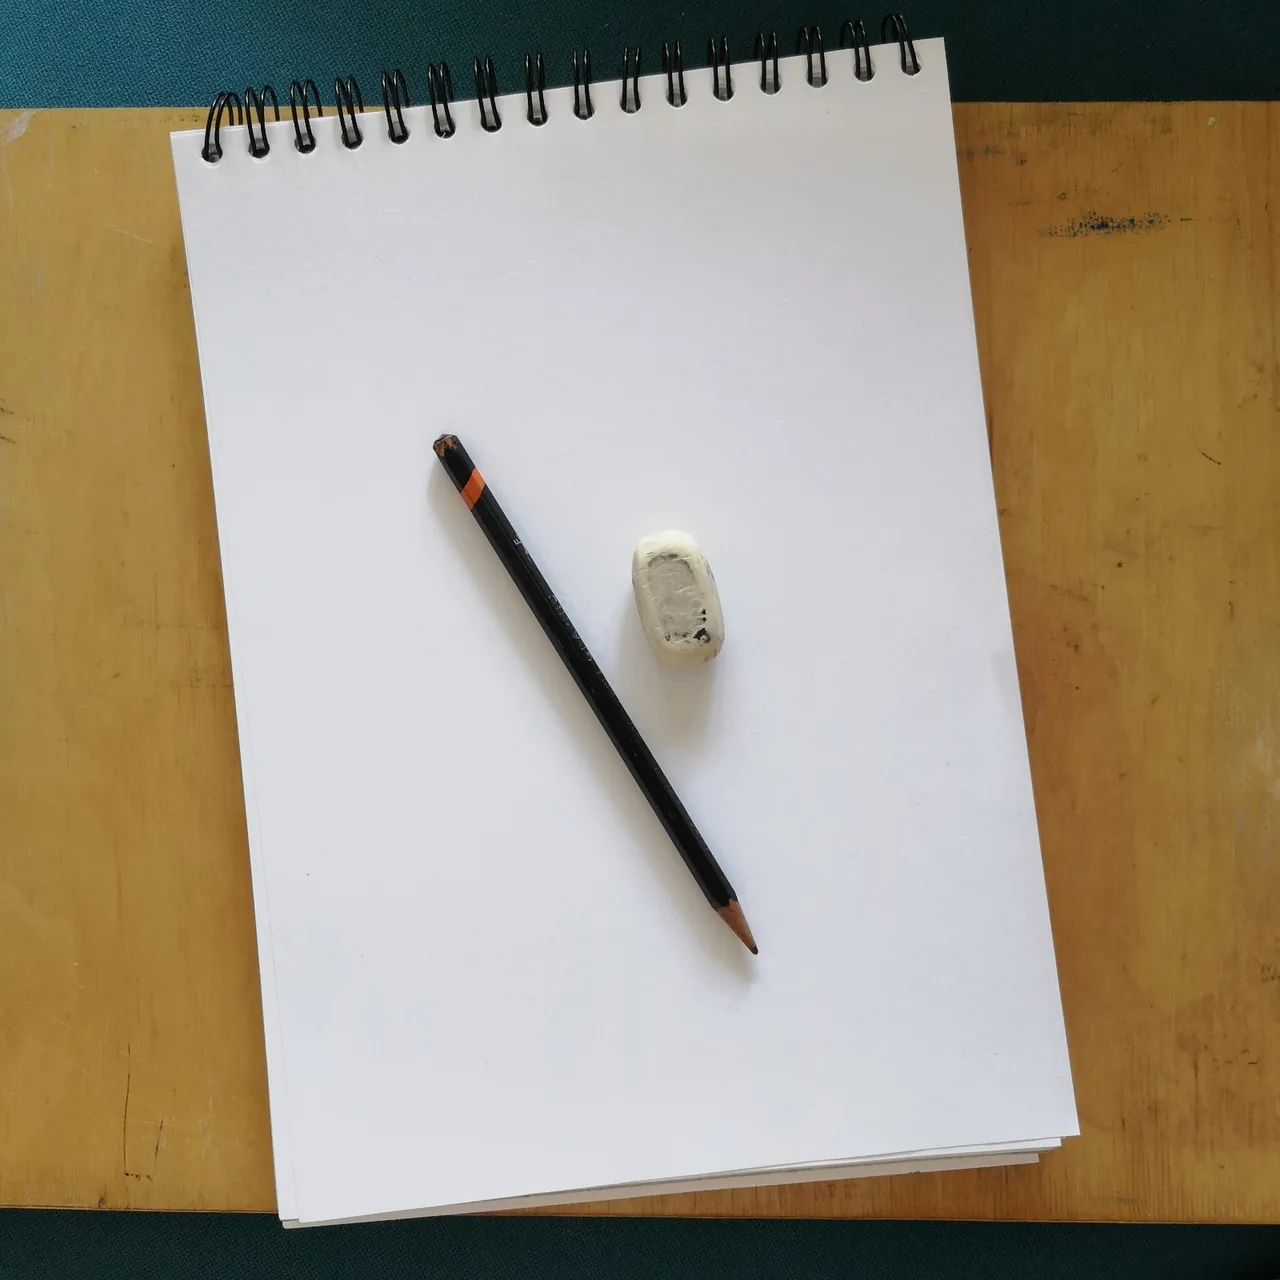
1. Preparing materials
At the beginning only stuff I need is basic. One pencil, not too hard nor too soft and easy to erase. One eraser very soft and crumbly. Paper used here is Canson 90g/m²
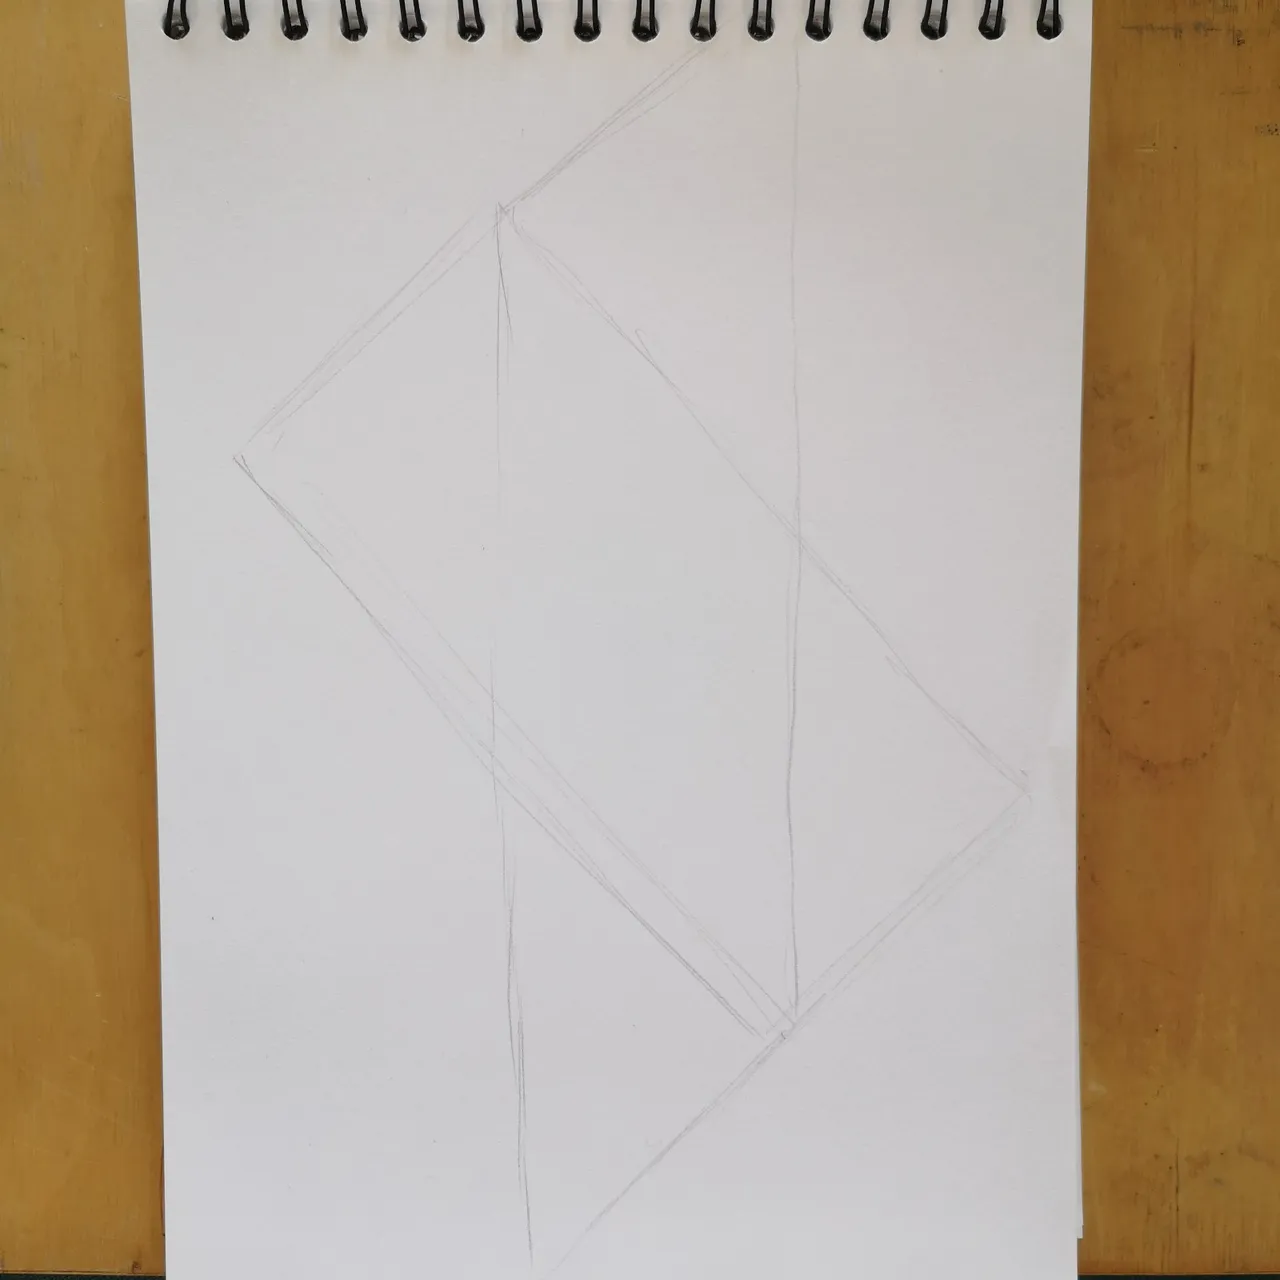
2. First composition sketch
I don't use ruler here, I just draw some simple lines or geometric shapes and try to imagine my idea within these lines. The clue in this step is to make shape which looks good in every direction. Diagonal lines will add extra movement-like feeling
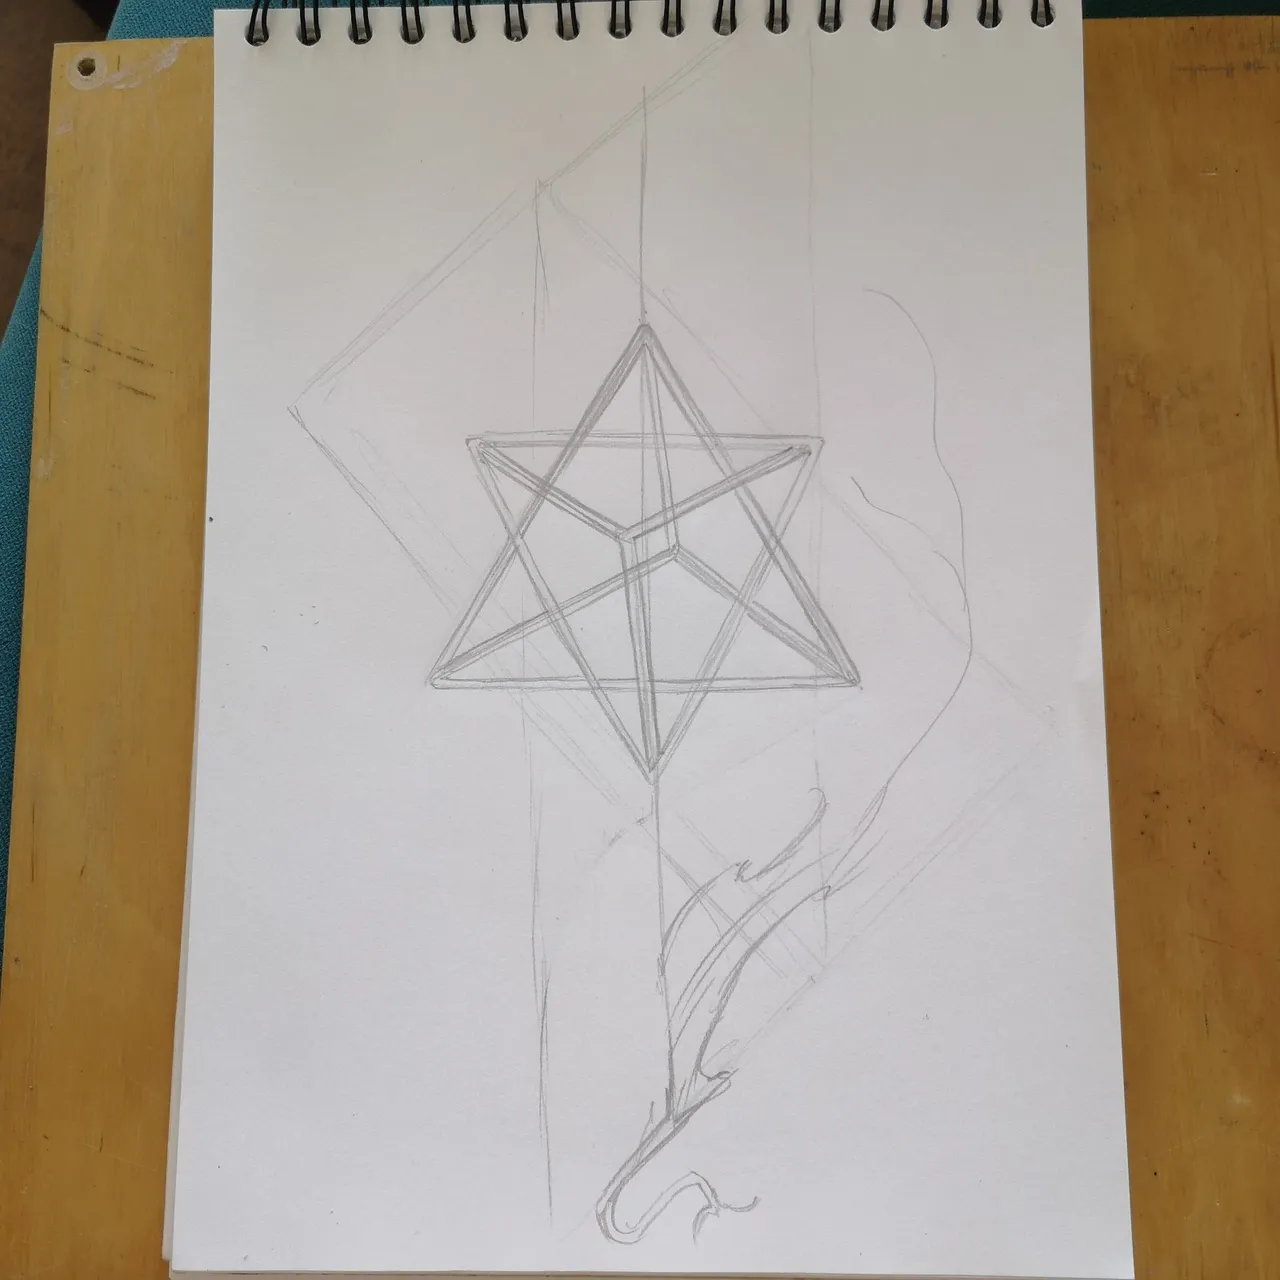
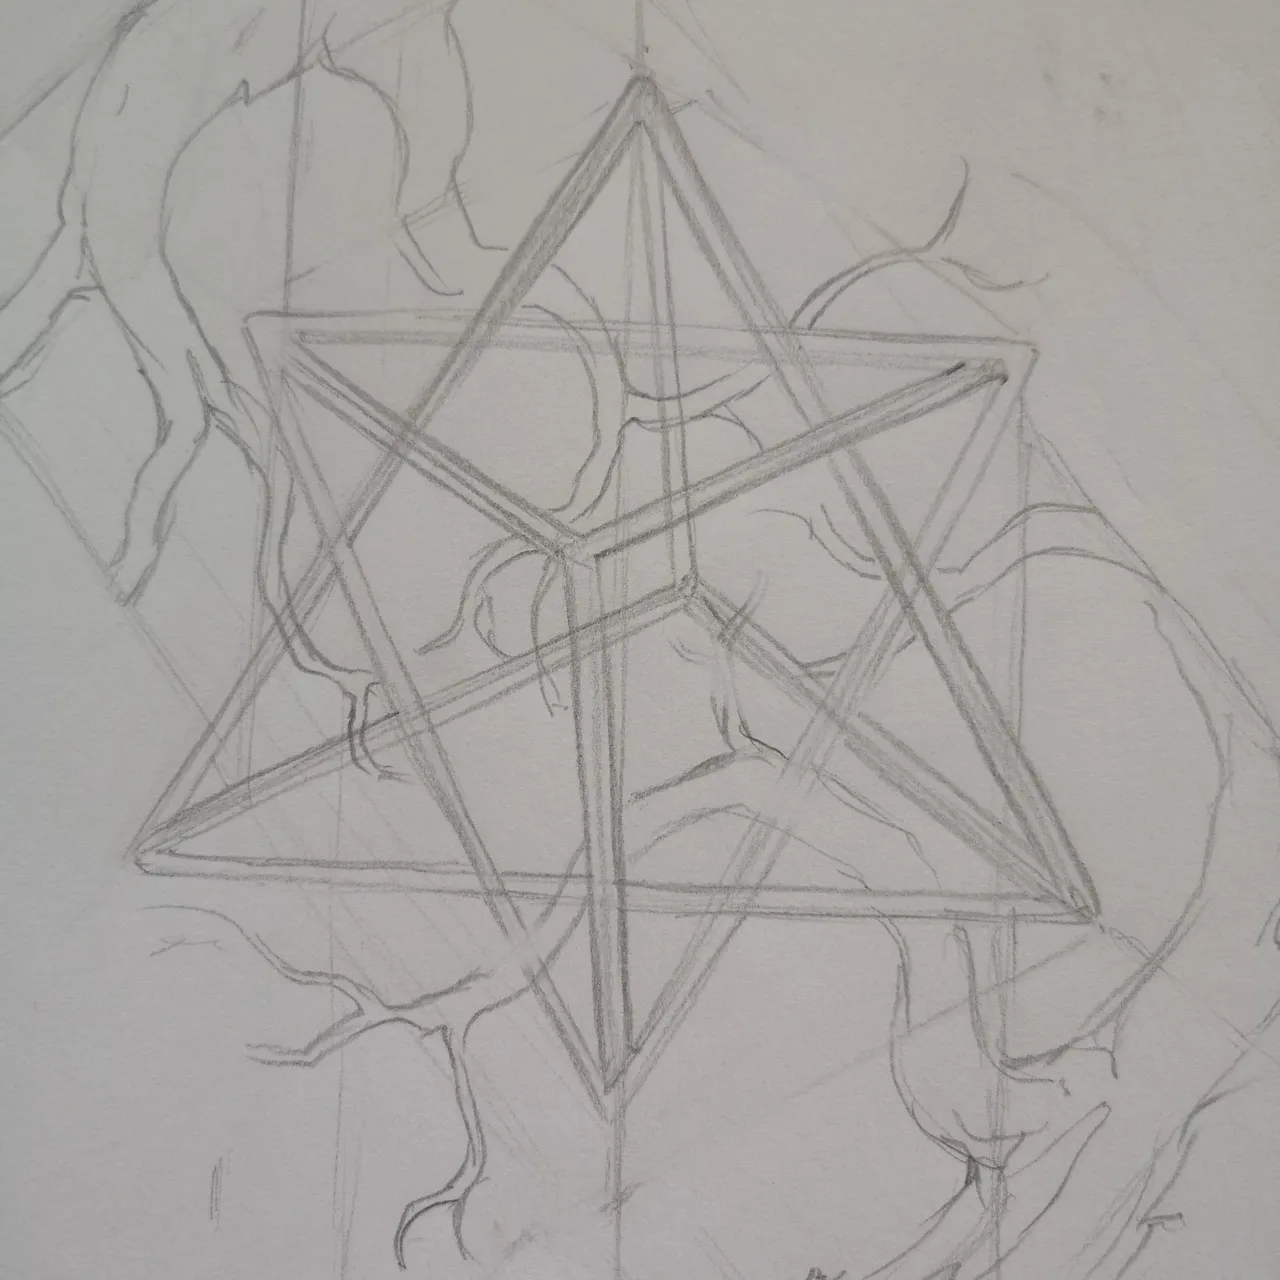
3. Idea sketch
I start with focal point and make sure it's staying good with lines I drew earlier. I don't focus on details and I draw only what's most important now
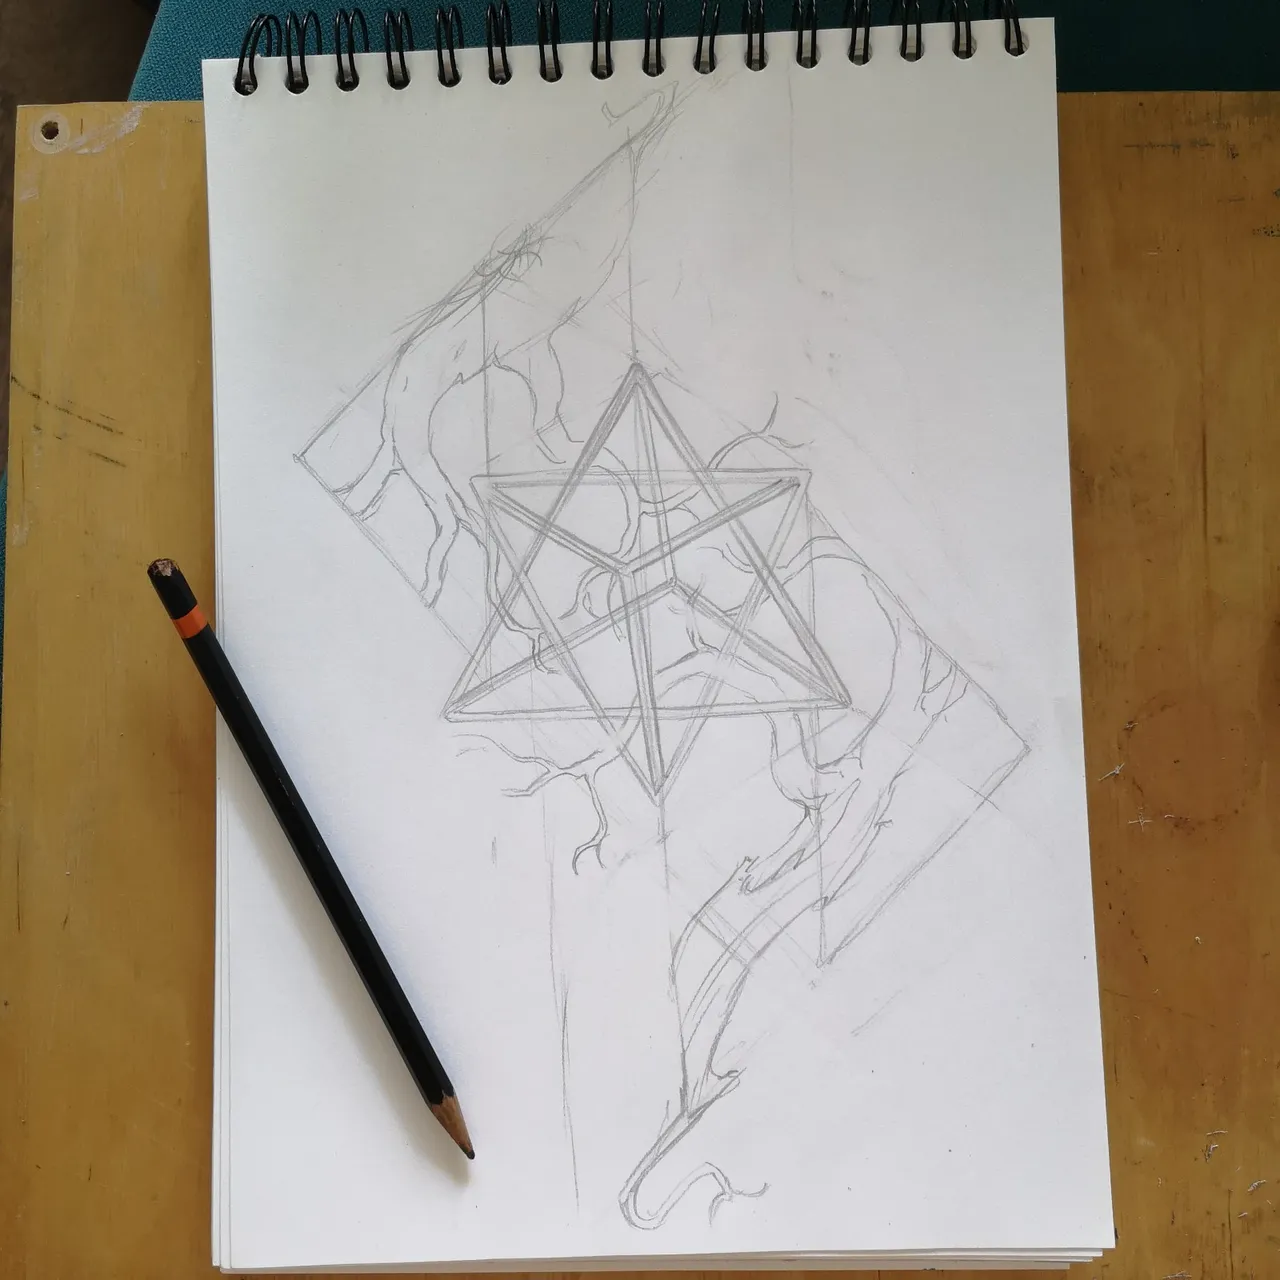
4. Full sketch
Still a quick sketch but with some details. I only draw these details which help me get the feeling and which represent my idea clearly. It's not important to focus on every line yet.
Close-up:
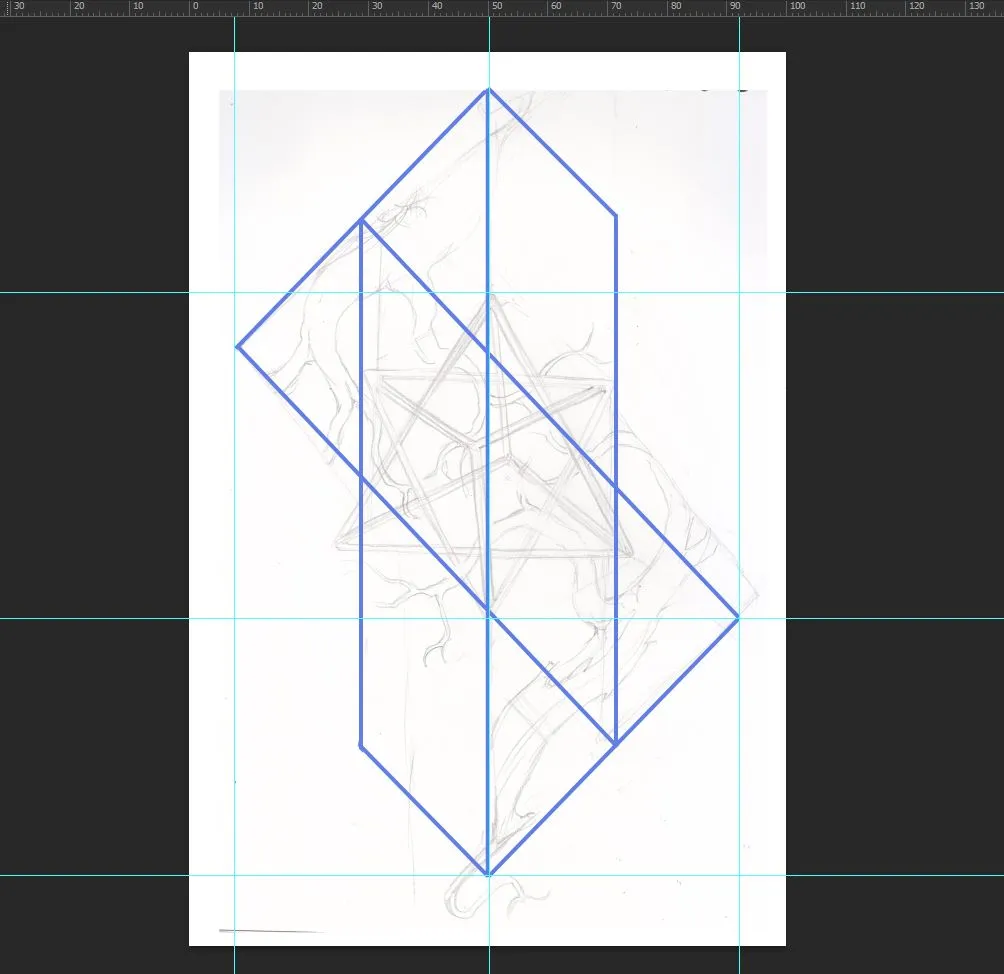
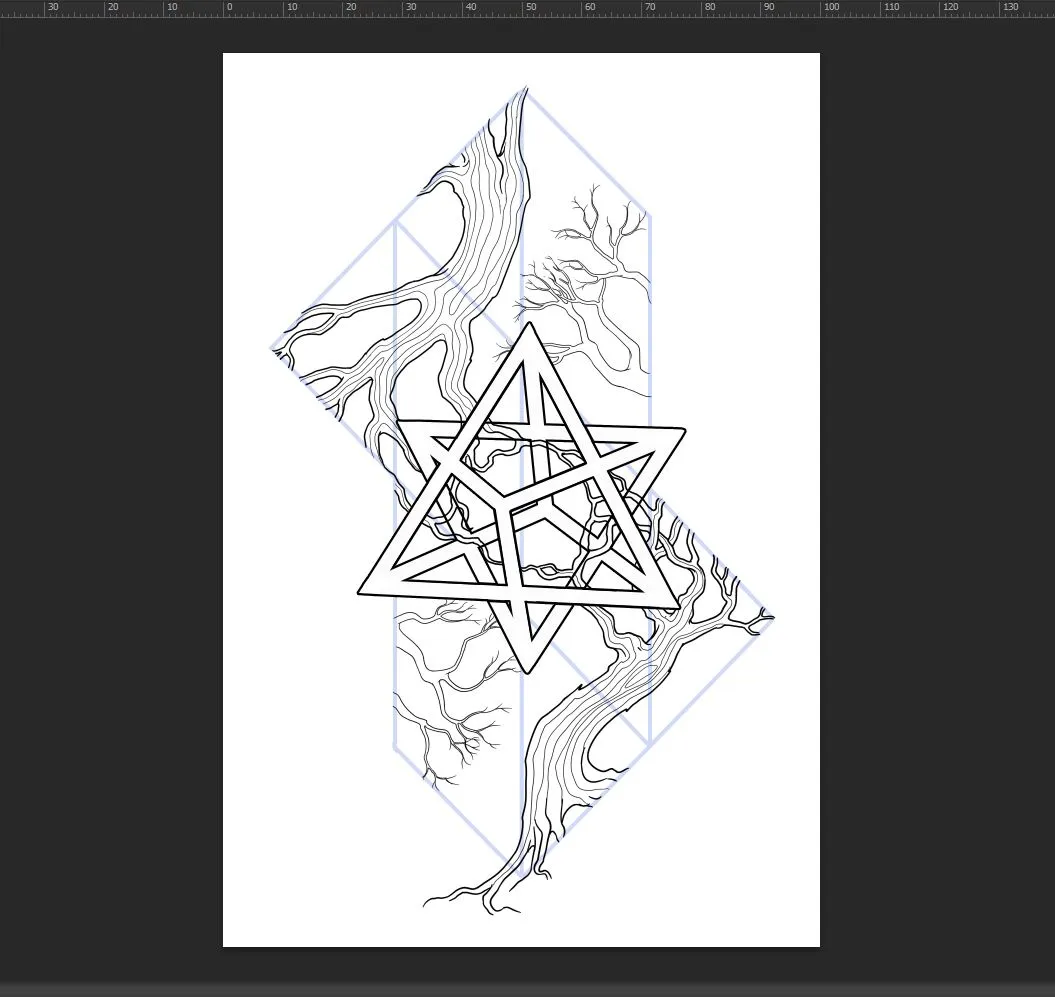
5. Re-adjusting composition
I work on a scan now. Soft I use is Photoshop but every tool which you're familiar with is OK as long as it has ruler option and layers.
I apply composition lines again but this time I'm doing it very carefully. Ruler helps me with making lines even and at the right angle
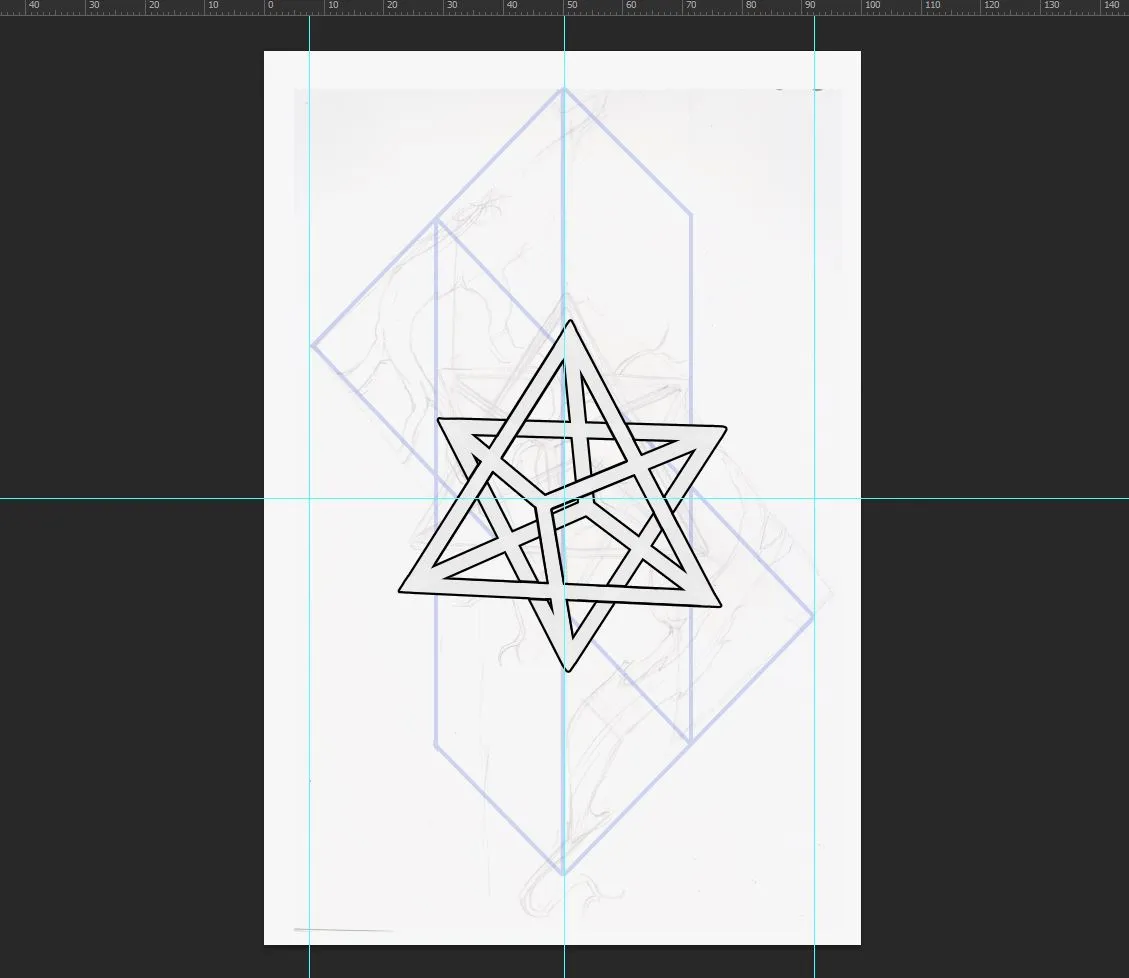
6. Big goes first
I used some 3D model to help me with first stage of lineart. Now every move is on another layer
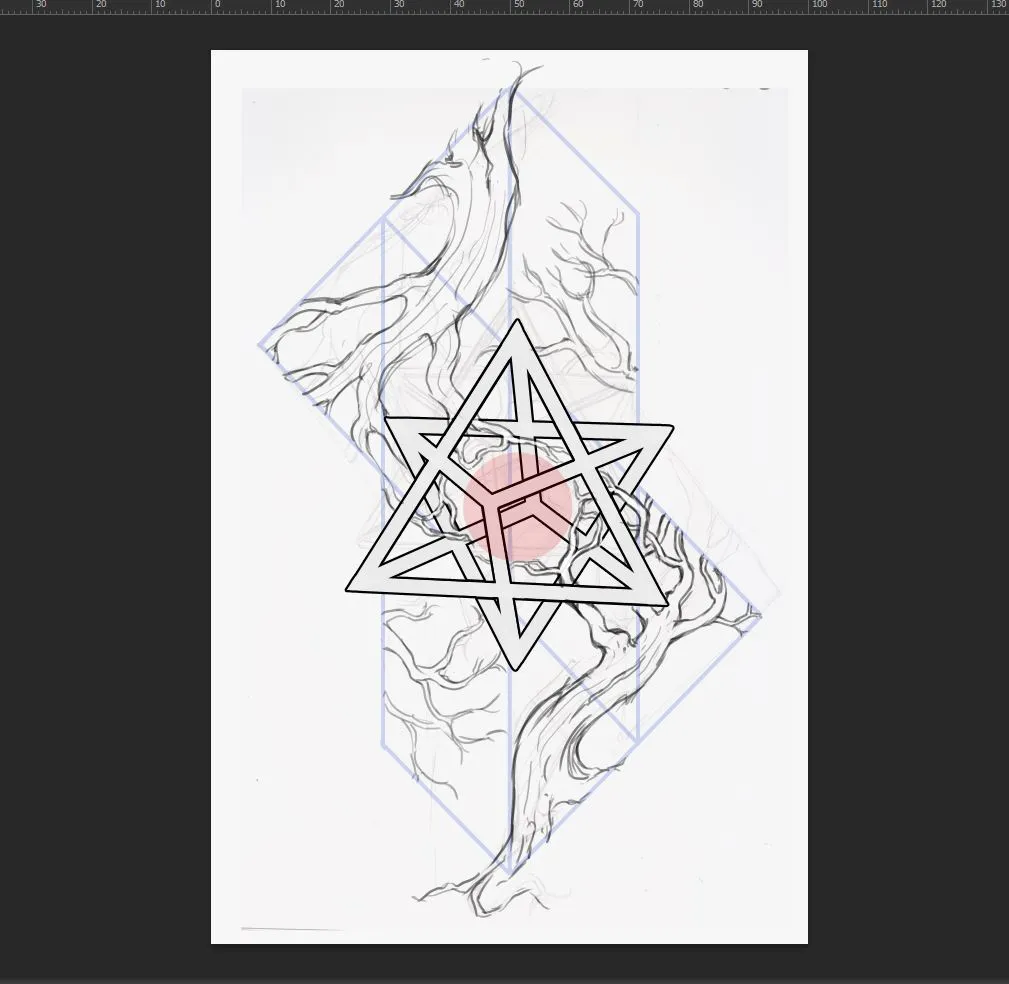
7. Sketching again
Using old sketch as a reference, I draw detailed sketch of my idea. It is finally time for details and good material study. At this stage I'm getting closer to final look and feeling
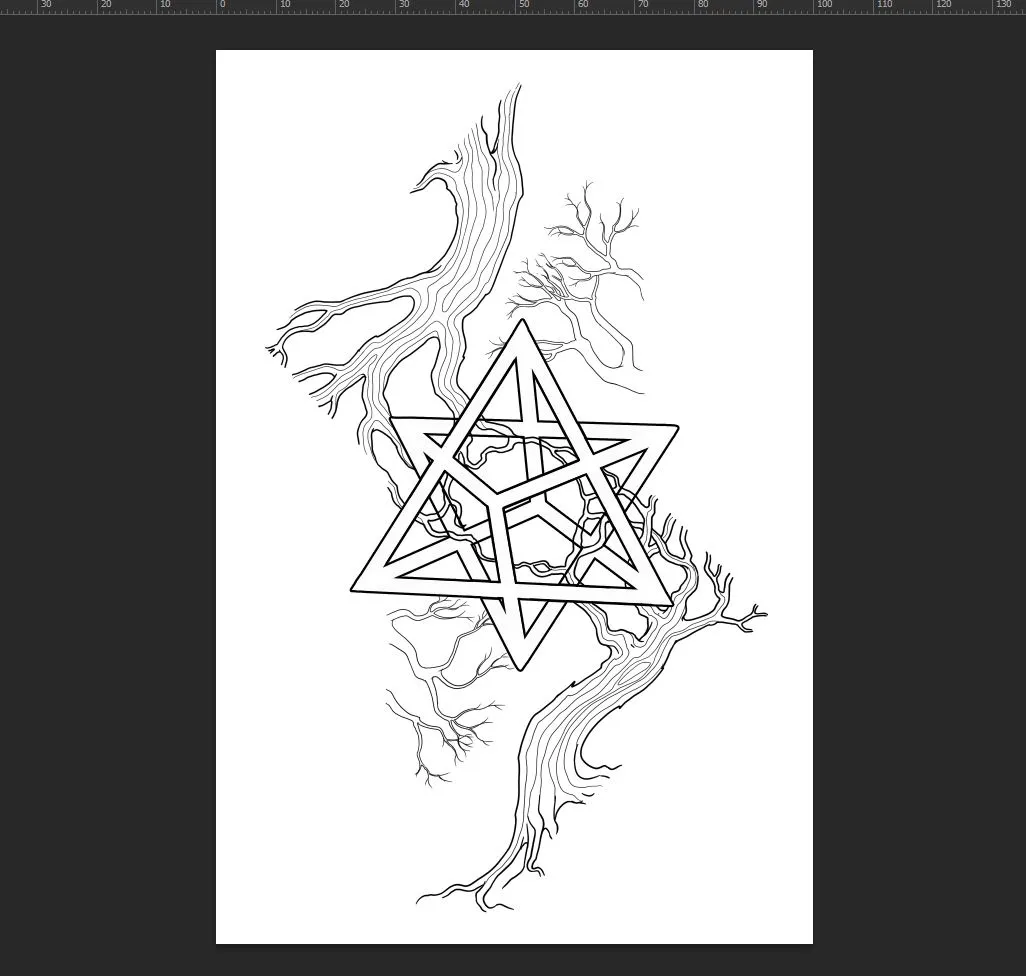
8. Lineart
Using composition lines and a new sketch on layers below I draw new lineart. Changing brush size gives me extra dynamic and makes a piece a bit more spatial
Without visible composition lines:
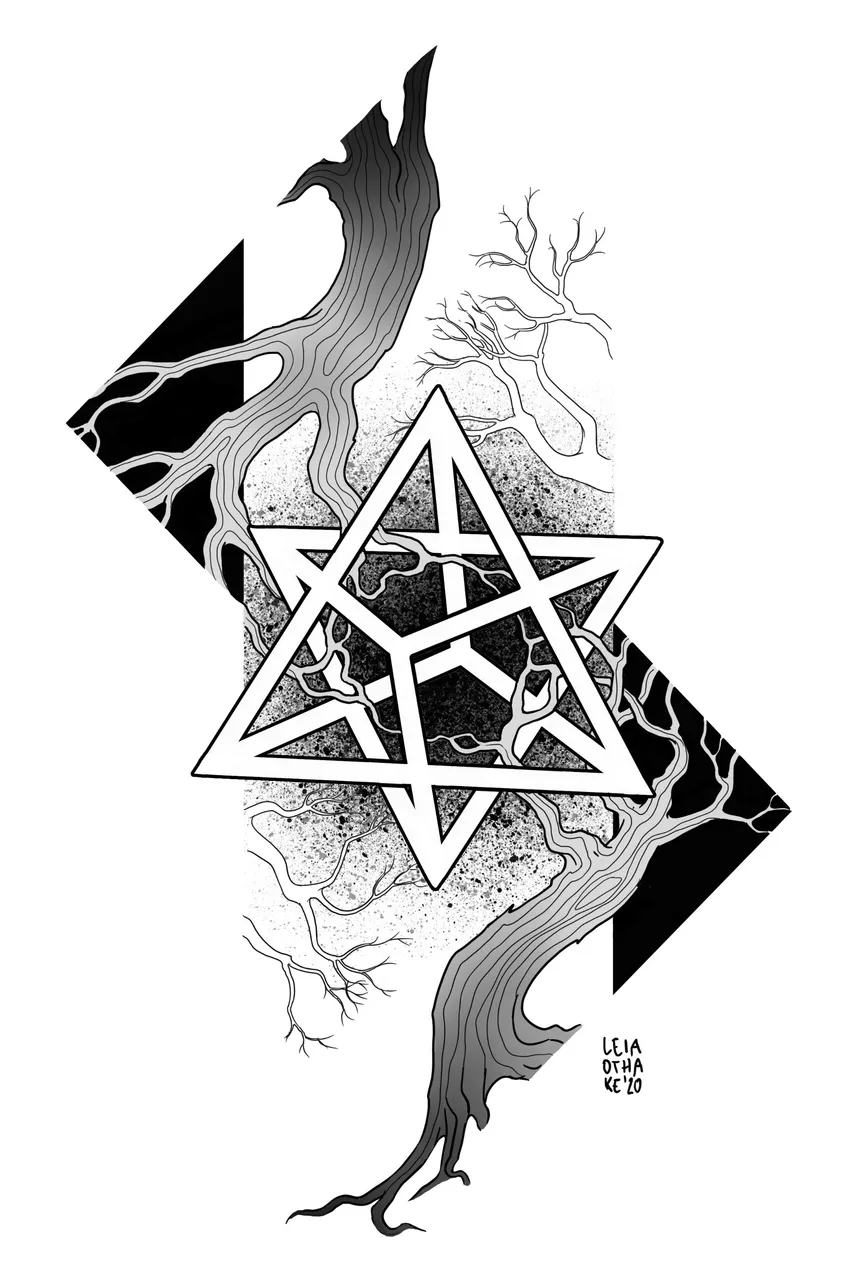
9. Coloring!
When I finally have a good clear lineart I can fill it with color, texture or gradient. In this artwork I decided to make it simple enough to use it afterwards as a tattoo project and place it on skin. Everything is on different layers so I can adjust every piece easier if I decide to make any changes
10. Final touch
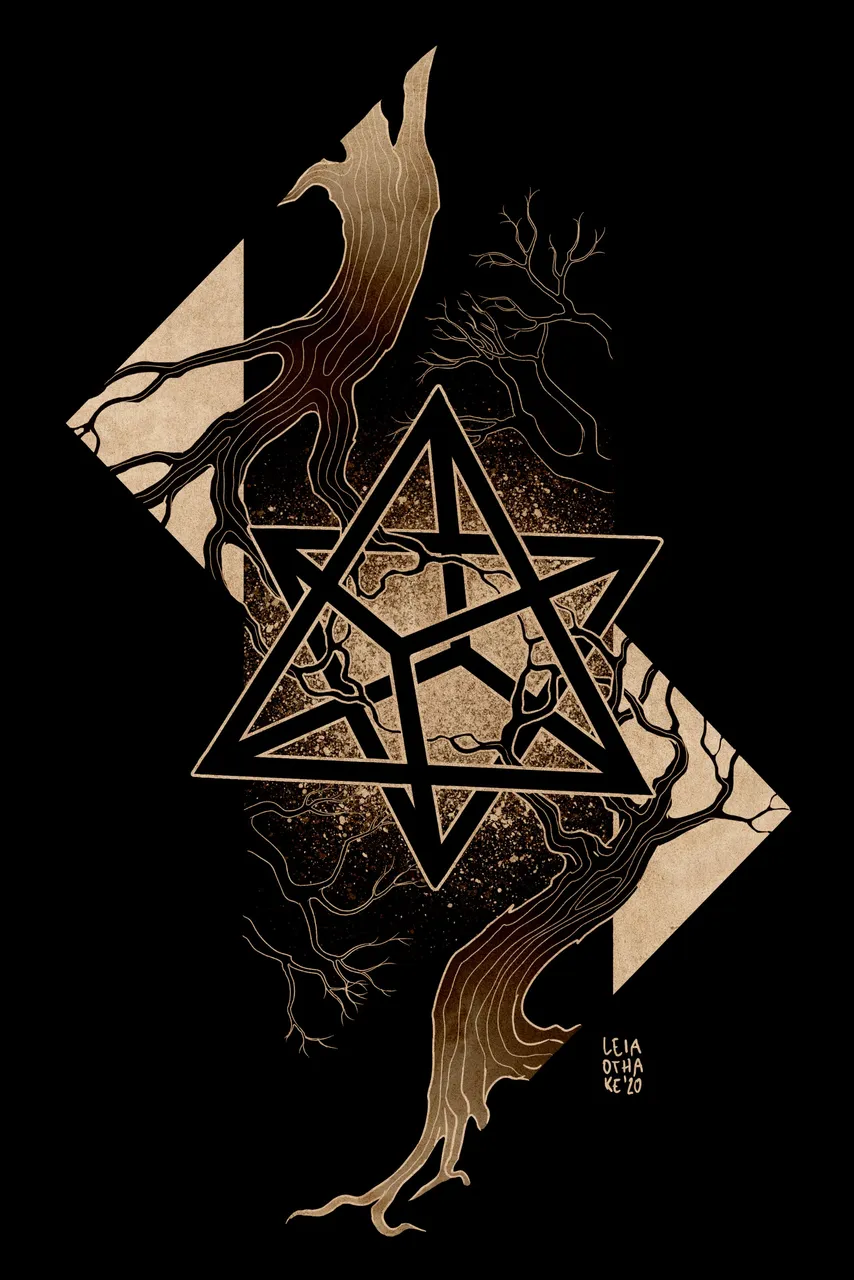
Adding a texture background may be a good practice with simple black-white artworks. It gives a feeling of using ink on paper and when it comes to decorating space with an artwork it works better (usually) than white.
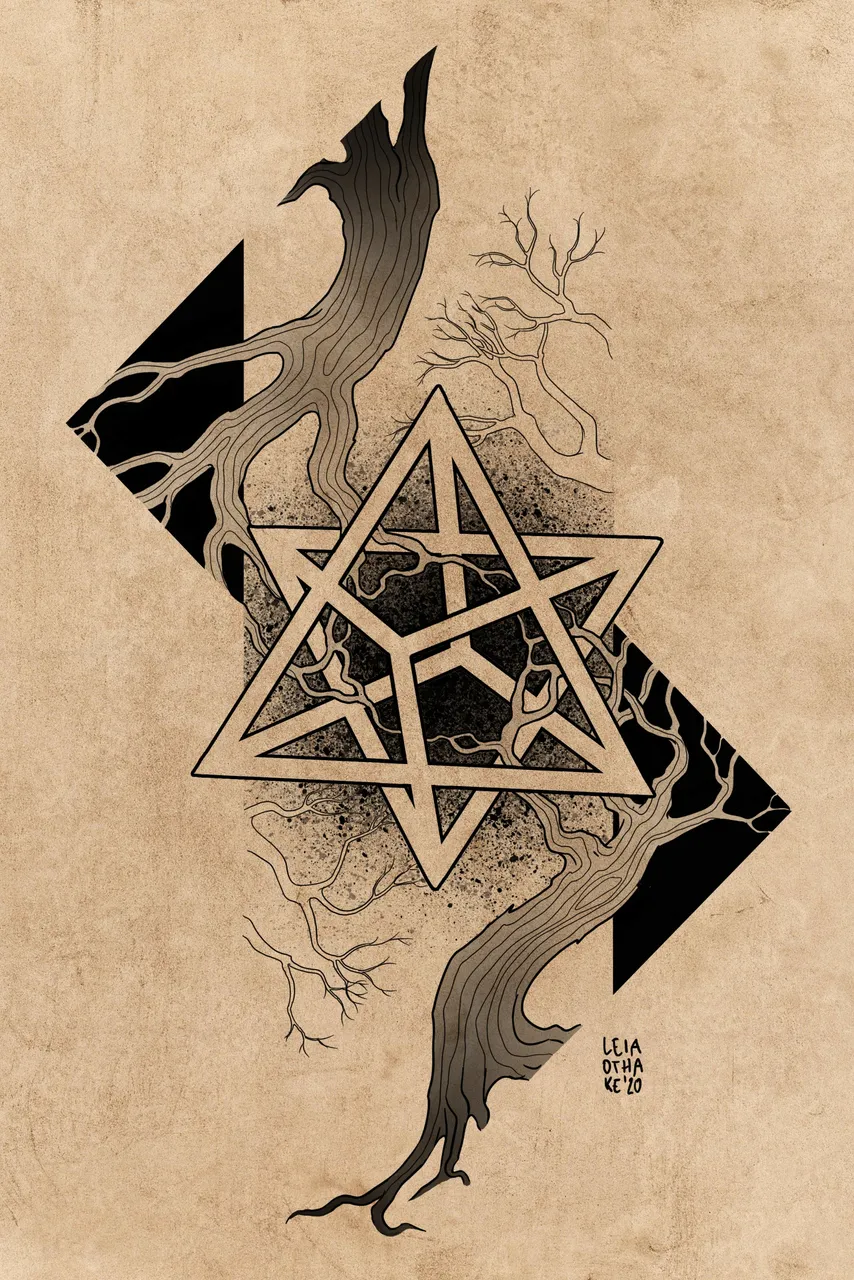
After work is done I like to play with blending modes and see if there's some extra effect that could be interesting. Here's the artwork layer (subtract) on texture layer:
Everything took approx 3-4 hours with small breaks. I used Photoshop with Lazy Nezumi Pro pluggin which helps me with clear nice lines and if you're struggling with your lineart flow I highly recommend you to check out this tool.
Thanks for your time and I hope it was useful
Good day or a good night to you :)