Hey steemers, and facebook friends who ended up here because they wanted a glitch!
A lot of people liked my last blog showing off my glitch art and many people on my facebook are requesting glitches, too many people quite frankly (still love you guys) so I decided to go ahead and post a tutorial for how I made them. As, I am currently using freeware there should be nothing stopping anyone with a computer and time to kill from making their own glitches. If you don't have GIMP just google it. It's a free download. :)
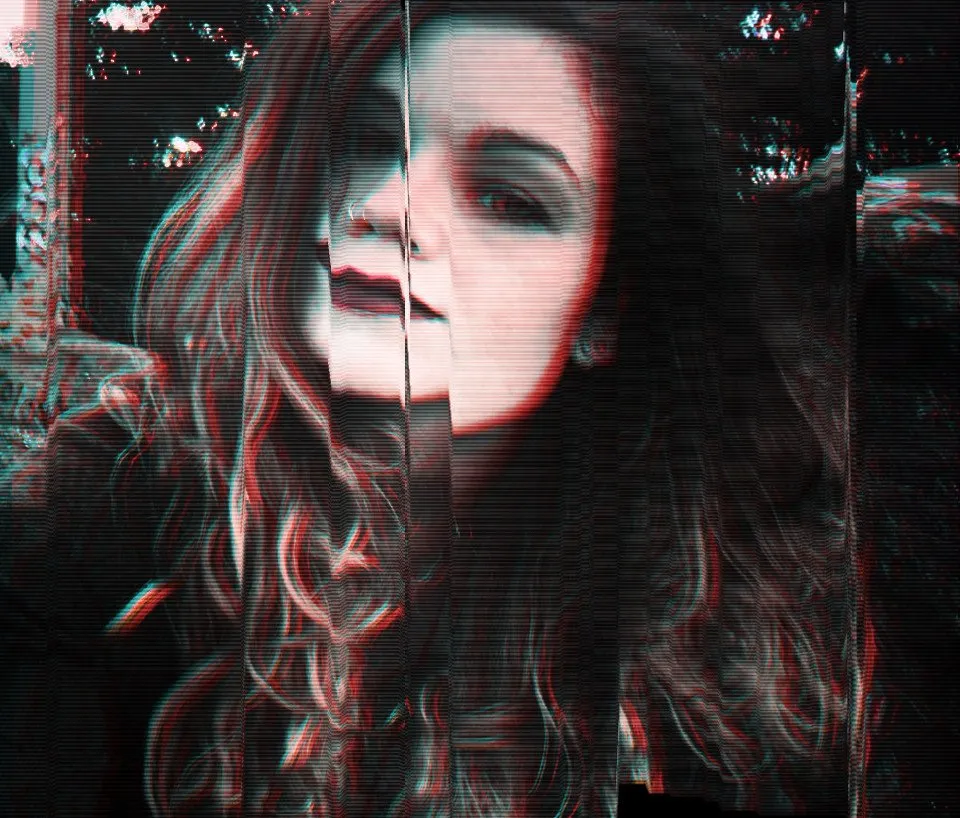
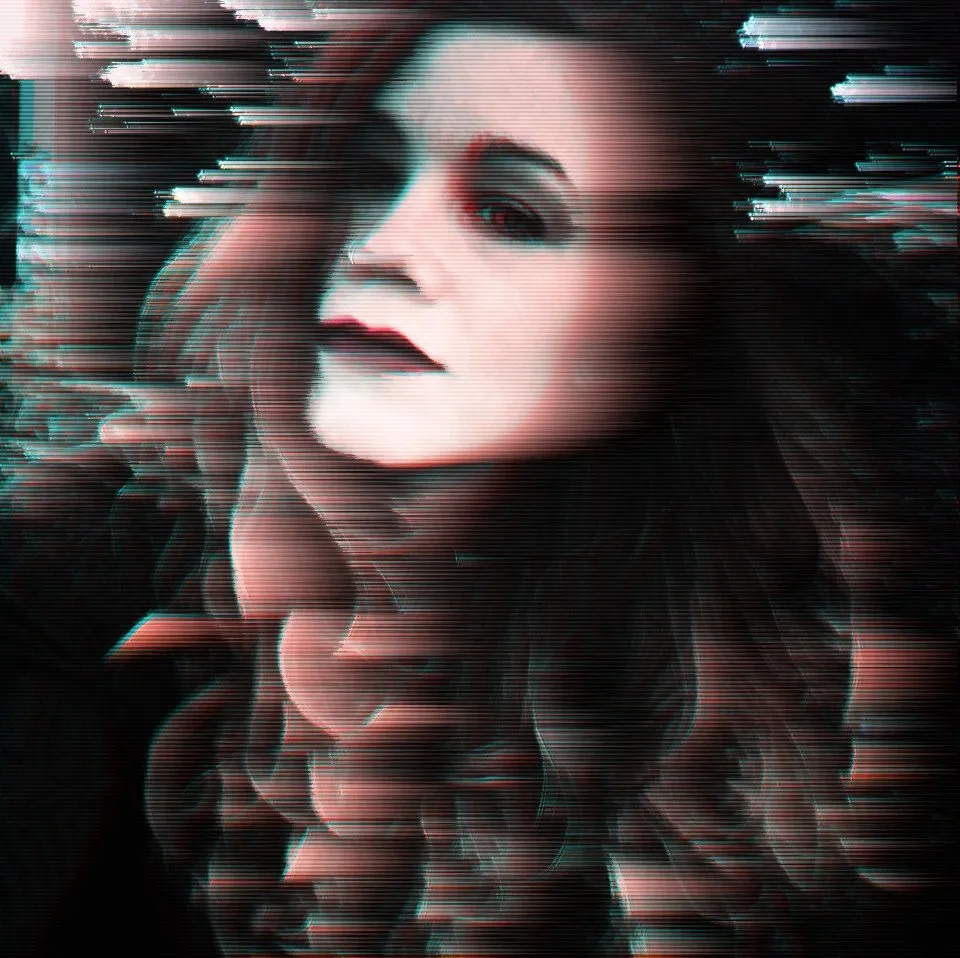
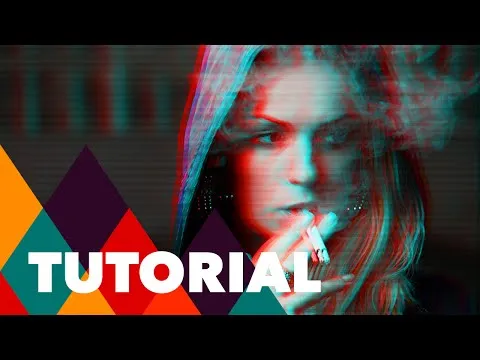
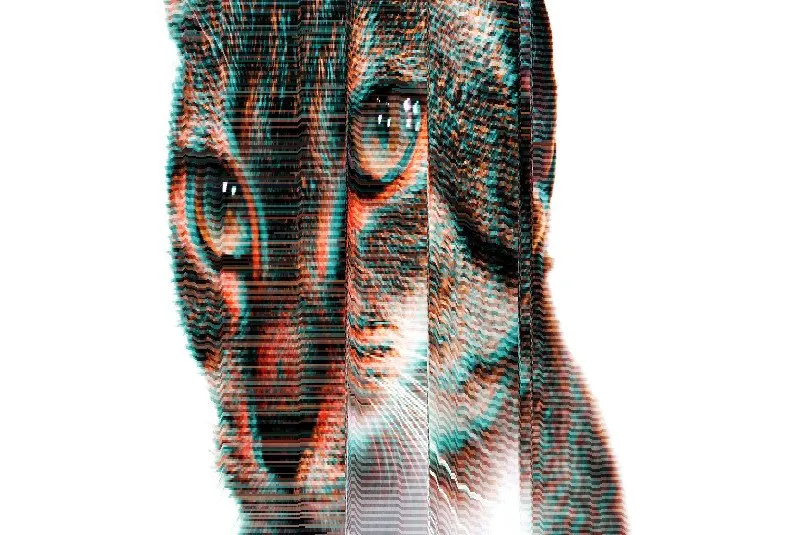
Here are some of the glitches we are going to learn to make. But all the glitches in my previous posts can be achieved once you learn these basic things and with some messing around, tweaking and stuff. This will give you the foundation you need to start glitchin' for sure.
So first you want to take you handy original image file and open it up in GIMP.
I am using an image of my lovely friend Teketa, I will share a link to her facebook page at the end of the blog so you can check out her and her art!
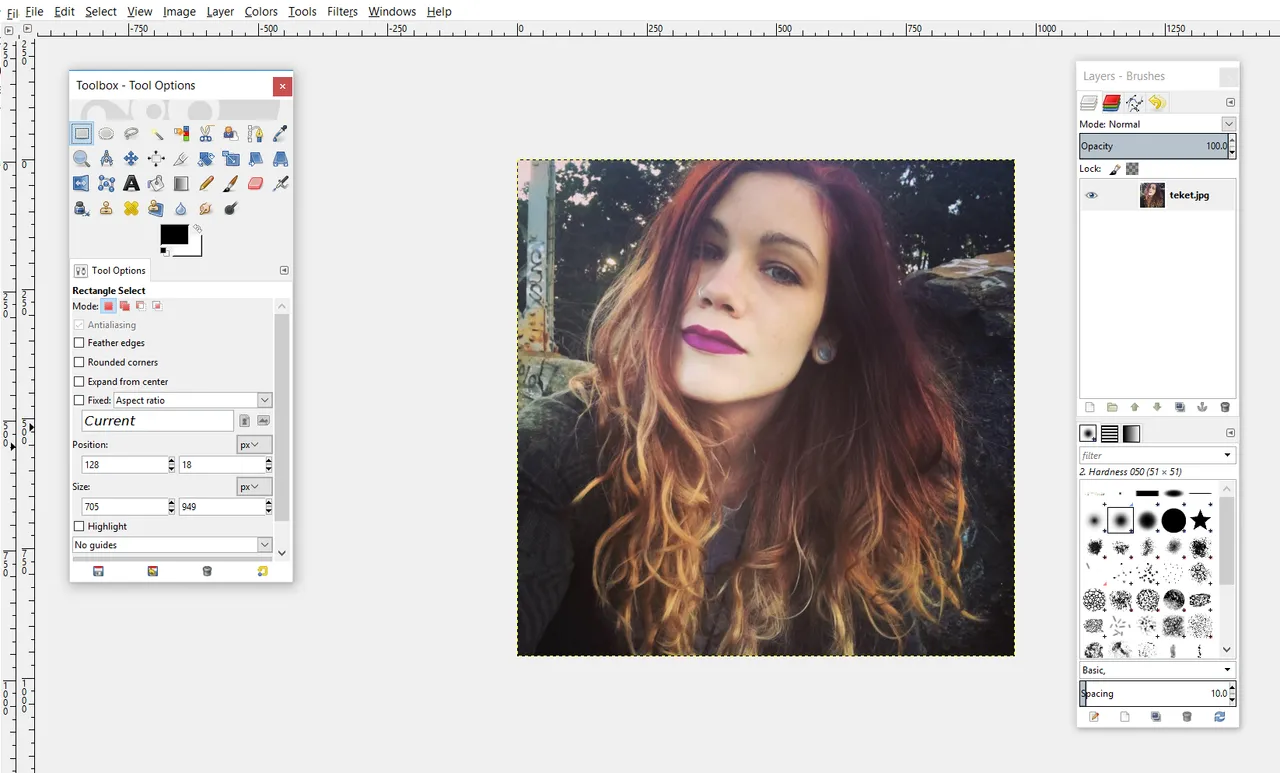
Look at that lovely face!
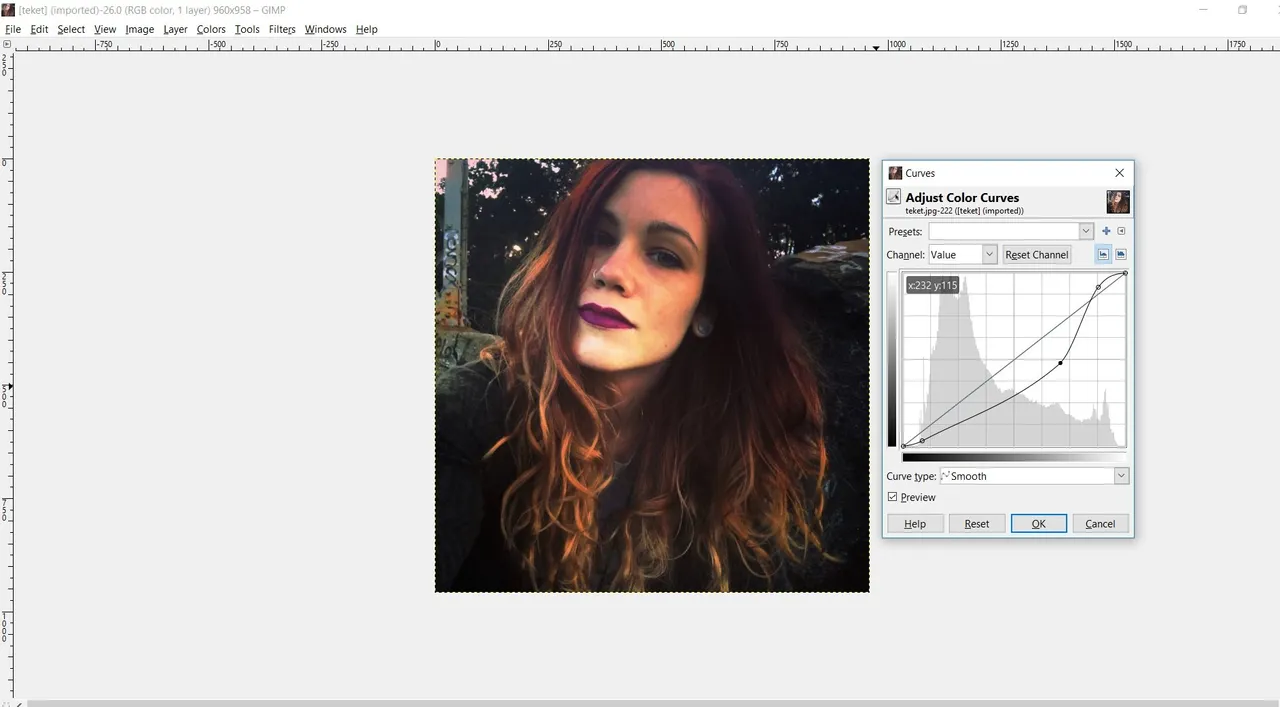
Okay, now you want to mess with the curves a bit, what we want is contrast, medium tones, and highlights so the image doesn't look too washed out after the next steps. This obviously varies based on your image. This is what I did to mine:
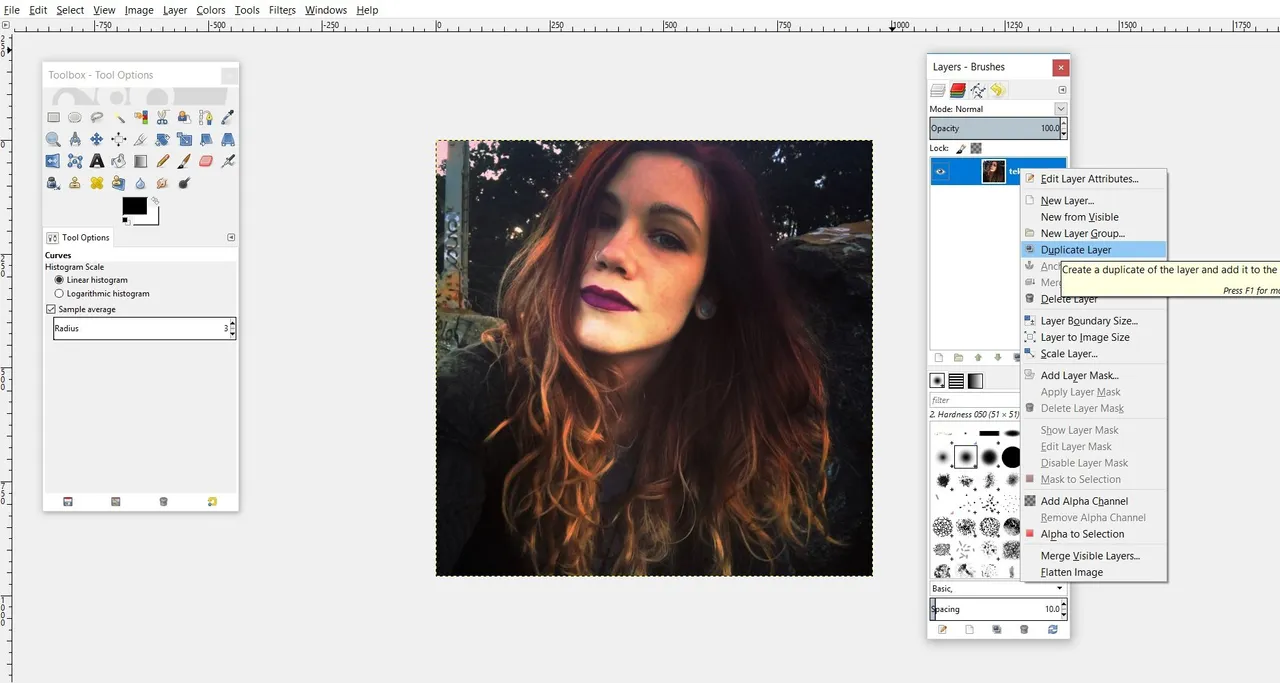
Perfect. Now we are going to want to duplicate this layer twice.
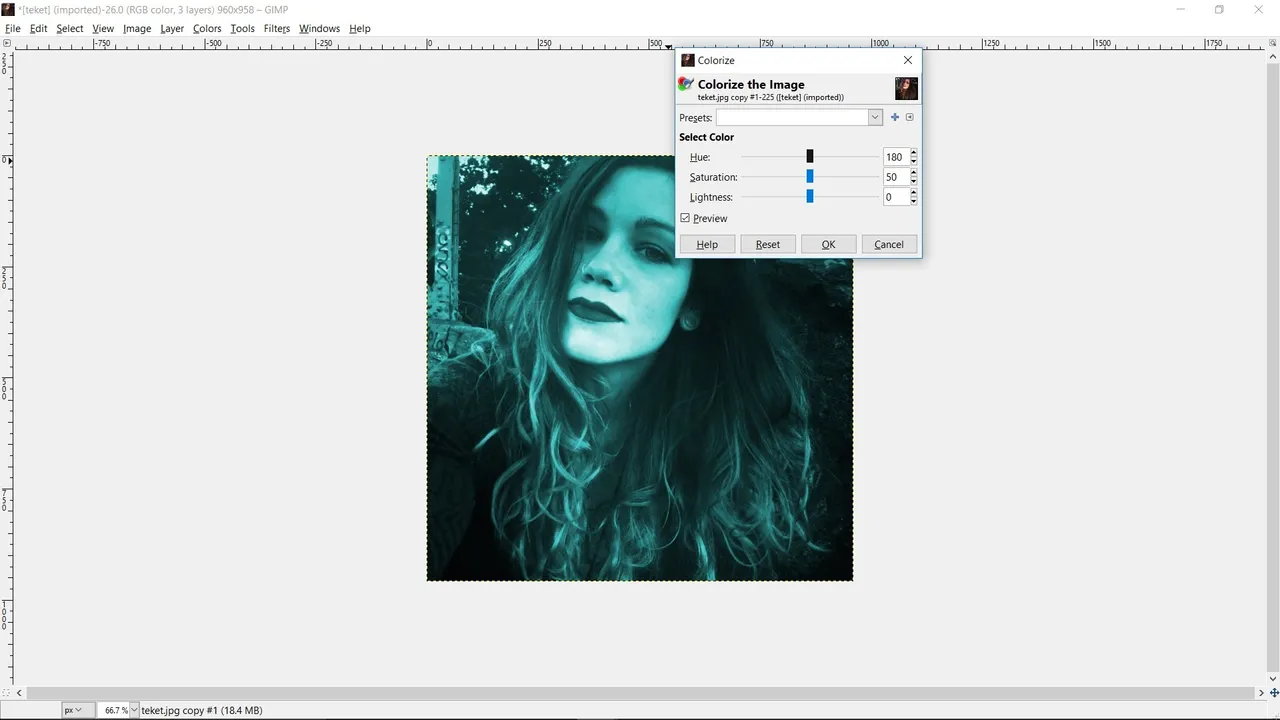
I want the first duplicated later to have a teal color all over so I am going to go to colorize and then these are the numbers I used:
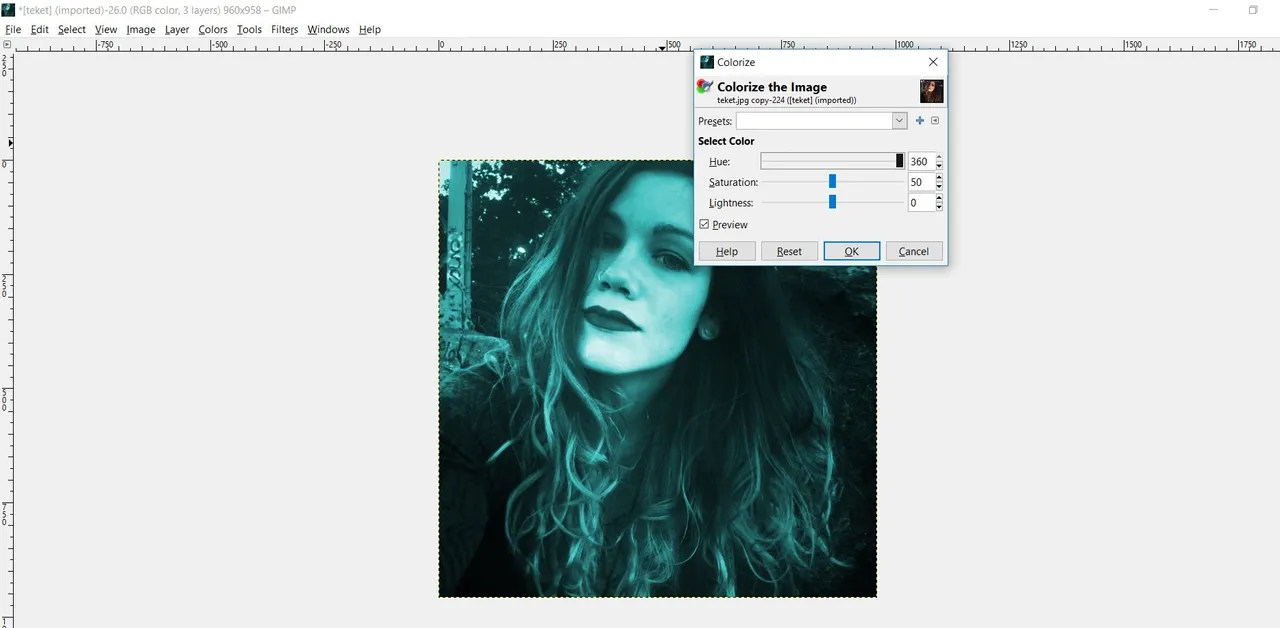
The second layer I wanted to be red likeso:
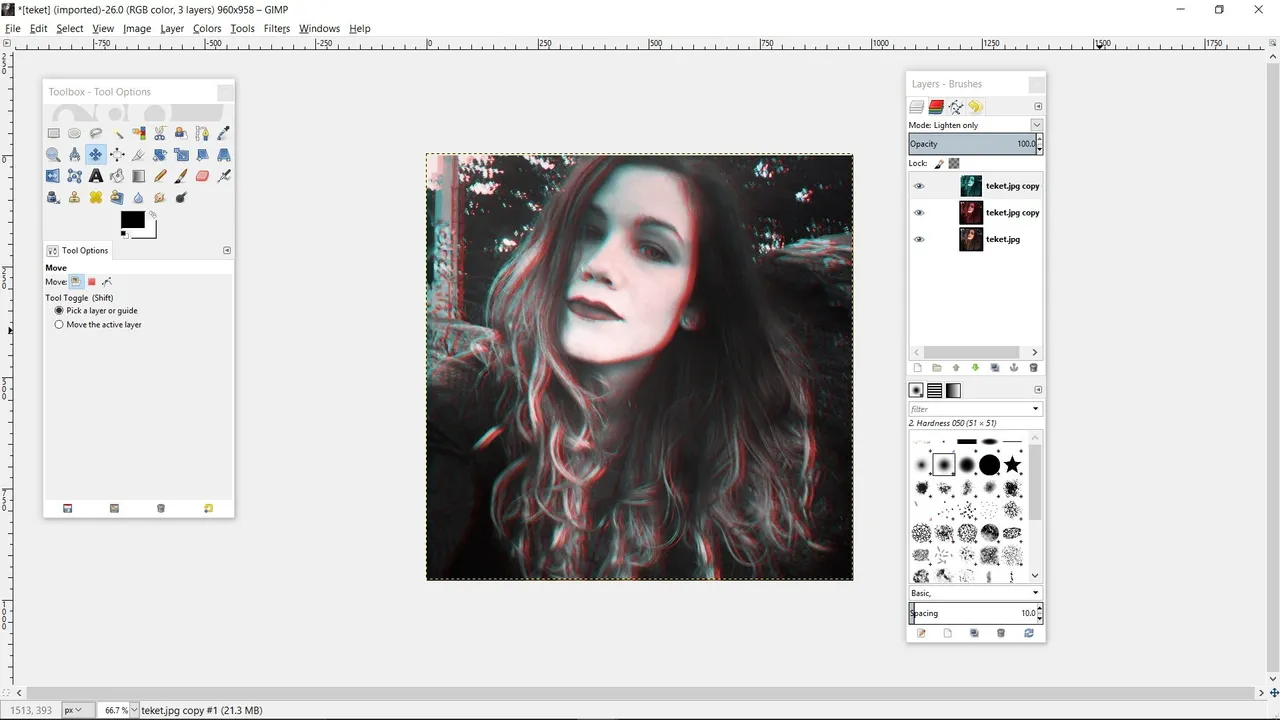
Then I changed the layer mode to "lighten only" on both layers resulting in this:

(Hey now you also know how too make a neat vintage feel for your photos!)
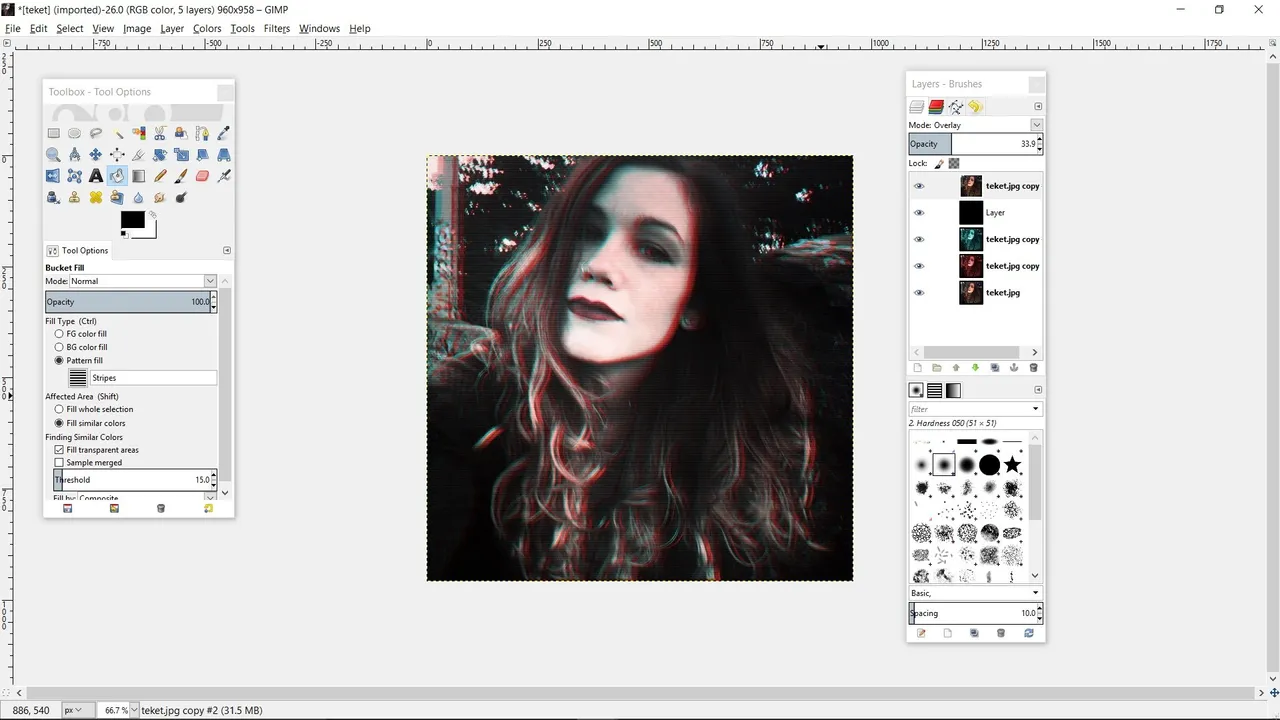
Then what you want to do is take the blue later and move it a smidge to the left with the move tool and take the red layer and move it a smidge to the right. Resulting in this:
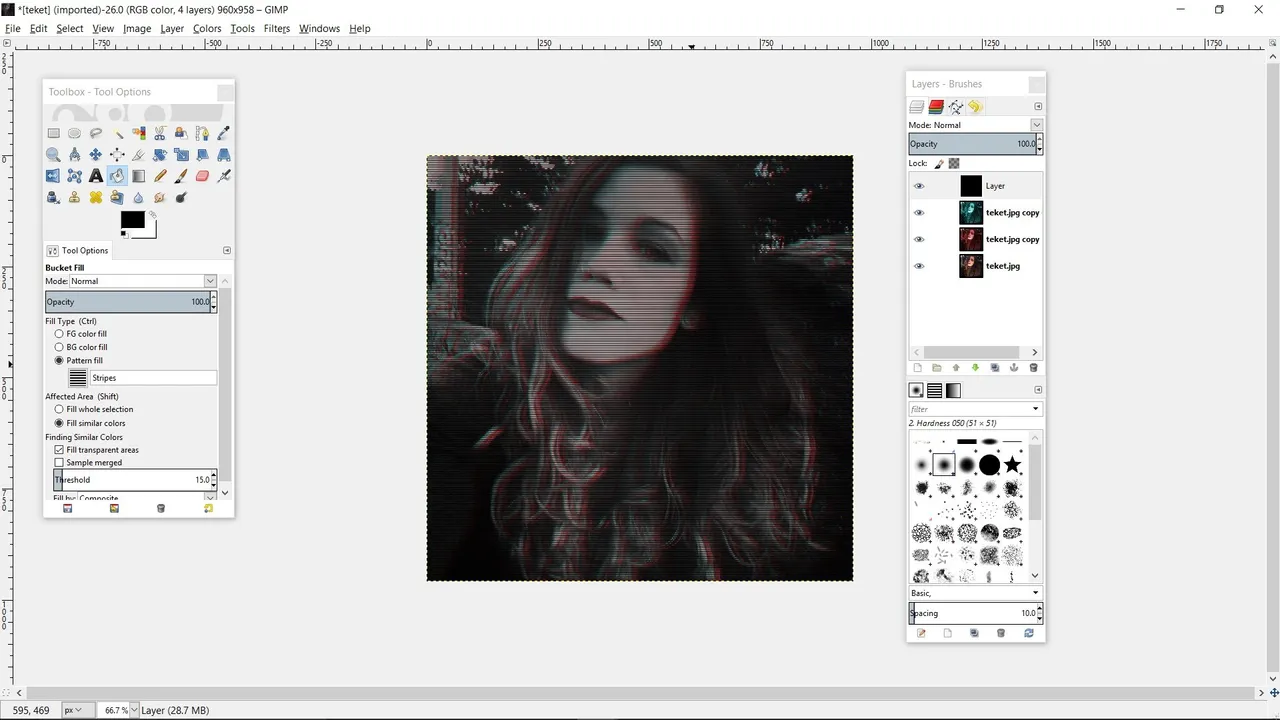
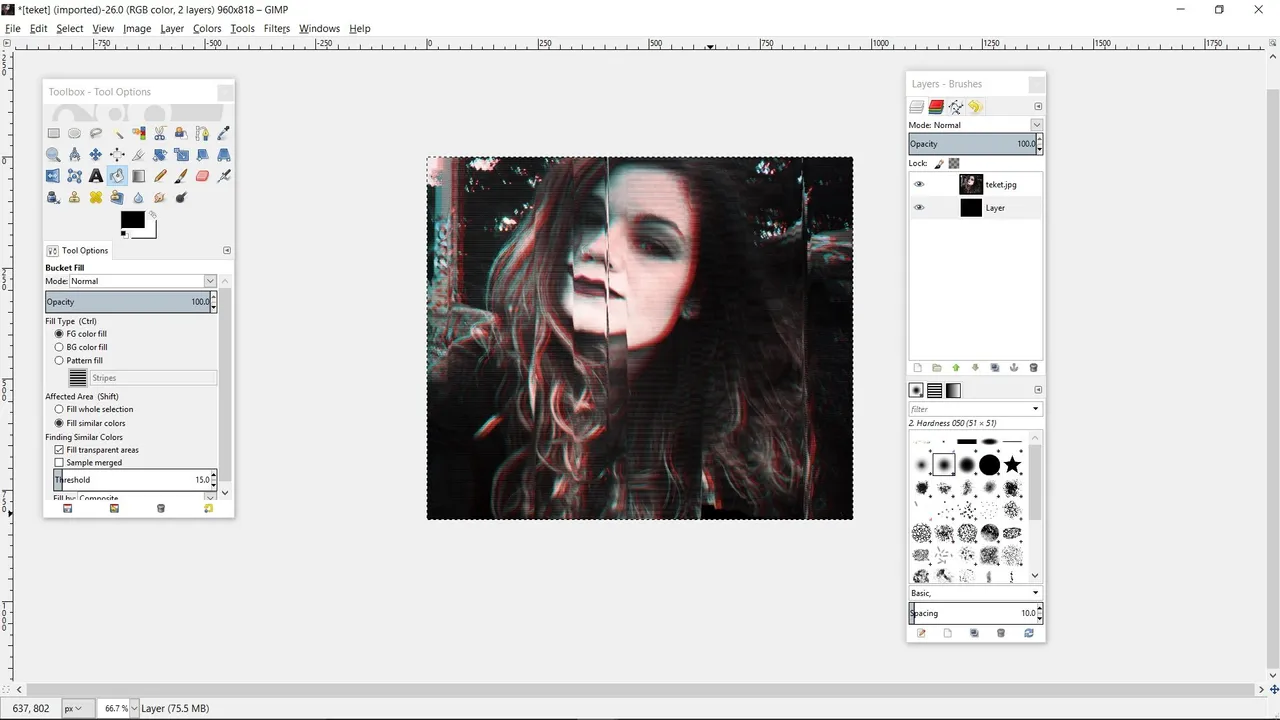
Then if you want to add some old VHS style lines, make a transparent layer and fill it in with the paint bucket tool set to "pattern fill" and with one of the stripes selected. I went with the one with wider spaces. After you fill the layer set the layer mode to overlay and mess with the opacity if you want.
I ended up with this:
Resulting in this:
I learned all of what I walked you through just now through this awesome tutorial:
The rest was just me messing around with settings and seeing what results. I will not walk you through that now that we have a cool old VHS style image to work with.
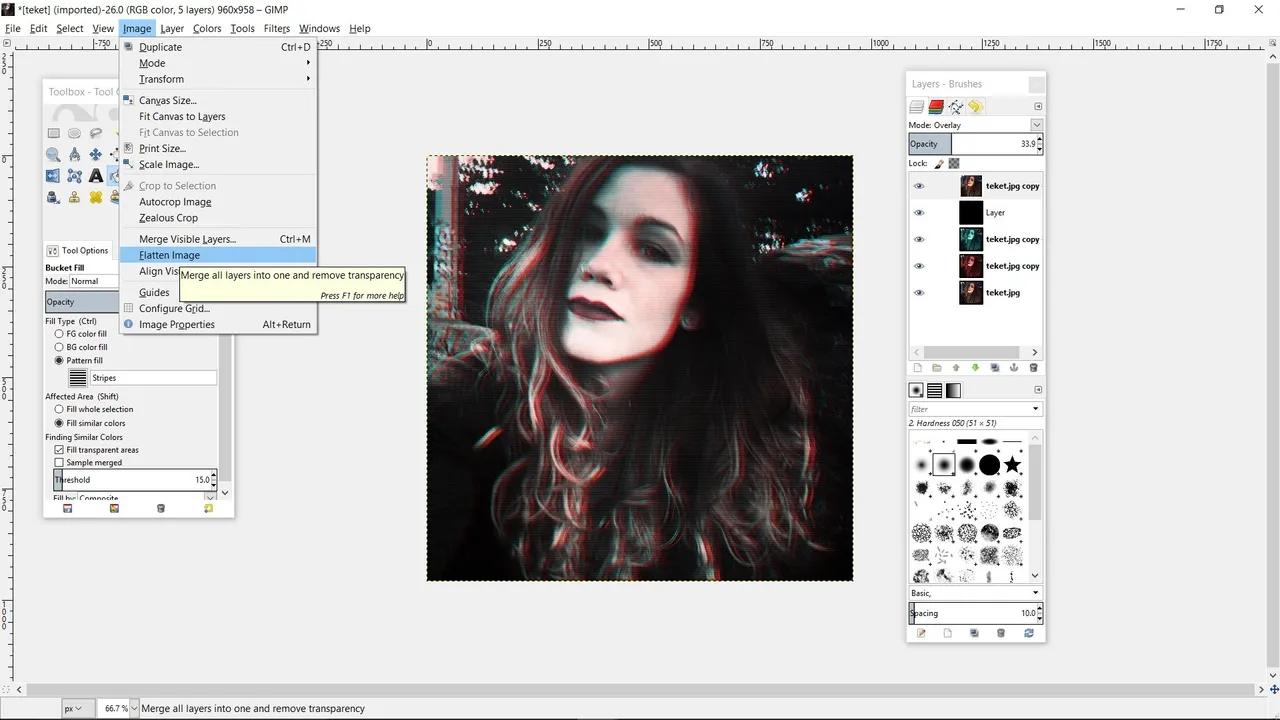
First you want to flatten your image before we distort it. :)
Hm, I feel like I lost a screenshot somehow...but it should be okay. Next go to Filters>Distorts>Curve bend and check "automatic preview" and...hm I am going to need to take a screenshot actually...brb..
Oh cool, my old curve bend setting were still in there so do something like this:
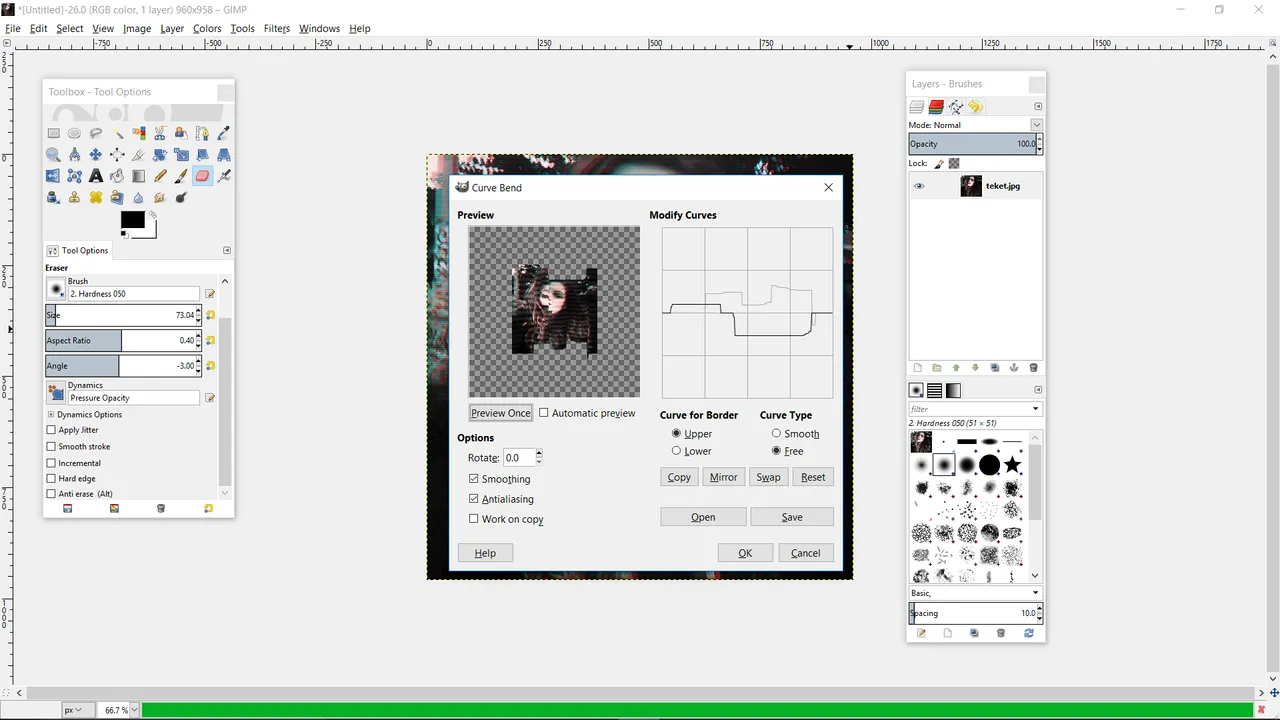
and I ended up with this:

Now this is the perfect opportunity to show you how it's kinda random and there's different approaches. What I could have done is just try another curve bend to avoid the large transparent areas.
Instead I selected the right part of her face, used the scale tool, and brought it up likeso:

Then I cropped the photo to remove most of the transparent bits on the bottom there but there was a tiny spot still and I just made a transparent bottom layer and filled it in with the solid color using the paint bucket resulting in my final glitch:
Now for that second glitch, which can be used in combination with the curve bed to make stuff like this also:
Okay, we are back to the image just after following the old VHS tutorial, we have our little lines overlay and our 3 little layers, we are going to flatten the image:

woah, de ja vu :)
And go to Filters> Distorts > Wind
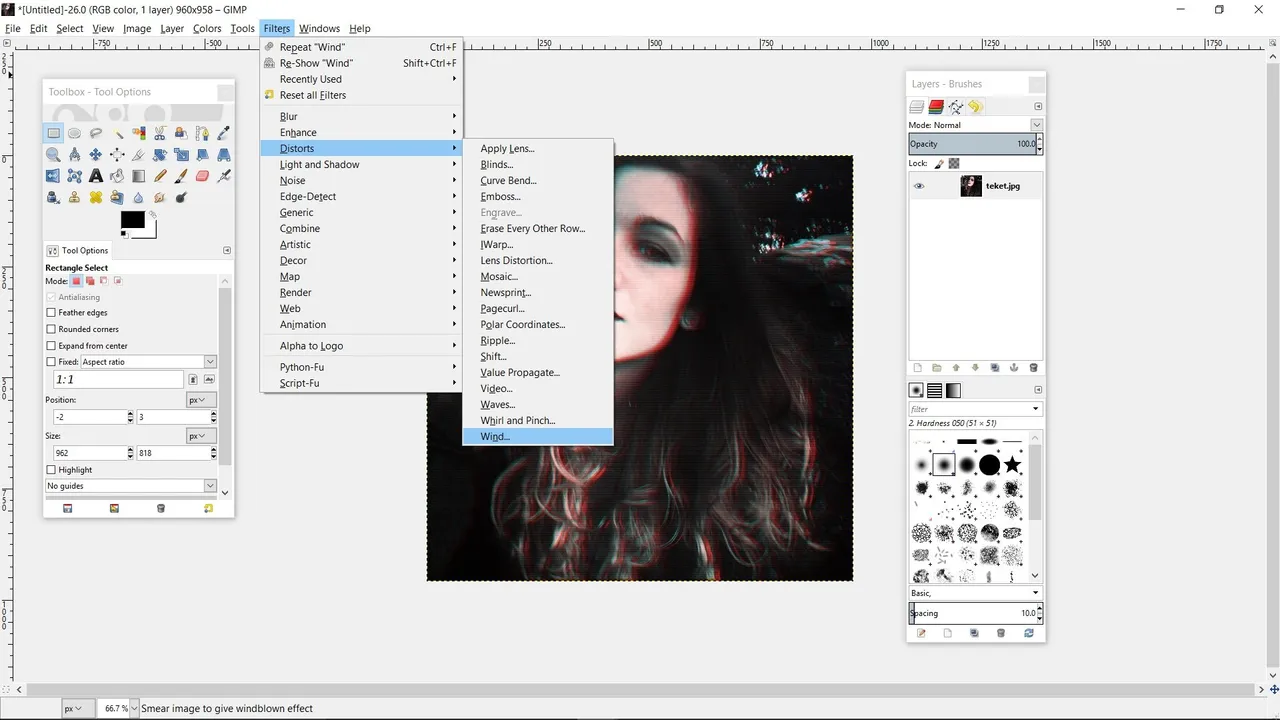
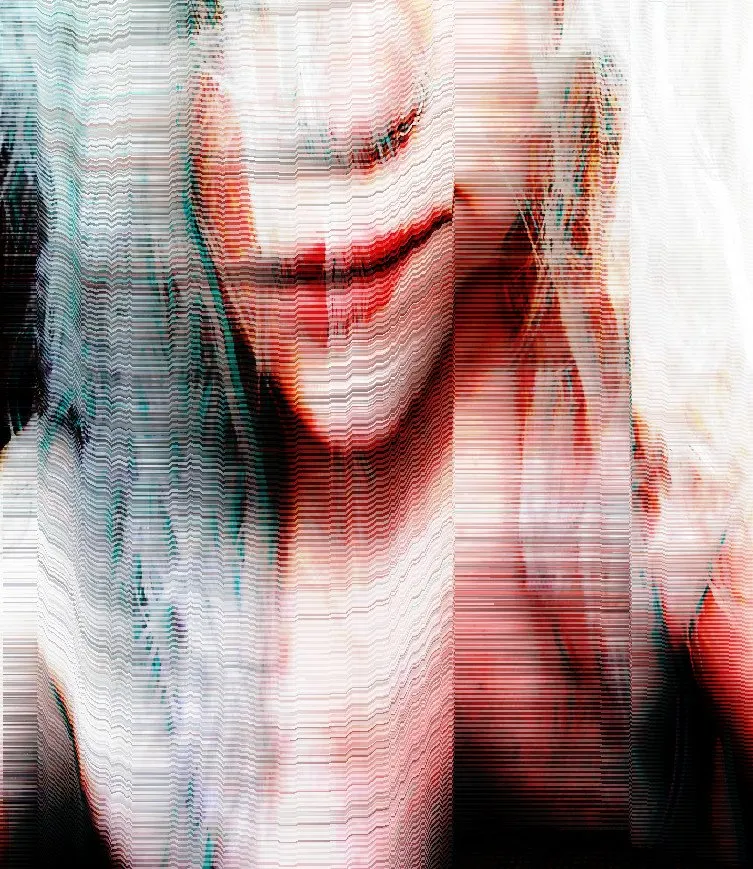
Now here is where it takes a lot of trial and error and widely varies based on photos. With a threshhold too low and a strength too high you may end up with this:
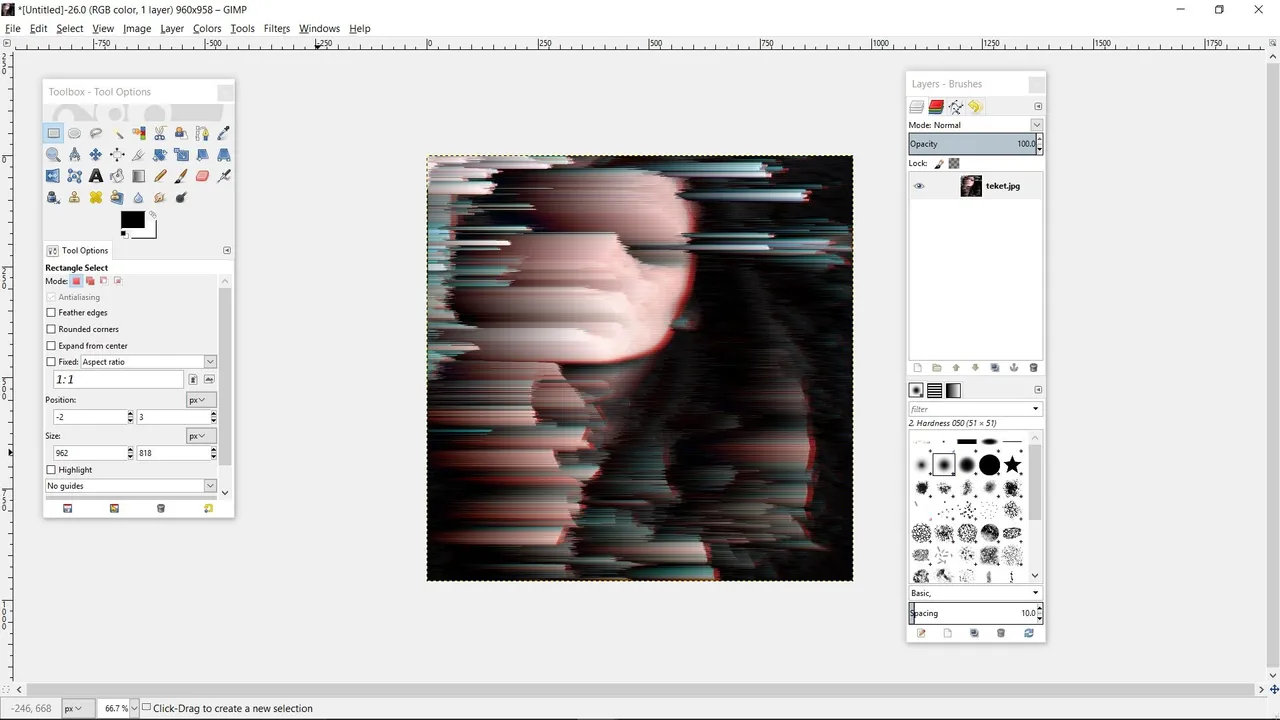
Which personally I think is cool but you may want more of a human to still be disernable so you will want to raise your threshhold and lower your strength which may result in something more like this:

Another opportunity to show you that you need to be creative and intuitive. Now I liked this one some-what but didnt like that her eye was covered, so what I did is step back and duplicate my layer (i actually almost always do this before distorting because it can be helpful and sometimes changing layer modes in combo with filters can have a cool effect!) and then I erased the spot over her eye, resulting in this:

With this basic knowledge you can mess around (don't be afraid to mess around with different filters, I know I am!) and create some really cool glitches.
Like this:
or this:

I hope you enjoyed the tutorial and feel free to share your creations with me! _
Find me elsewhere on the web:
Facebook: facebook.com/theeLauraLemons
Facebook Artist Page: https://www.facebook.com/LauraLemonsArt/?fref=ts
Etsy: https://www.etsy.com/shop/lauralemonsart?ref=hdr_shop_menu
Patreon: https://www.patreon.com/lauralemons
Steam Name:Fullofbooks
Find my lovely friend on the web:
Facebook: https://www.facebook.com/TheCrystalMind/?fref=ts
Etsy: https://www.etsy.com/shop/TheCrystalMind?ref=shop_sugg