Let Me Tell You a Story
Twas the week before Christmas, when my cousins and I began to fret
of what kind of gifts for our grandparents we'd get;
"Bath bombs", shouted one. "Olive Oil!" another one cried.
And: "Let's make her a painting, I know we could try!"
Then, too, the eldest cousin decided to chime in
that she had painted a ceramic spoon to decorate nonna's kitchen.
It was at that exact moment my eye started to twitch;
I was the artist, making things was my schtick!
I could not let them best me; I could not let them win.
You bet your bottom dollar, in my mind, it was a competition.
So I scrapped my former plans of making ornaments like before
And took that extra step to create something that'd be adored.
A craft to beat all craft was the vow I made that day;
My ticket to success was an old friend called, "Clay."
My Old Friend; Sculpey Clay
So basically as soon as I found out my cousins were planning on making some sort of arts & craft gift for our grandparents, I was instantly fueled by spite to not let them steal my one party trick. For Christmas, I normally make everyone an ornament; I make an illustration, cut it out, paste it on a wooden oval, slap a string around it, and call it a day.
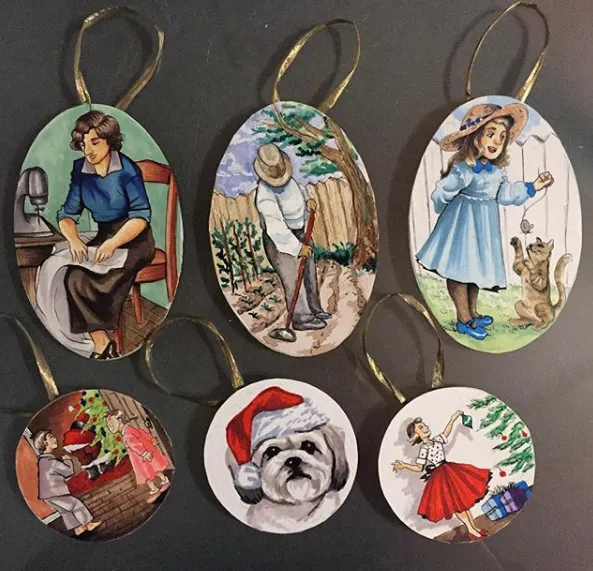
I was finally going to upgrades these illustrations to being placed in a nice frame, which I had already purchased from Michaels. But I just didn't think illustrations were going to cut it this year. And I had to put my cousin's back into place.
When I was younger, making clay sculptures was my thing but I hadn't touched Sculpey clay into about five years so I was a little rusty. But, I gave it my all and I'm quite pleased with how they turned out. It was my intention to take enough pictures of the process so I could make some sort of tutorial but:
- I'm the WORST at documenting my art process and...
- A lot of it was just winging it and fussing around until something worked in my favor. Which is actually how I do most of my art.
I did manage to take some process photos so let's go through those now!
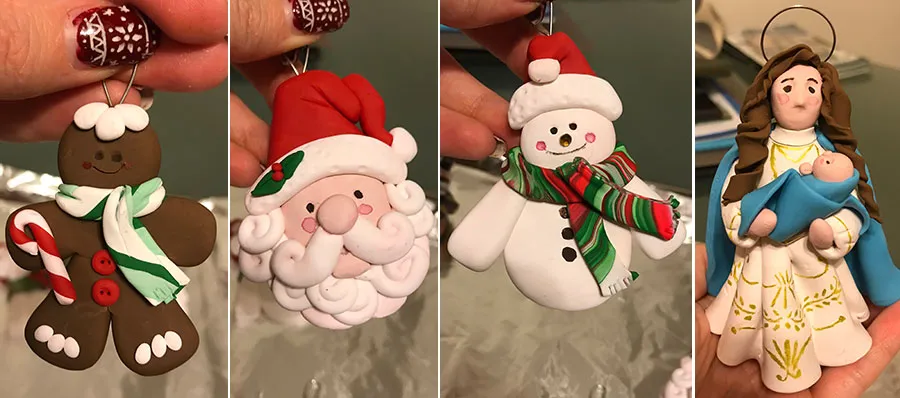
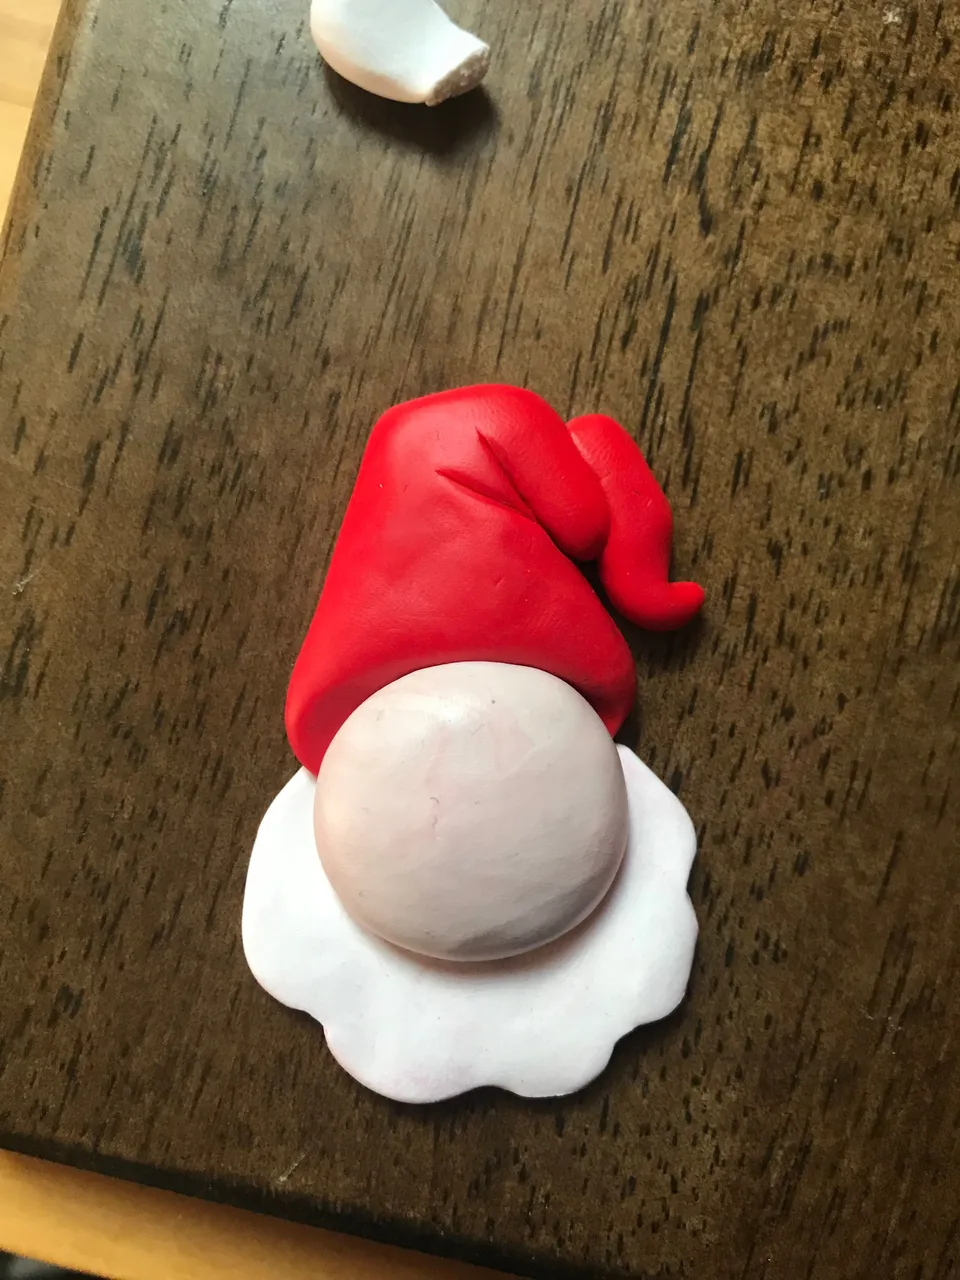
Santa Claus
For good ol' Saint Nick, I started out with three shapes. On the bottom is a white circle that I cut into a scallop shape for the base of the beard. Then overlapped with that is the red hat all topped off with a peach circle for the base of his face.
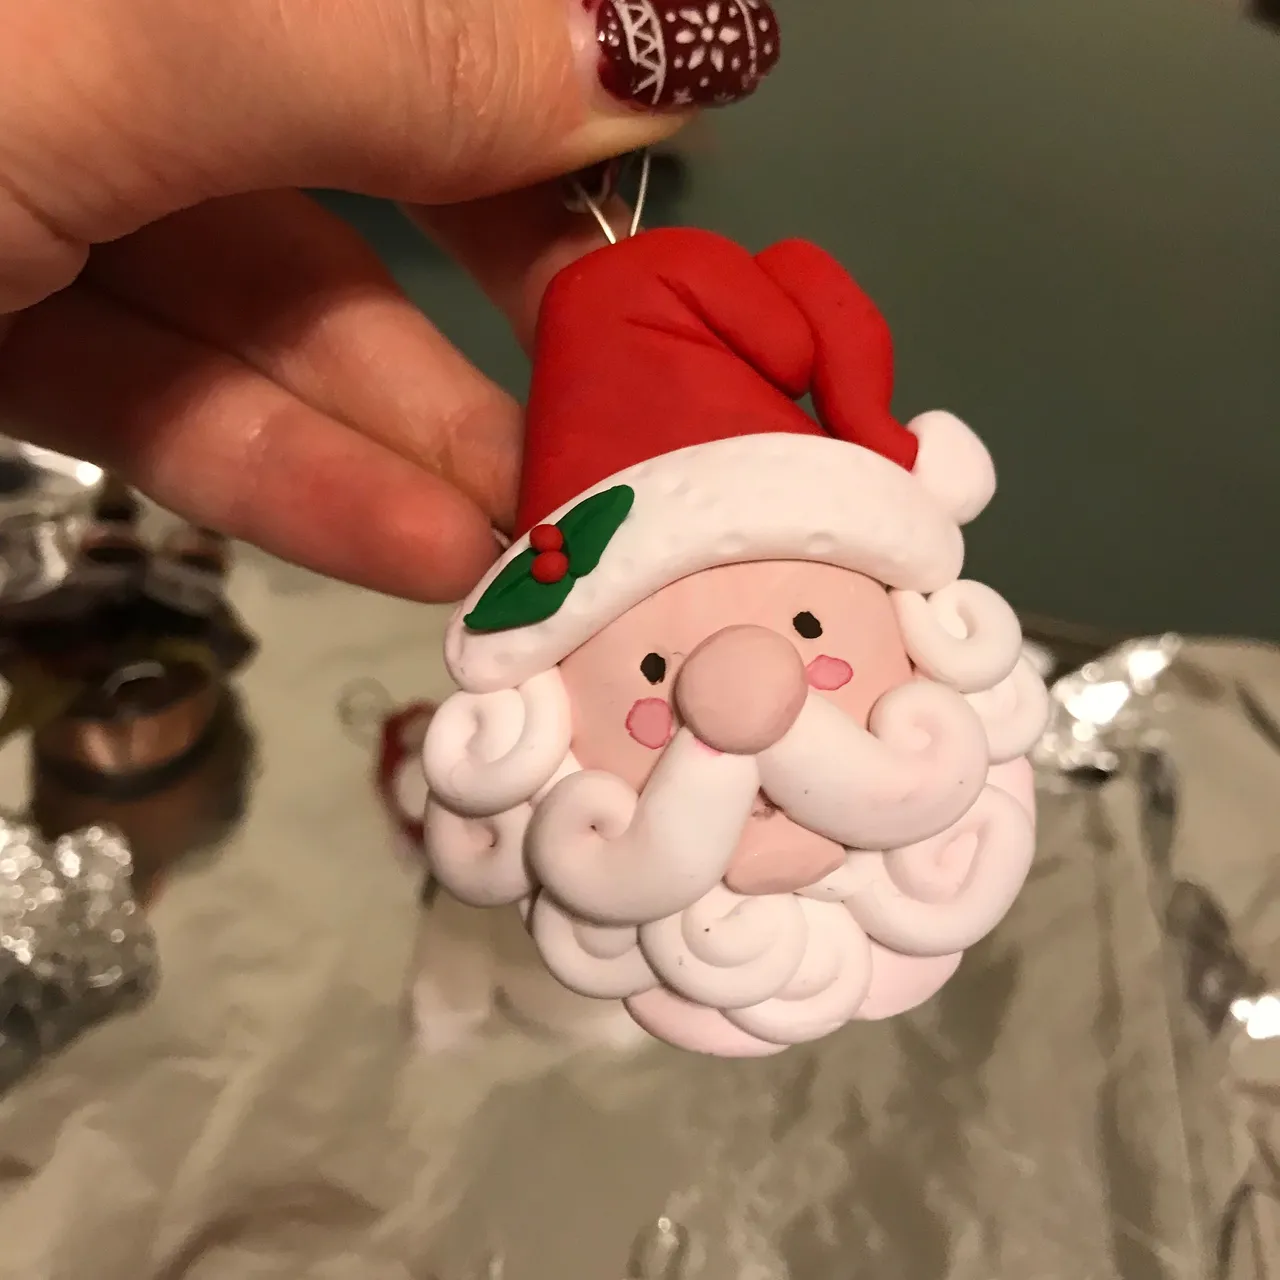
I rolled out thin white ropes, cut them into tiny pieces and rolled them into spirals to form his beard. Put some fringe on the hat and another peach circle for his nose.

The finishing touches were the indents for where the eyes would be painted on and the little foliage on his hat.
After painting the eyes and some blush, he ended up looking like this:
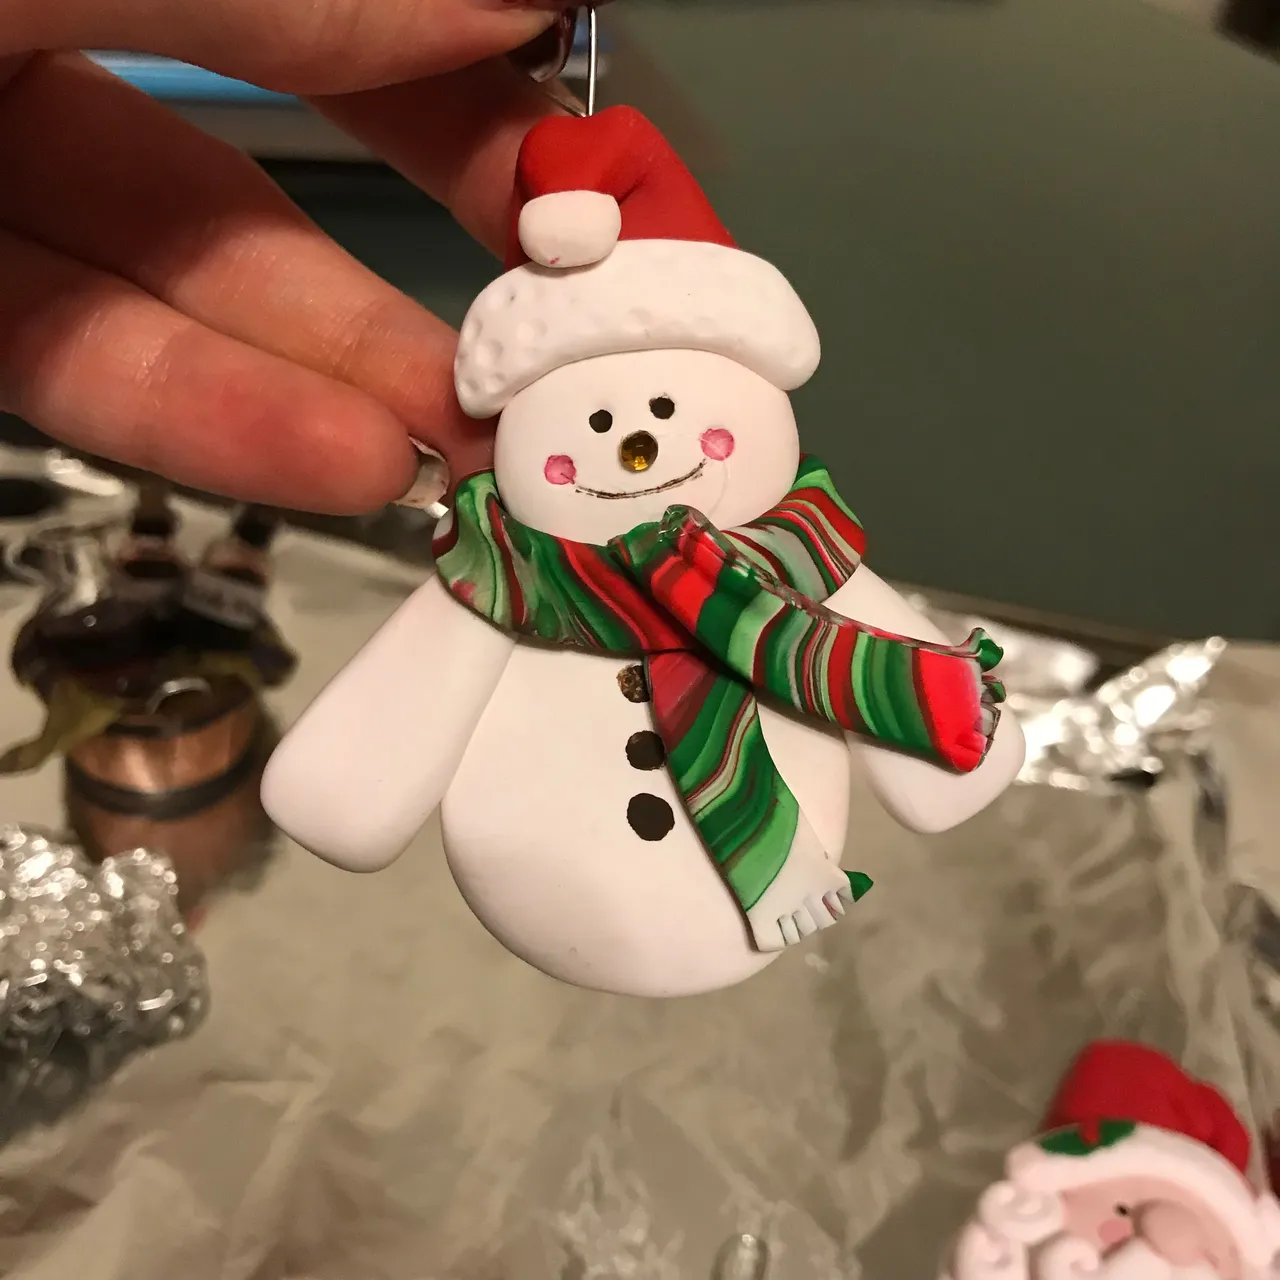
Snow Dude
This guy started off with a base of five shapes; two circles and two oval-esque shapes. You can kinda see that the circle that makes up the body is flattened at the top. I did this so the head would lay on top of it to give the sculpture more support and give it a fighting chance at not breaking once I let it loose into the real world.

I don't have an in between photo so the next look you'll get is the finished piece. Similar to Santa, I added fringe on the hat. I gave him a nifty scarf which I made by rolling three ropes of white, green, and red together and then flattening it into a rectangular shape.
The last steps were the painted details and a little sequin for a nose.
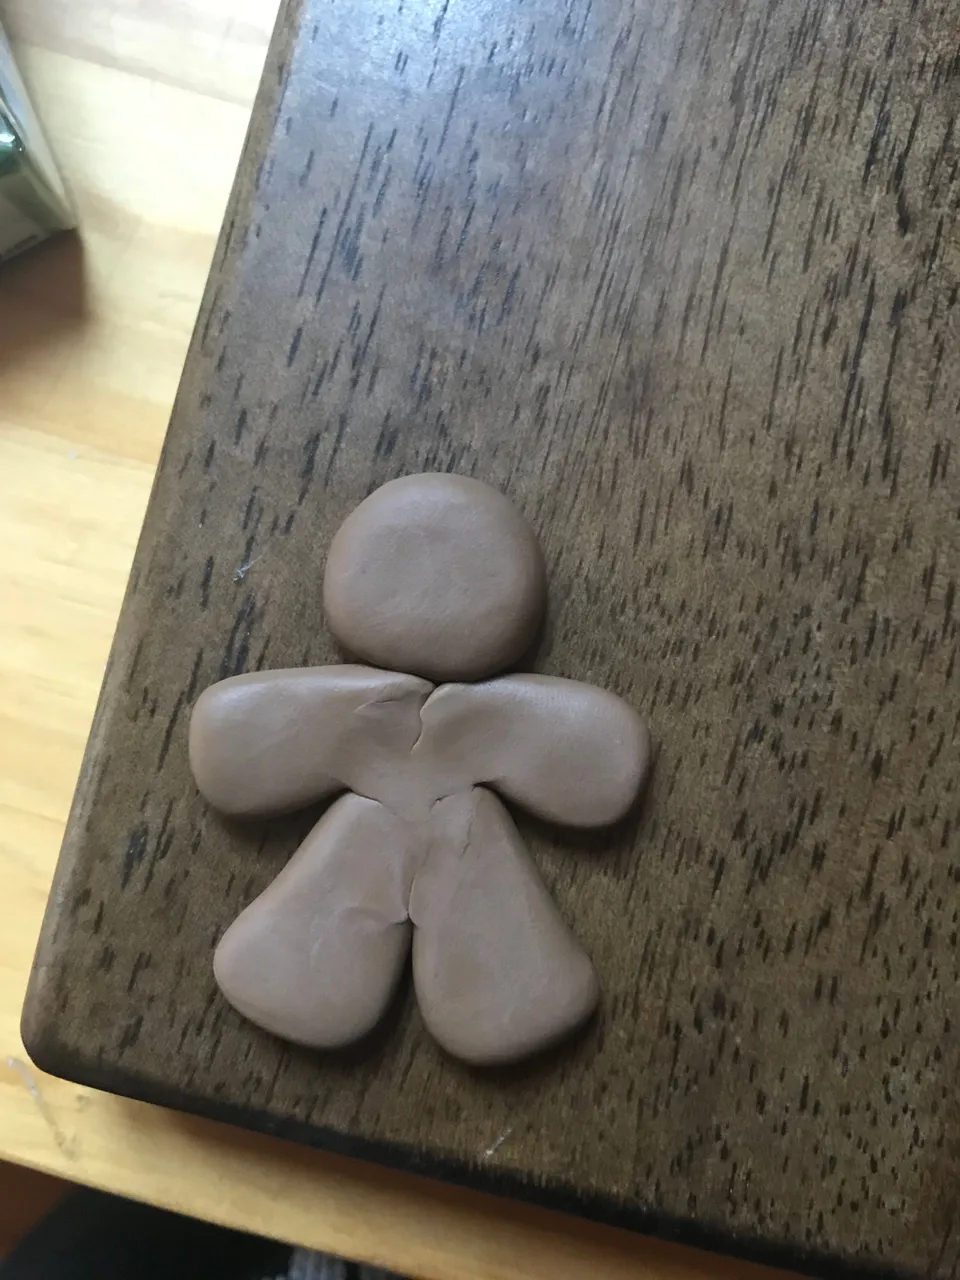
Gingerbread Man
The base of the gingerbread man is four ovals smoothed together at the center and a circle for the head, which I secured to the body with a wire.
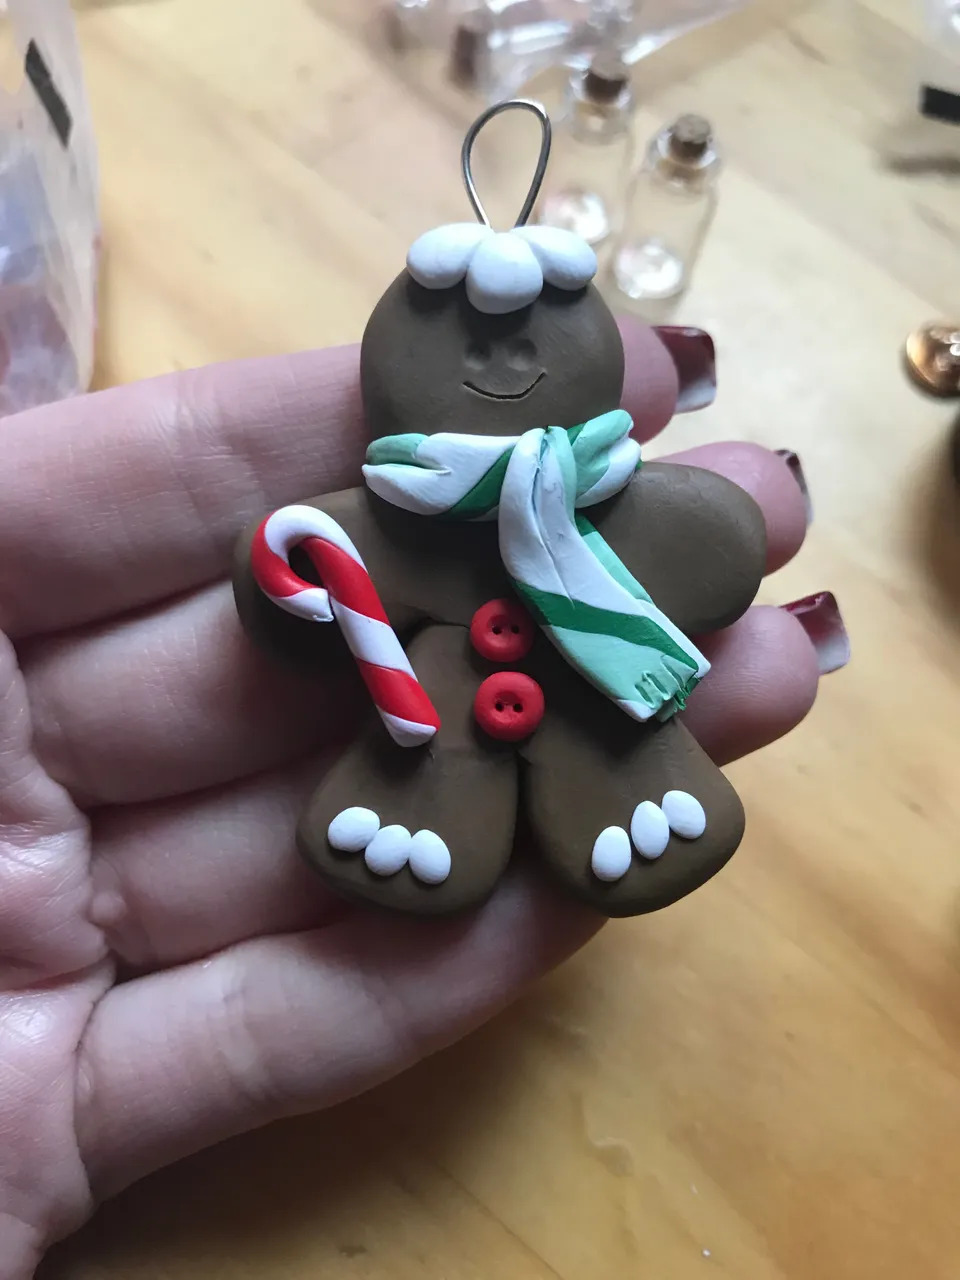
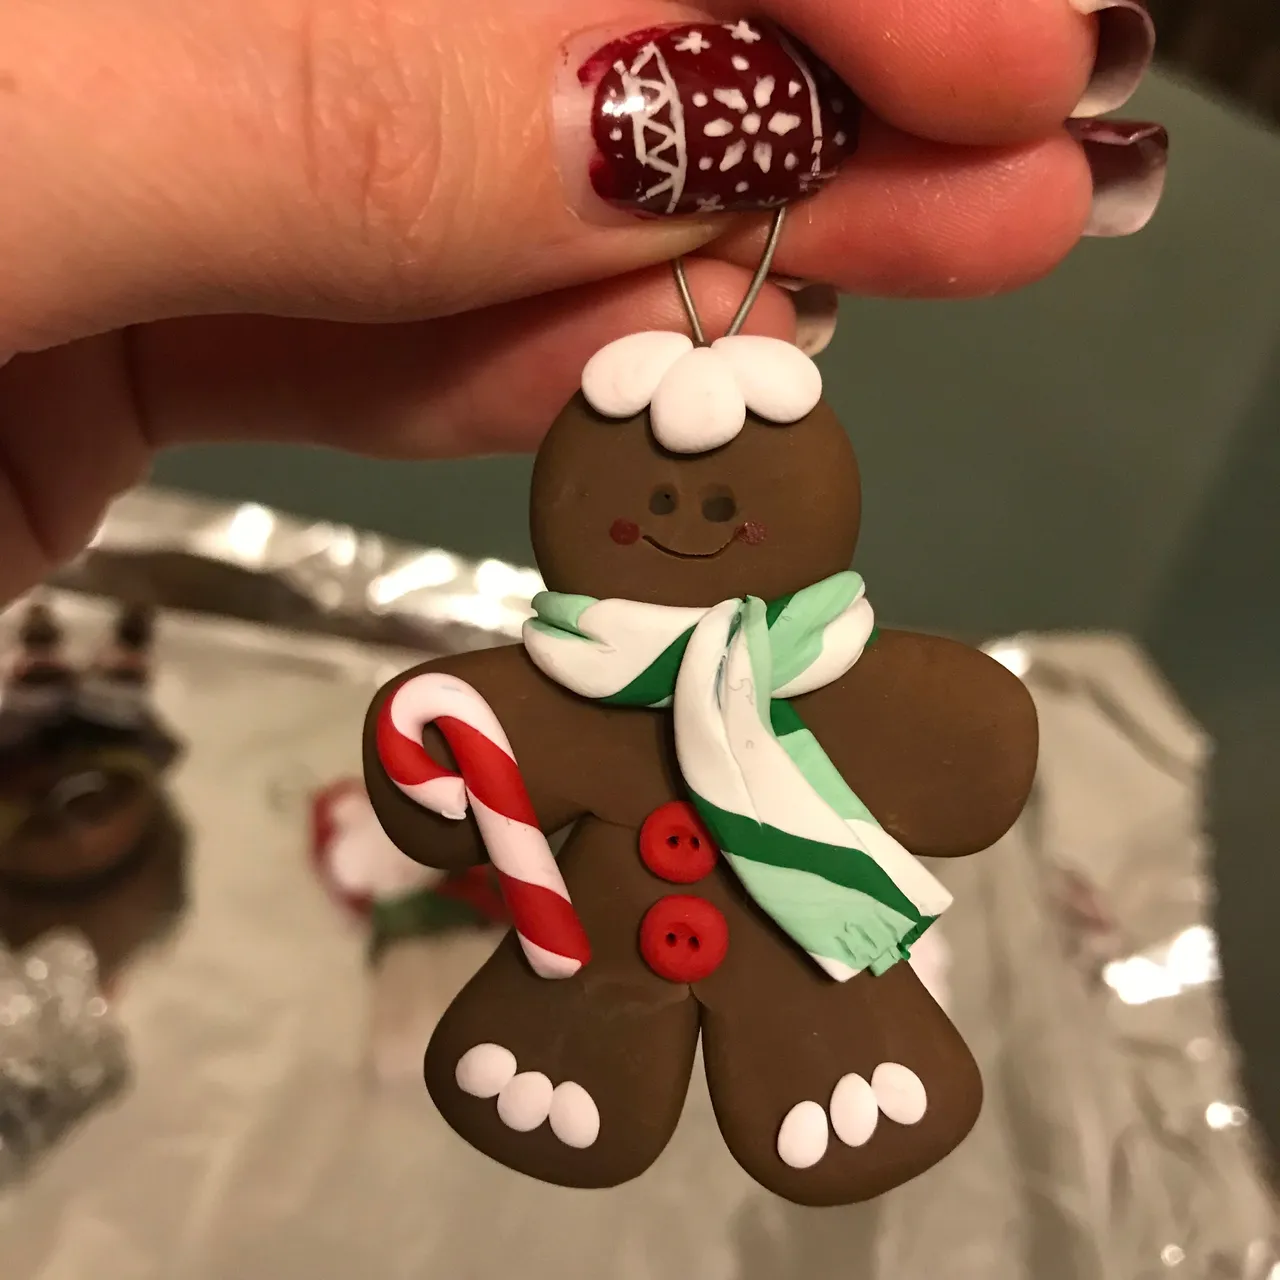
For the details, I added small white ovals for frosting around the head and the feet. The scarf and the candy cane were done with the same process as the scarf for the Snowman above.
Madonna Di Mellitto
So the last one was the most involved of the sculptures and is for my grandma. The finished sculpture is supposed to be of the regional blessed Mary from the area where my Grandma lived in Italy.
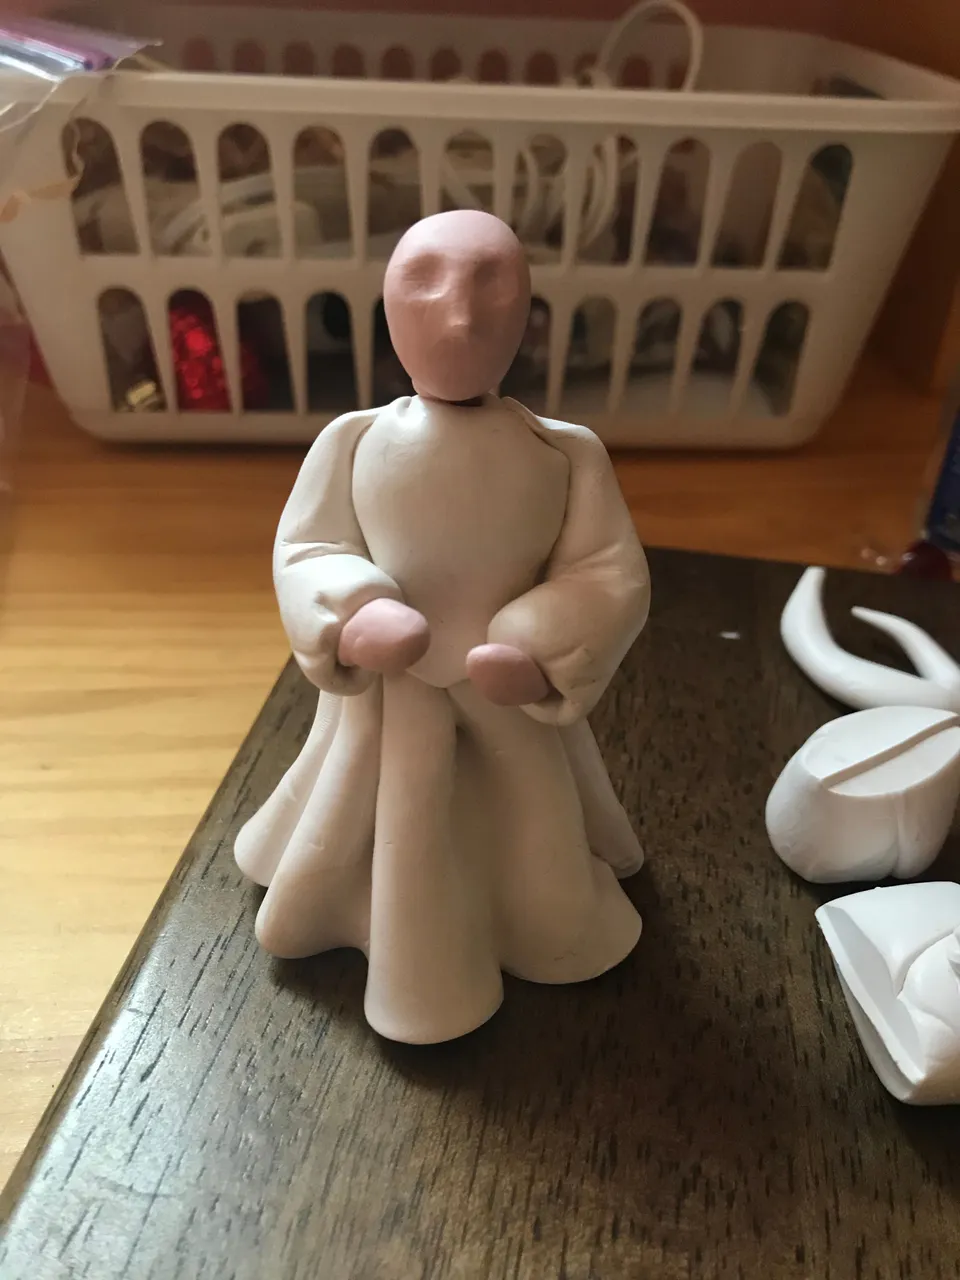
I first started off with a cone, which is neatly tucked under the skirt and serves as the base for the structure. It also makes the sculpture hollow so that it's not super heavy.
The sleeves and dress were done similarly; I rolled out rectangular pieces of clay and made them into cone-shapes while making sure to adds folds in the "fabric" as I formed the shape. Both arms are attached to the body with wire, along with the head.
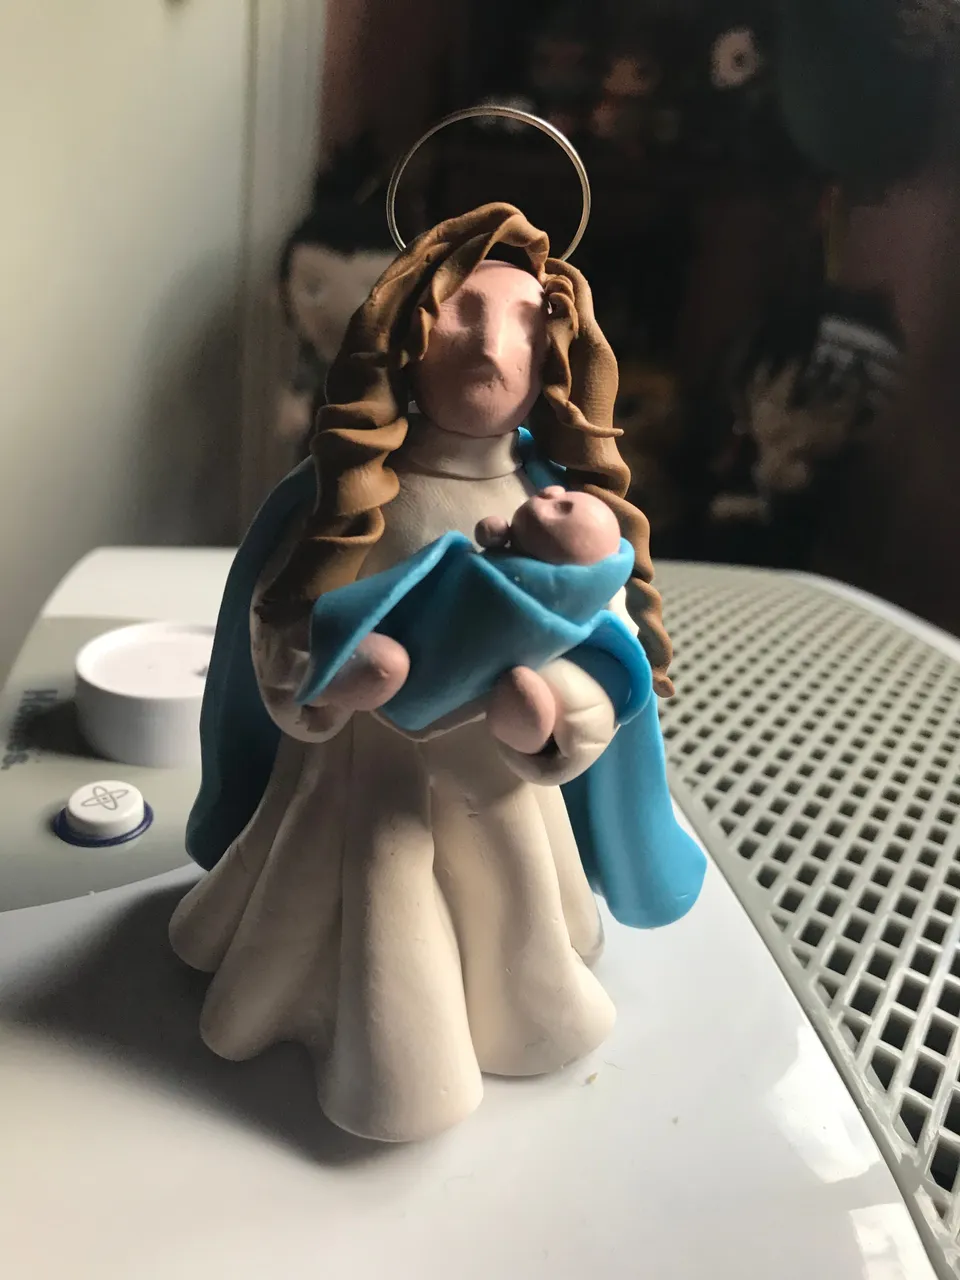
For the hair, I rolled out thin strips of brown clay and rolled them loosely to form ringlets. Jesus is just two circles strategically wrapped in blue strips of clay. And the halo is, I think, the wire you use to make hoop earrings from a jewelry kit my family has stashed in our craft closet.
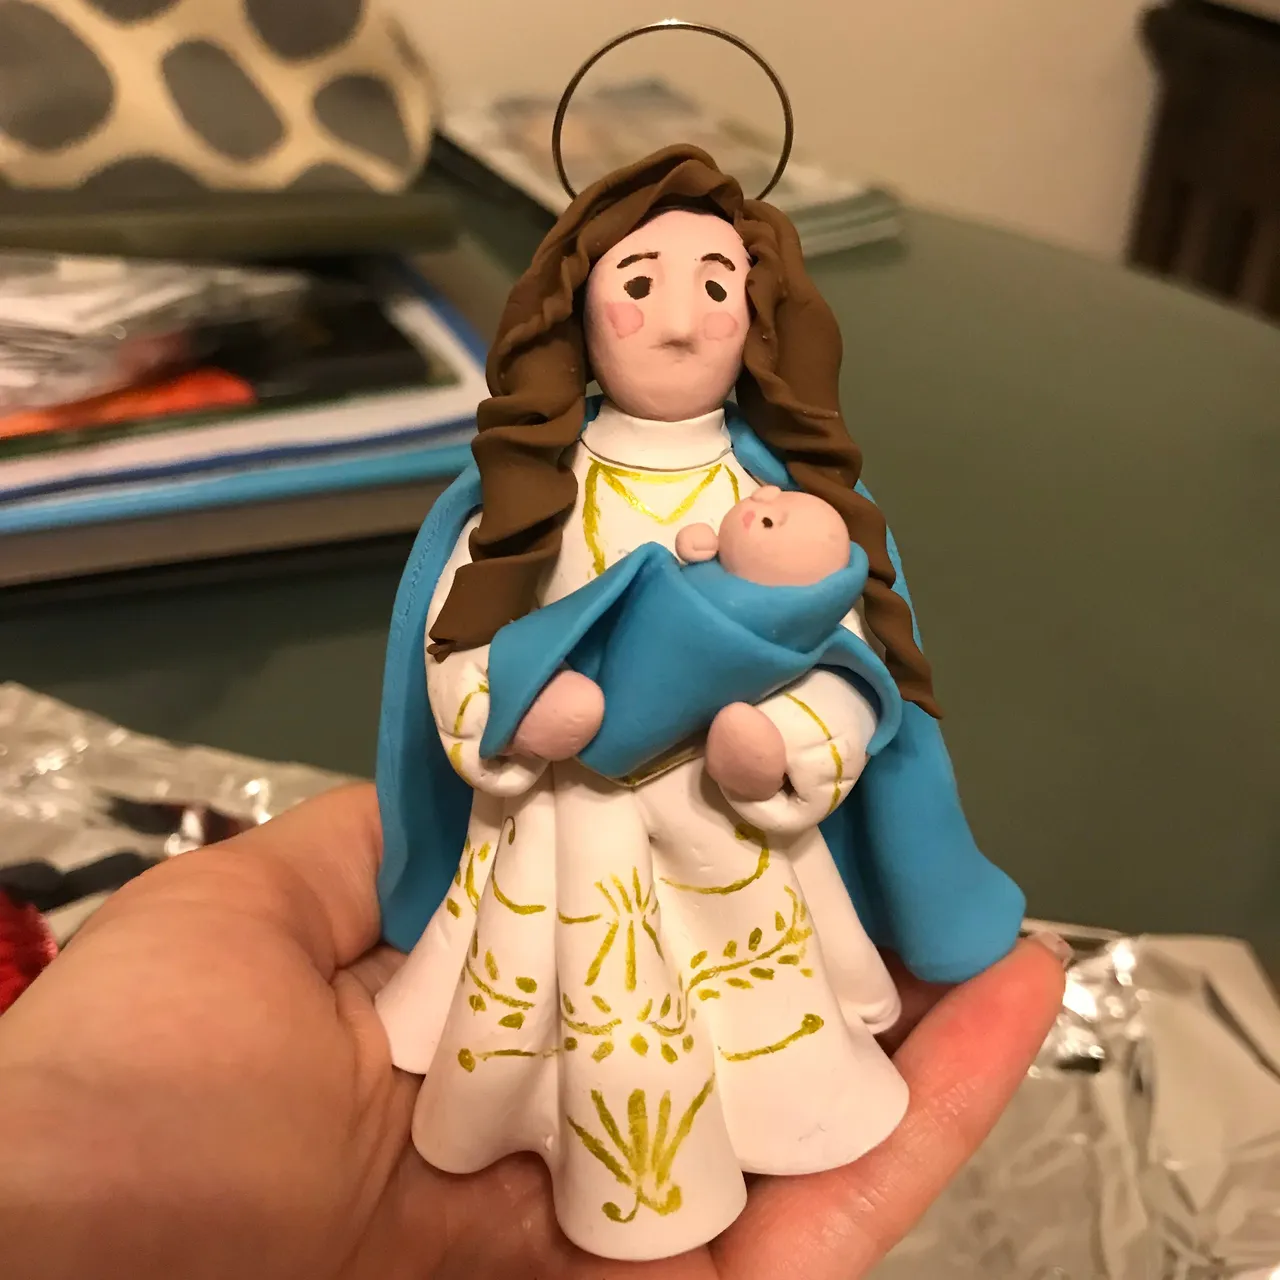
La Madonna got the same face treatment as the others and the detail on her dress was done on, drum roll please, gel pen!
<h2 And There You Have It!
I do have a couple of other ornaments but they are not done quite yet so perhaps I'll share them with you guys in the near future.
I hope you enjoyed my petty & spite-filled adventure into the world of clay. Thank you for reading this till the end.
Happy Holidays to all, and to all a good night!
I've been illustrating a Lovecraftian horror series, Ithaqa, created by @drwatson who has been writing about the series on his Steemit account, so be sure to check his posts out.
If you'd like to keep up with more of my work you can check me out at the following:
Instagram: @la.fumettista
Tumblr: http://la-fumettista.tumblr.com/tagged/art
Twitter: @TheresaChiechi
Website: https://www.theresachiechi.com/