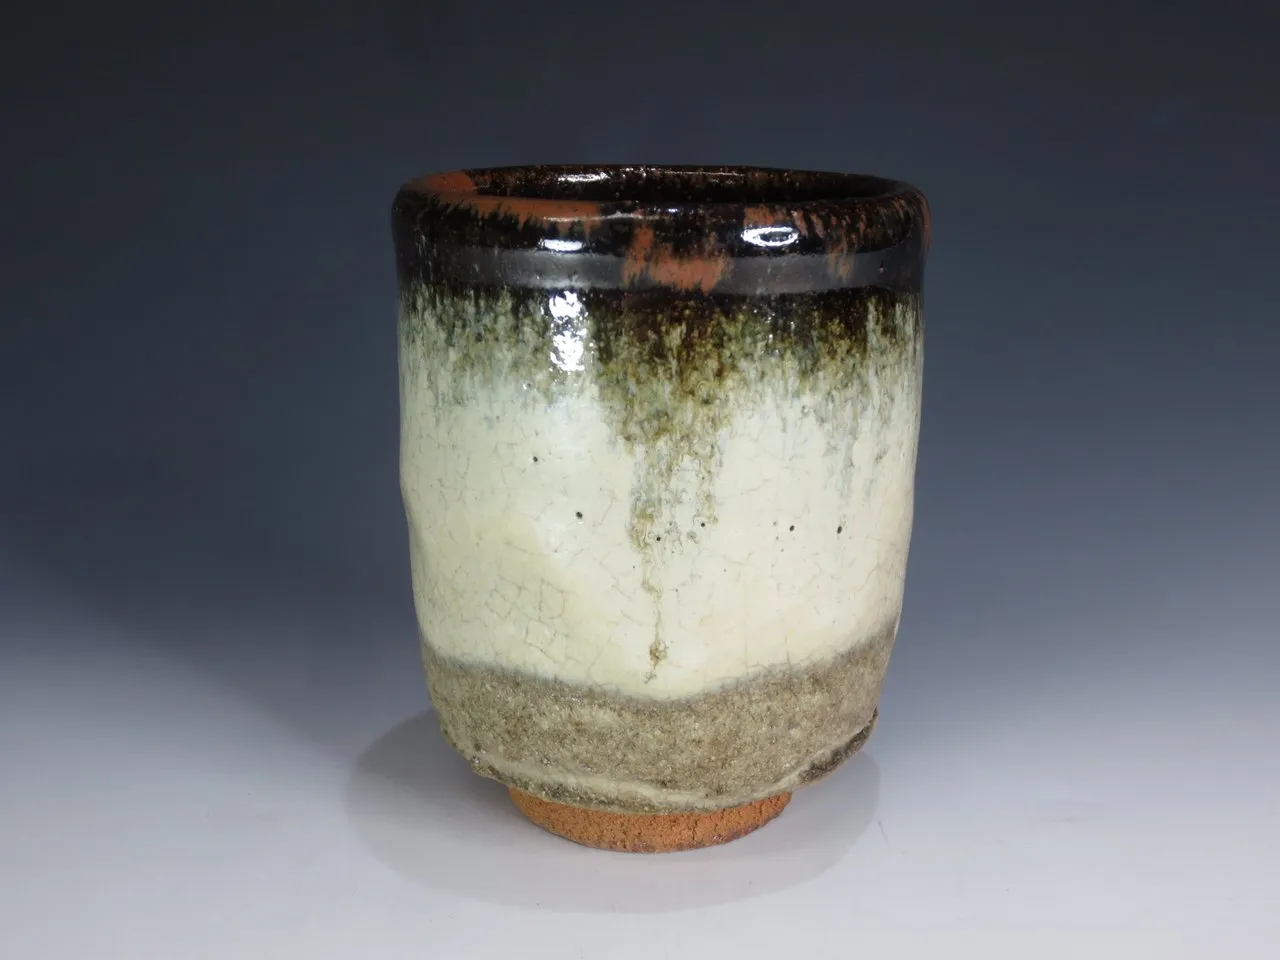
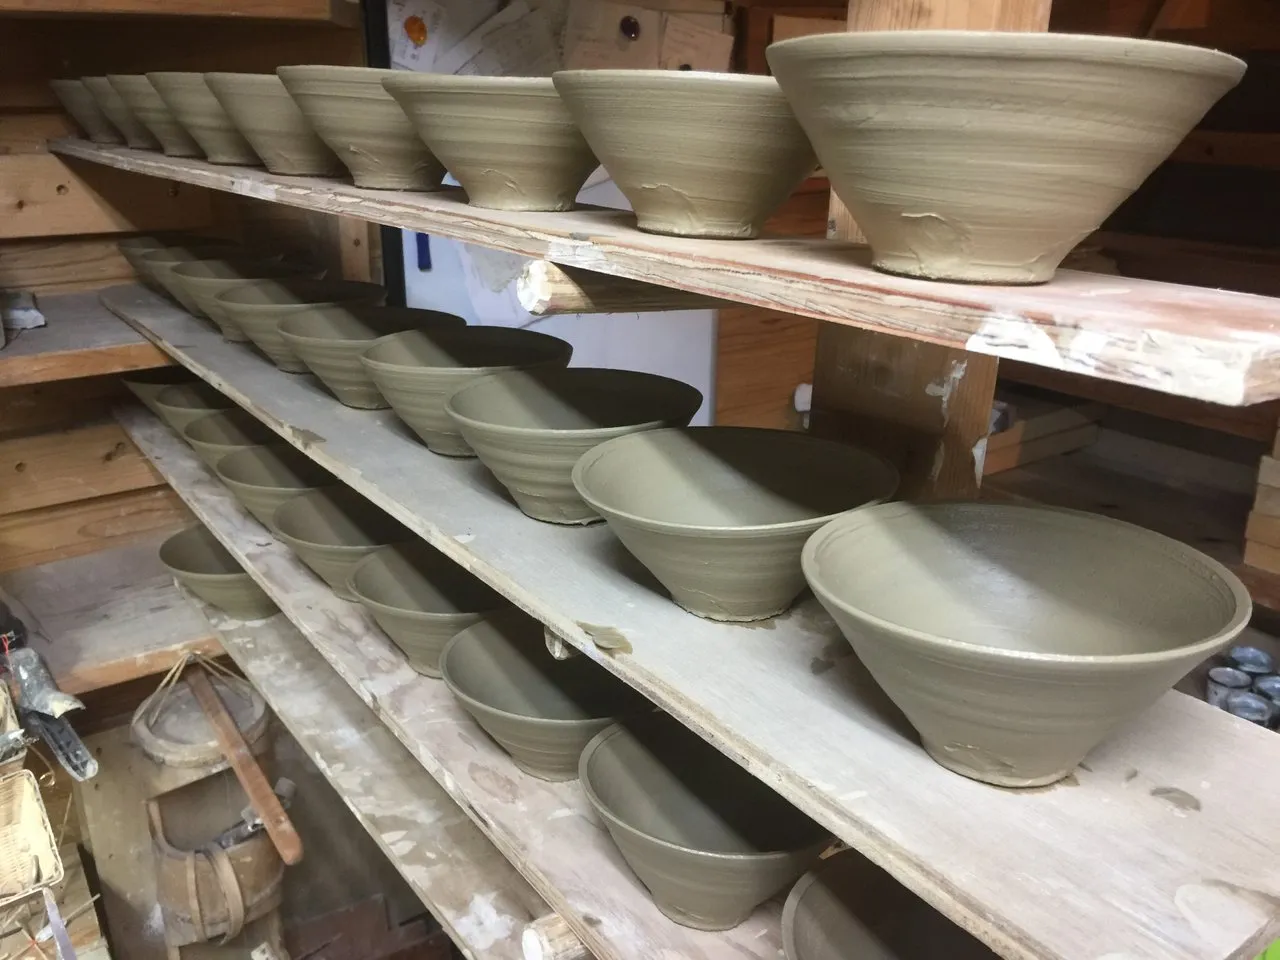
Let's sum up what has happened up until this point. You've found some clay, dug it up, humped it down the mountain, carted it home, smashed up all the lumps, slaked it in water, sieved all of the rocks, roots, bugs, etc., let the clay firm up to workable consistency, and have it stored in bags so it doesn't get too dried out. Now you are closer than ever to making one of these:
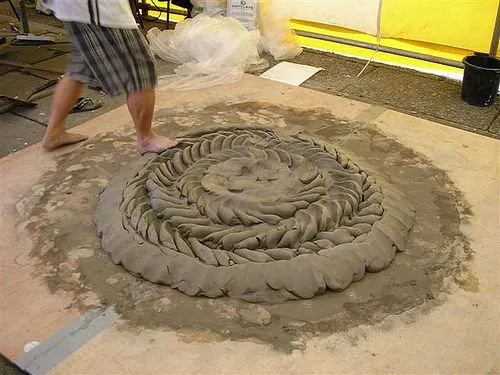
But first, you've got a couple more steps to get usable clay. Your're first option, and the traditional way to get all of the air out of your clay and tighten it up for working is to learn how to foot wedge. Foot wedging allows you to use your body weight to wedge large amounts of clay:
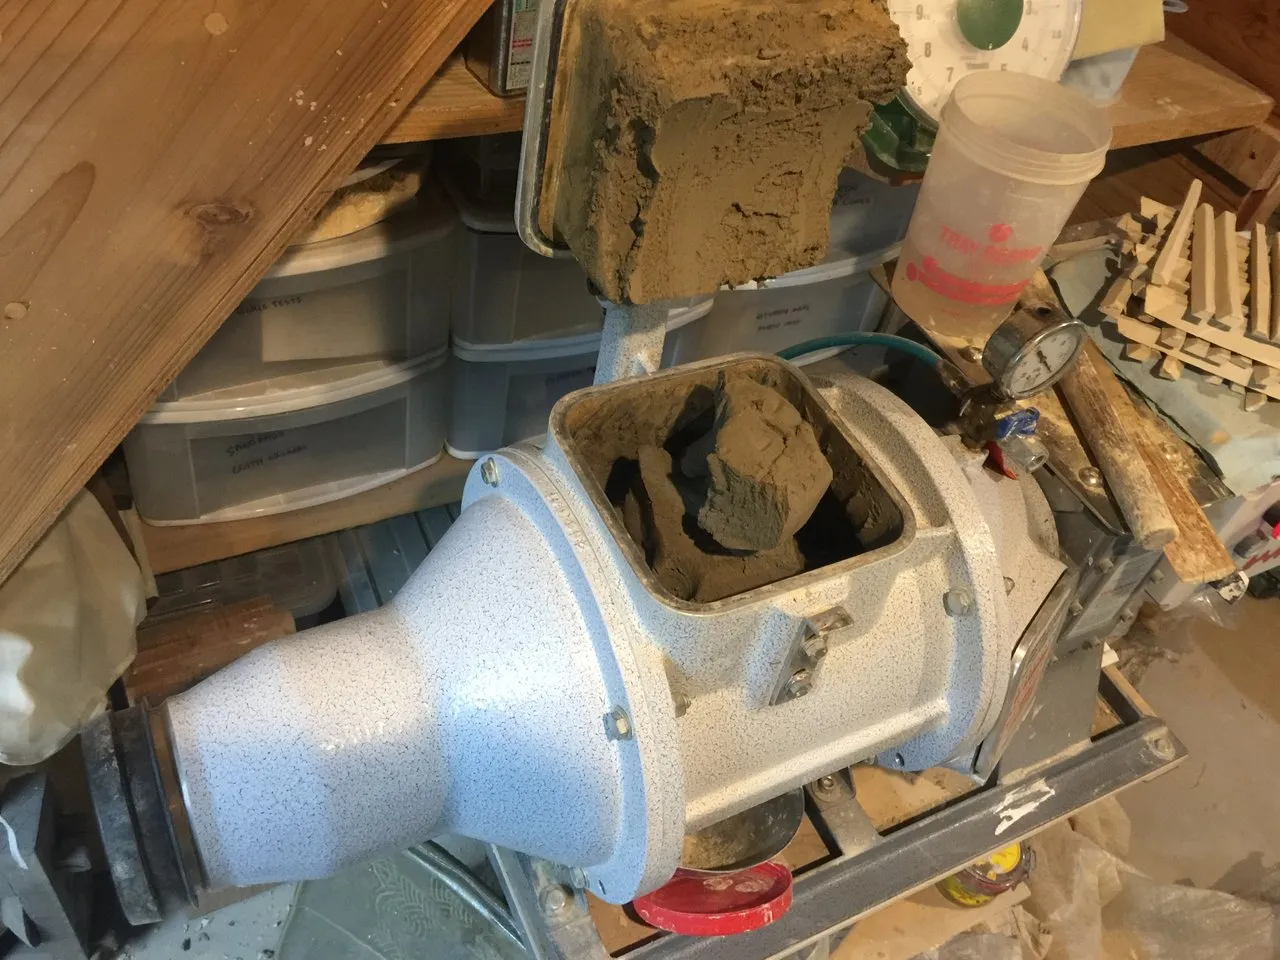
Or, if you have a pugmill, that will do just as nicely, but it's not as good exercise for you. I bought this pugmill a few years back when I realized that pottery was going to ruin my wrists because of all the hand wedging that I did. It is the best money I ever spent. The brand that I use is Peter Pugger, and they ROCK!!
Here is the clay going in to the pugmill, coming out, and going into bags:
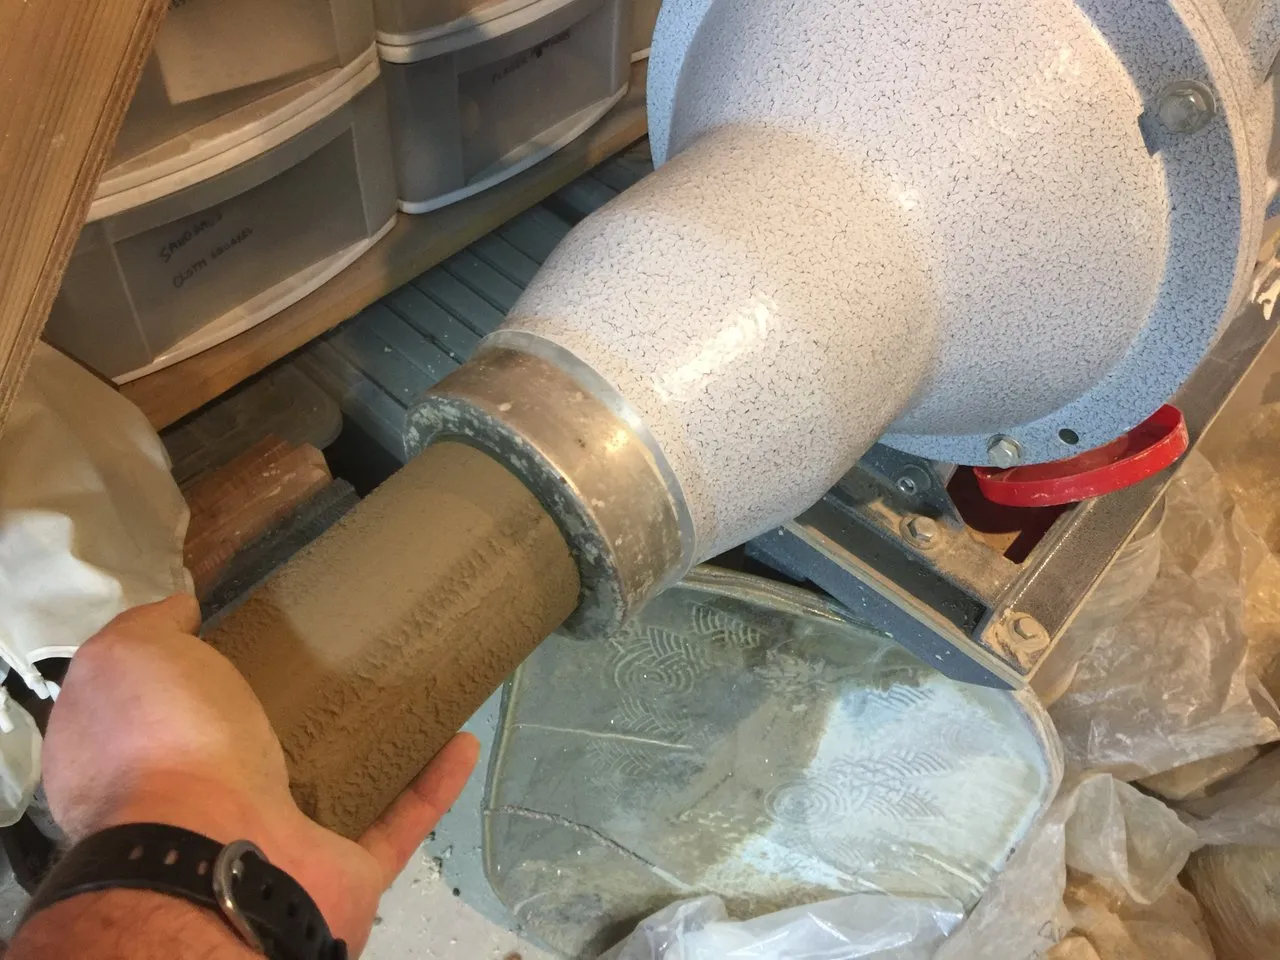
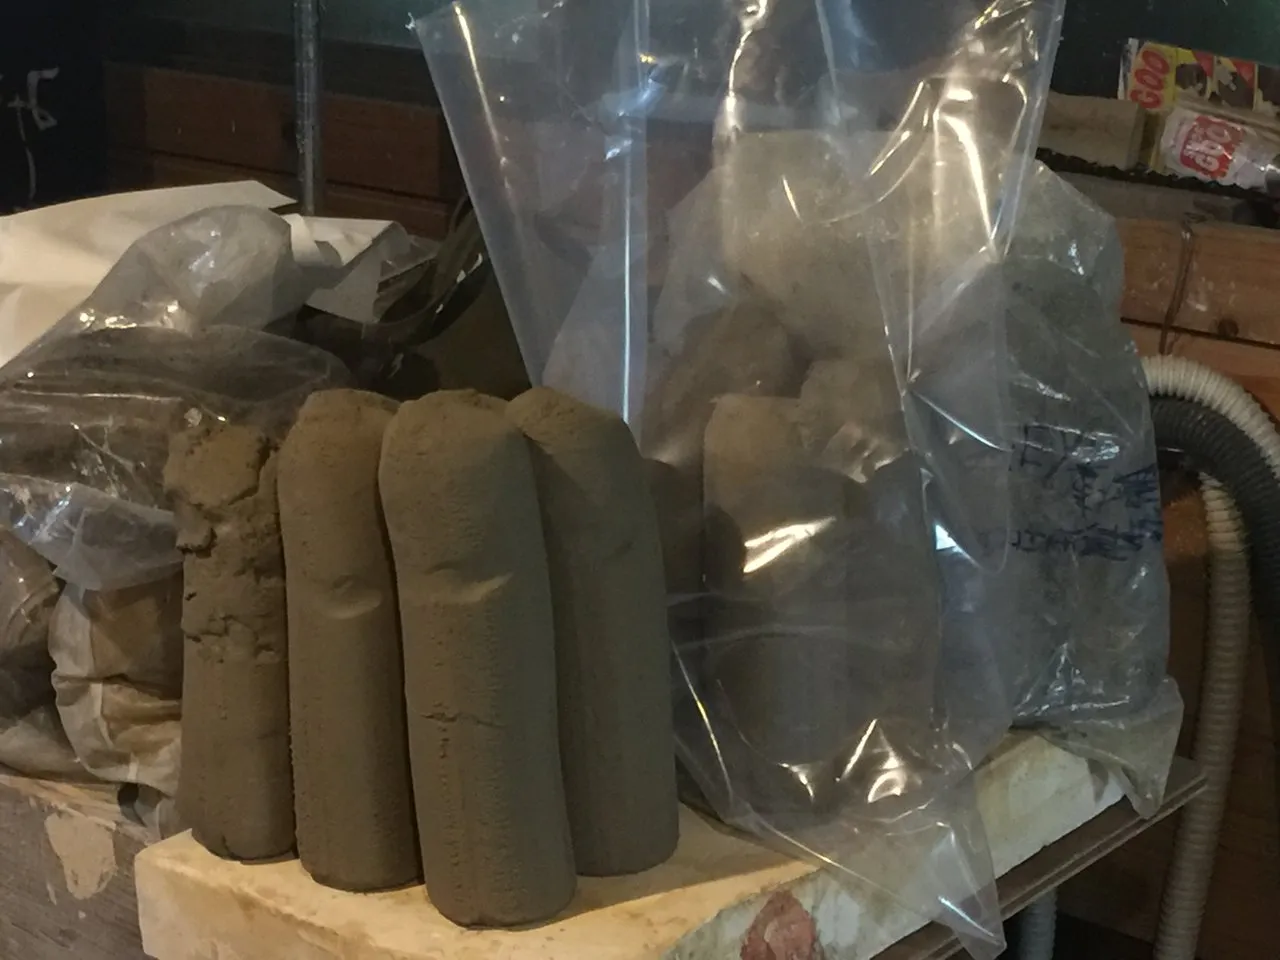
Now that you have your pugs of clay all bagged, they are good to go. If you use nice thick plastic bags, the clay will stay moist for many years, and will be ready to use whenever you need it. I've decided to take the next step and using about 4 kg of my freshly pugged clay, I made some teacups that will go into the 2017 Fall firing of my wood kiln.
That's all folks!
Cheers,
Karatsupots
Mike @ Karatsupots
Making attractive, cool, useful stuff out of dirt since 2006.