Hey, everyone :)
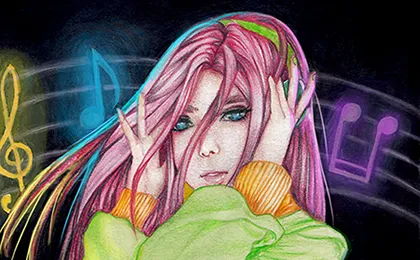
I completed this new piece just yesterday!
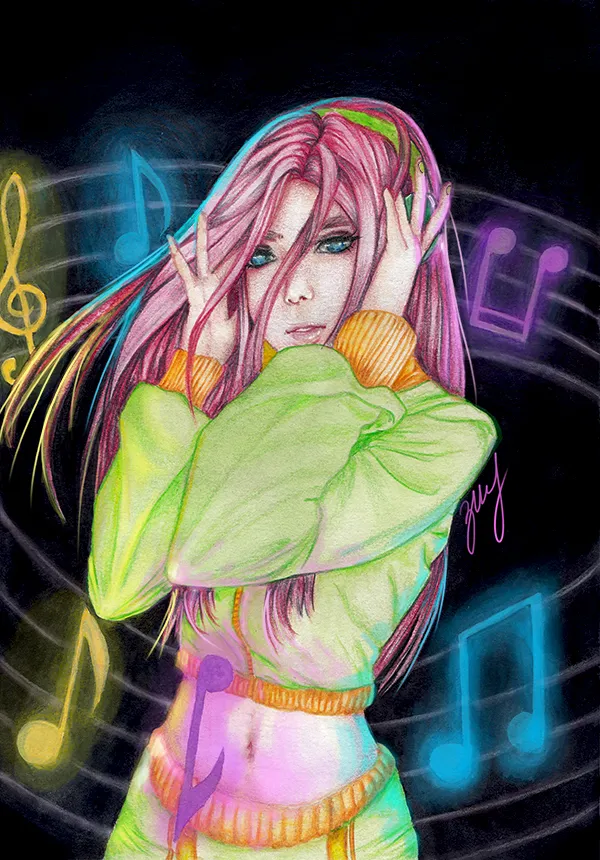
This drawing sure took me quite some time to finish. I took some unexpected decisions while making it and I will explain it all while sharing the progress of the drawing. The general idea I had when I started drawing it was to try and picture a girl, who is in her own bubble and doesn't pay attention to anything else apart from her music XD (by the way this is not a healthy behavior and in no shape, way or form am I promoting it xd!!)
Initially I wanted to draw the whole painting with only watercolors, but due to my poor choice in paper (being lightweight 200 gsm), I could not overdo it with the water and in the end had to finish it with pencils.
Step by step process:
I will give brief explanation for each step, what I did exactly. Hopefully it will help out someone struggling and trying to improve their art :)
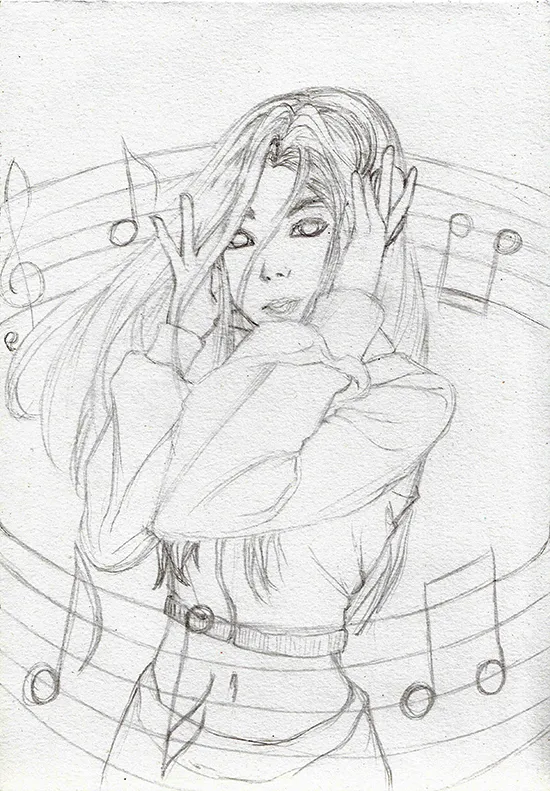
Step 1: Lineart
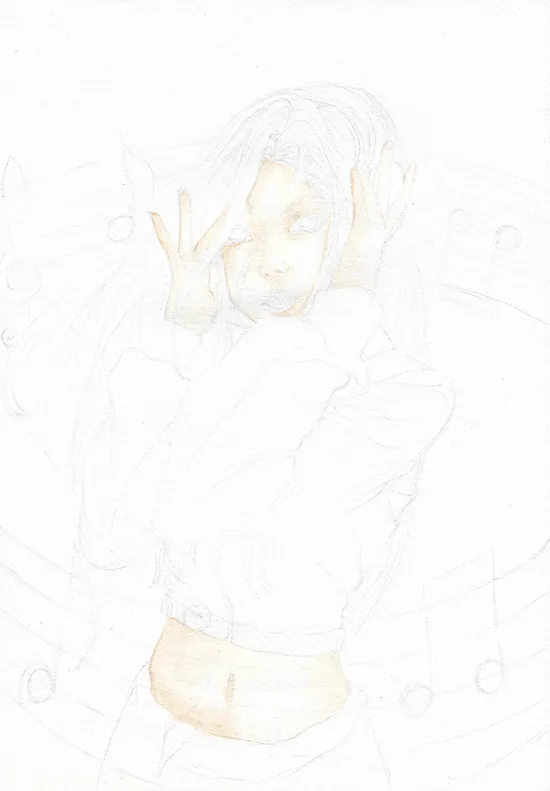
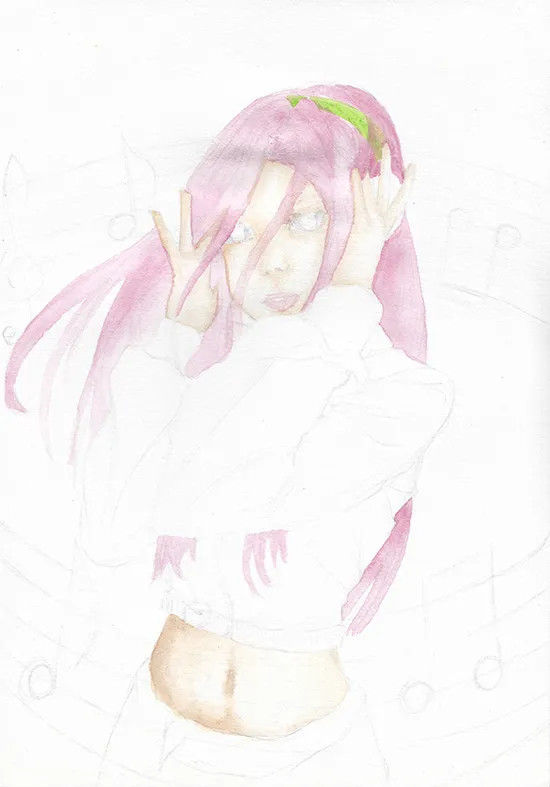
Step 2: Skin
Before starting to color with watercolor I always lighten my sketch almost completely gone with kneaded eraser, just so the sketch will not show in the finished piece, due to the fact that watercolors are quite transparent. When painting with watercolors you always have to start with the lightest colors and moving to the darkest. In my case the lightest being my character's skin, so that is what I started with. I always use the wet-on-wet technique. You can see that I applied color only where the shadows fall, because we will go with second layer after this one dries.
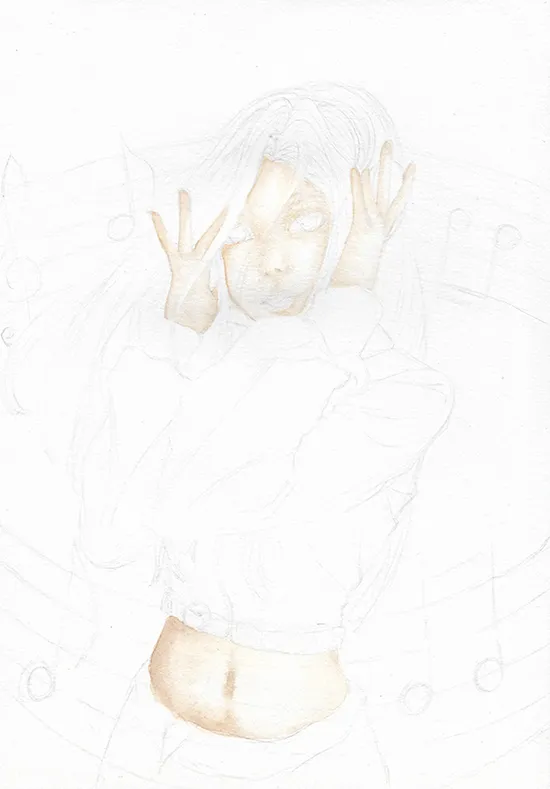
Step 3: Skin Shadows and Highlights
After the paint has dried we can re-wet the surface with water and deepen our shadows.
Step 4: Hair - Flat color
After thinking some time on what color to make my OC's hair I settled for making it pinkish xd
So again using wet-on-wet I laid my flat pastel pink base color. Also here you can see that my poor choice in paper finally is visible :( My paper buckled only after one wash of paint.
Step 5: Outfit + Eyes + Music Notes Flat Color
Same as the hair I laid the flat colors for the rest of the painting, being careful to let all the colors dry in between, so they will not bleed into each other.
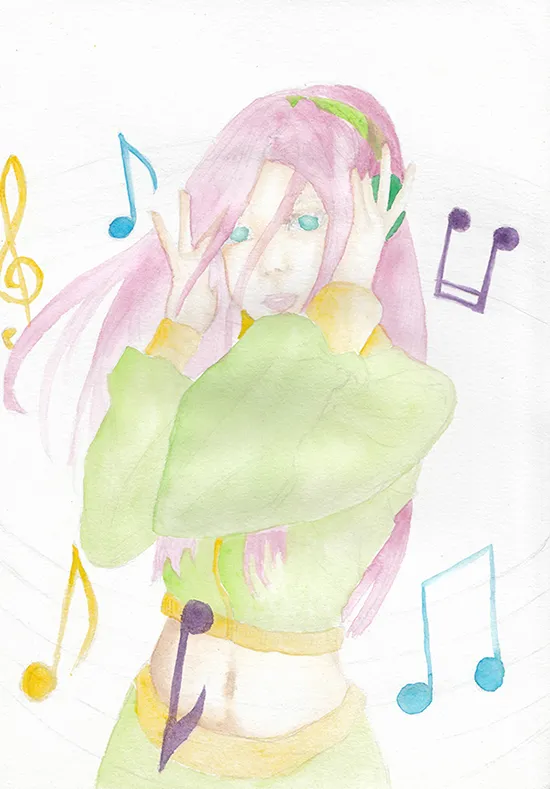
Step 6: Background
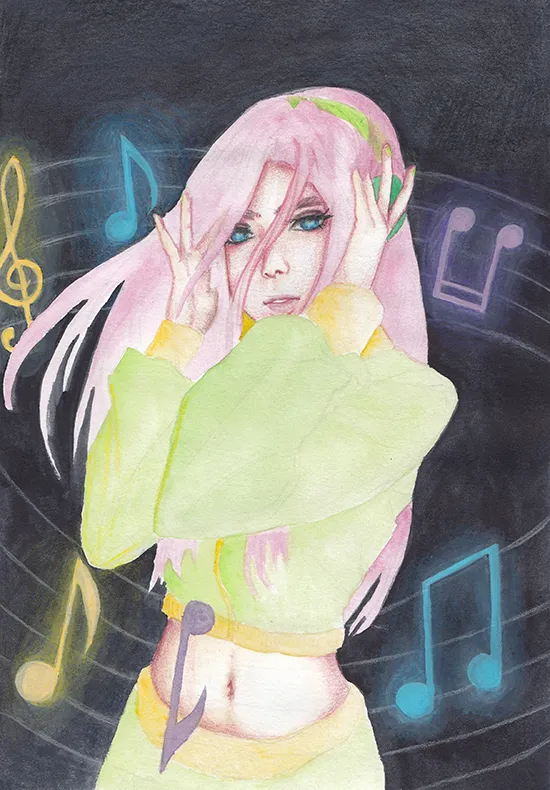
Aaaaand here is where my struggle started. As dumb as it sounds, at the beginning I didn't put much thought in the background, but after coloring in the music notes I didn't want to leave the background white, because it will just make the picture dull and the colors won't stand out. So I took the very dramatic decision to make my background black... YES, BLACK! By now it could go both ways - It would either be the worst decision I took or it will turn out great and how I imagined it. I will share one thing with you people - watercolor black is never fully black, it can never turn out like ink, because it is transparent and always the paper will show a bit underneath. So this is how it turned out at this stage and I thought I ruined my whole painting... but I continued none the less, because I am stubborn :P only the struggle to lay a flat color to match almost all over was such a hassle, took me almost 1h.
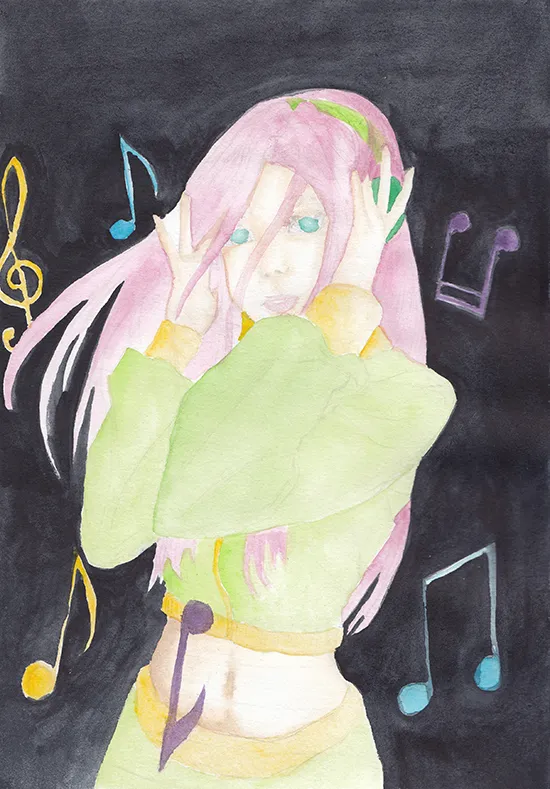
Step 7: Adding glow to the music notes
At this point I didn't want to work on the character if I could not fix my background, so I tried to add a glowing effect to the music notes and see if I can salvage it. I did this by mixing some white gouache paint with some watercolor for hue. It turned so-so and gave me hope to push on.
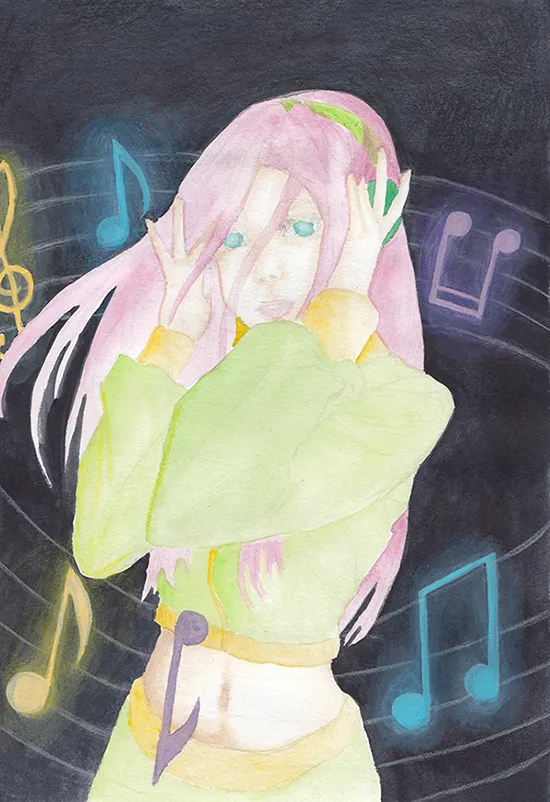
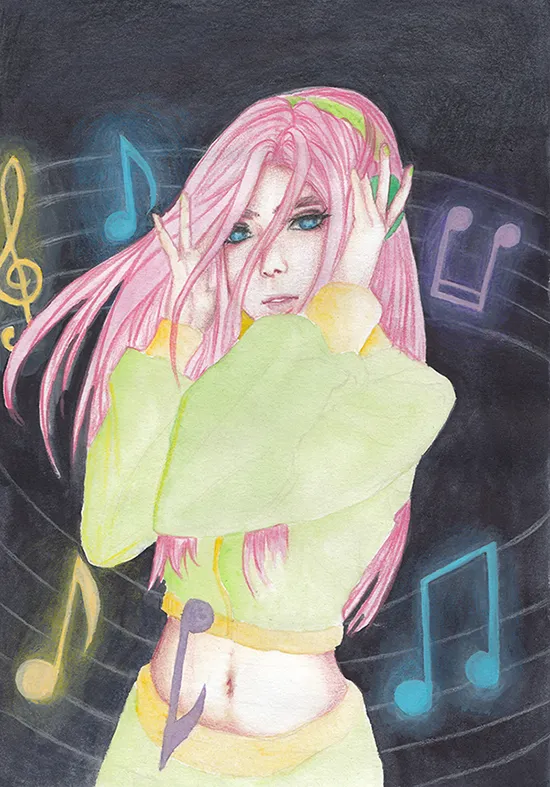
Step 8: Adding details to the skin
So here is where I started adding details with the pencils, because I didn't want to damage anymore the paper with water. I started with the skin.
Step 9: Adding details to the hair
Again with pencils adding details to the hair and outlining the strands.
Step 10: Adding details to the outfit
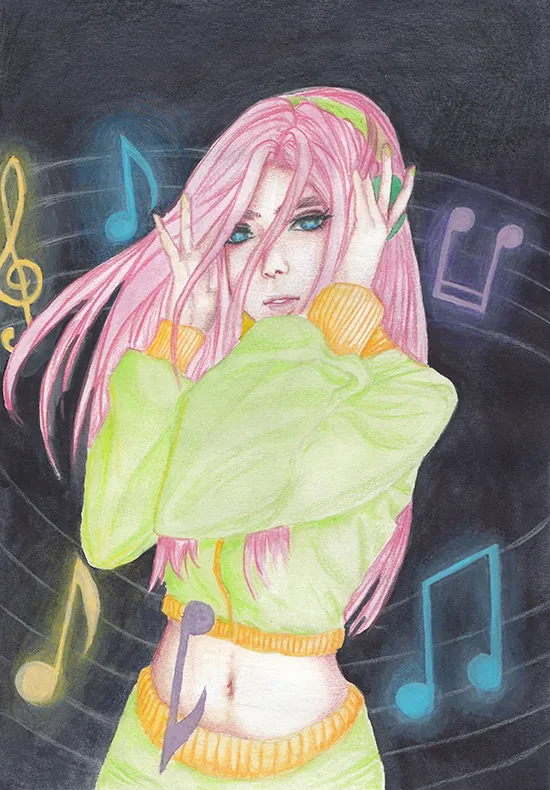
Step 11: Deepening the shadows of the hair and the outfit
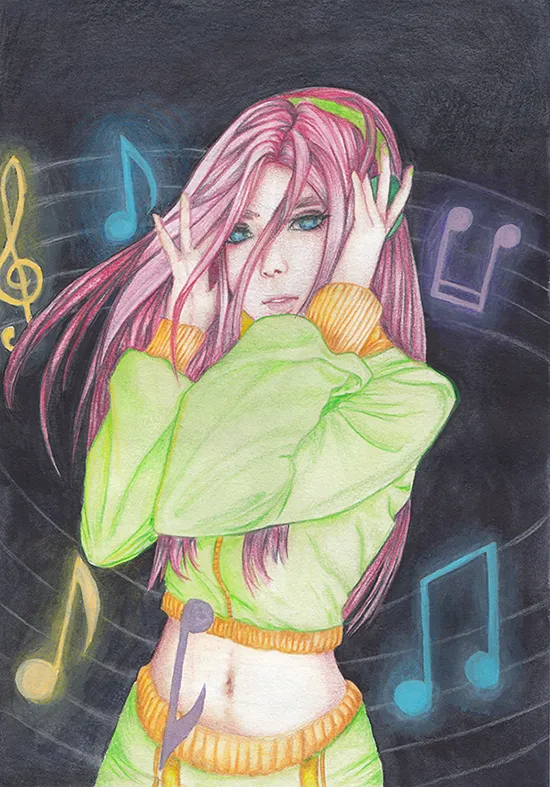
Step 12: Finalizing the image digitally
Due to the fact that always the scanner washes out the image's colors, I had to readjust the contrasts and hues accordingly. In the end I made the dark background black, accentuated the glow of the music notes and added reflection onto the character.
Animated Process:

There you go, a drawing of my original character’s rocking out to music! This post sure turned out long, but I hope you liked it and found it informative :)
Until next time!
If you like my art, please support me by upvoting and following me not to miss out on future content :) Comments are always welcomed and I do accept constructive criticism!