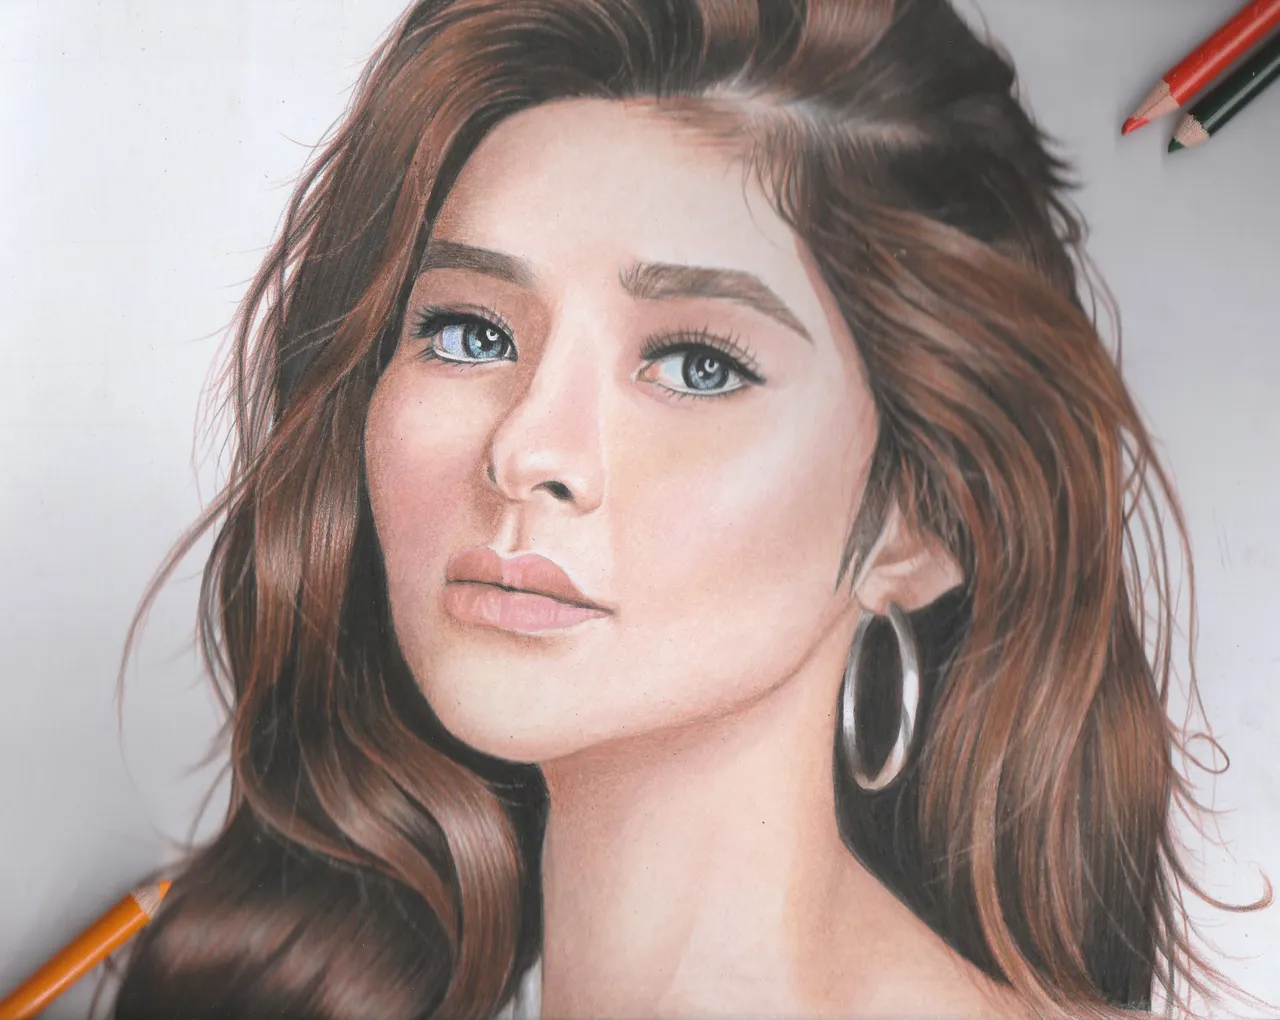
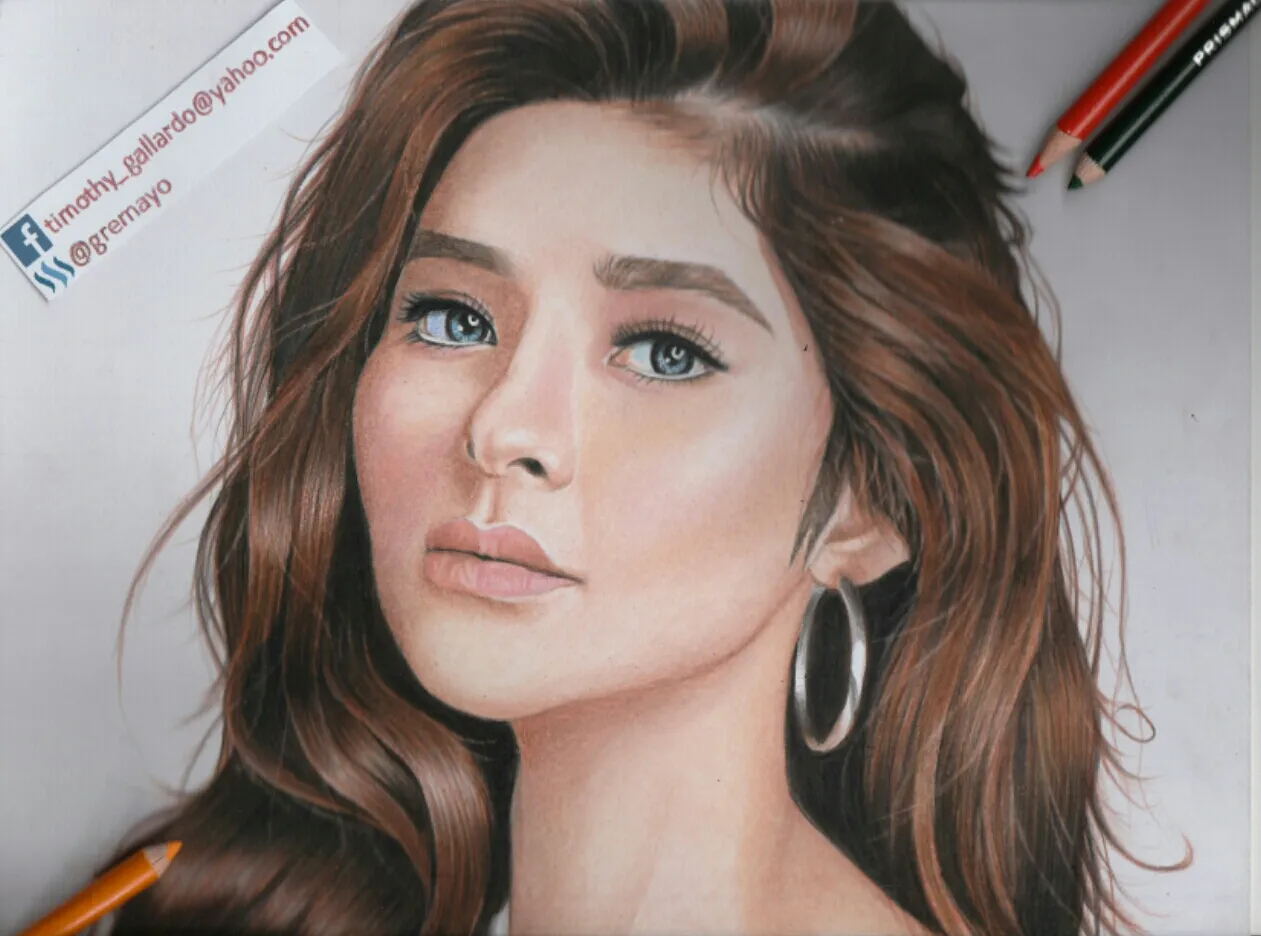
I have a wonderful portrait artwork again today guys because I love making celebrity portrait drawings like this one. This is made out of colored pencil and pencil. I want to share it with you and give you a little bit of knowledge about colored pencil .
Colored pencil is a very slow medium. Expect a slow progress from your work. Don't lose patience because the more you invest your time to it, the more it will look better and you get a good results. although colored pencil will consume most of your time it is also the best medium to use in making realistic artworks.
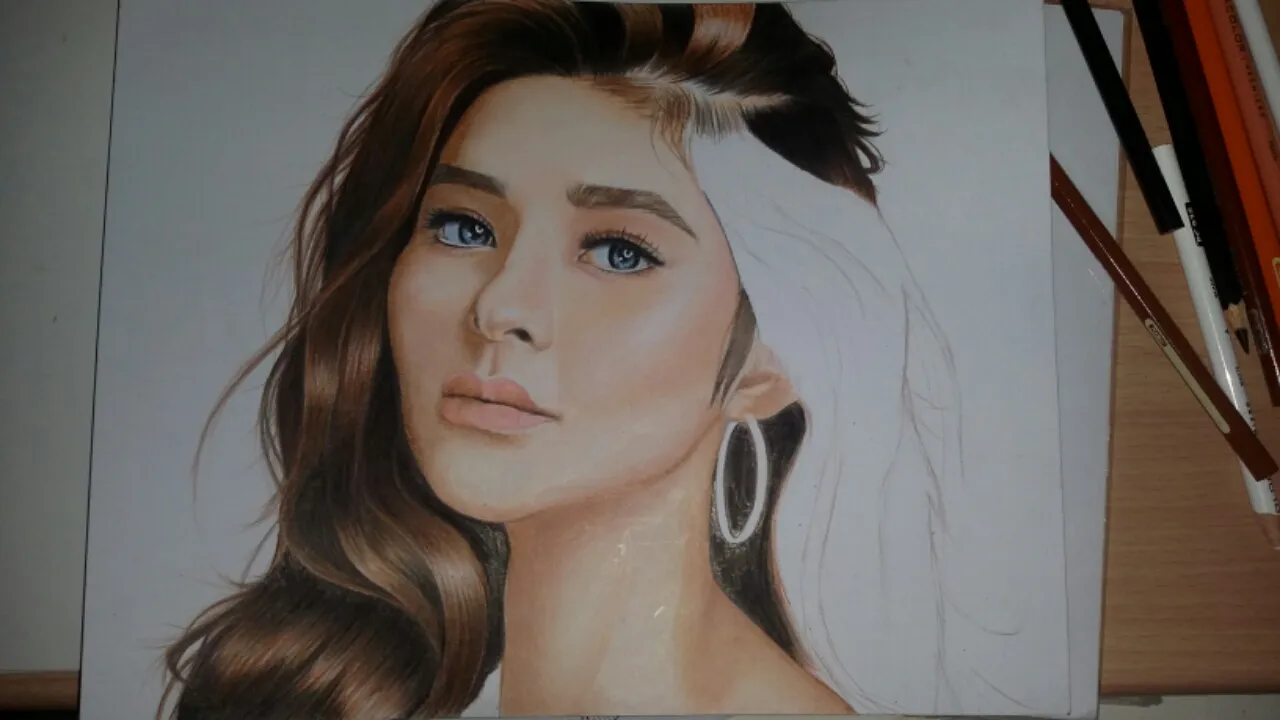
Now my portrait for today is Loisa Andalio, She's also an actress, model and a dancer in the Philippines.
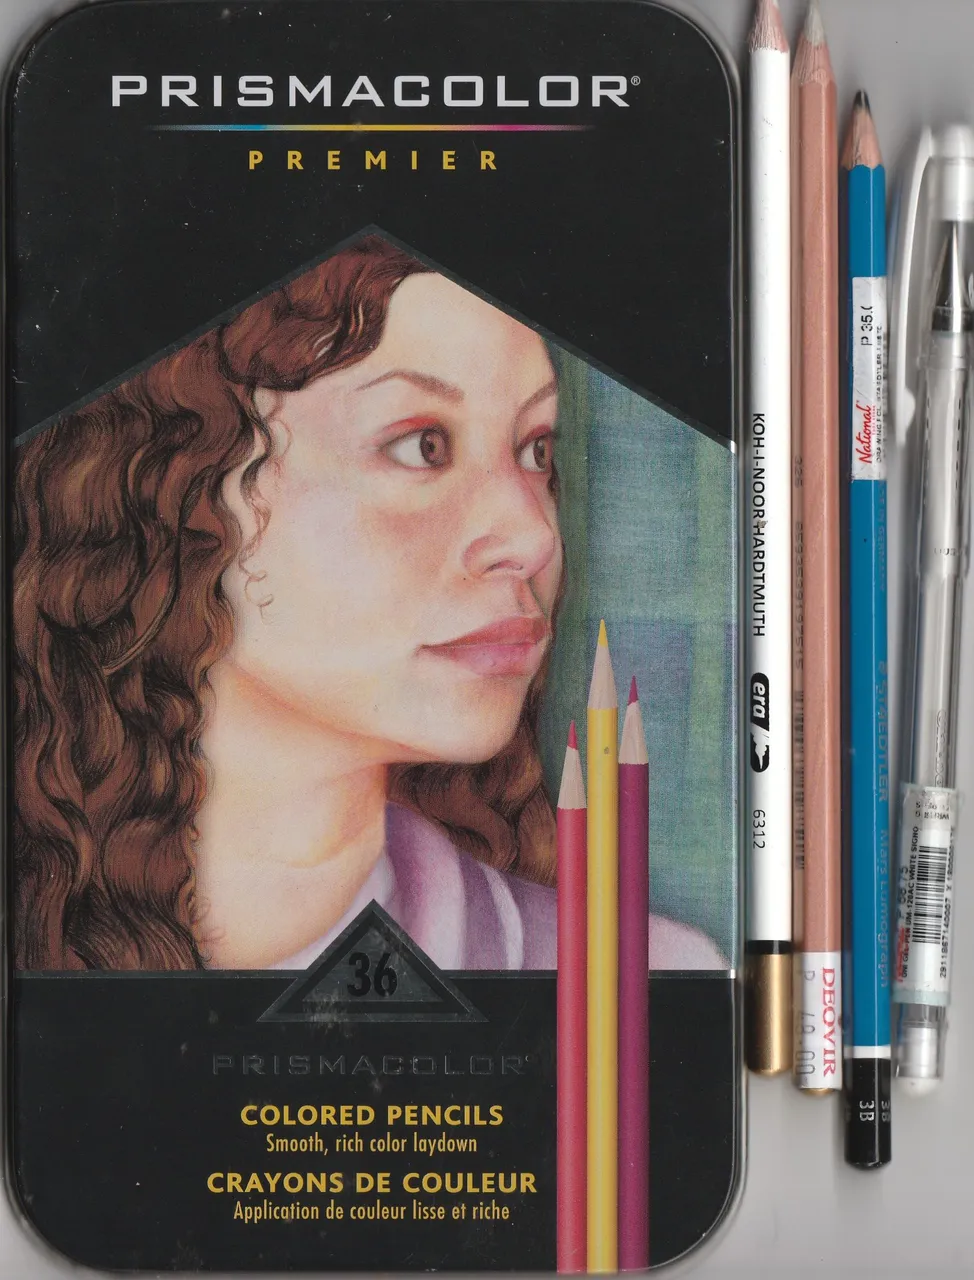
Materials
Prisma colored pencil (set of 36)
Prisma coloreless blender
Hardmuth pencil eraser
Signo white pen
Staedler graphite pencil
Working hours:
It took me 4 days to finish. I spent 4 to 5 hours drawing everyday. Taking breaks help me improve my drawing from time to time. I suggest you to do this as it will help you a lot... improving your drawing and seeing your mistakes.
Like what I always said, learn how to blend and choose the proper color that you need to achieve that realistic look. Always remember that a plain color will always never be plain all the time. You must add some different colors to get that realism approach.
Now I will take you time my working progress images too see how I did it.
First is making your sketch and finishing your outline. Use a lighter graphite pencil so you can erase it easily once you apply color to it.
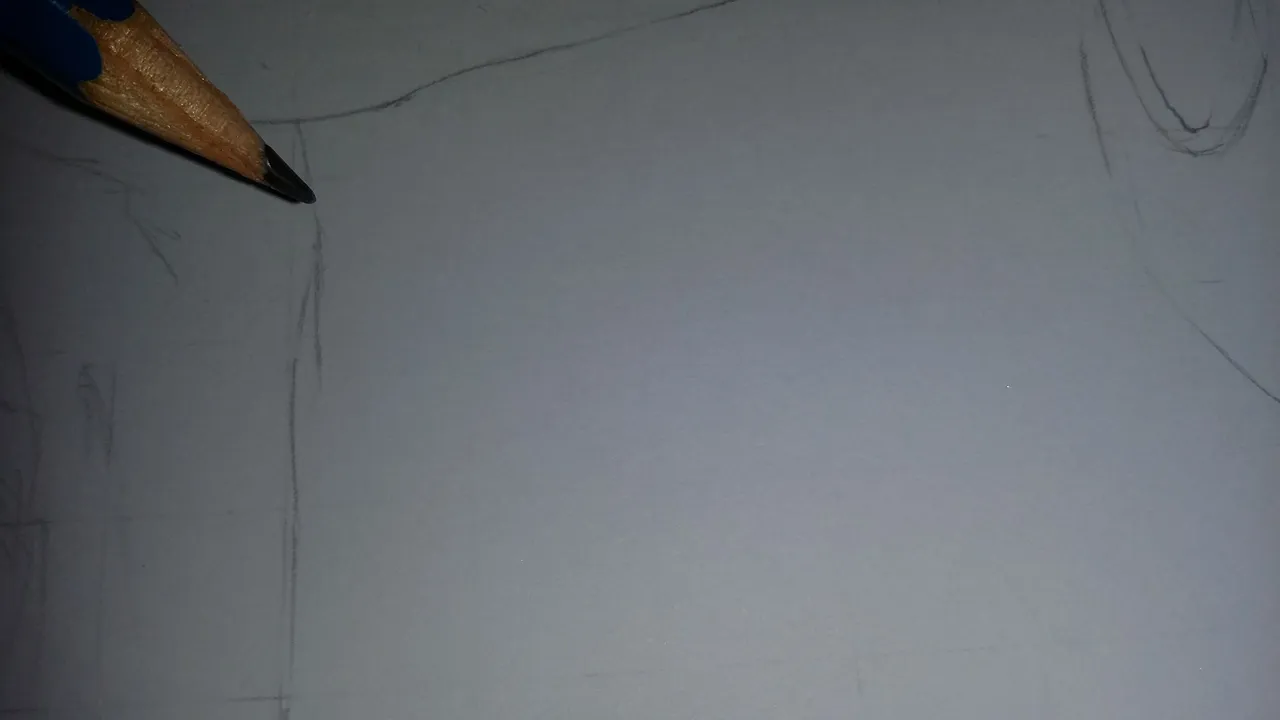
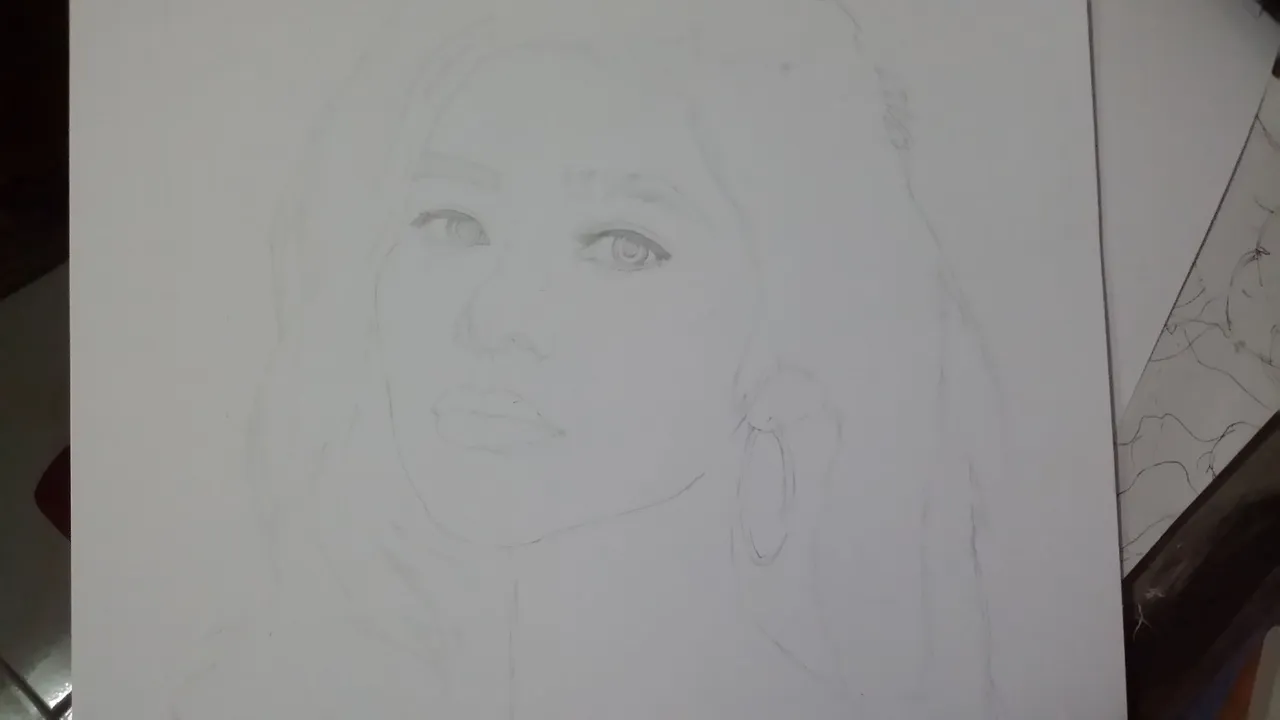
Excuse my camera friends.... Now I'm done with the outlines. I'm going to color it using my colored pencils. I'll start with the base tone.
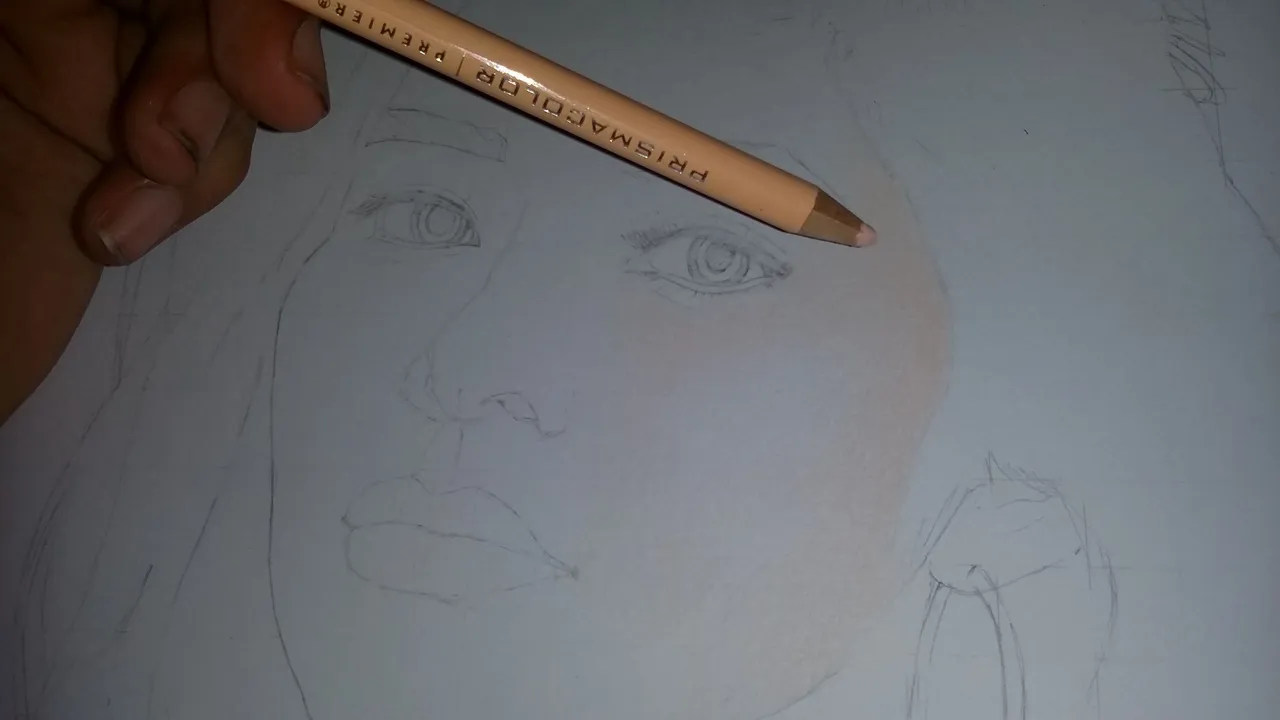
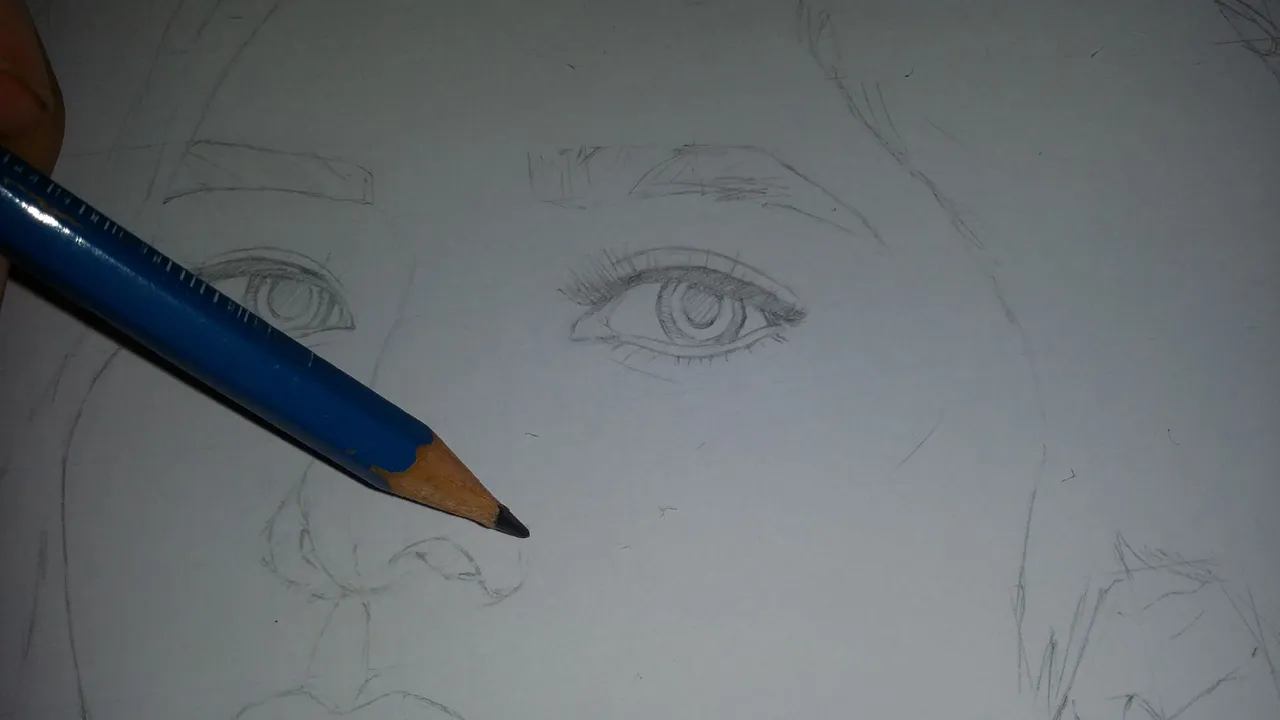
Now blending is quite tricky. Mix all the colors needed. I used peach, light peach, cream, sienna brown, darkbrown and pink for the skintone. And after applying color use colorless blender to blend those colors and to make it smooth and glowy. Same goes with the hair.
See the above pictures. The first one is rough and I haven't applied colorless blender yet. The second will tell how it changes from rough to smooth. You can really tell the importance of colorless blender and what it can do.
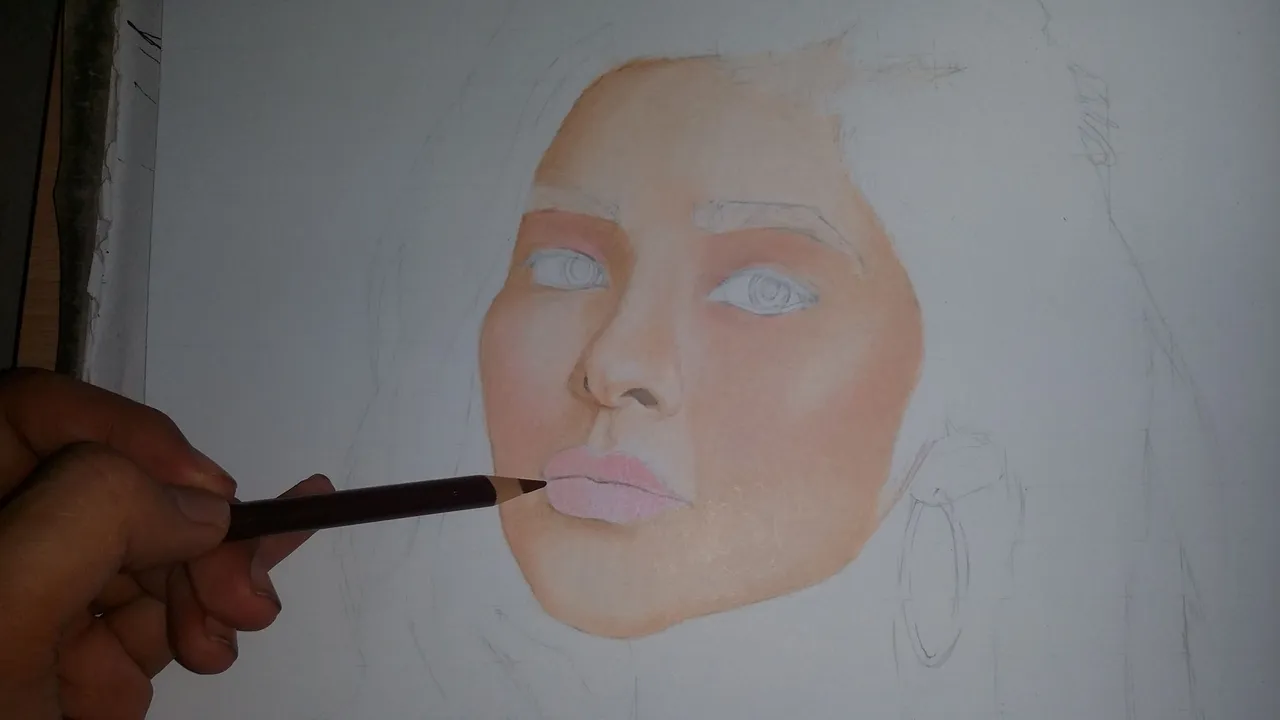
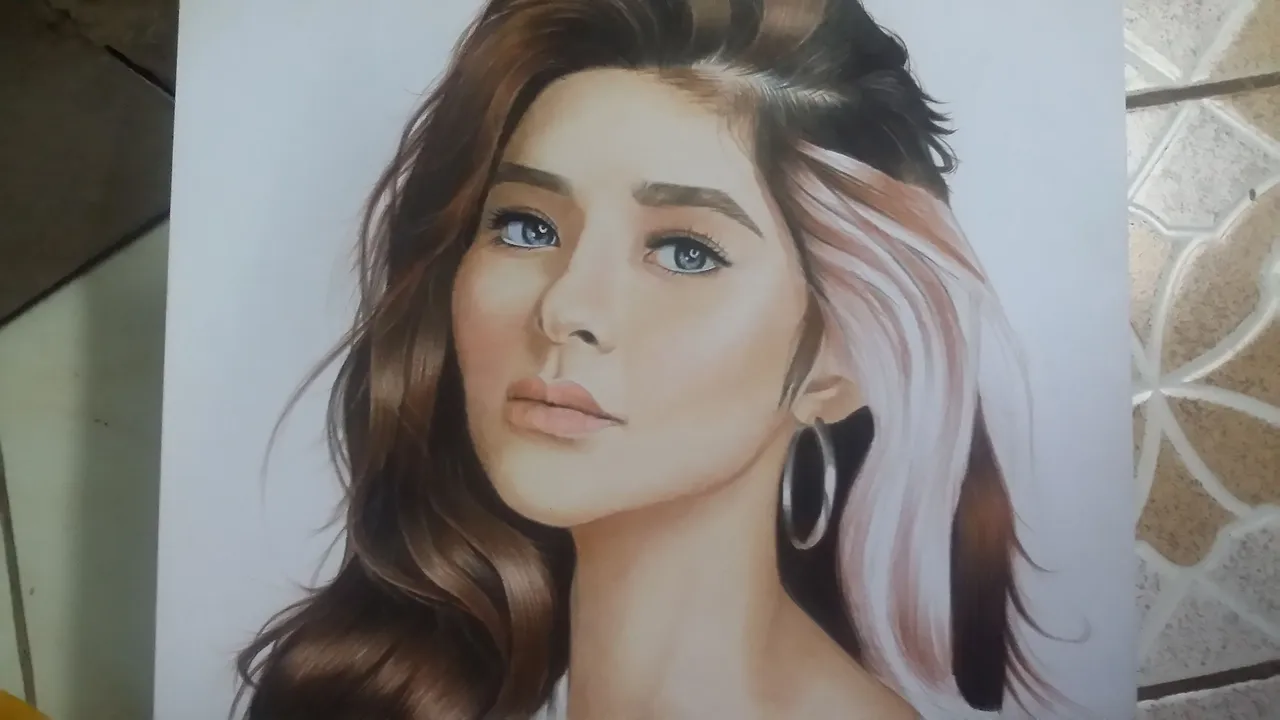
Now I'm tryng to finish the skintone here so I can see if my colors are all blend well.
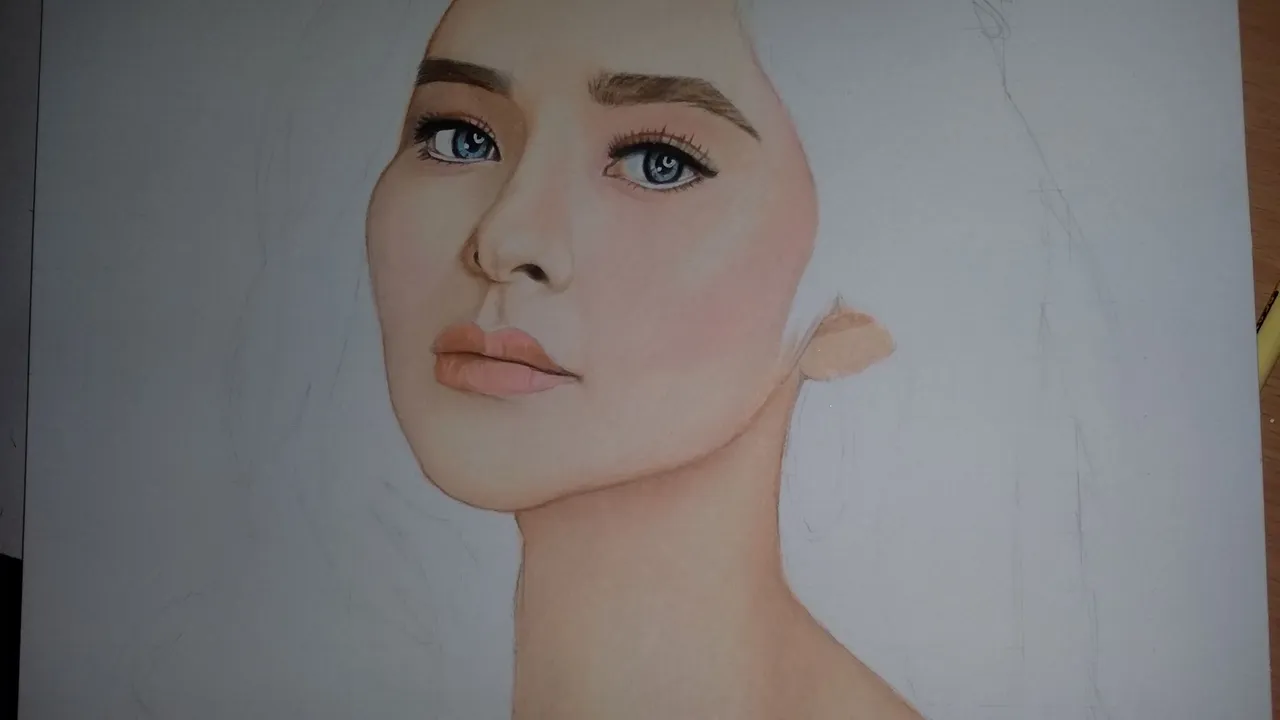
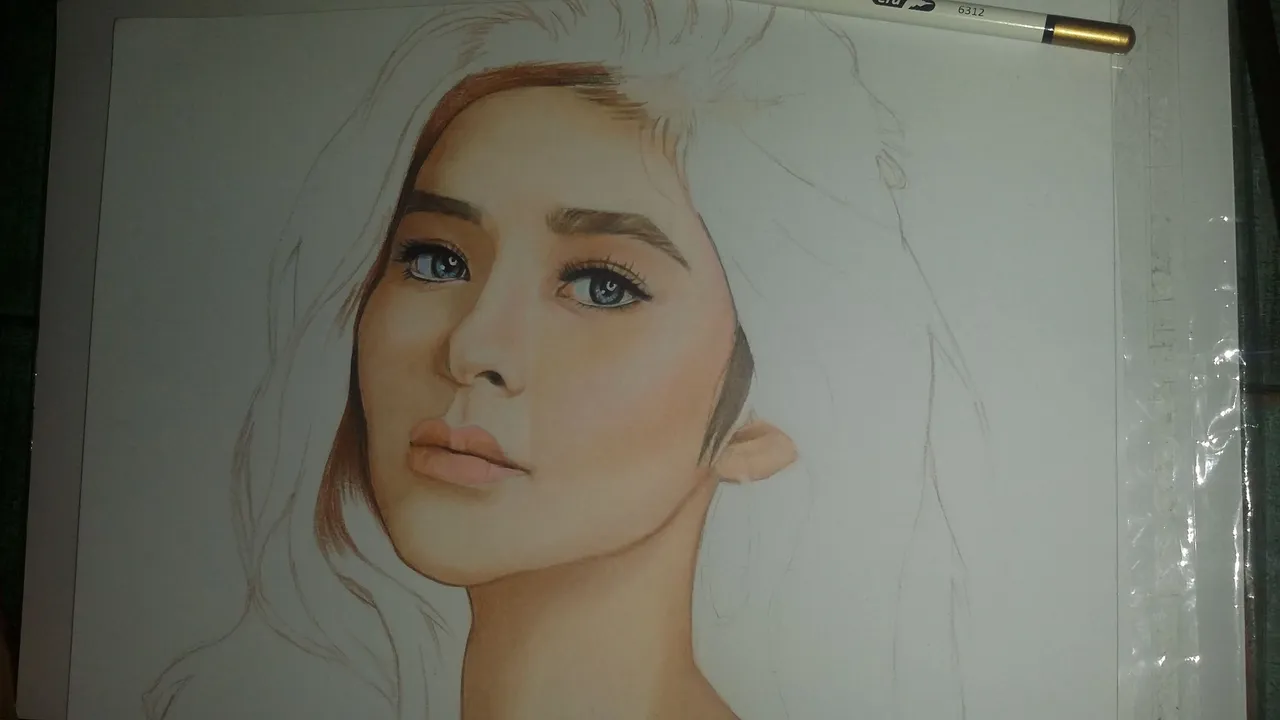
I tried working her face down to her neck and almost finnish it. But later I'm gonna get back to it and refine for the final touch.
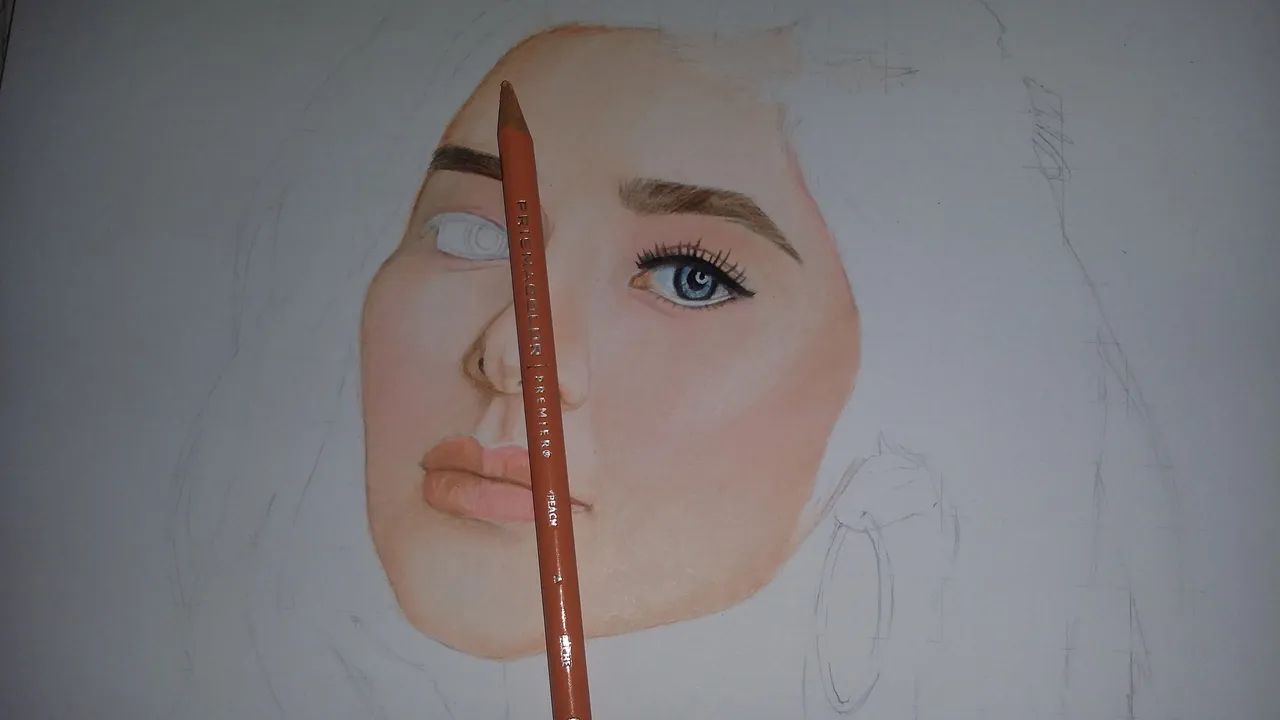
Working her hair, strand is the most important to make it look like realistic. Make a path of strands flowing in different directions but not to much.
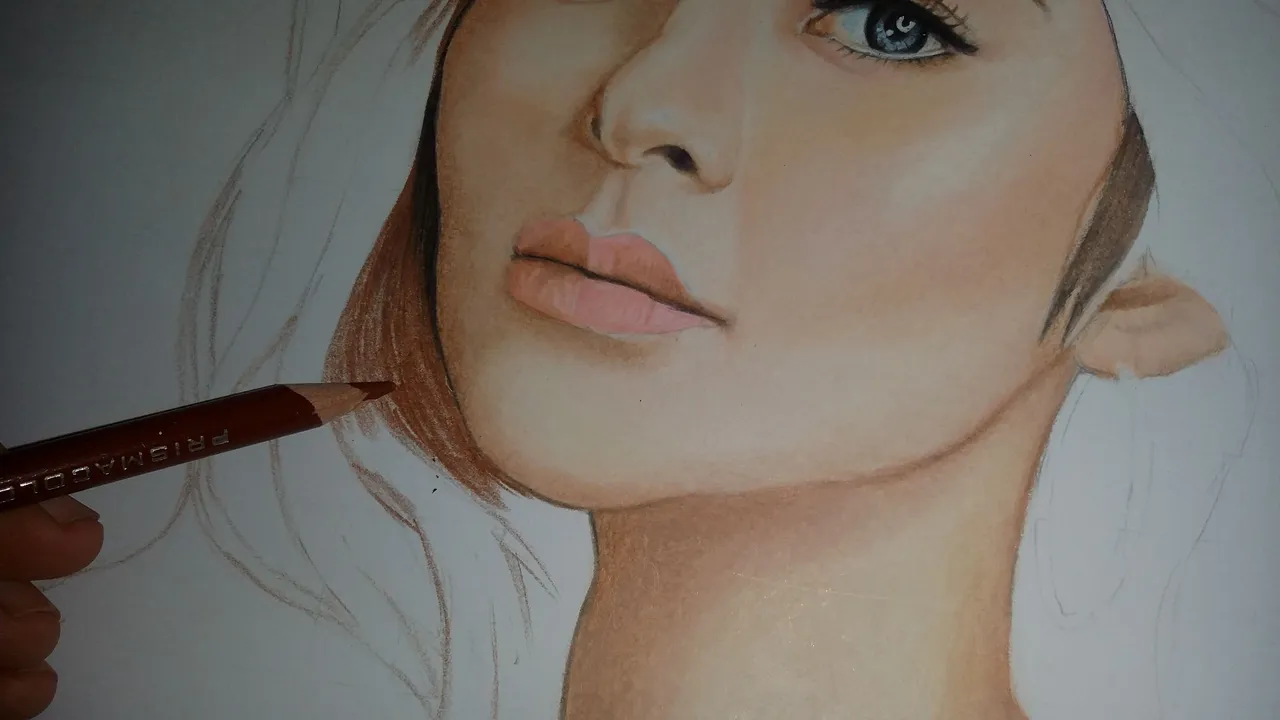
I don't want this to get more complicated but just follow my tips and I'm sure you will be successful. Always sharpen your colored pencils so you can add thin lines and strokes.
Pencil eraser will also add thin light lines making it look like a strands.
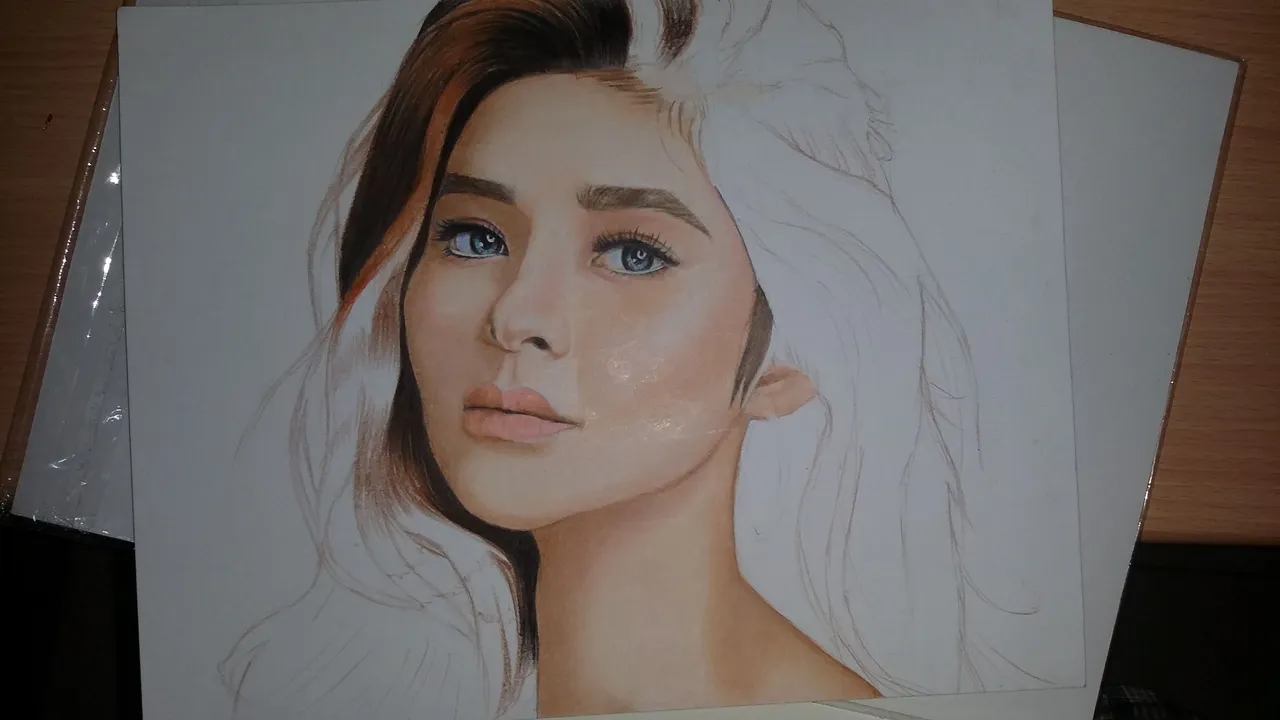
Some WIP images:
This took me some time guys so like what I always tell you, take your time and be patient to get a good results.
I hope you learned something guys and don't be afraid exlporing adding different colors blending making your own design and making your artwork with confidence. Those will improve you and will level up your skills. I have to admit my artworks are not as good as before. Just learn and accept criticism and you will definitely progress and improve from your mistakes.
Ok... I'll be back again next time for more artworks to share with you. See you then and good luck!!!
Have more fun!!!
BYE!!!!
